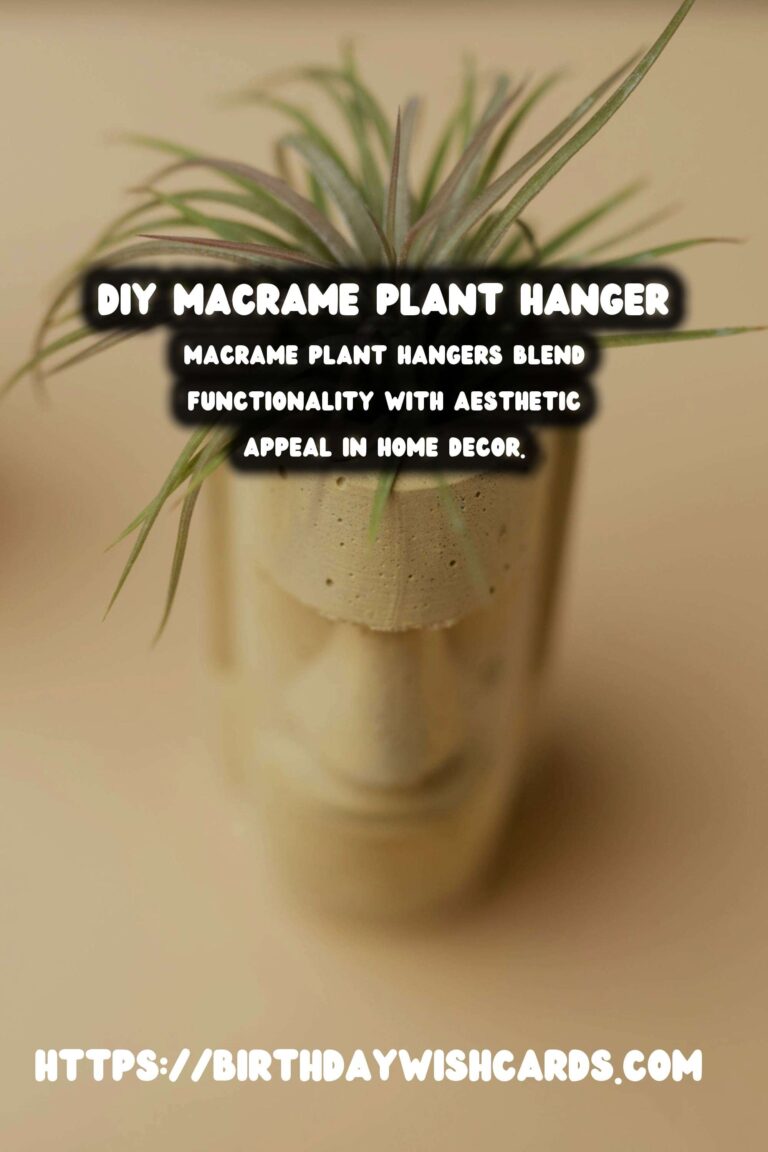
Macrame plant hangers are a fantastic way to blend functionality with aesthetic appeal in your home decor. This guide will walk you through the process of creating a macrame plant hanger, adding unique bead elements for a personalized touch.
Materials Needed for Your Macrame Plant Hanger
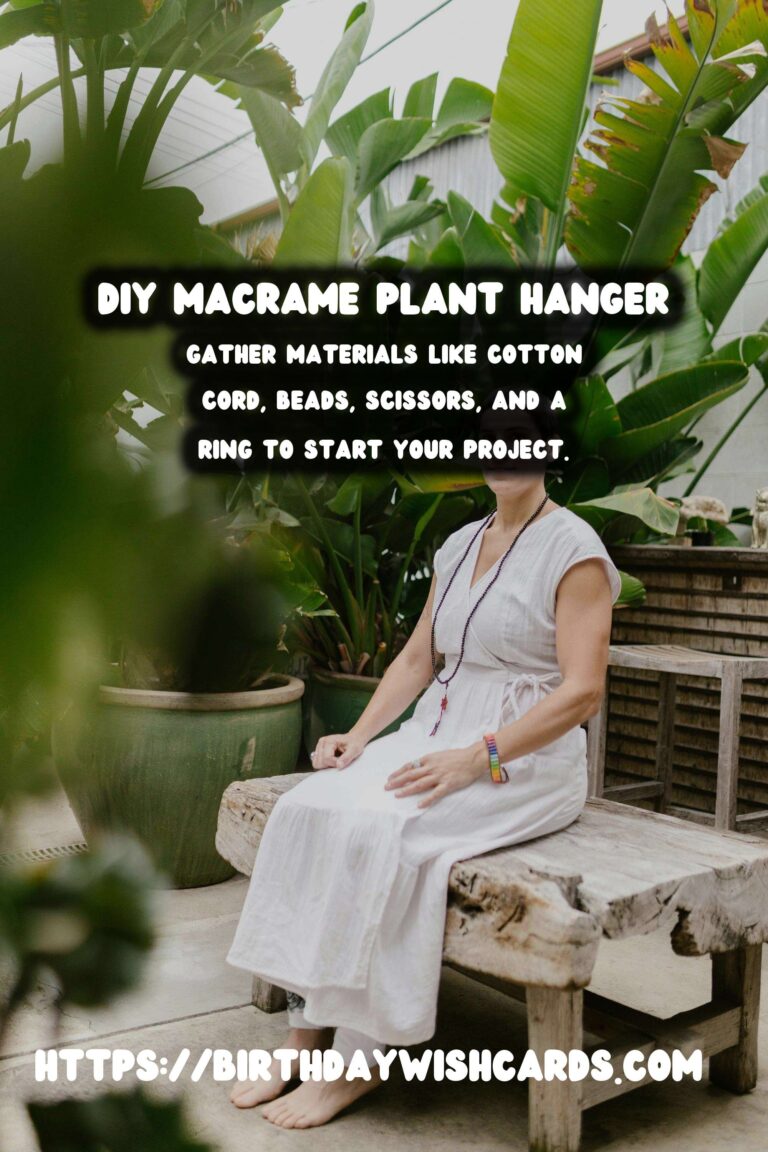
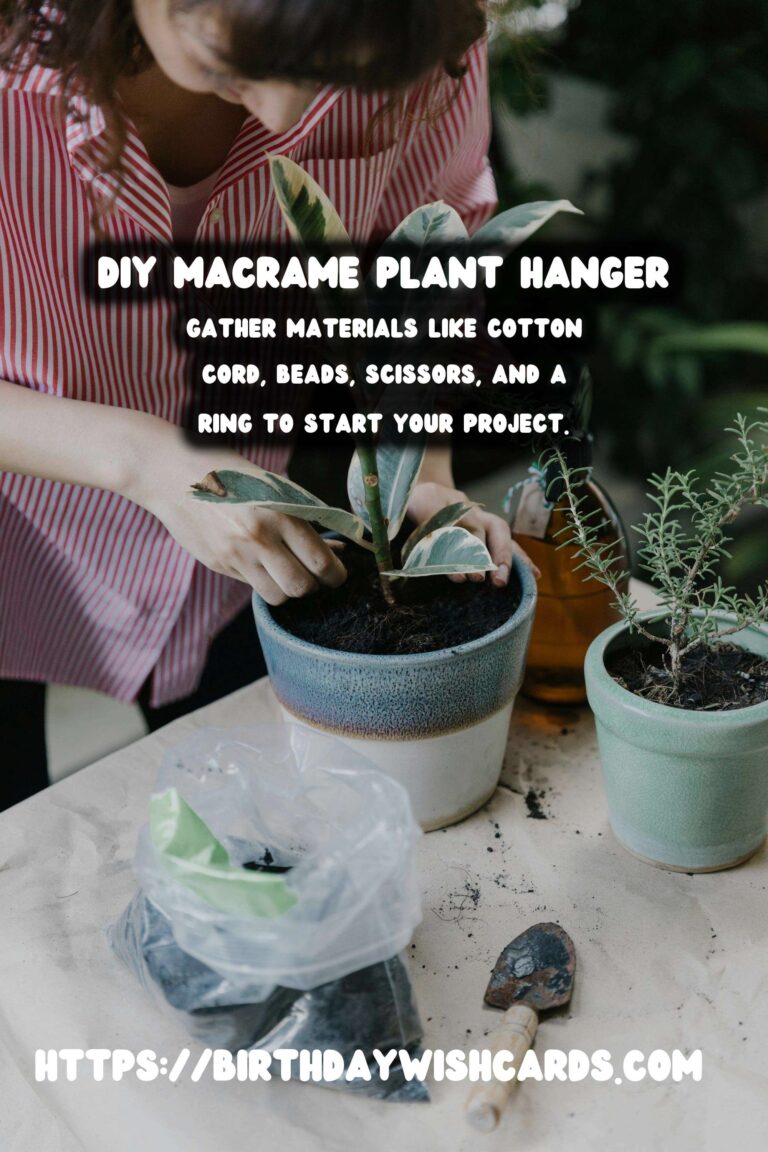
Before starting, gather the necessary materials to ensure a smooth crafting experience. You will need:
- Cotton cord or macrame rope (approximately 100 feet)
- Wooden or plastic beads
- Scissors
- Measuring tape
- A ring (metal or wooden) to hang your plant hanger
- A pot for measuring the size of your hanger
Step-by-Step Instructions
Step 1: Preparing the Cord
Begin by cutting eight pieces of cord, each about 12 feet long. Fold the cords in half and thread them through the ring, securing them with a Lark’s Head Knot. This will create 16 working cords.
Step 2: Creating the Top Knot
To form the top of your hanger, gather all the cords together and tie a large knot about 4 inches below the ring. This will secure your cords and form the top loop of your hanger.
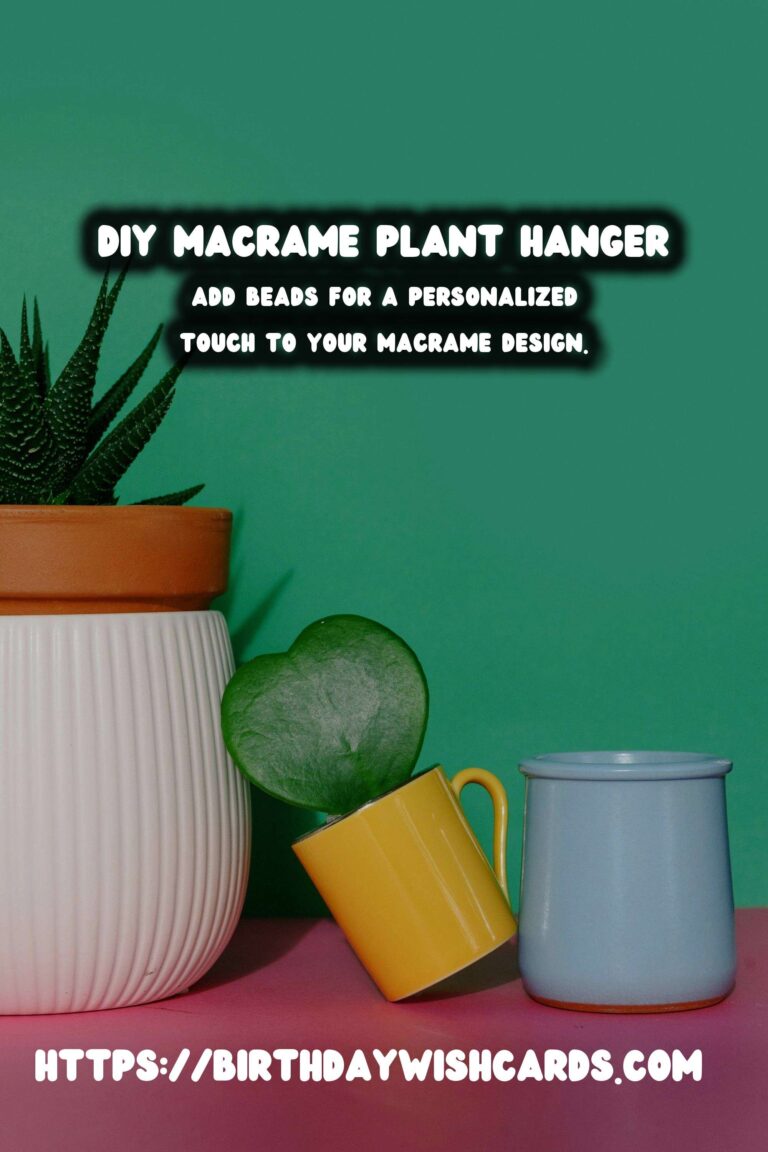
Step 3: Adding Beads
Thread beads onto the cords in your desired pattern. You can choose to add beads to all cords or select a few to enhance the design. Ensure that the beads are placed evenly for a balanced look.
Step 4: Forming the Macrame Knots
The most common knots used in macrame are the square knot and spiral knot. To create a square knot, take four cords, and tie a knot by crossing the outer cords over the inner cords. Repeat this process across all sets of cords.
Step 5: Creating the Basket
To form the basket that holds the plant pot, divide the cords into groups of four and tie square knots about 3 to 4 inches apart. Adjust the spacing according to the size of your pot.
Step 6: Finishing the Hanger
Once the basket shape is complete, gather all the cords together below the pot and tie a large knot to secure them. Trim the ends to your desired length for a neat finish.
Tips for Customizing Your Macrame Plant Hanger
Personalize your plant hanger by experimenting with different bead shapes, colors, and materials. Consider incorporating a mix of wooden and metallic beads for a contemporary look. You can also dye the cords to match your home decor.
Conclusion
With these simple steps, you can create a stunning DIY macrame plant hanger with beads to add a touch of elegance to any room. Whether you’re a beginner or an experienced crafter, this project offers a rewarding way to enhance your home’s aesthetic.
Happy crafting!
Macrame plant hangers blend functionality with aesthetic appeal in home decor. Gather materials like cotton cord, beads, scissors, and a ring to start your project. Create a Lark’s Head Knot to begin your macrame plant hanger. Add beads for a personalized touch to your macrame design. The most common macrame knots are the square knot and spiral knot. Customize your plant hanger with different bead shapes and dyed cords. 

#Macrame #DIY #PlantHanger #Crafting #HomeDecor #Beads