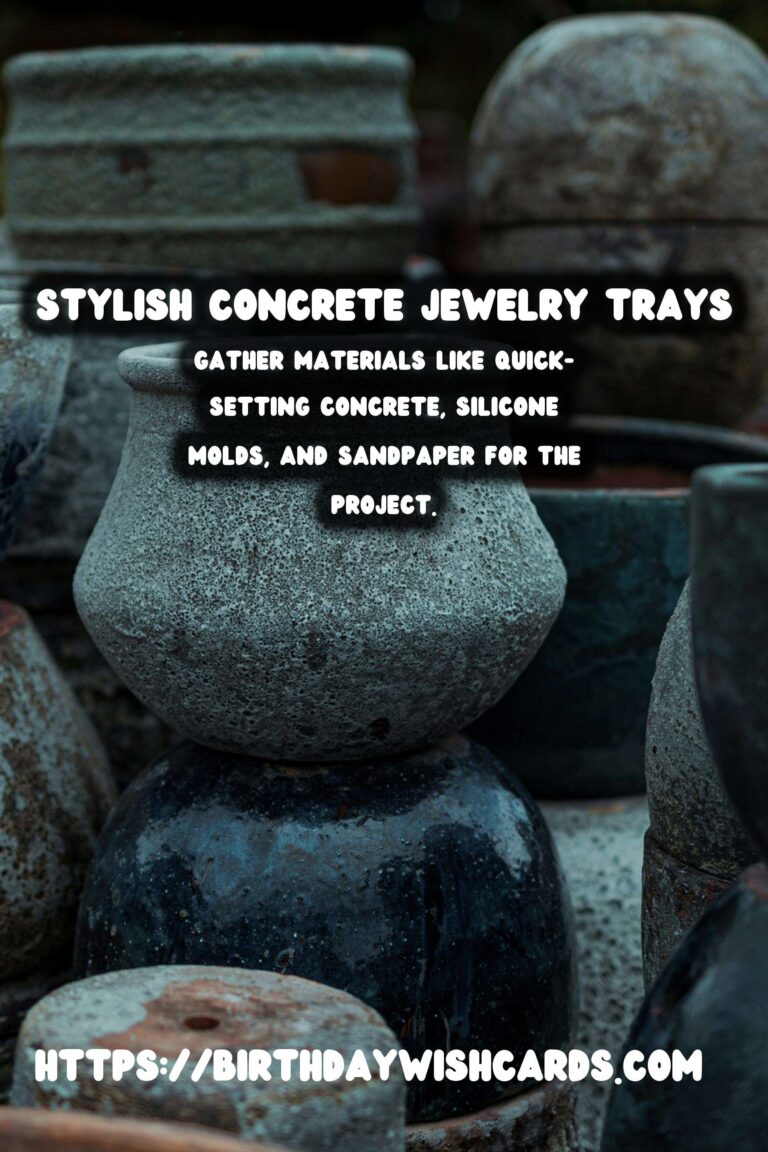
Concrete trays have become a popular choice for home decor enthusiasts looking to add a touch of elegance and industrial chic to their spaces. When it comes to storing jewelry, these trays offer a unique blend of style and functionality. Creating your own DIY concrete trays for jewelry is not only a cost-effective solution but also a fun and creative project.
Why Choose Concrete for Jewelry Trays?
Concrete is a versatile material that offers several benefits for crafting jewelry trays. Its durability ensures that your trays will stand the test of time, while its natural color and texture provide a neutral backdrop that complements any jewelry piece. Additionally, concrete can be easily molded into various shapes and sizes, allowing for customization to suit your personal style.
Materials Needed for DIY Concrete Trays
Before you begin crafting your concrete trays, gather the following materials:
- Quick-setting concrete mix
- Water
- Mixing bowl
- Stirring stick
- Silicone molds (tray-shaped)
- Sandpaper
- Sealant (optional)
These materials are readily available at most craft or hardware stores, making this project accessible to anyone interested in DIY crafts.
Step-by-Step Guide to Making Concrete Jewelry Trays
Step 1: Prepare the Concrete Mix
Start by mixing the concrete according to the package instructions. Typically, this involves combining the concrete mix with water in a mixing bowl. Stir the mixture until it reaches a smooth, batter-like consistency.
Step 2: Pour into Molds
Once your concrete mixture is ready, carefully pour it into the silicone molds. Fill each mold to the desired thickness, keeping in mind that thicker trays will be sturdier but heavier.
Step 3: Allow to Set
Let the concrete sit in the molds for the recommended curing time, usually around 24 to 48 hours. Place the molds on a flat surface and avoid moving them to ensure even setting.
Step 4: Demold and Sand
After the concrete has fully set, gently remove the trays from the molds. Use sandpaper to smooth out any rough edges or surfaces.
Step 5: Seal the Trays (Optional)
If desired, apply a sealant to the trays to enhance their durability and give them a polished finish. This step is optional but recommended for added protection against moisture and stains.
Decorative Ideas for Your Concrete Trays
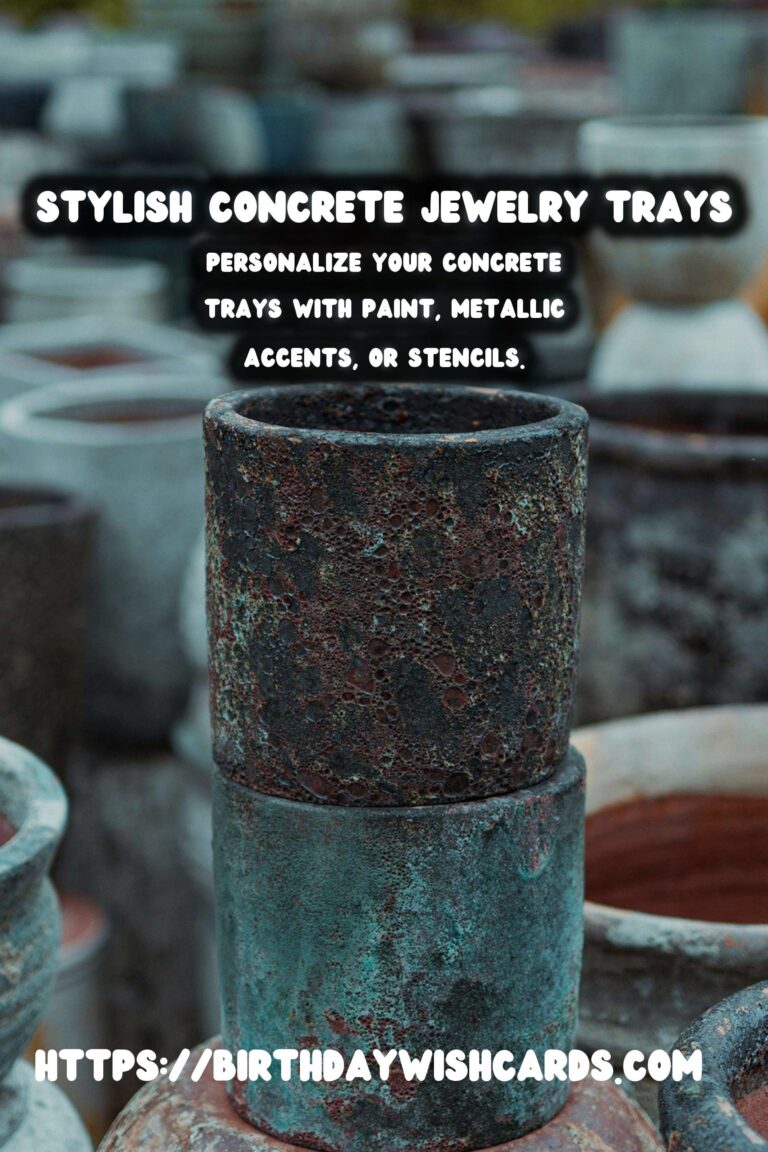
Once your concrete trays are complete, you can personalize them with various decorative techniques. Consider painting the trays in your favorite colors, adding metallic accents with gold or silver leaf, or using stencils to create intricate patterns. These decorative touches can transform your trays into stunning pieces that reflect your unique style.
Conclusion
Crafting DIY concrete trays for jewelry is a rewarding project that allows you to combine creativity with practicality. These trays not only provide a stylish solution for organizing your jewelry but also serve as beautiful decor items in their own right. Whether you’re a seasoned DIY enthusiast or a beginner looking for a new project, making concrete trays is a fun and fulfilling experience.
Concrete trays offer a unique blend of style and functionality for storing jewelry. Creating your own DIY concrete trays is a cost-effective and creative project. Concrete’s durability and neutral color make it ideal for jewelry trays. Gather materials like quick-setting concrete, silicone molds, and sandpaper for the project. Personalize your concrete trays with paint, metallic accents, or stencils. 





#DIY #ConcreteTrays #JewelryStorage #Crafting #HomeDecor


