
Concrete planters are an excellent way to add a modern and industrial touch to your home or garden. With the rise of DIY projects, creating your own concrete planters with geometric patterns has become an accessible and rewarding endeavor. In this guide, we will provide you with a detailed step-by-step process to craft your own unique planters.
Why Choose Concrete Planters?
Concrete planters are not only stylish but also durable and versatile. They withstand various weather conditions and provide a stable environment for plants. Additionally, the raw texture of concrete pairs beautifully with greenery, making it a favorite choice for many gardening enthusiasts.
Materials Needed
To create your DIY concrete planters, you will need the following materials:
- Concrete mix
- Water
- A mixing container
- Molds (silicone molds work best for geometric patterns)
- Vaseline or cooking spray
- Sandpaper
- Paint or sealant (optional)
Step-by-Step Instructions
Step 1: Prepare Your Workspace
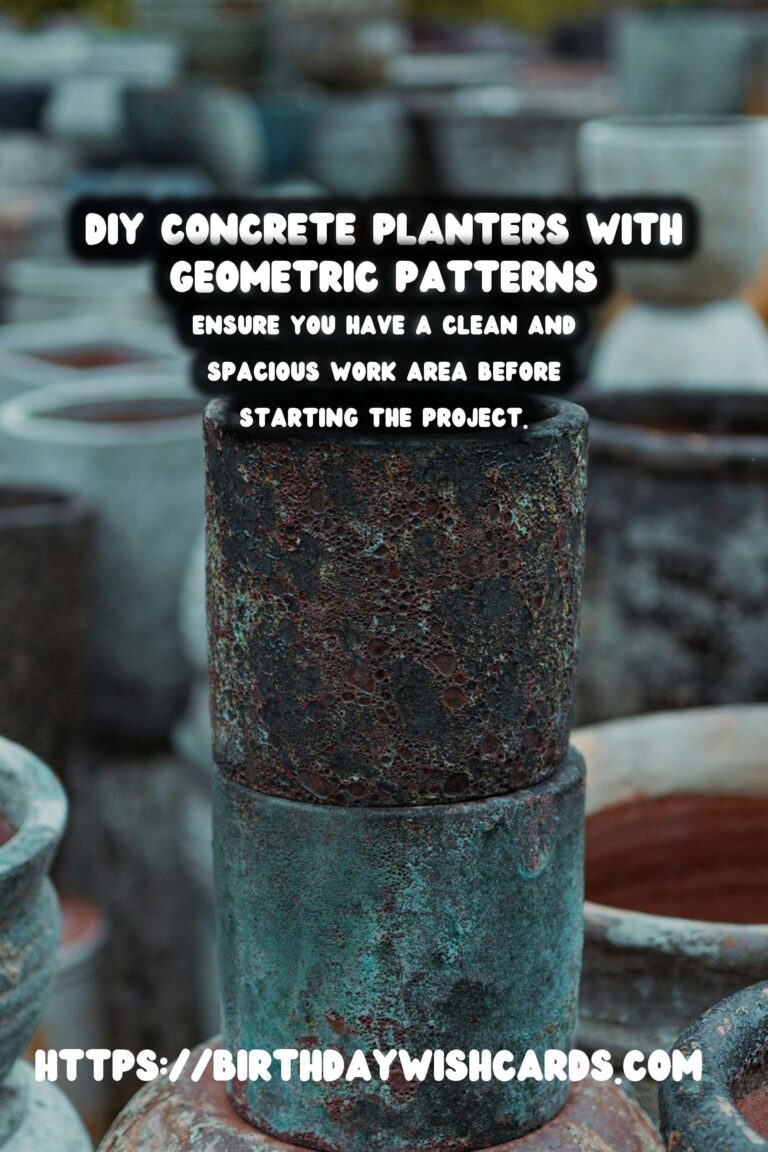
Before starting, ensure you have a clean and spacious work area. Lay down a protective sheet to catch any spills and gather all your materials in one place.
Step 2: Create the Concrete Mix
Follow the instructions on your concrete mix package. Generally, you will mix the concrete with water in a ratio specified by the manufacturer. Stir the mixture until it reaches a thick, pudding-like consistency.
Step 3: Prepare the Molds
Apply a thin layer of Vaseline or cooking spray inside your molds to ensure easy release once the concrete sets. This step is crucial for maintaining the geometric patterns.
Step 4: Pour the Concrete
Carefully pour the concrete mix into the molds. Gently tap the sides and bottom of the molds to remove any air bubbles that may have formed.
Step 5: Let It Cure
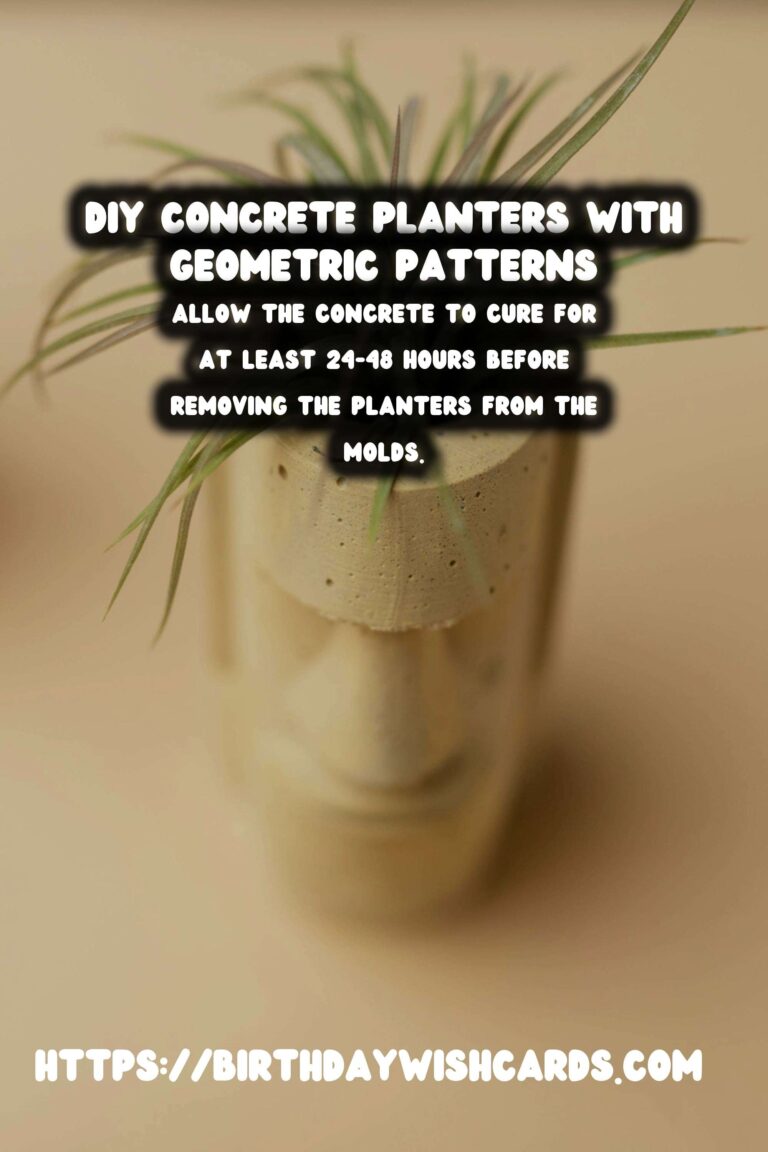
Allow the concrete to cure for at least 24-48 hours. The curing time may vary based on the size and thickness of your planters. Ensure they are kept in a dry, shaded place during this time.
Step 6: Remove the Planters from the Molds
Once cured, gently remove the planters from the molds. If you encounter resistance, carefully use sandpaper to smooth out any rough edges or imperfections.
Step 7: Add Finishing Touches
If desired, paint or seal your planters to enhance their appearance and longevity. Use a paintbrush or spray paint for even coverage.
Conclusion
Creating DIY concrete planters with geometric patterns is a fun and satisfying project that adds a personal touch to your decor. With the right materials and patience, you can craft beautiful and durable planters that will last for years to come.
Start experimenting with different shapes and designs to create a collection that reflects your style!
Concrete planters are durable and stylish, perfect for adding a modern touch to any space. Creating your own concrete planters with geometric patterns is an accessible and rewarding DIY project. Ensure you have a clean and spacious work area before starting the project. Properly preparing your molds is crucial for maintaining the geometric patterns. Allow the concrete to cure for at least 24-48 hours before removing the planters from the molds. 


#DIY #ConcretePlanters #GeometricPatterns #HomeDecor #Gardening


