
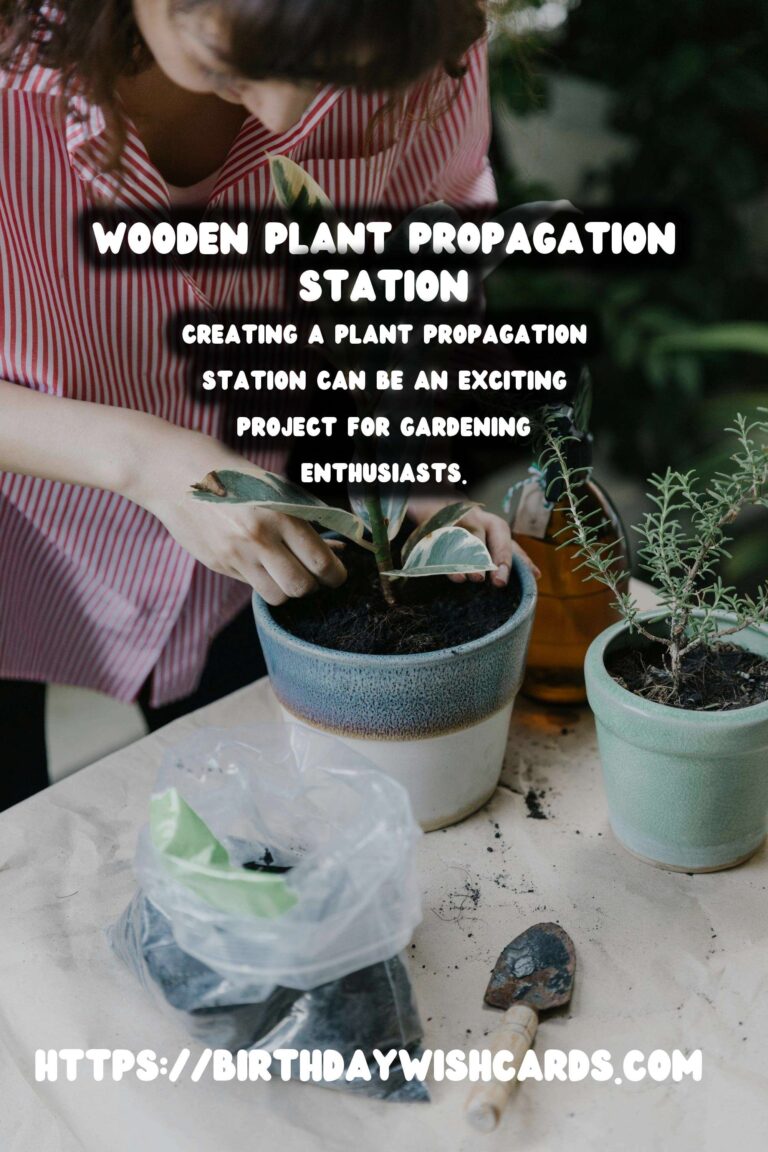
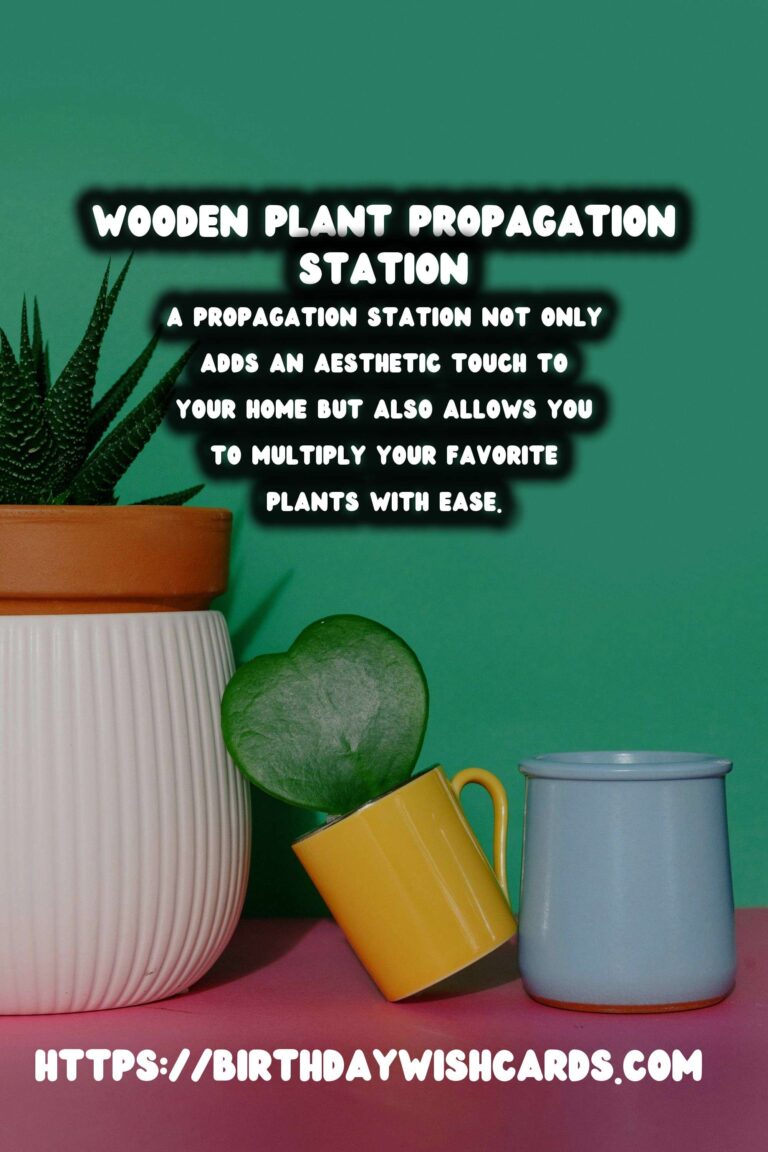
Creating a plant propagation station can be an exciting project for gardening enthusiasts. A propagation station not only adds an aesthetic touch to your home but also allows you to multiply your favorite plants with ease. In this article, we will guide you through building a stylish and functional DIY wooden plant propagation station using glass vials.
Why Create a Plant Propagation Station?
Propagation stations are perfect for those who wish to grow new plants from cuttings. By using a simple setup, you can observe the rooting process, ensuring the health of your new plants. A wooden propagation station with glass vials offers a natural and elegant way of displaying your propagating cuttings, making it a wonderful addition to any room.
Materials Needed
To create your DIY wooden plant propagation station, gather the following materials:
- A wooden board (reclaimed wood is an eco-friendly option)
- Glass vials (test tubes or small bottles)
- Drill and drill bits
- Sandpaper
- Wood stain or paint (optional)
- Measuring tape
- Pencil
- Ruler
Step-by-Step Instructions
Step 1: Prepare Your Wooden Board
Start by selecting a suitable wooden board. Consider the size and number of glass vials you plan to use. Sand the board’s surface and edges to remove any roughness. You may choose to stain or paint the wood to match your home decor.
Step 2: Measure and Mark
Using a measuring tape, mark the spots where you want the vials to be placed. Ensure the spacing is even and allows each plant cutting ample room to grow. Use a pencil and ruler to create precise markings.
Step 3: Drill Holes
Carefully drill holes at each marked spot. The holes should be slightly smaller than the diameter of your glass vials to secure them firmly. Be cautious not to drill all the way through the board.
Step 4: Insert Glass Vials
Once the holes are ready, insert the glass vials into them. Ensure they fit snugly and are leveled. Adjust as needed to prevent any wobbling.
Step 5: Add Plant Cuttings
Fill each vial with water and place your plant cuttings inside. Choose cuttings with healthy stems and a few leaves. Make sure the nodes are submerged in water to encourage root growth.
Tips for Successful Plant Propagation
Here are some tips to ensure successful propagation:
- Use clean, sharp scissors or a knife to make cuttings.
- Change the water in the vials regularly.
- Place the propagation station in a spot with indirect sunlight.
- Monitor for root growth and transplant cuttings once they are ready.
Display and Maintenance
Your DIY wooden plant propagation station can be displayed on a windowsill, bookshelf, or any spot that receives adequate light. Regularly check the water levels and cleanliness of the vials to maintain a healthy environment for your plant cuttings.
Conclusion
Building a DIY wooden plant propagation station is an enjoyable and rewarding project. With just a few materials and some creativity, you can create a beautiful and functional piece that showcases your plant-growing skills. Not only will it enhance your home’s decor, but it will also provide endless opportunities to expand your indoor garden.
A propagation station not only adds an aesthetic touch to your home but also allows you to multiply your favorite plants with ease. Creating a plant propagation station can be an exciting project for gardening enthusiasts. A wooden propagation station with glass vials offers a natural and elegant way of displaying your propagating cuttings. Propagation stations are perfect for those who wish to grow new plants from cuttings. Building a DIY wooden plant propagation station is an enjoyable and rewarding project. 

#DIY #PlantPropagation #HomeGardening #Woodworking #GlassVials