
Having an organized desk is essential for maintaining productivity and focus. One of the easiest and most stylish ways to achieve this is by using concrete trays. Not only are they durable, but they also add a modern aesthetic to any workspace. In this comprehensive guide, we’ll walk you through the steps to create your own DIY concrete trays for desk organization.
Materials Needed
Before you start, gather the following materials:
- Concrete mix
- Water
- A mixing container
- Tray molds (silicone molds work best)
- Sandpaper
- Sealant
- Paint and brushes (optional)
Step-by-Step Guide
Step 1: Prepare the Concrete Mix
Start by preparing the concrete mix. Follow the instructions on the packaging to get the right consistency. Typically, you’ll need to mix the concrete with water until it reaches a pancake batter-like consistency. Make sure there are no lumps to ensure a smooth finish.
Step 2: Pour into Molds
Once your mix is ready, carefully pour it into the tray molds. Tap the molds gently to release any air bubbles. This step is crucial to prevent any holes or gaps in your final product.
Step 3: Let it Cure
Allow the concrete to cure for at least 24 hours. Depending on the type of concrete mix, curing time can vary, so refer to the manufacturer’s instructions. Do not rush this process as it ensures the strength and durability of your trays.
Step 4: Remove and Sand
Once the concrete has fully cured, carefully remove the trays from the molds. Use sandpaper to smooth out any rough edges. This will give your trays a polished look and make them safe to handle.
Step 5: Seal and Decorate
Apply a sealant to prevent any moisture damage and to give your trays a nice sheen. If you wish, you can also paint your trays to match your desk decor. Use acrylic paint for vibrant colors and patterns.
Tips for Success
Here are a few tips to ensure your DIY concrete trays turn out perfectly:
- Use high-quality concrete mix for better durability.
- Experiment with different mold shapes and sizes to create unique designs.
- Consider embedding small items like shells or stones in the concrete for added texture and interest.
Conclusion
Creating your own DIY concrete trays is not only cost-effective but also a fun and creative project. These trays will help keep your desk organized while adding a touch of style. Whether you’re looking to store pens, clips, or other office supplies, these trays are a versatile solution for any workspace.
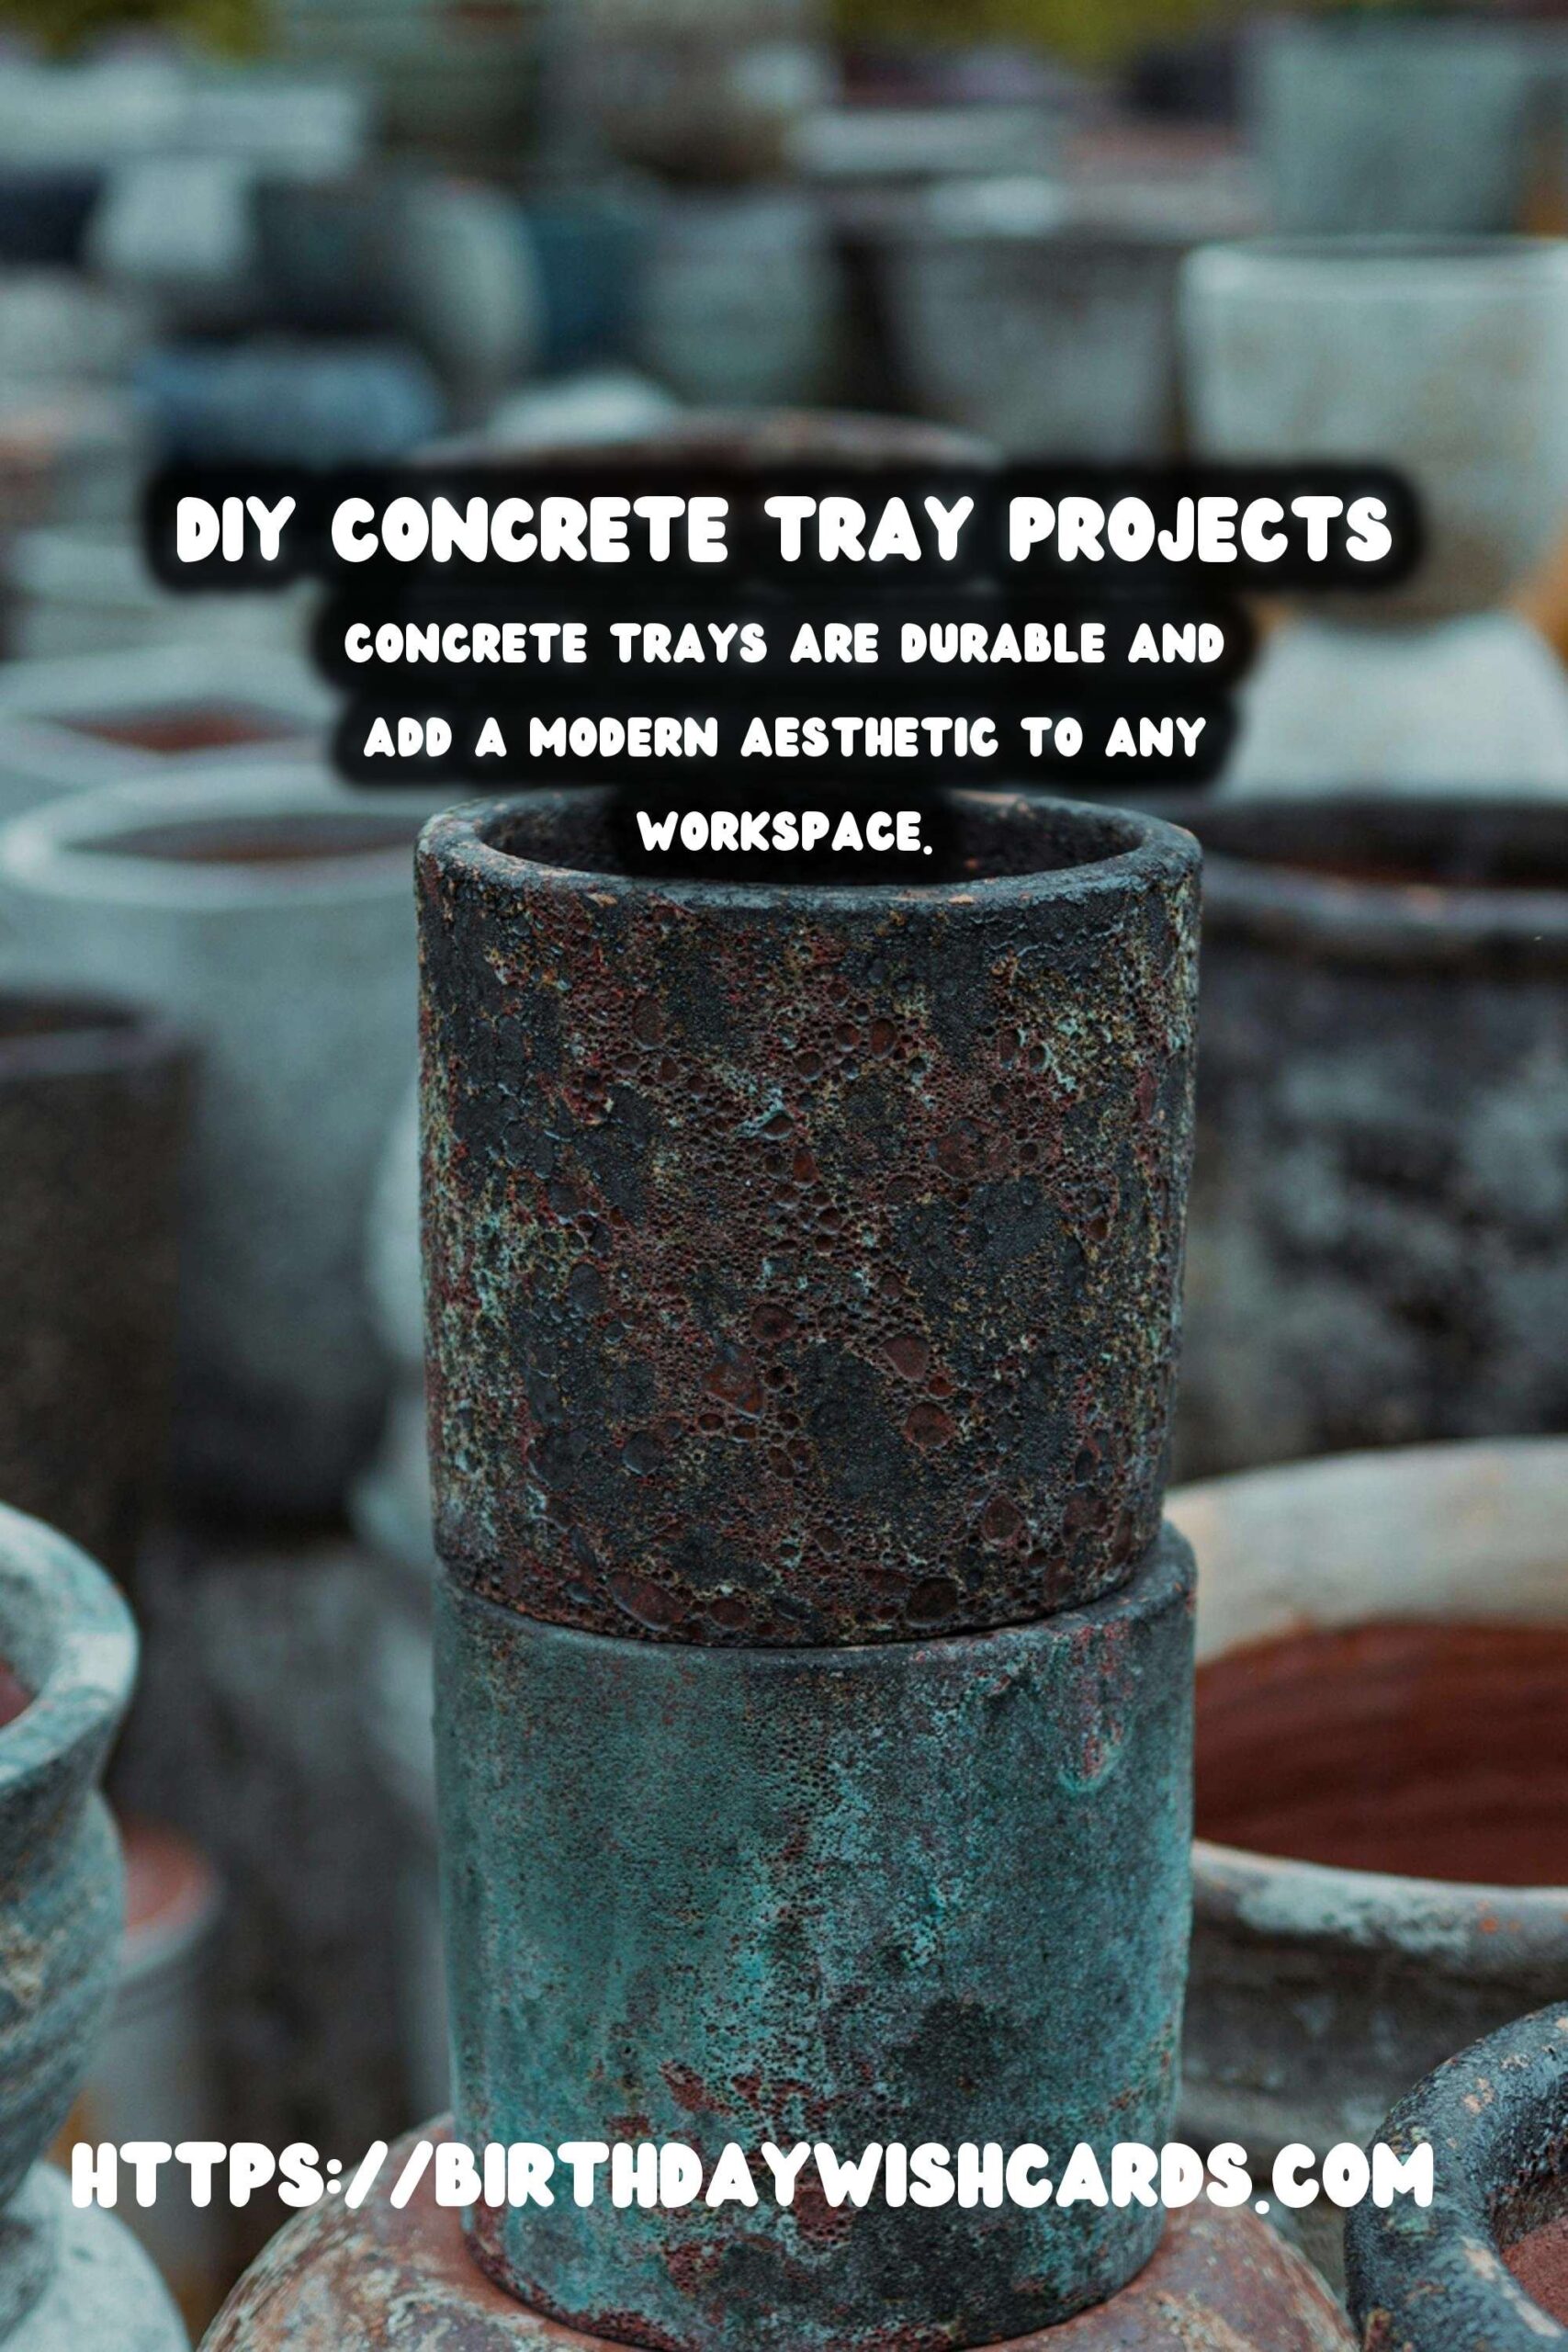
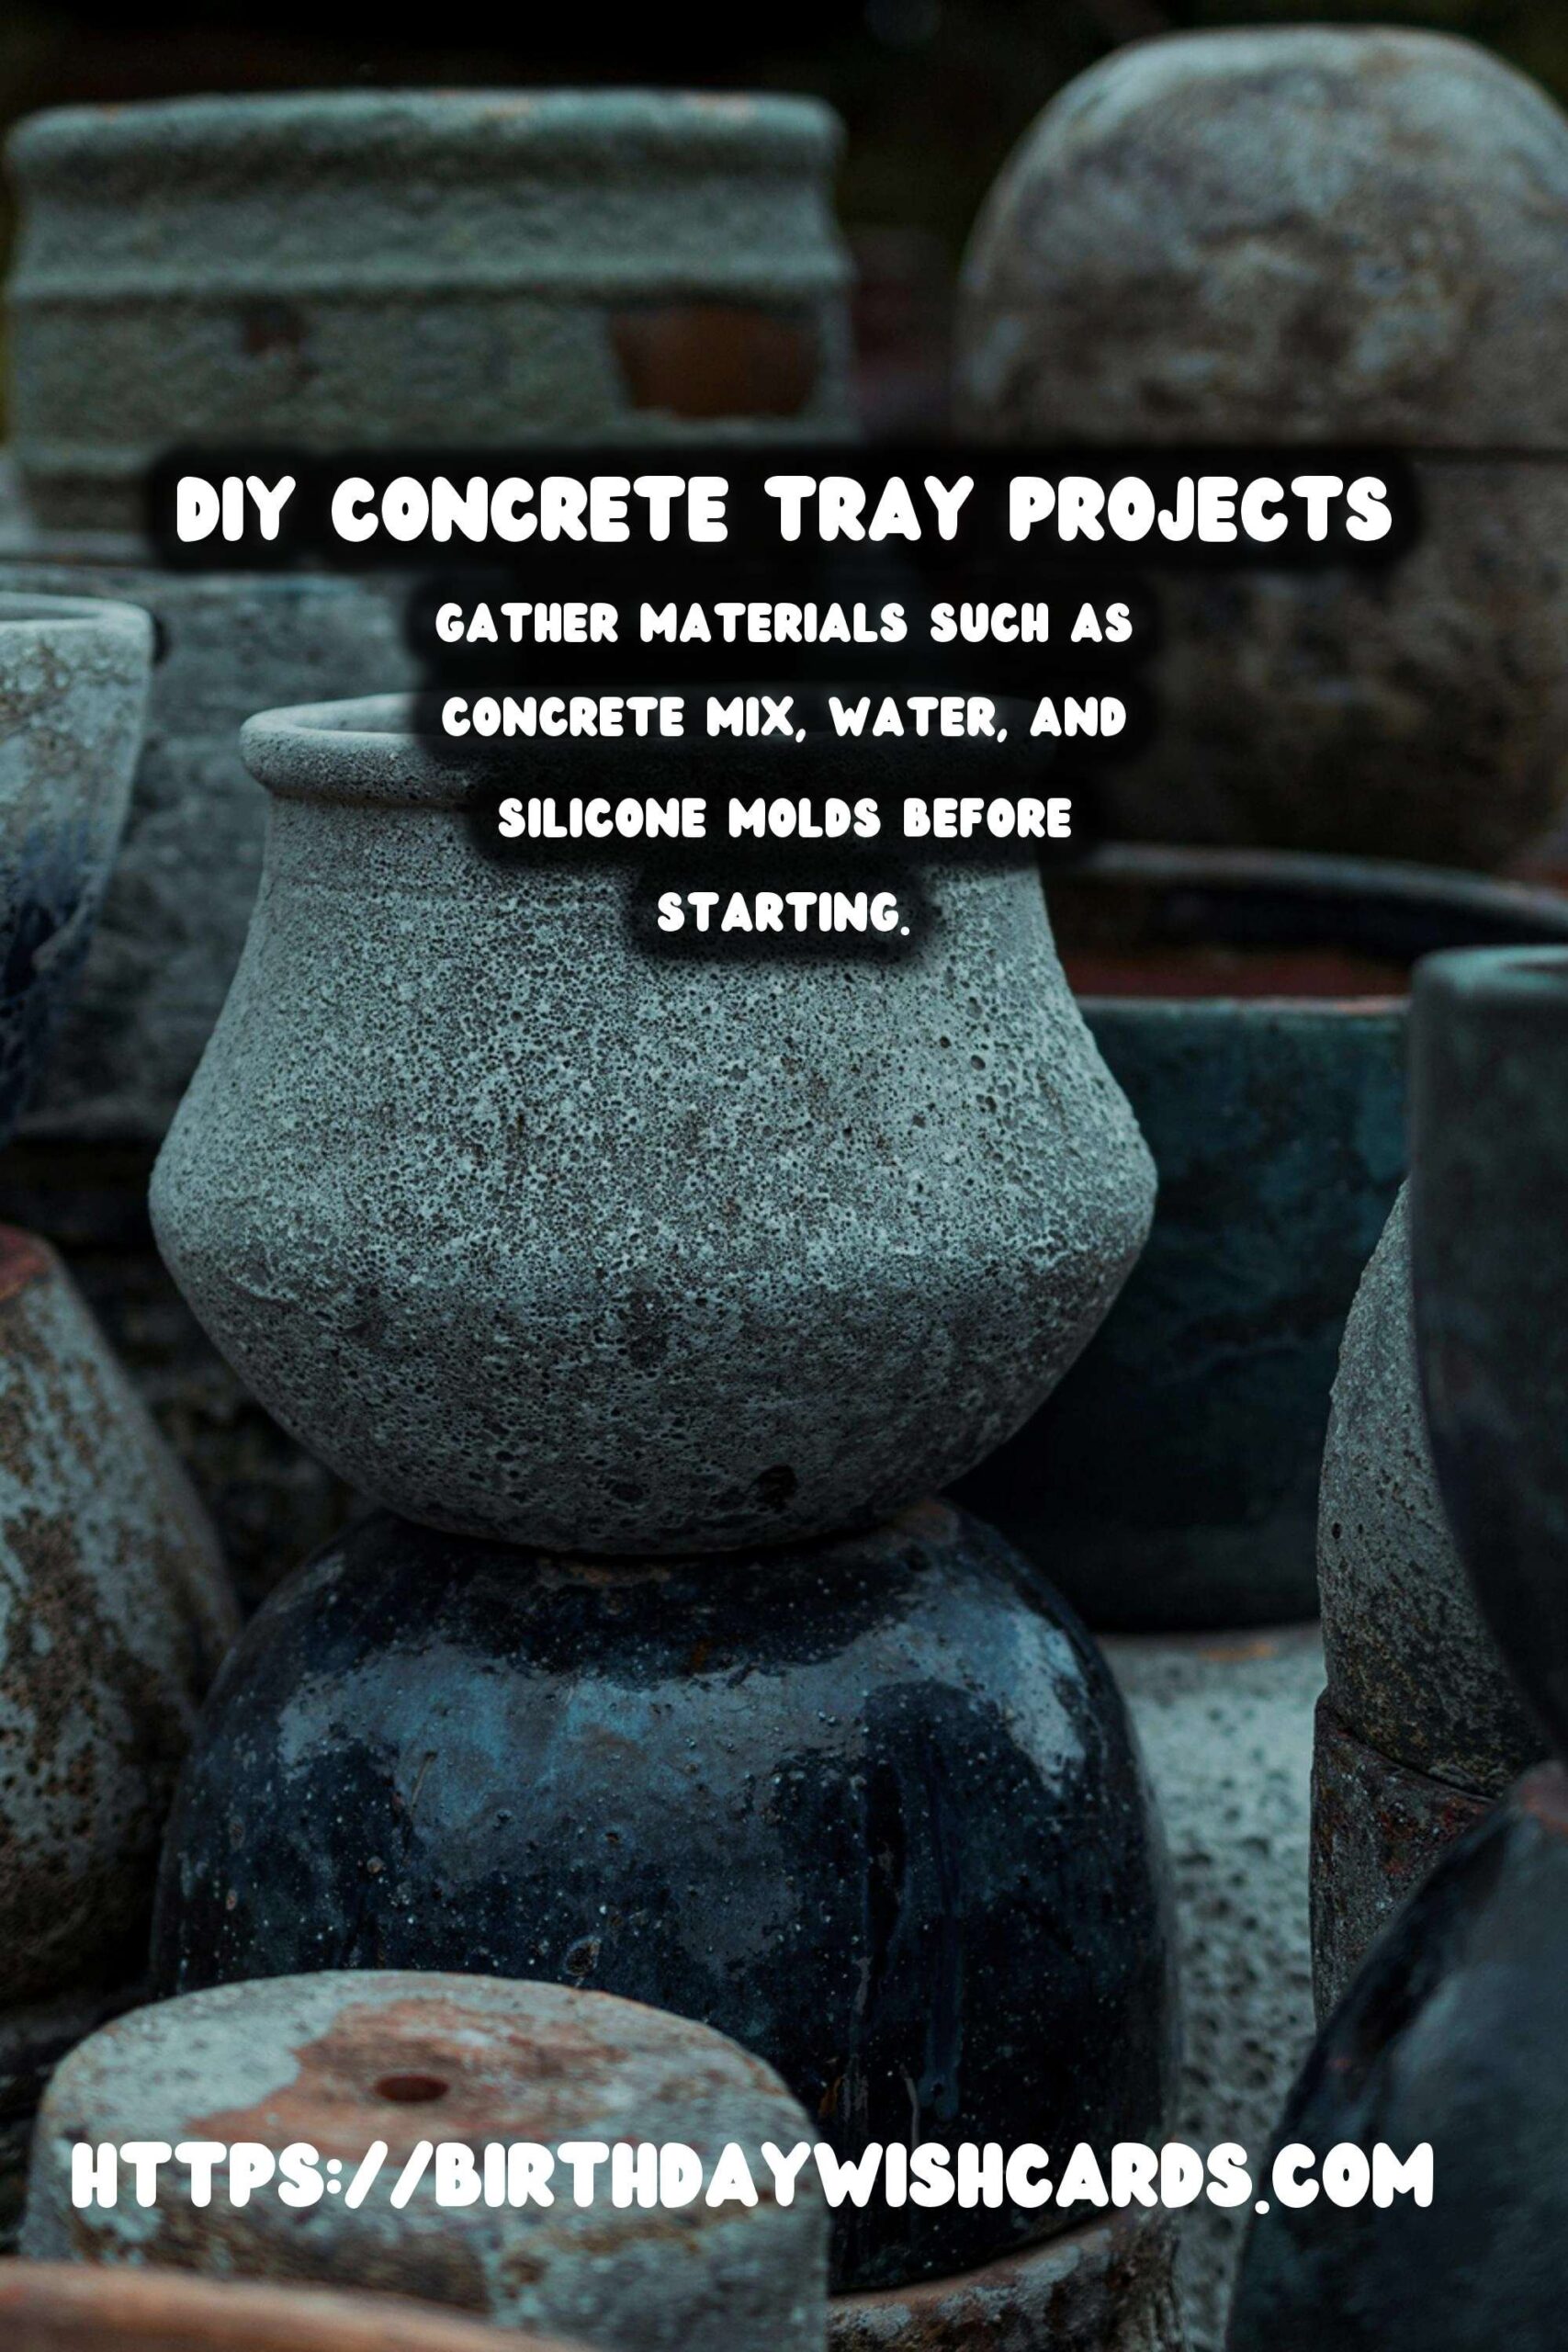
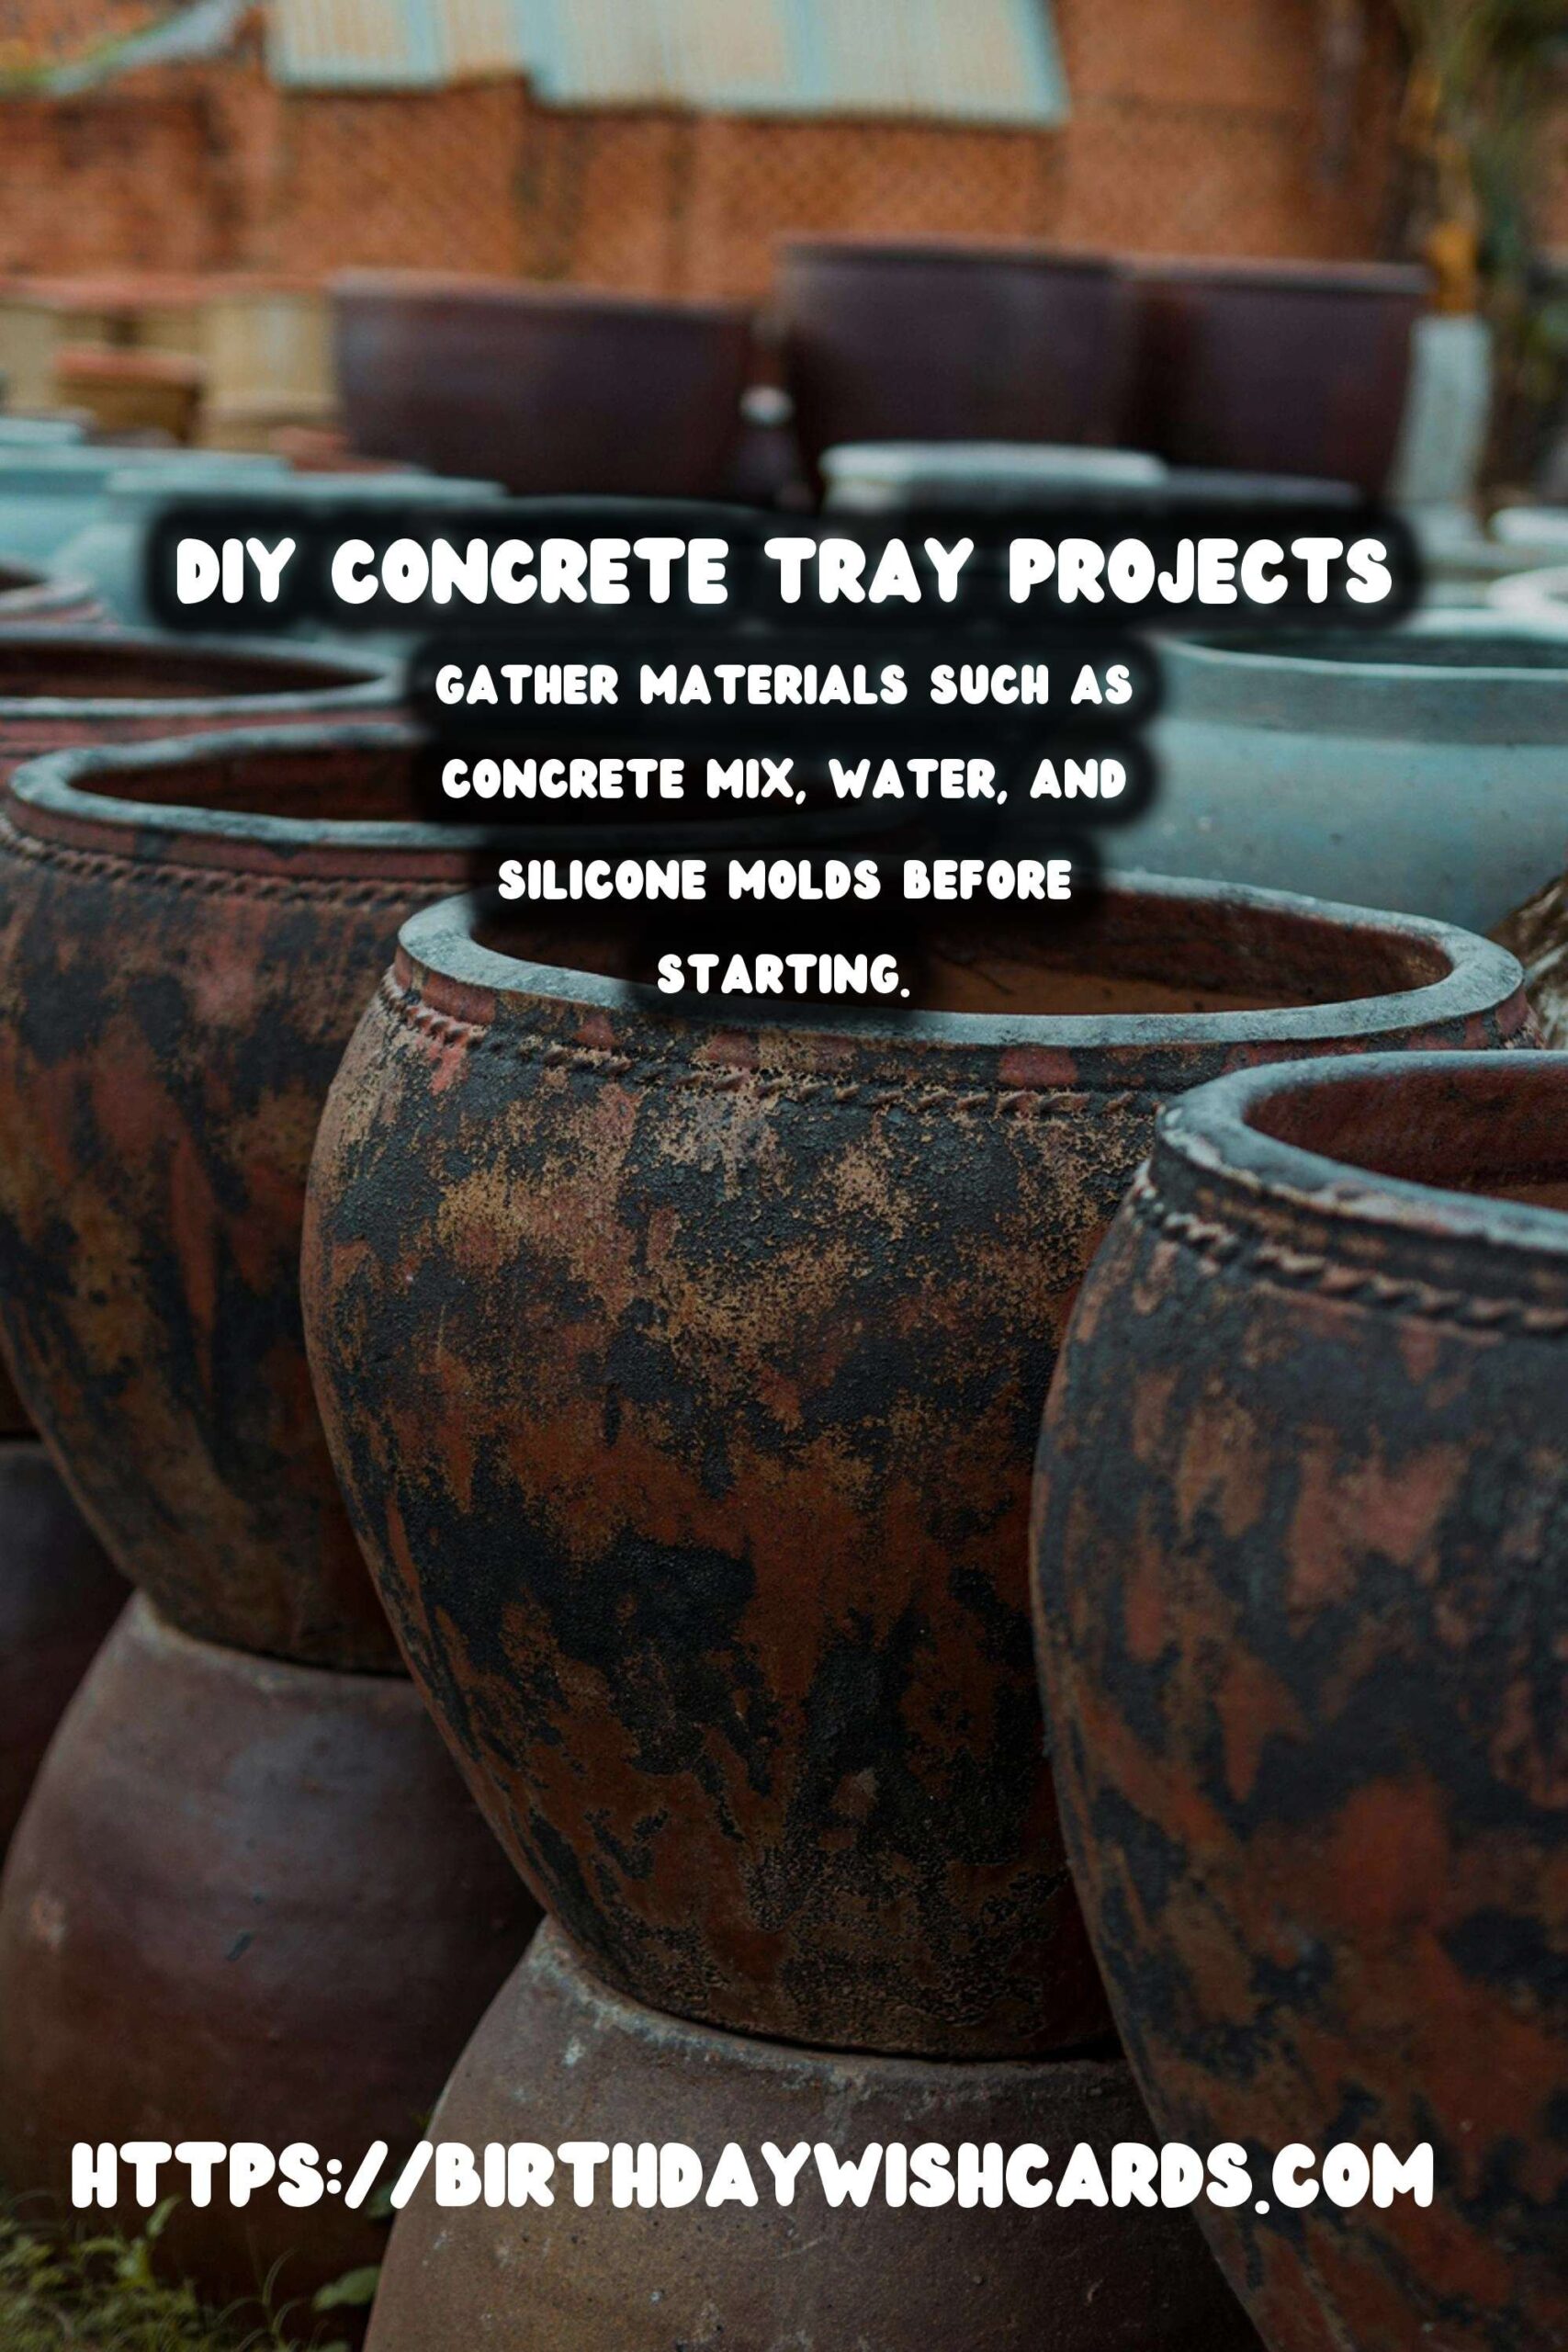
Having an organized desk is essential for maintaining productivity and focus. Concrete trays are durable and add a modern aesthetic to any workspace. Gather materials such as concrete mix, water, and silicone molds before starting. Prepare the concrete mix to a pancake batter-like consistency for best results. Allow the concrete to cure for at least 24 hours to ensure strength and durability. Apply a sealant to prevent moisture damage and add a sheen to your trays. 





#DIY #ConcreteTrays #DeskOrganization #HomeImprovement #Crafts


