Are you tired of losing your keys or cluttering your entryway with random items? A wall-mounted key holder with a shelf can be the perfect solution. Not only does it help organize your space, but it also adds a touch of style to your home decor. In this comprehensive guide, we will walk you through the process of creating your own DIY wall-mounted key holder with a shelf.
Why Build a DIY Wall Mounted Key Holder?
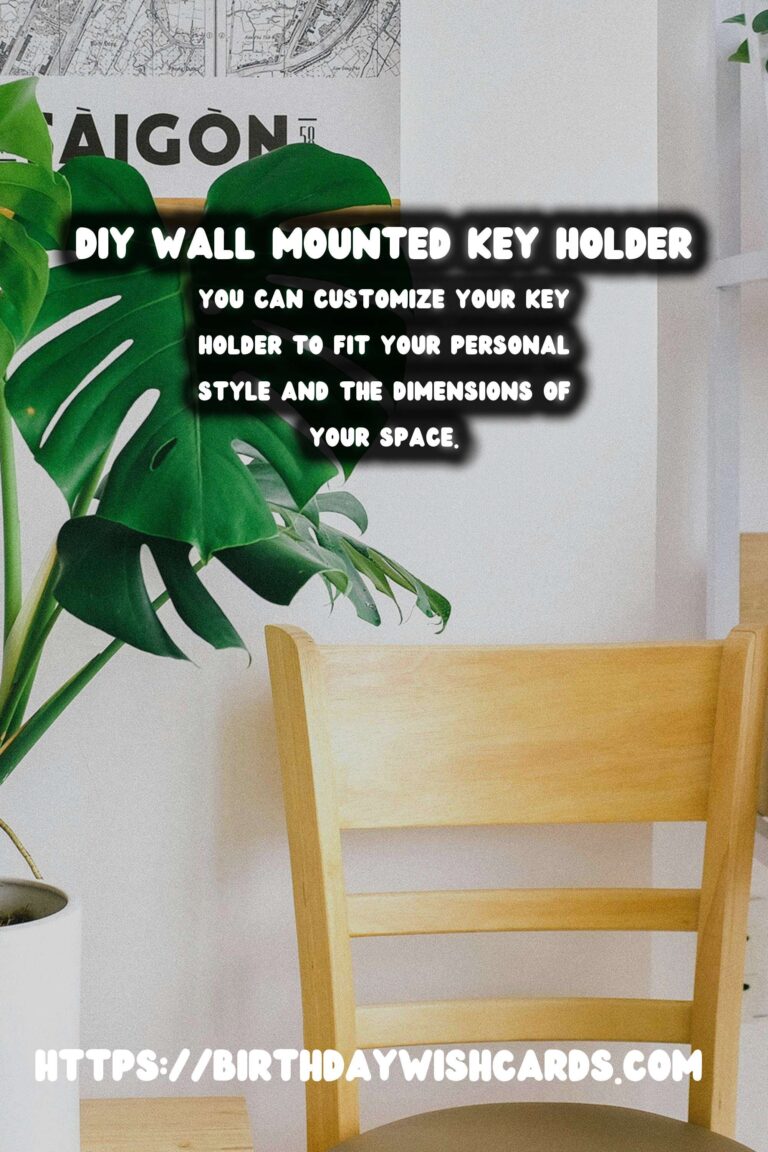
Building a DIY wall-mounted key holder with a shelf offers numerous benefits. First, it provides a designated spot for your keys, reducing the likelihood of misplacing them. Second, the additional shelf space can be used for placing small decorative items, mail, or other essentials. Lastly, crafting your own key holder allows you to customize it to fit your personal style and the dimensions of your space.
Materials and Tools Needed
To get started, you will need the following materials and tools:
- Wooden board (size depending on your preference)
- Wood stain or paint
- Sandpaper
- Hooks for keys
- Brackets for the shelf
- Screws and wall anchors
- Drill
- Measuring tape
- Level
- Paintbrush or cloth (if staining)
- Saw (if cutting wood to size)
Step-by-Step Instructions
Step 1: Prepare the Wood
Start by cutting your wooden board to the desired size for your key holder and shelf. Sand down any rough edges to ensure a smooth finish. If you prefer a rustic look, you can leave the wood slightly rough.
Step 2: Stain or Paint the Wood
Once the wood is prepared, apply your chosen stain or paint. Using a paintbrush or a cloth, evenly coat the wood and allow it to dry completely. This step allows you to match the key holder with your existing decor.
Step 3: Attach Hooks and Brackets
After the wood has dried, it’s time to attach the hooks for the keys. Measure and mark the positions where you want the hooks to be placed. Drill small pilot holes before screwing in the hooks to avoid splitting the wood.
Next, attach the brackets to the back of the wood where you want the shelf to be. Ensure that they are level and secure them with screws.
Step 4: Install the Key Holder
Choose a suitable location for your key holder. Using a level, mark the spots where the screws will go into the wall. Drill holes and insert wall anchors if necessary. Secure the key holder to the wall using screws, ensuring it is level.
Tips for Personalizing Your Key Holder
For a personalized touch, consider adding decorative elements such as stencils or decals to the wood. You can also use a variety of hook designs to fit your personal taste.
Conclusion
Creating a DIY wall-mounted key holder with a shelf is a rewarding project that enhances both the functionality and aesthetic of your home. With a few materials and some simple steps, you can craft a unique piece that keeps your space organized and stylish.
A wall-mounted key holder with a shelf can help organize your space and add style to your home decor. Building a DIY key holder offers benefits like reducing the likelihood of misplacing keys and providing additional shelf space. You can customize your key holder to fit your personal style and the dimensions of your space. The key holder can be personalized with decorative elements like stencils or decals. 

#DIY #HomeDecor #KeyHolder #Organization #Crafting