Chalk paint has revolutionized the world of furniture makeovers, offering a unique matte finish that adds a vintage charm to any piece. Whether you’re a seasoned DIY enthusiast or a beginner looking to breathe new life into your furniture, chalk paint is an approachable and versatile choice. In this comprehensive guide, we’ll explore the benefits of using chalk paint, step-by-step instructions for application, and creative ideas to inspire your next project.
What is Chalk Paint?
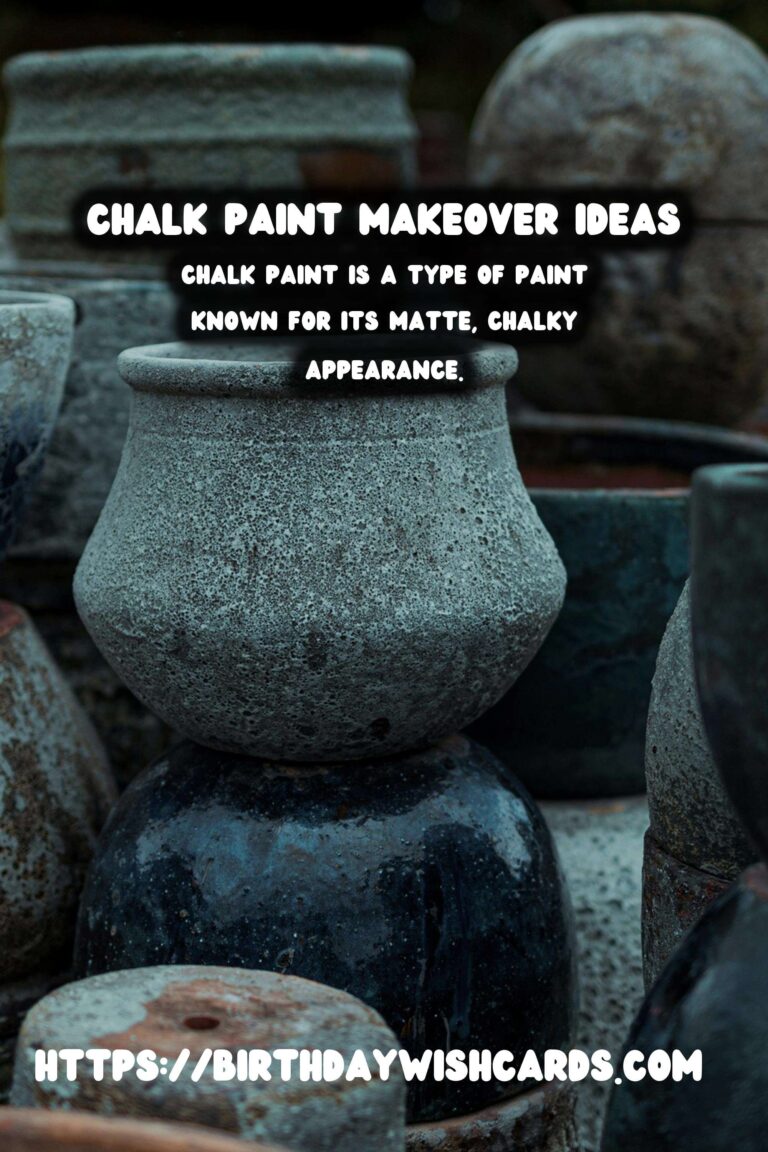
Chalk paint is a type of paint known for its matte, chalky appearance. It was developed by Annie Sloan in the early 1990s and has since gained popularity due to its ease of use and distinctive finish. Unlike traditional paints, chalk paint requires minimal preparation, making it an ideal choice for those who want to skip the tedious work of sanding and priming.
Benefits of Using Chalk Paint
One of the main benefits of chalk paint is its versatility. It can be used on a variety of surfaces including wood, metal, glass, and even fabric. This makes it perfect for a range of furniture makeover projects. Additionally, chalk paint dries quickly and is easy to distress, allowing you to create that desirable shabby chic look effortlessly.
Essential Supplies for Chalk Paint Projects
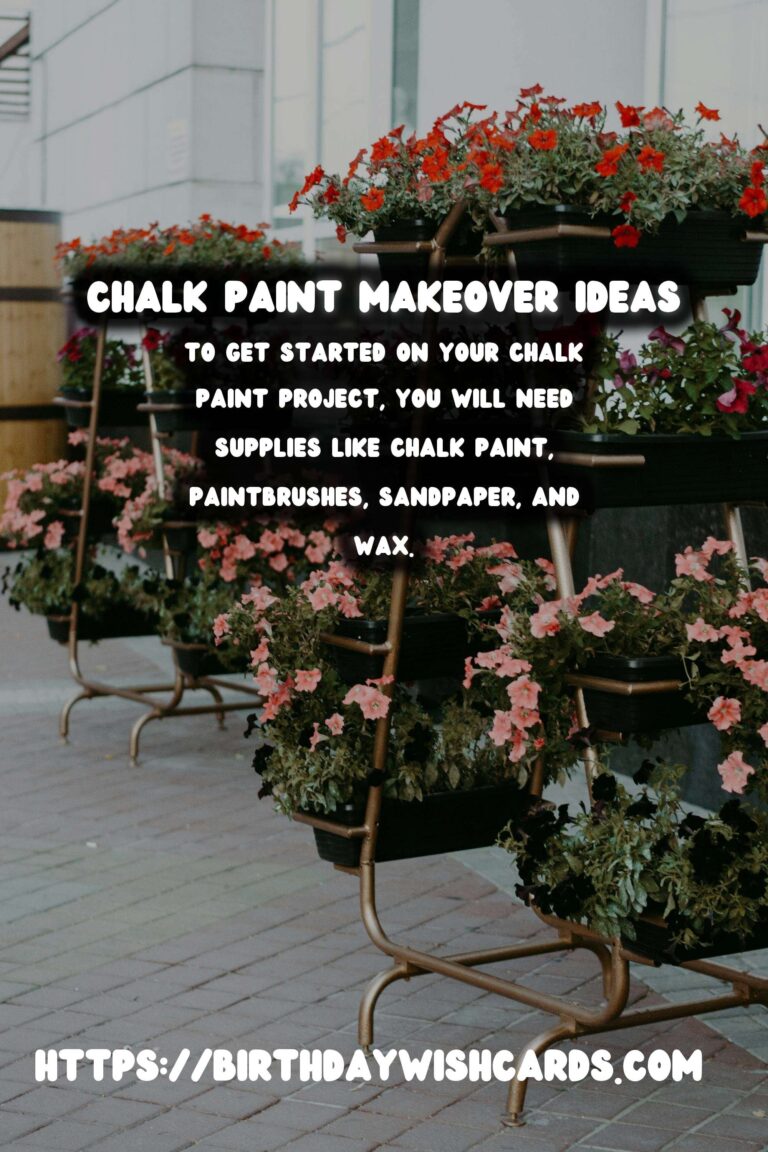
To get started on your chalk paint project, you will need the following supplies:
- Chalk paint in your chosen color
- Paintbrushes or foam rollers
- Sandpaper (optional for distressing)
- Wax or sealant for finishing
- Drop cloths and painter’s tape
Step-by-Step Guide to Using Chalk Paint
Step 1: Prepare Your Furniture
Before applying chalk paint, clean your furniture thoroughly to remove any dirt or grease. Use a damp cloth and mild detergent if necessary. Once clean, let it dry completely.
Step 2: Apply the Chalk Paint
Begin by stirring the paint thoroughly. Apply a thin coat of chalk paint using a brush or roller, covering all surfaces evenly. Allow the first coat to dry for about 30 minutes to an hour before applying a second coat if needed.
Step 3: Distress Your Furniture (Optional)
If you want a distressed look, use sandpaper to gently sand the edges and corners of your furniture after the paint has dried completely. This will give it a worn, vintage appearance.
Step 4: Seal the Paint
To protect your newly painted furniture, apply a wax or sealant. This will enhance the durability of the paint and give it a subtle sheen. Use a brush or cloth to apply the wax, then buff it with a clean cloth for a smooth finish.
Creative Ideas for Chalk Paint Makeovers
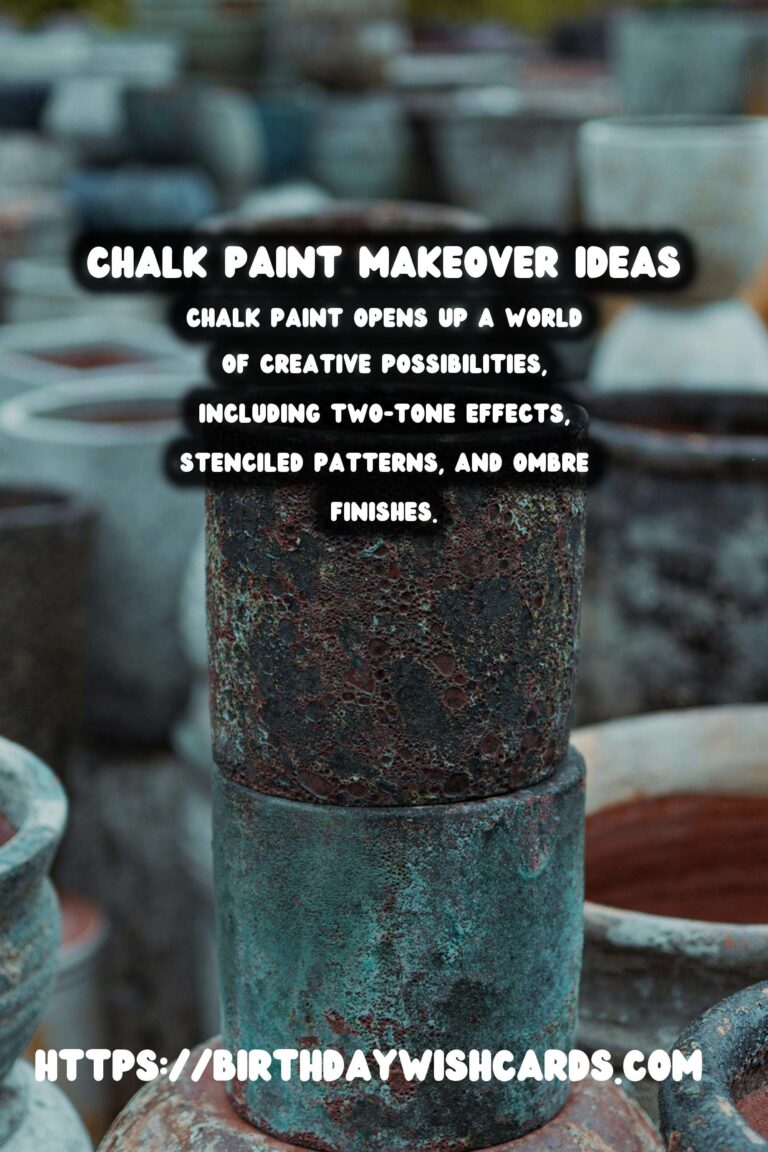
Chalk paint opens up a world of creative possibilities. Here are some ideas to inspire your next project:
- Two-Tone Effect: Use two contrasting colors of chalk paint to create a striking two-tone effect on dressers or cabinets.
- Stenciled Patterns: Add a personalized touch by using stencils to paint intricate designs on tabletops or drawer fronts.
- Ombre Finish: Experiment with an ombre effect by blending multiple shades of chalk paint for a gradient look.
Maintaining Your Chalk Painted Furniture
Once your furniture makeover is complete, it’s important to maintain its appearance. Clean your chalk painted furniture with a damp cloth and avoid harsh chemicals that can damage the finish. Reapply wax as needed to keep the surface protected and looking fresh.
Conclusion
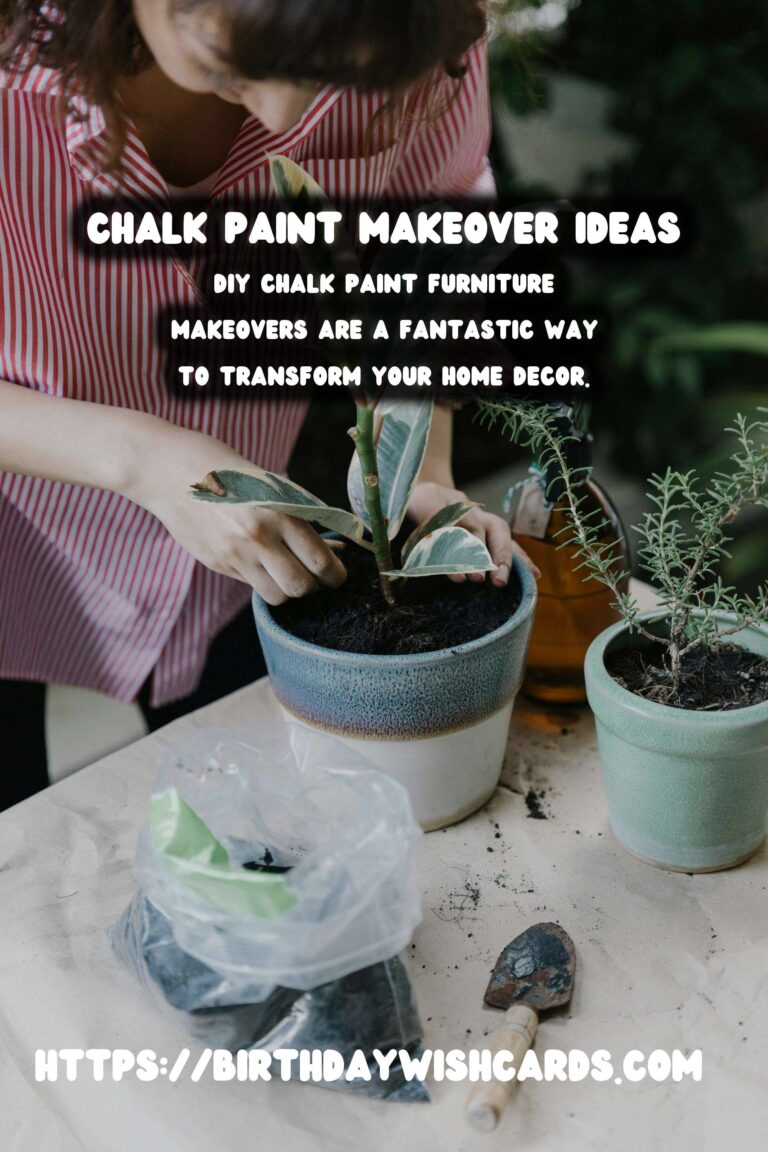
DIY chalk paint furniture makeovers are a fantastic way to transform your home decor. With minimal preparation and endless creative options, chalk paint is an excellent choice for any DIY enthusiast. Whether you’re updating a single piece or revamping an entire room, the possibilities are endless with chalk paint.
Chalk paint is a type of paint known for its matte, chalky appearance. One of the main benefits of chalk paint is its versatility, making it perfect for a range of furniture makeover projects. To get started on your chalk paint project, you will need supplies like chalk paint, paintbrushes, sandpaper, and wax. DIY chalk paint furniture makeovers are a fantastic way to transform your home decor. Chalk paint opens up a world of creative possibilities, including two-tone effects, stenciled patterns, and ombre finishes. 
#DIY #ChalkPaint #FurnitureMakeover #HomeDecor