
Creating your own concrete bookends is a fun and rewarding project that adds a personalized touch to your home or office. This guide will walk you through the process of making DIY concrete bookends, providing tips, tools, and techniques to achieve professional-looking results.
What You Will Need
Before you begin, gather the following materials and tools:
- Quick-setting concrete mix
- Water
- Mixing container
- Stirring stick
- Bookend molds (silicone molds are recommended)
- Sandpaper (medium and fine grit)
- Protective gloves
- Protective eyewear
- Optional: Paints or sealants for finishing
Step 1: Prepare Your Workspace
Start by preparing a clean and organized workspace. Cover the area with a plastic sheet or newspaper to catch any spills. Make sure your molds are clean and dry before use.
Step 2: Mix the Concrete
Follow the instructions on the concrete mix package to combine the concrete with water in your mixing container. Stir the mixture thoroughly until you achieve a uniform consistency. Aim for a texture similar to thick pancake batter.
Step 3: Pour the Concrete into Molds
Carefully pour the mixed concrete into your bookend molds. Tap the sides of the molds gently to release any air bubbles trapped within the mixture. This step is crucial for ensuring a smooth finish on your bookends.
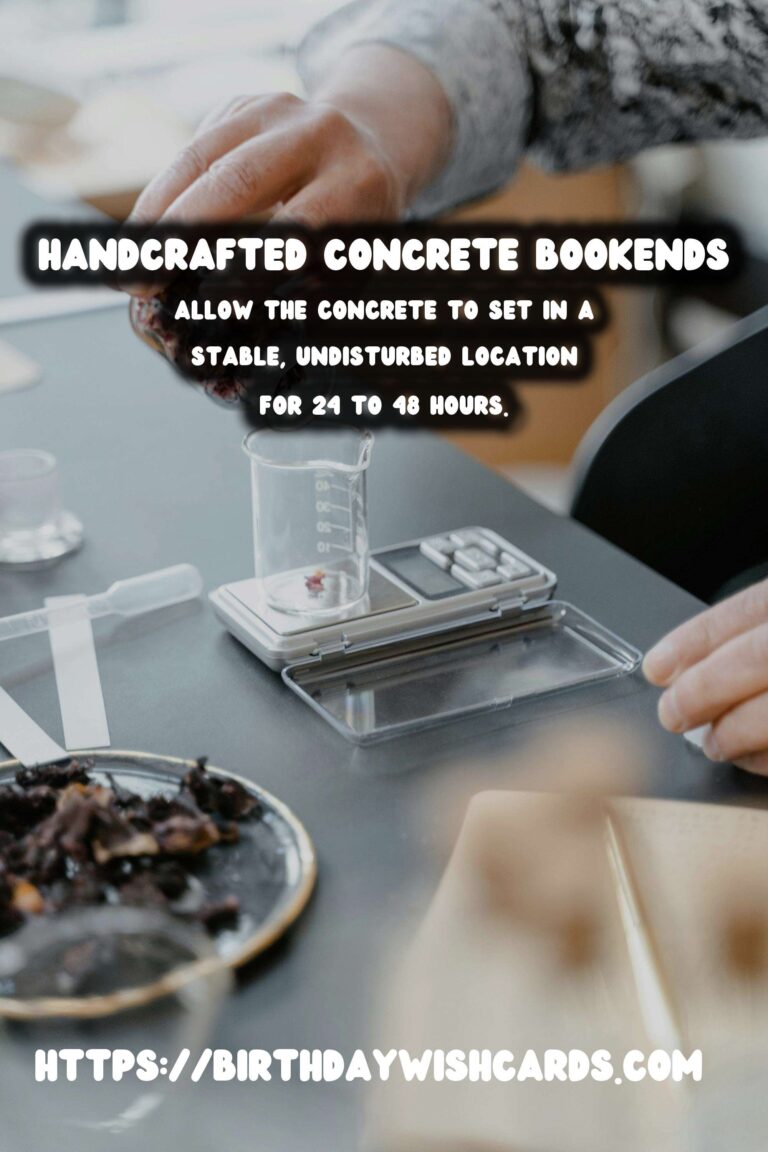
Step 4: Allow the Concrete to Set
Leave the concrete to cure for the time specified on the package instructions, typically 24 to 48 hours. Ensure the molds are placed in a stable, undisturbed location during this period.
Step 5: Remove the Bookends from the Molds
Once the concrete has fully set, carefully remove the bookends from the molds. If using silicone molds, gently flex the mold to release the bookends without damaging them.
Step 6: Sand the Bookends
Use medium-grit sandpaper to smooth any rough edges or surfaces on the bookends. Follow up with fine-grit sandpaper for a polished finish. Wear protective gloves and a mask to avoid inhaling dust particles.
Step 7: Finish with Paint or Sealant
Optionally, you can paint or seal your concrete bookends to enhance their appearance and durability. Use acrylic paints for vibrant colors or sealants for a natural look. Allow any finishes to dry thoroughly before use.
Conclusion
DIY concrete bookends are a fantastic project for anyone looking to add a unique and functional element to their decor. With minimal materials and a bit of creativity, you can craft bookends that reflect your personal style and creativity. Enjoy your new creations and the sense of accomplishment that comes with them!
Creating your own concrete bookends is a fun and rewarding project. Gather necessary materials like quick-setting concrete mix and bookend molds. Mix the concrete to a pancake-like consistency and pour it into molds. Allow the concrete to set in a stable, undisturbed location for 24 to 48 hours. Gently remove the bookends from the molds and sand them for a smooth finish. Optionally, paint or seal the bookends to enhance their appearance. 


#DIY #ConcreteCrafts #Bookends #HomeDecor #Crafting