

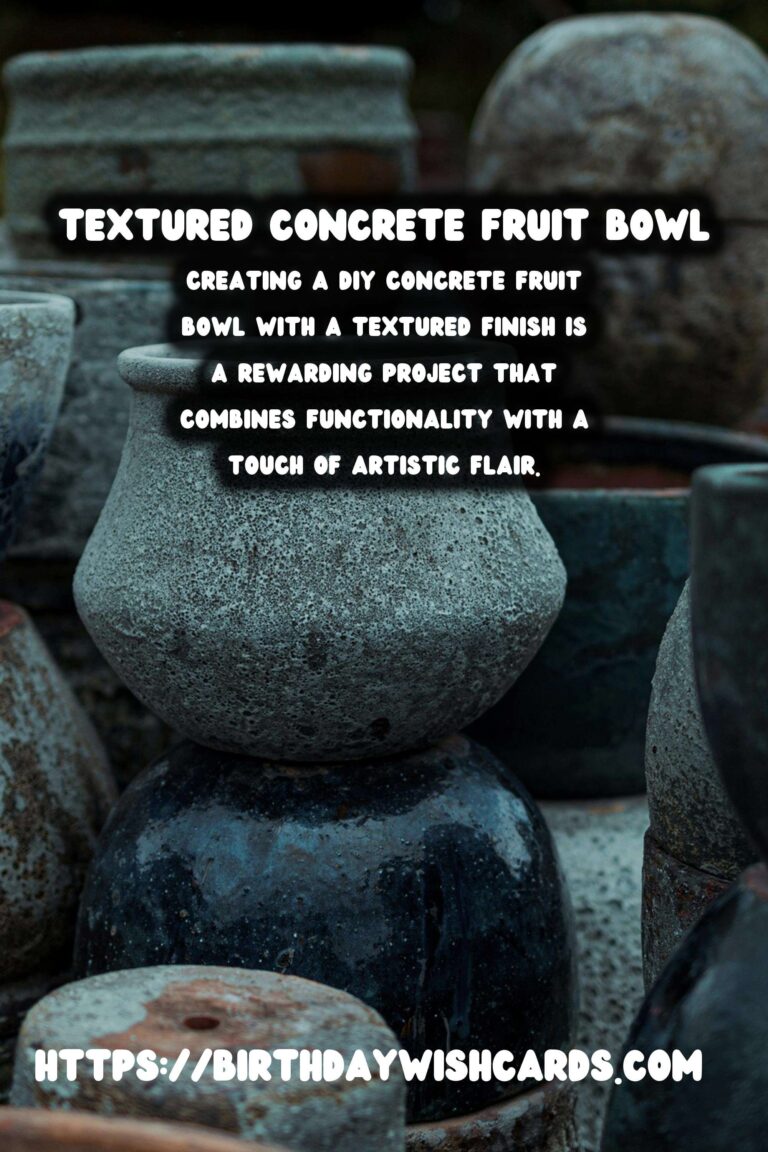
Creating a DIY concrete fruit bowl with a textured finish is a rewarding project that combines functionality with a touch of artistic flair. Whether you’re looking to add a rustic accent to your kitchen décor or seeking a unique gift idea, a textured concrete fruit bowl can be an excellent choice. In this article, we will guide you through the step-by-step process to create your own textured concrete fruit bowl.
Materials Needed
Before starting your DIY project, gather the following materials:
- Concrete mix
- Water
- Mixing container
- Stirring stick
- Two bowls for molds (one larger, one smaller)
- Plastic wrap
- Sandpaper (various grits)
- Paintbrush
- Acrylic sealer
Step-by-Step Instructions
Step 1: Prepare the Molds
Select two bowls that will serve as the molds for your fruit bowl. The larger bowl will be the outer mold, and the smaller bowl will create the inner cavity. Line both bowls with plastic wrap to prevent the concrete from sticking.
Step 2: Mix the Concrete
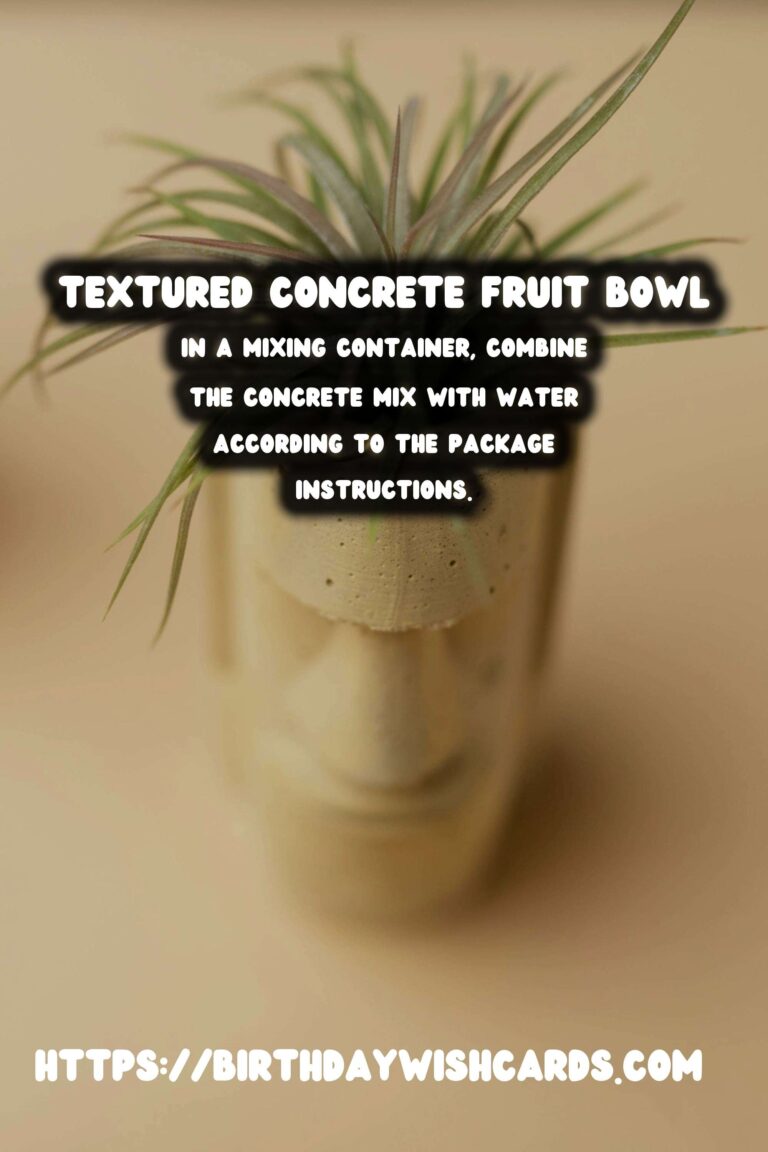
In a mixing container, combine the concrete mix with water according to the package instructions. Stir the mixture thoroughly with a stirring stick until you achieve a smooth, paste-like consistency.
Step 3: Create the Textured Finish
To add texture to your fruit bowl, you can use various techniques. Consider using a textured roller, a sponge, or even your fingers to create a unique pattern on the inner surface of the larger bowl. Be creative and experiment with different textures to achieve your desired look.
Step 4: Pour the Concrete
Pour the mixed concrete into the larger bowl mold. Press the smaller bowl into the concrete to form the cavity of the fruit bowl. Apply gentle pressure to ensure the smaller bowl is centered and even.
Step 5: Let It Cure
Allow the concrete to cure for at least 24 to 48 hours. Keep it in a cool, dry place, and avoid disturbing it during this time to ensure the bowl sets properly.
Step 6: Remove the Mold
Once the concrete has cured, carefully remove the smaller bowl by lifting it out. Peel away the plastic wrap from both the inner and outer surfaces of the concrete bowl.
Step 7: Smooth the Edges
Using sandpaper, smooth the edges of the bowl to remove any rough areas. Start with a coarser grit and gradually move to a finer grit for a polished finish.
Step 8: Seal the Bowl
Apply an acrylic sealer to the surface of the bowl using a paintbrush. This will protect the concrete and enhance the appearance of the textured finish. Allow the sealer to dry completely before using the bowl.
Conclusion
Creating a DIY concrete fruit bowl with a textured finish is a straightforward project that offers endless creative possibilities. With just a few materials and some patience, you can craft a beautiful and functional piece that adds charm to any space. Whether used for holding fruit or as a decorative piece, your handmade bowl is sure to be a conversation starter.
Creating a DIY concrete fruit bowl with a textured finish is a rewarding project that combines functionality with a touch of artistic flair. Select two bowls that will serve as the molds for your fruit bowl. In a mixing container, combine the concrete mix with water according to the package instructions. To add texture to your fruit bowl, you can use various techniques. Allow the concrete to cure for at least 24 to 48 hours. Using sandpaper, smooth the edges of the bowl to remove any rough areas. Apply an acrylic sealer to the surface of the bowl using a paintbrush. 
#DIY #ConcreteCrafts #HomeDecor #Crafting #TexturedFinish #FruitBowl