Concrete plant stands are not only functional but also add an industrial chic element to any space. By creating your own DIY concrete plant stands with a geometric base, you can customize the design to fit your aesthetic preferences and the needs of your plants. This guide will take you through each step of the process, from gathering materials to the final touches.
Materials Needed
To get started on your DIY concrete plant stand project, you will need the following materials:
- Quick-setting concrete mix
- Water
- Mixing bucket
- Stirring stick
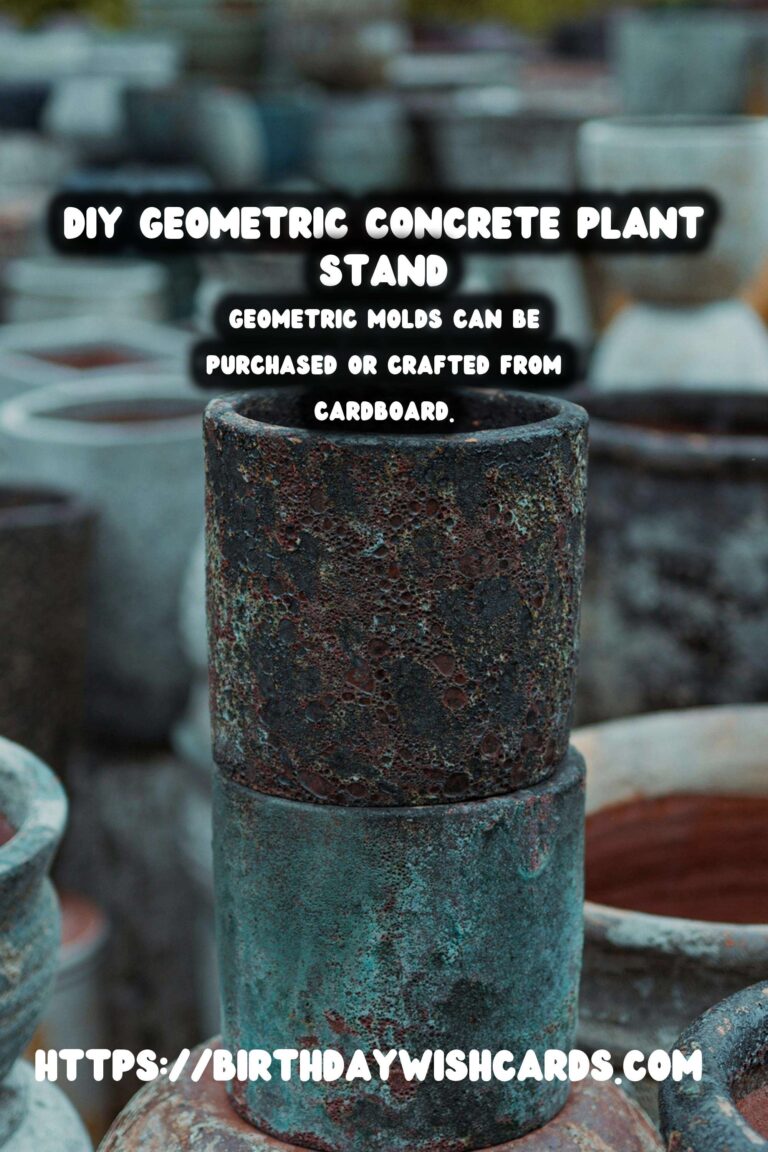
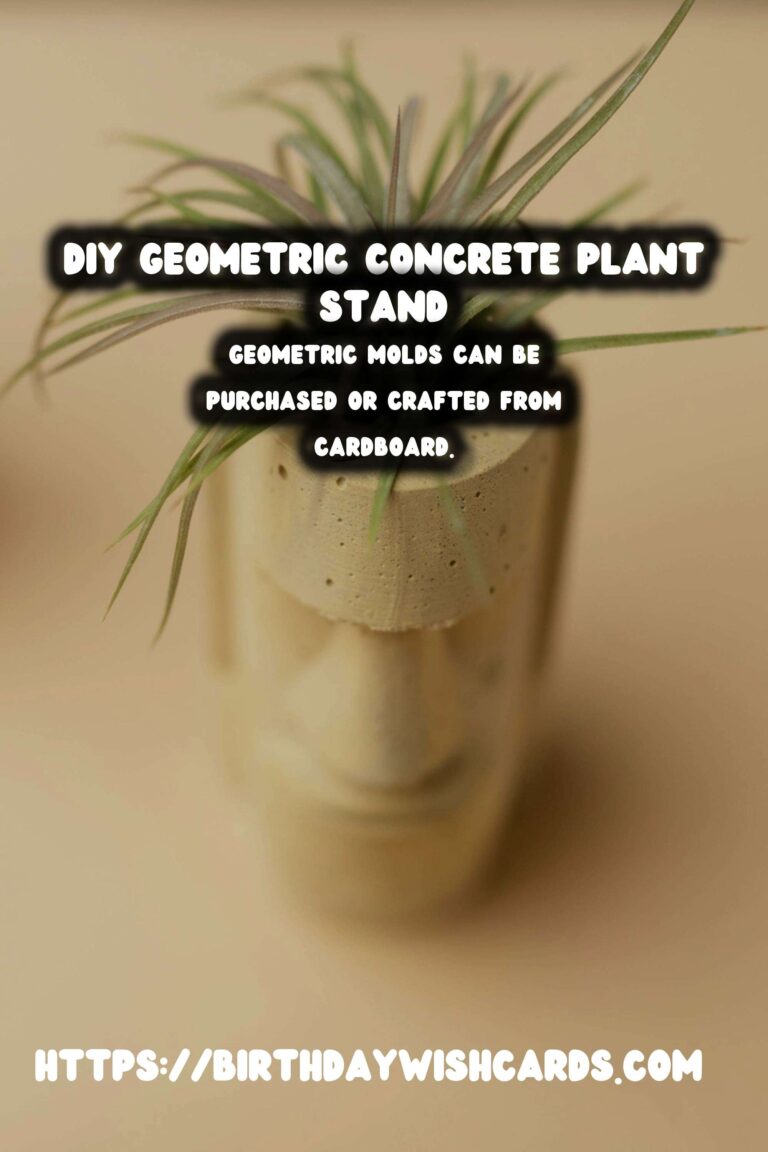
- Plastic geometric molds (or DIY cardboard molds)
- Sandpaper
- Concrete sealant
- Painter’s tape
- Paint and brushes (optional for decoration)
Step-by-Step Instructions
Step 1: Prepare the Molds
Begin by selecting or creating your geometric molds. Plastic molds are available online or at craft stores, but you can also make custom molds using cardboard. Ensure that the molds are sturdy enough to hold the concrete mixture.
Step 2: Mix the Concrete
In your mixing bucket, combine the quick-setting concrete mix with water according to the package instructions. Stir thoroughly using a stirring stick until the mixture is smooth and free of lumps. The consistency should be similar to thick pancake batter.
Step 3: Pour the Concrete
Carefully pour the concrete mixture into the prepared molds. Tap the sides of the molds gently to release any air bubbles and to ensure the concrete fills all corners of the mold.
Step 4: Let the Concrete Set
Allow the concrete to set for the recommended time on the package. Typically, this can range from a few hours to overnight. Be patient and avoid moving the molds during this time to prevent cracks or uneven surfaces.
Step 5: Remove the Molds
Once the concrete is fully set, carefully remove the molds. If you used cardboard molds, you might need to peel them away rather than lifting. Sand any rough edges with sandpaper for a smooth finish.
Step 6: Seal and Decorate
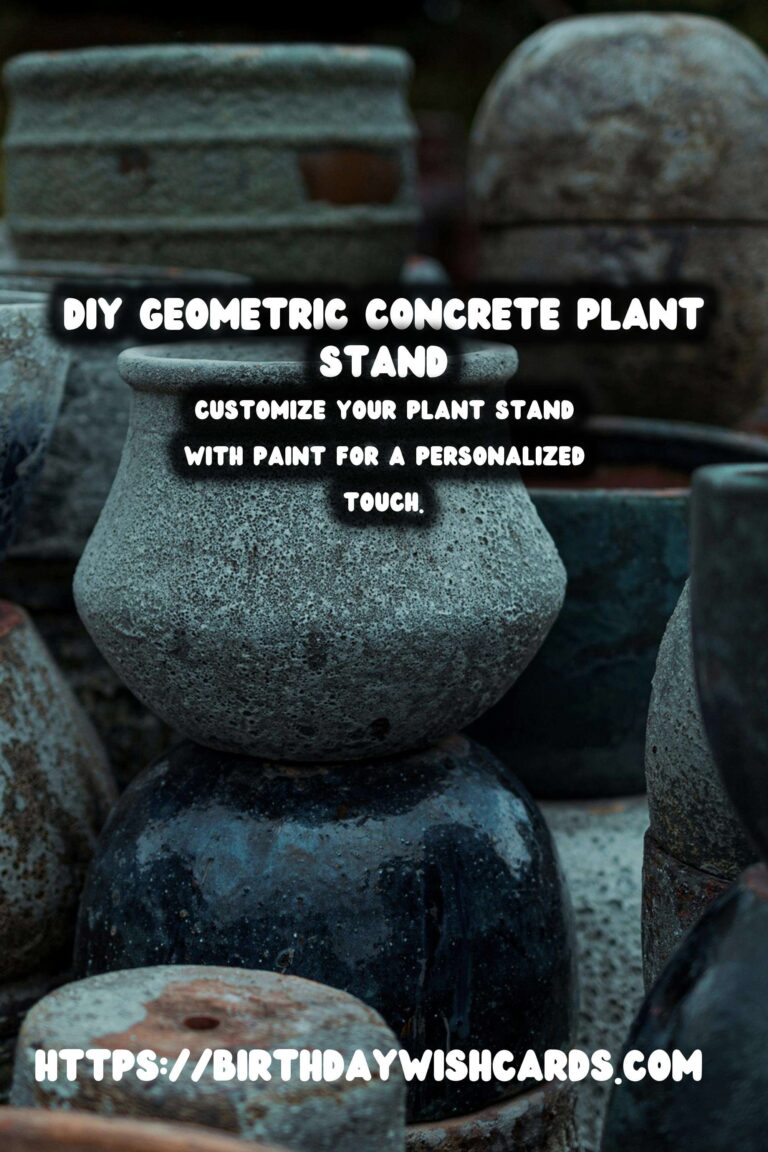
Apply a concrete sealant to protect the surface from moisture and staining. If desired, use painter’s tape to create geometric patterns and paint sections of the stand for a personalized touch. Allow the paint and sealant to dry completely.
Step 7: Display Your Plant Stand
Your DIY concrete plant stand with a geometric base is now ready to hold your favorite plants. Place it in your desired location and enjoy the stylish addition to your home or garden.
Conclusion
Creating your own concrete plant stands is a rewarding project that combines creativity with functionality. By following these steps, you can make a unique and durable piece that enhances your plant display and adds a modern touch to your decor.
Concrete plant stands add an industrial chic element to any space. Geometric molds can be purchased or crafted from cardboard. Mix the concrete to a consistency similar to thick pancake batter. Allow the concrete to set for the recommended time to avoid cracks. Apply a sealant to protect the concrete from moisture and staining. Customize your plant stand with paint for a personalized touch. 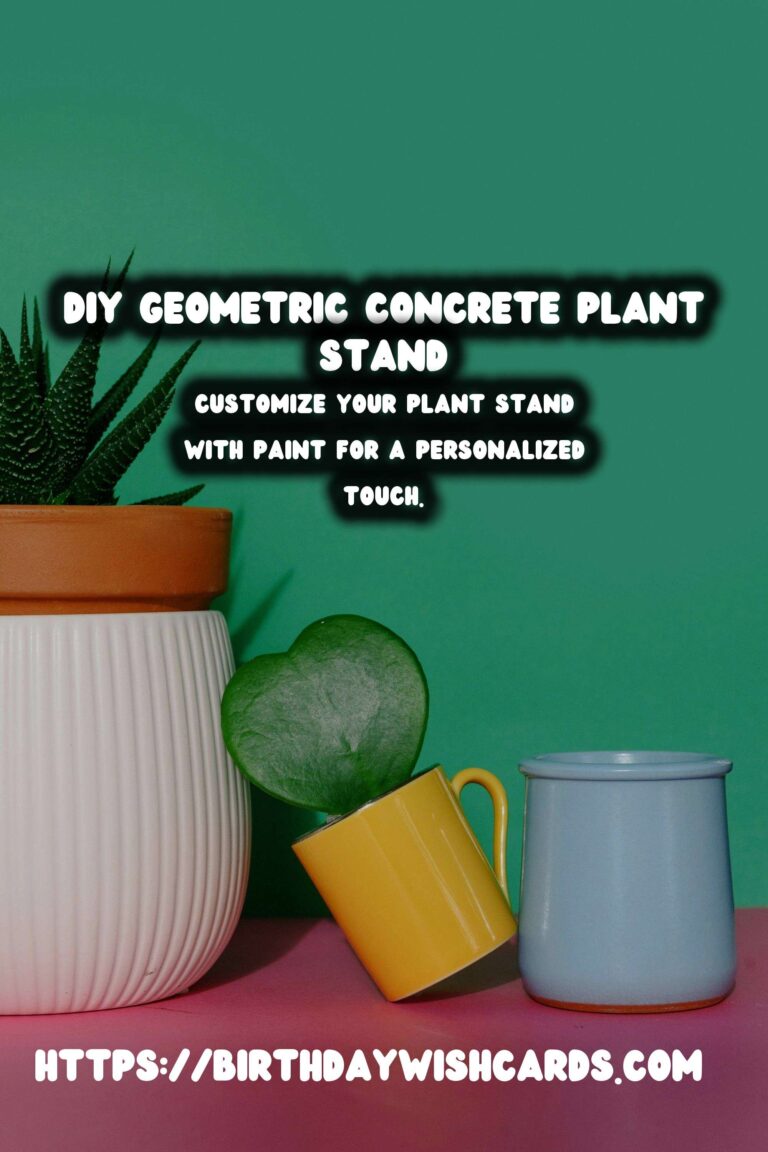


#DIY #ConcreteProjects #PlantStands #HomeDecor #GeometricDesign