Creating a DIY concrete planter box for your patio can be a rewarding project that adds a modern and stylish touch to your outdoor space. Whether you’re a seasoned DIY enthusiast or a beginner looking to try your hand at something new, this guide will walk you through the entire process, from gathering materials to the final touches.
Why Choose Concrete for Your Planter Box?
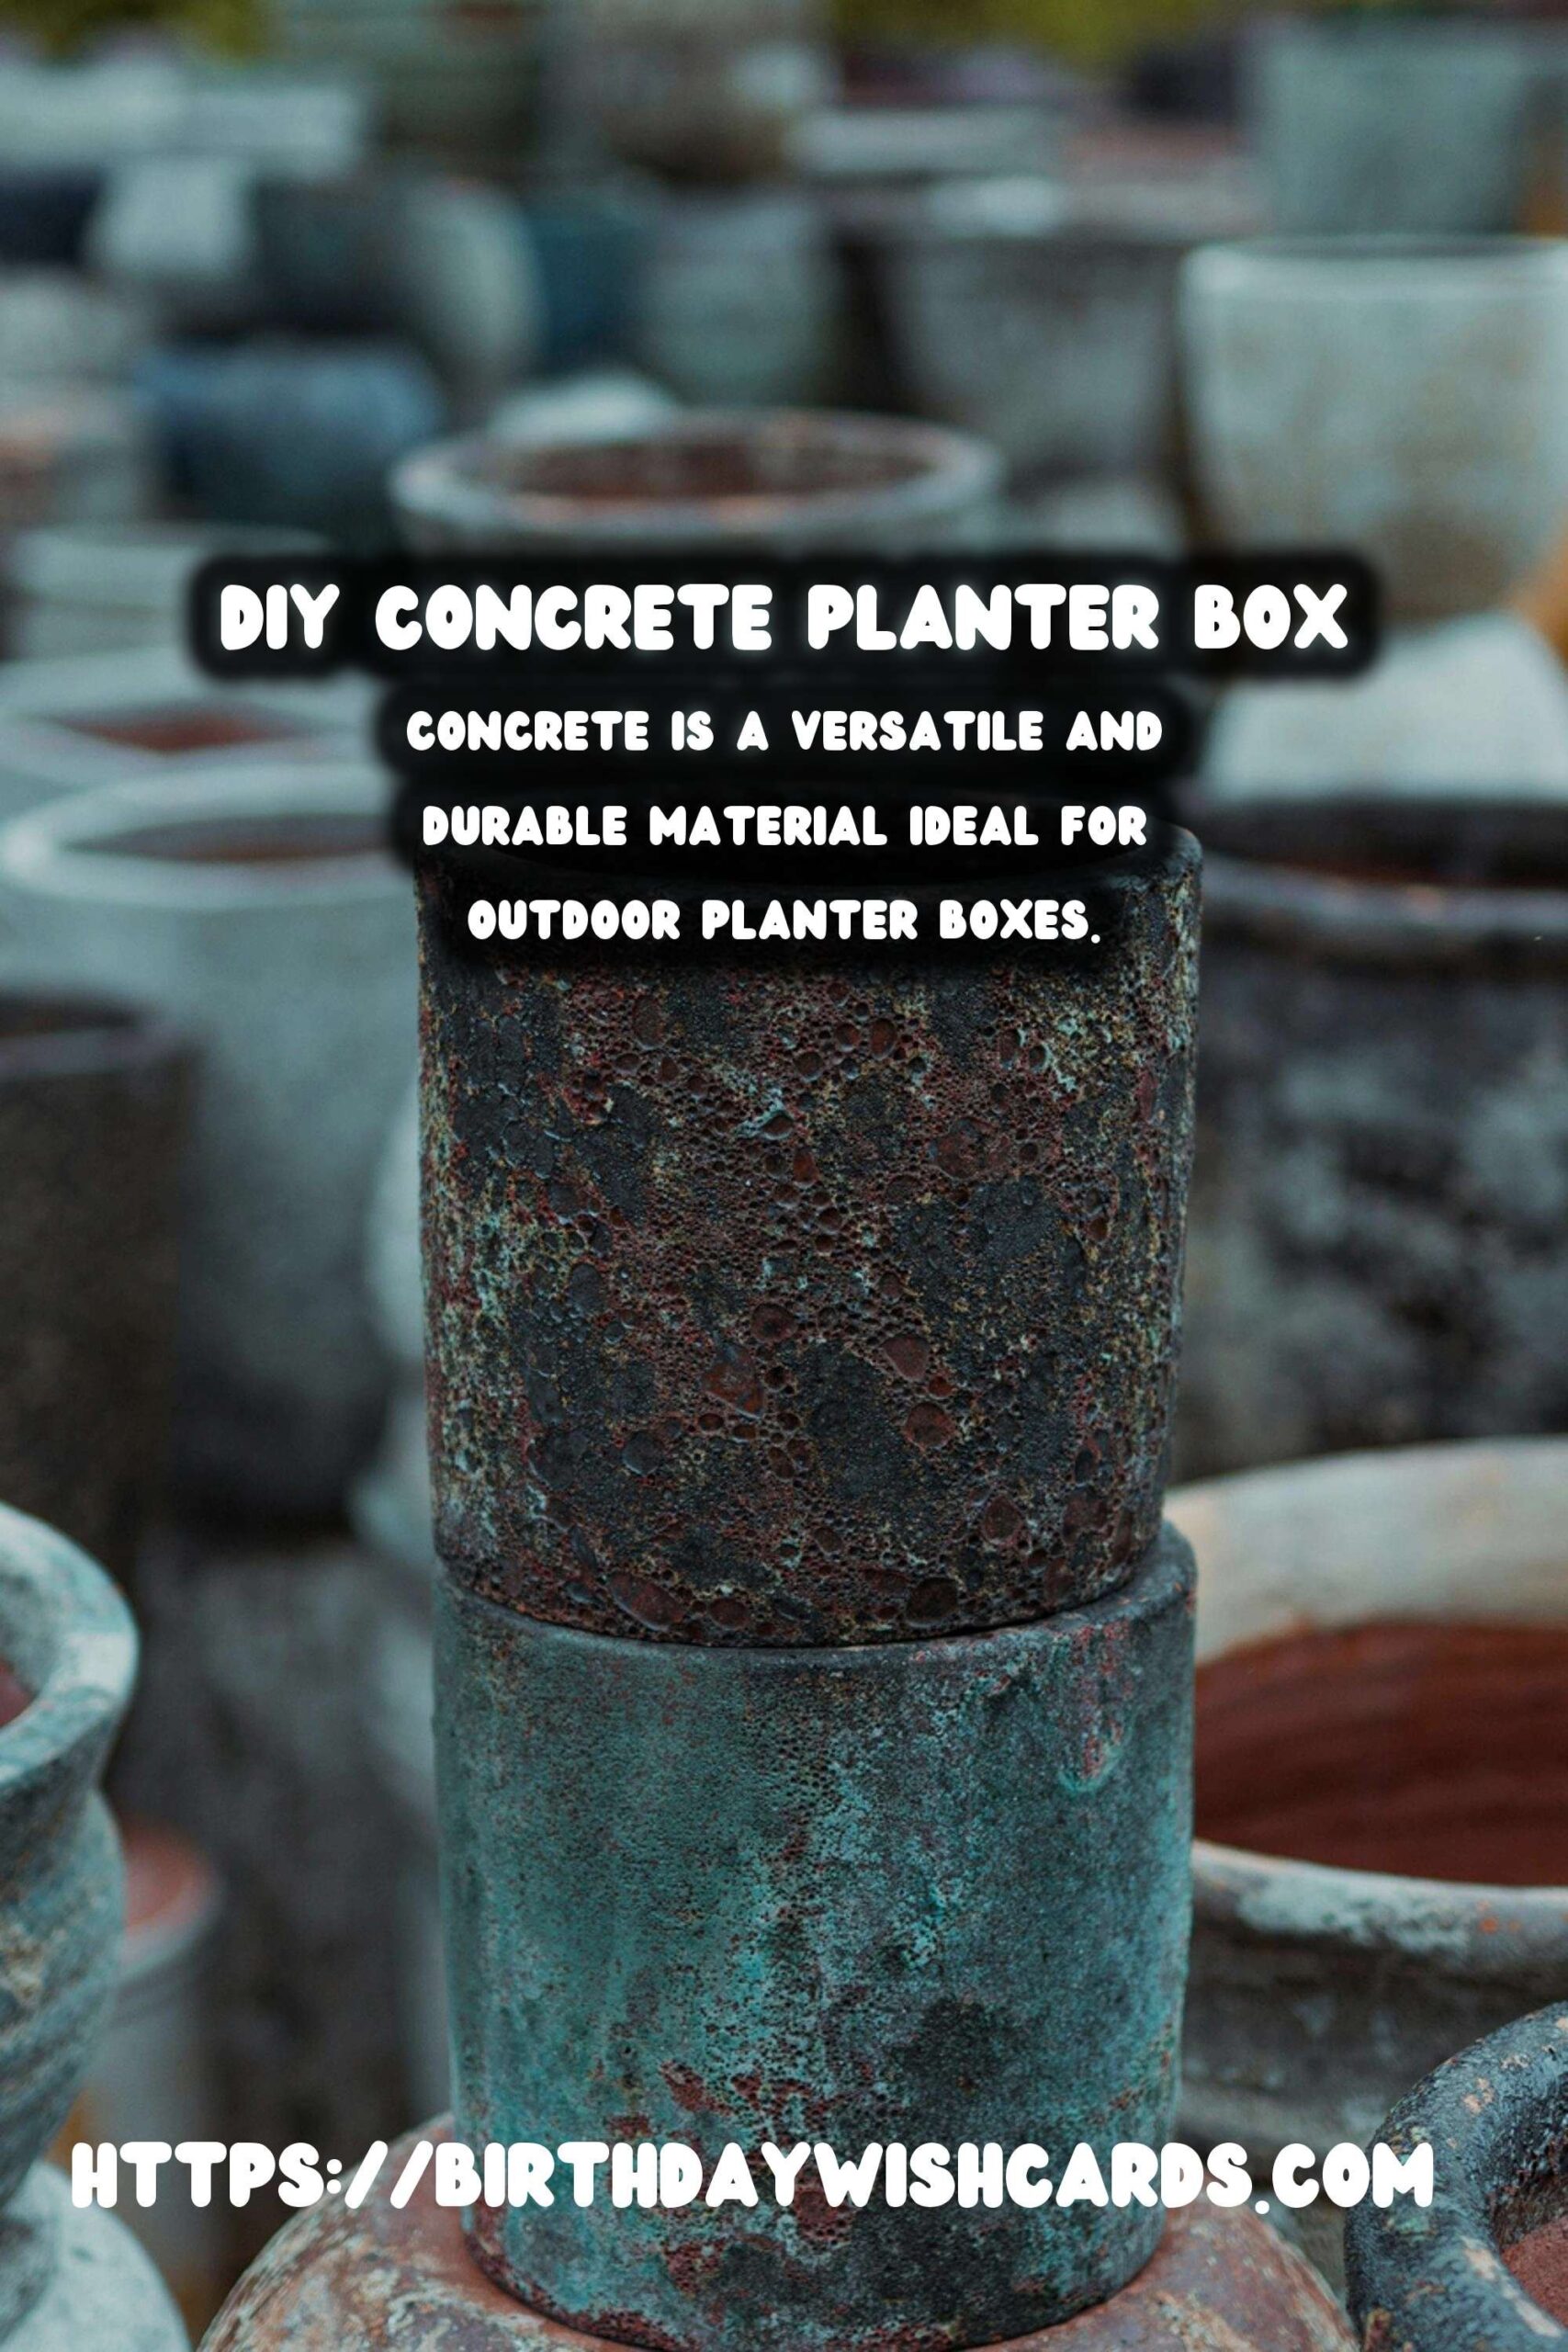
Concrete is a versatile and durable material that can withstand various weather conditions, making it an ideal choice for outdoor projects. Its natural grey tone complements any garden setting and can be easily customized with paint or stains. Additionally, concrete planter boxes provide excellent insulation for plant roots, helping them thrive throughout the year.
Materials You Will Need
Before you begin, ensure you have the following materials:
- Concrete mix
- Molds (use wooden or cardboard boxes)
- Mixing bucket
- Water
- Shovel or mixer
- Vegetable oil or mold release spray
- Sandpaper
- Paint or sealant (optional)
Step-by-Step Instructions
Step 1: Prepare the Mold
Start by preparing your mold. You can use a wooden or cardboard box, depending on the size and shape you desire. Coat the inside of the mold with vegetable oil or mold release spray to ensure easy removal of the concrete once it has set.
Step 2: Mix the Concrete
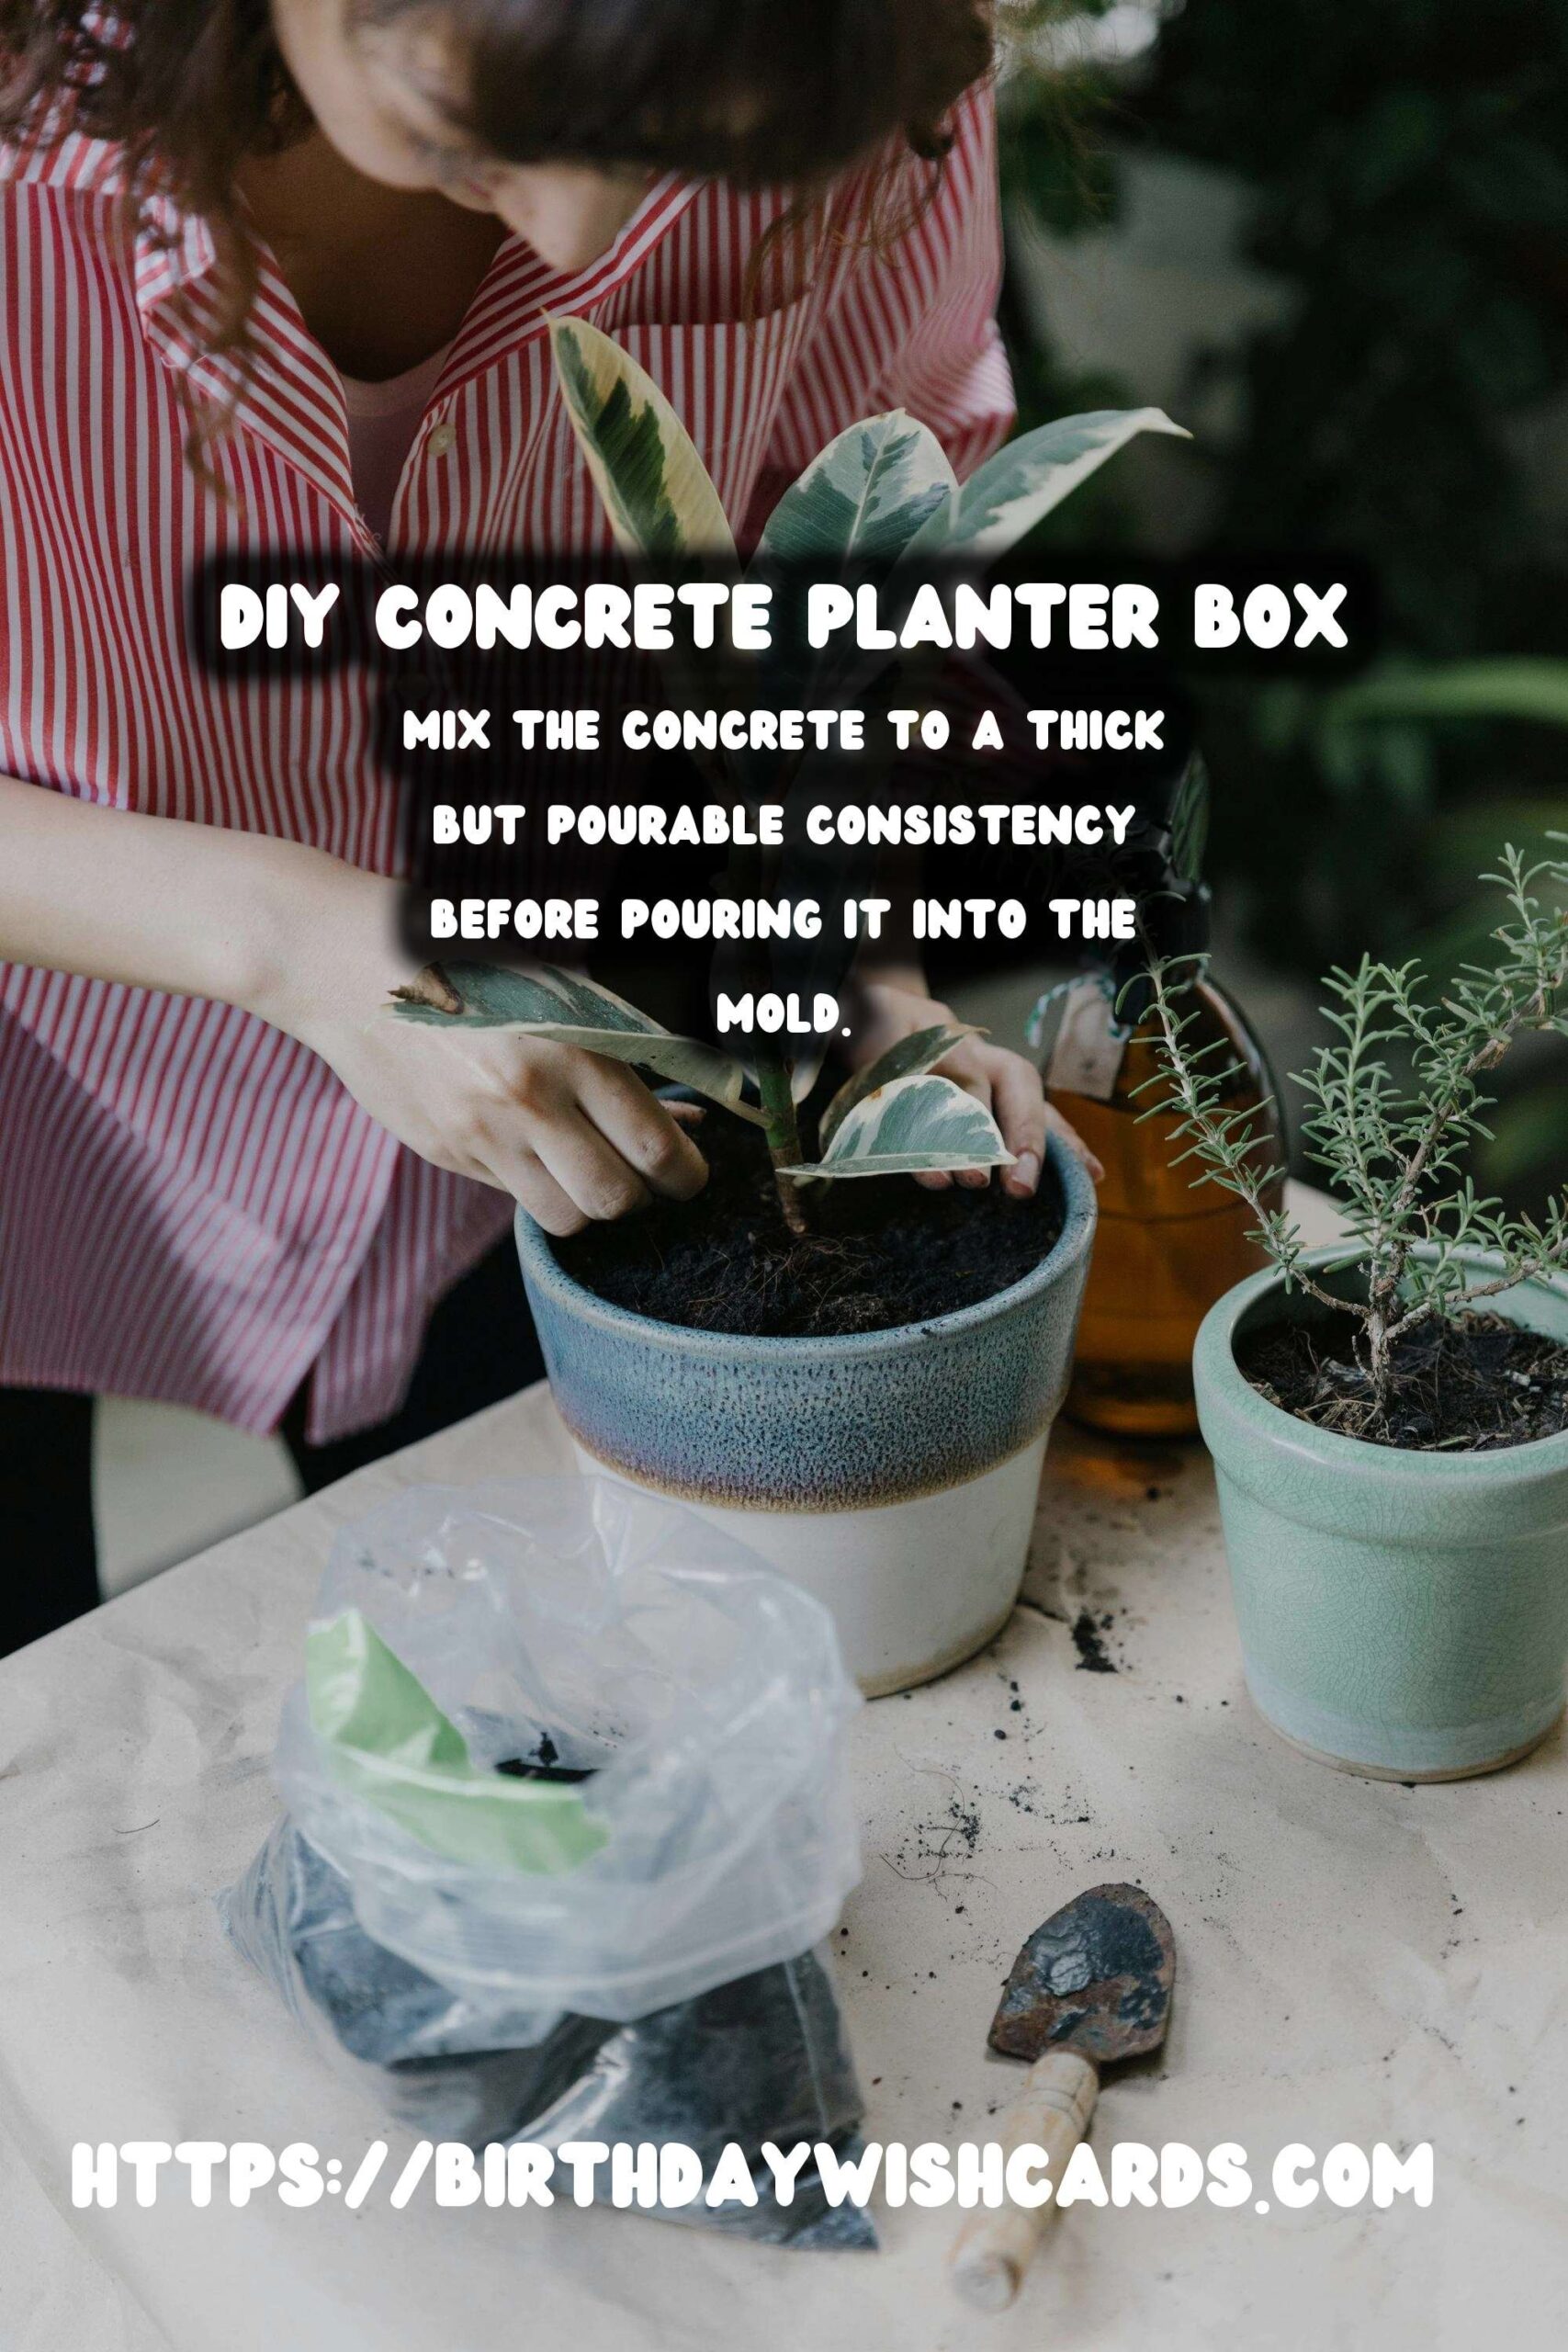
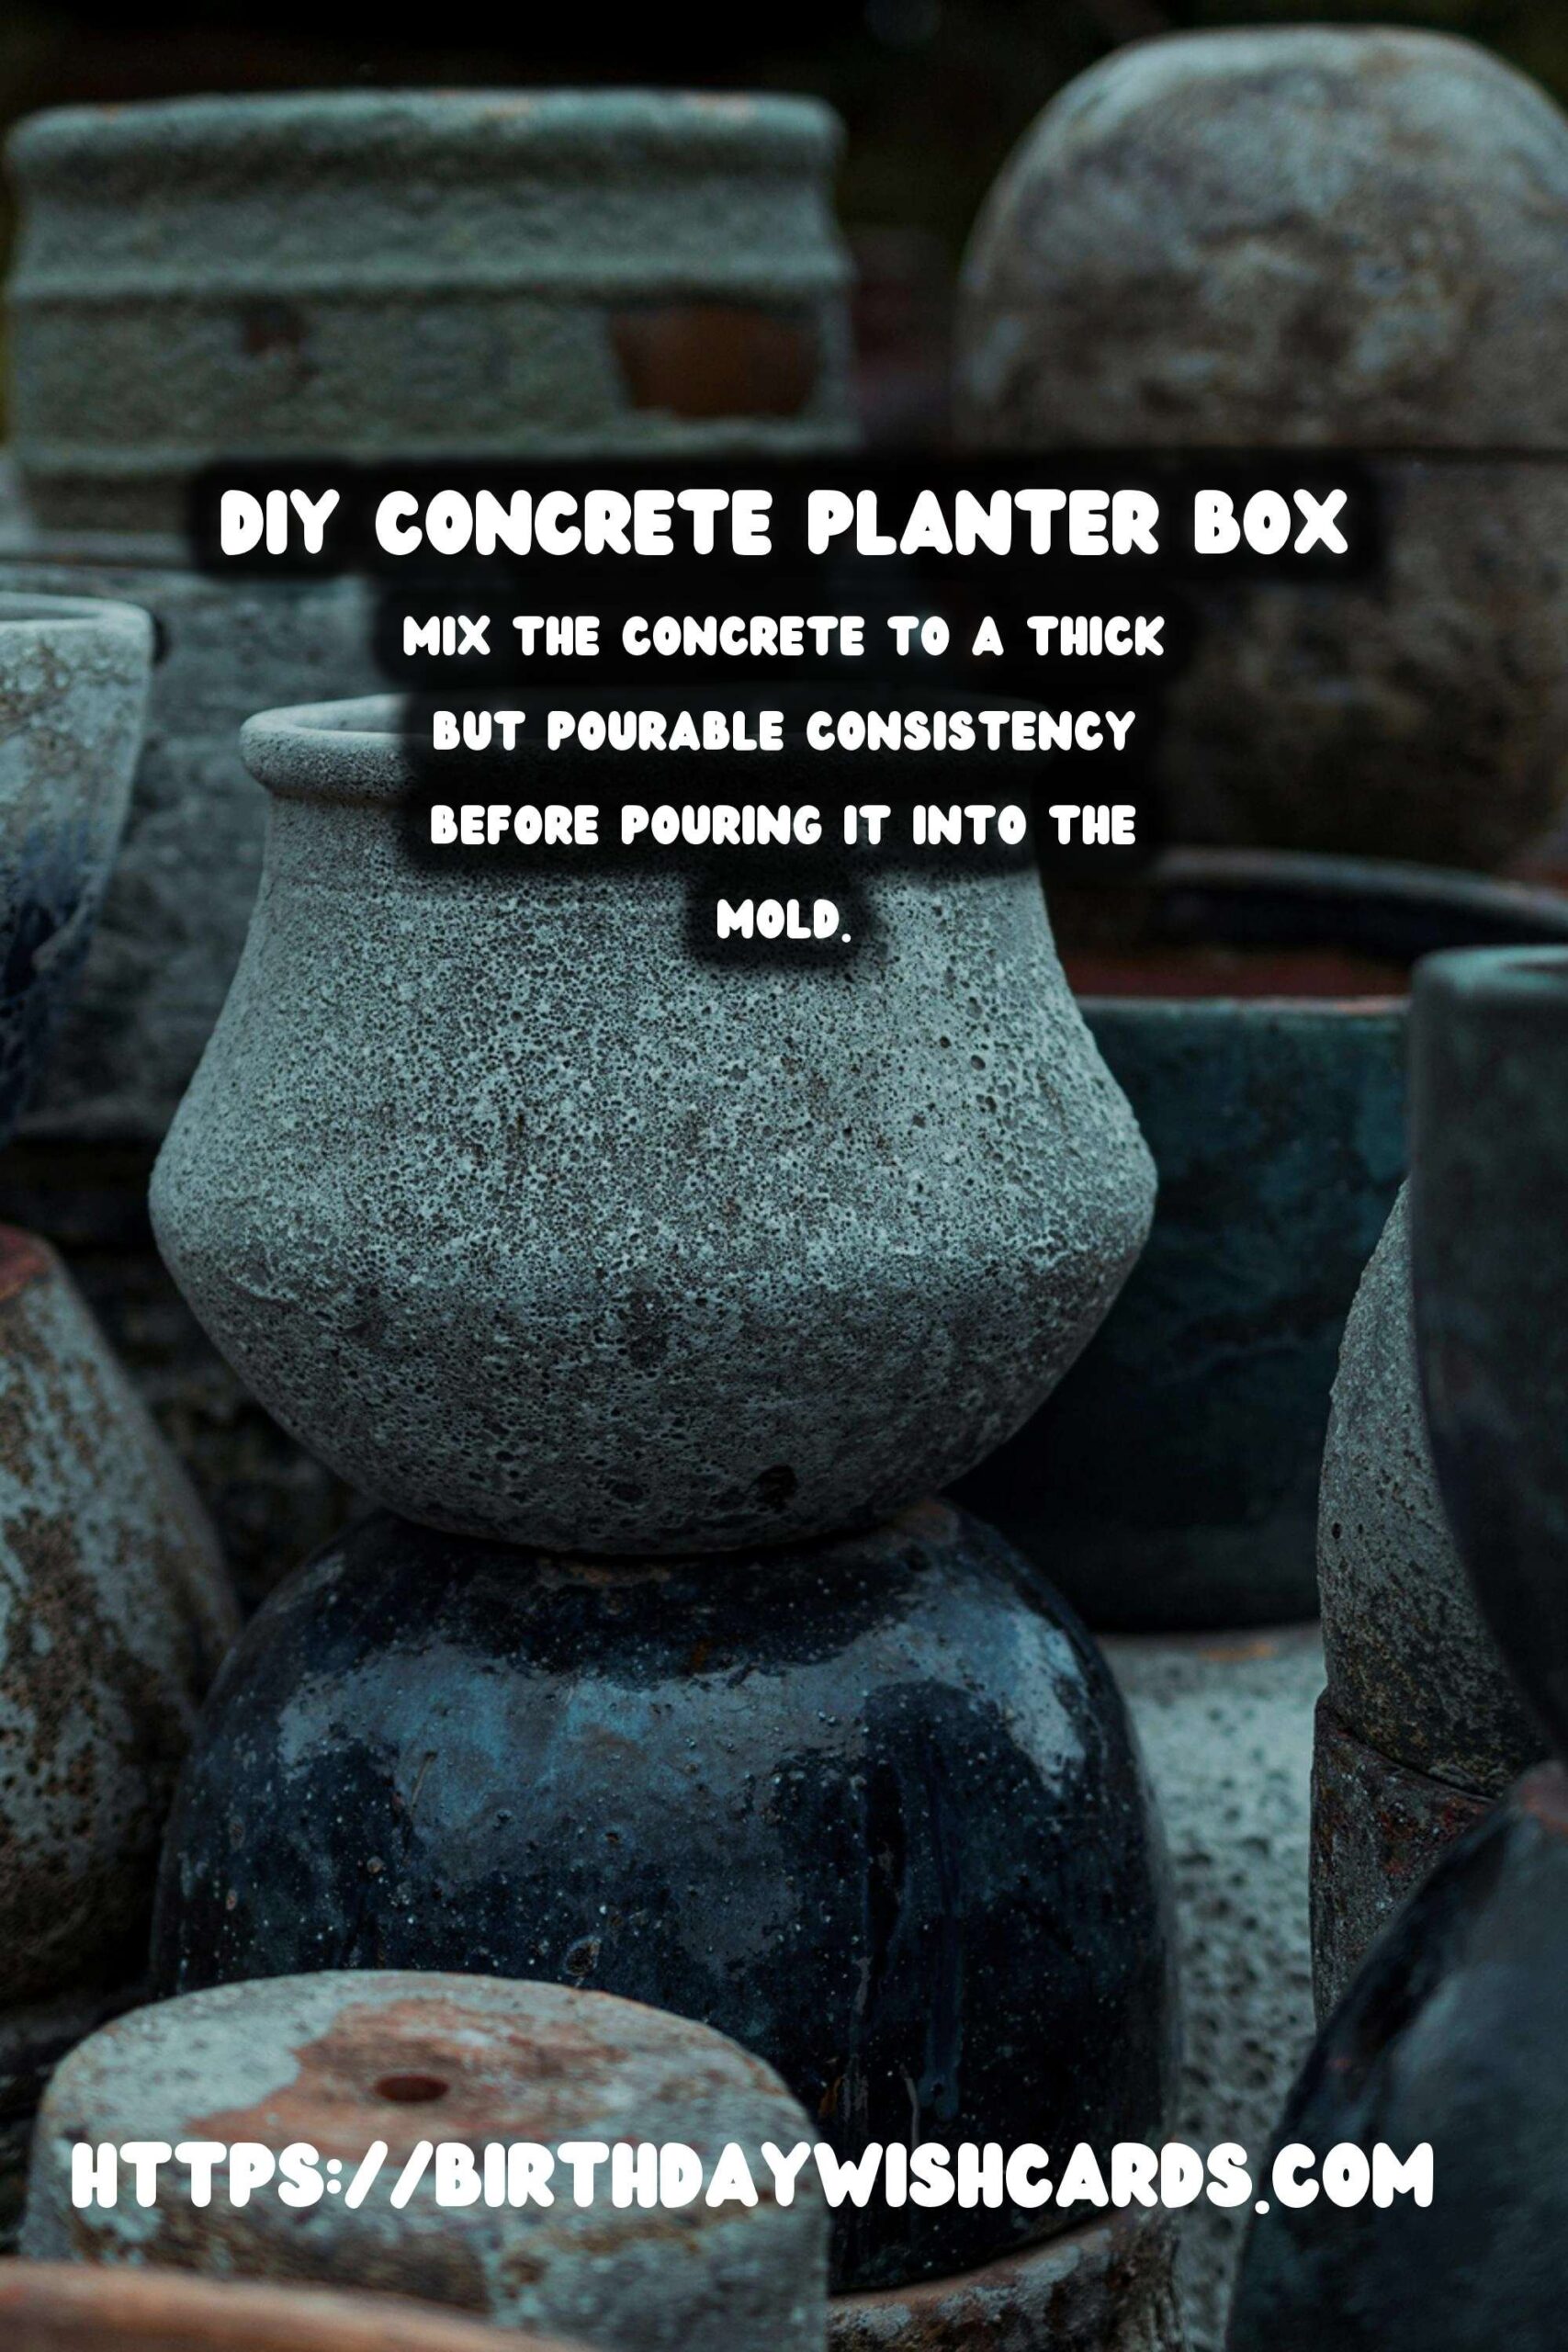
In a mixing bucket, combine the concrete mix with water according to the package instructions. Use a shovel or mixer to ensure the mix is free of lumps and has a smooth consistency. The mixture should be thick but pourable, similar to a thick pancake batter.
Step 3: Pour the Concrete
Carefully pour the concrete into your prepared mold, filling it to the desired height. Tap the sides of the mold gently to release any air bubbles trapped within the mixture. This step is crucial for achieving a smooth finish.
Step 4: Allow to Set
Let the concrete sit and cure for at least 24 to 48 hours. The time required may vary based on the thickness of your planter and environmental conditions. Ensure that the planter is kept in a dry, shaded area while it sets.
Step 5: Remove the Mold
Once the concrete has fully set, carefully remove the mold. If you used a wooden mold, you might need to unscrew or pry the sides apart gently. For cardboard molds, simply peel away the material.
Step 6: Finishing Touches
Use sandpaper to smooth any rough edges or surfaces on your concrete planter box. If desired, apply paint or a concrete sealant to enhance the appearance and protection of your planter.
Final Thoughts
Creating your own concrete planter box is an excellent way to personalize your patio space while honing your DIY skills. With the durability of concrete, your planter will serve as a lasting addition to your garden, providing a stylish home for your plants. Experiment with different shapes and sizes to create a unique look that suits your taste.
Concrete is a versatile and durable material ideal for outdoor planter boxes. Start by preparing a mold and coating it with oil or mold release spray. Mix the concrete to a thick but pourable consistency before pouring it into the mold. Allow the concrete to cure for at least 24 to 48 hours before removing the mold. Finish by sanding and optionally painting or sealing the planter for enhanced appearance. 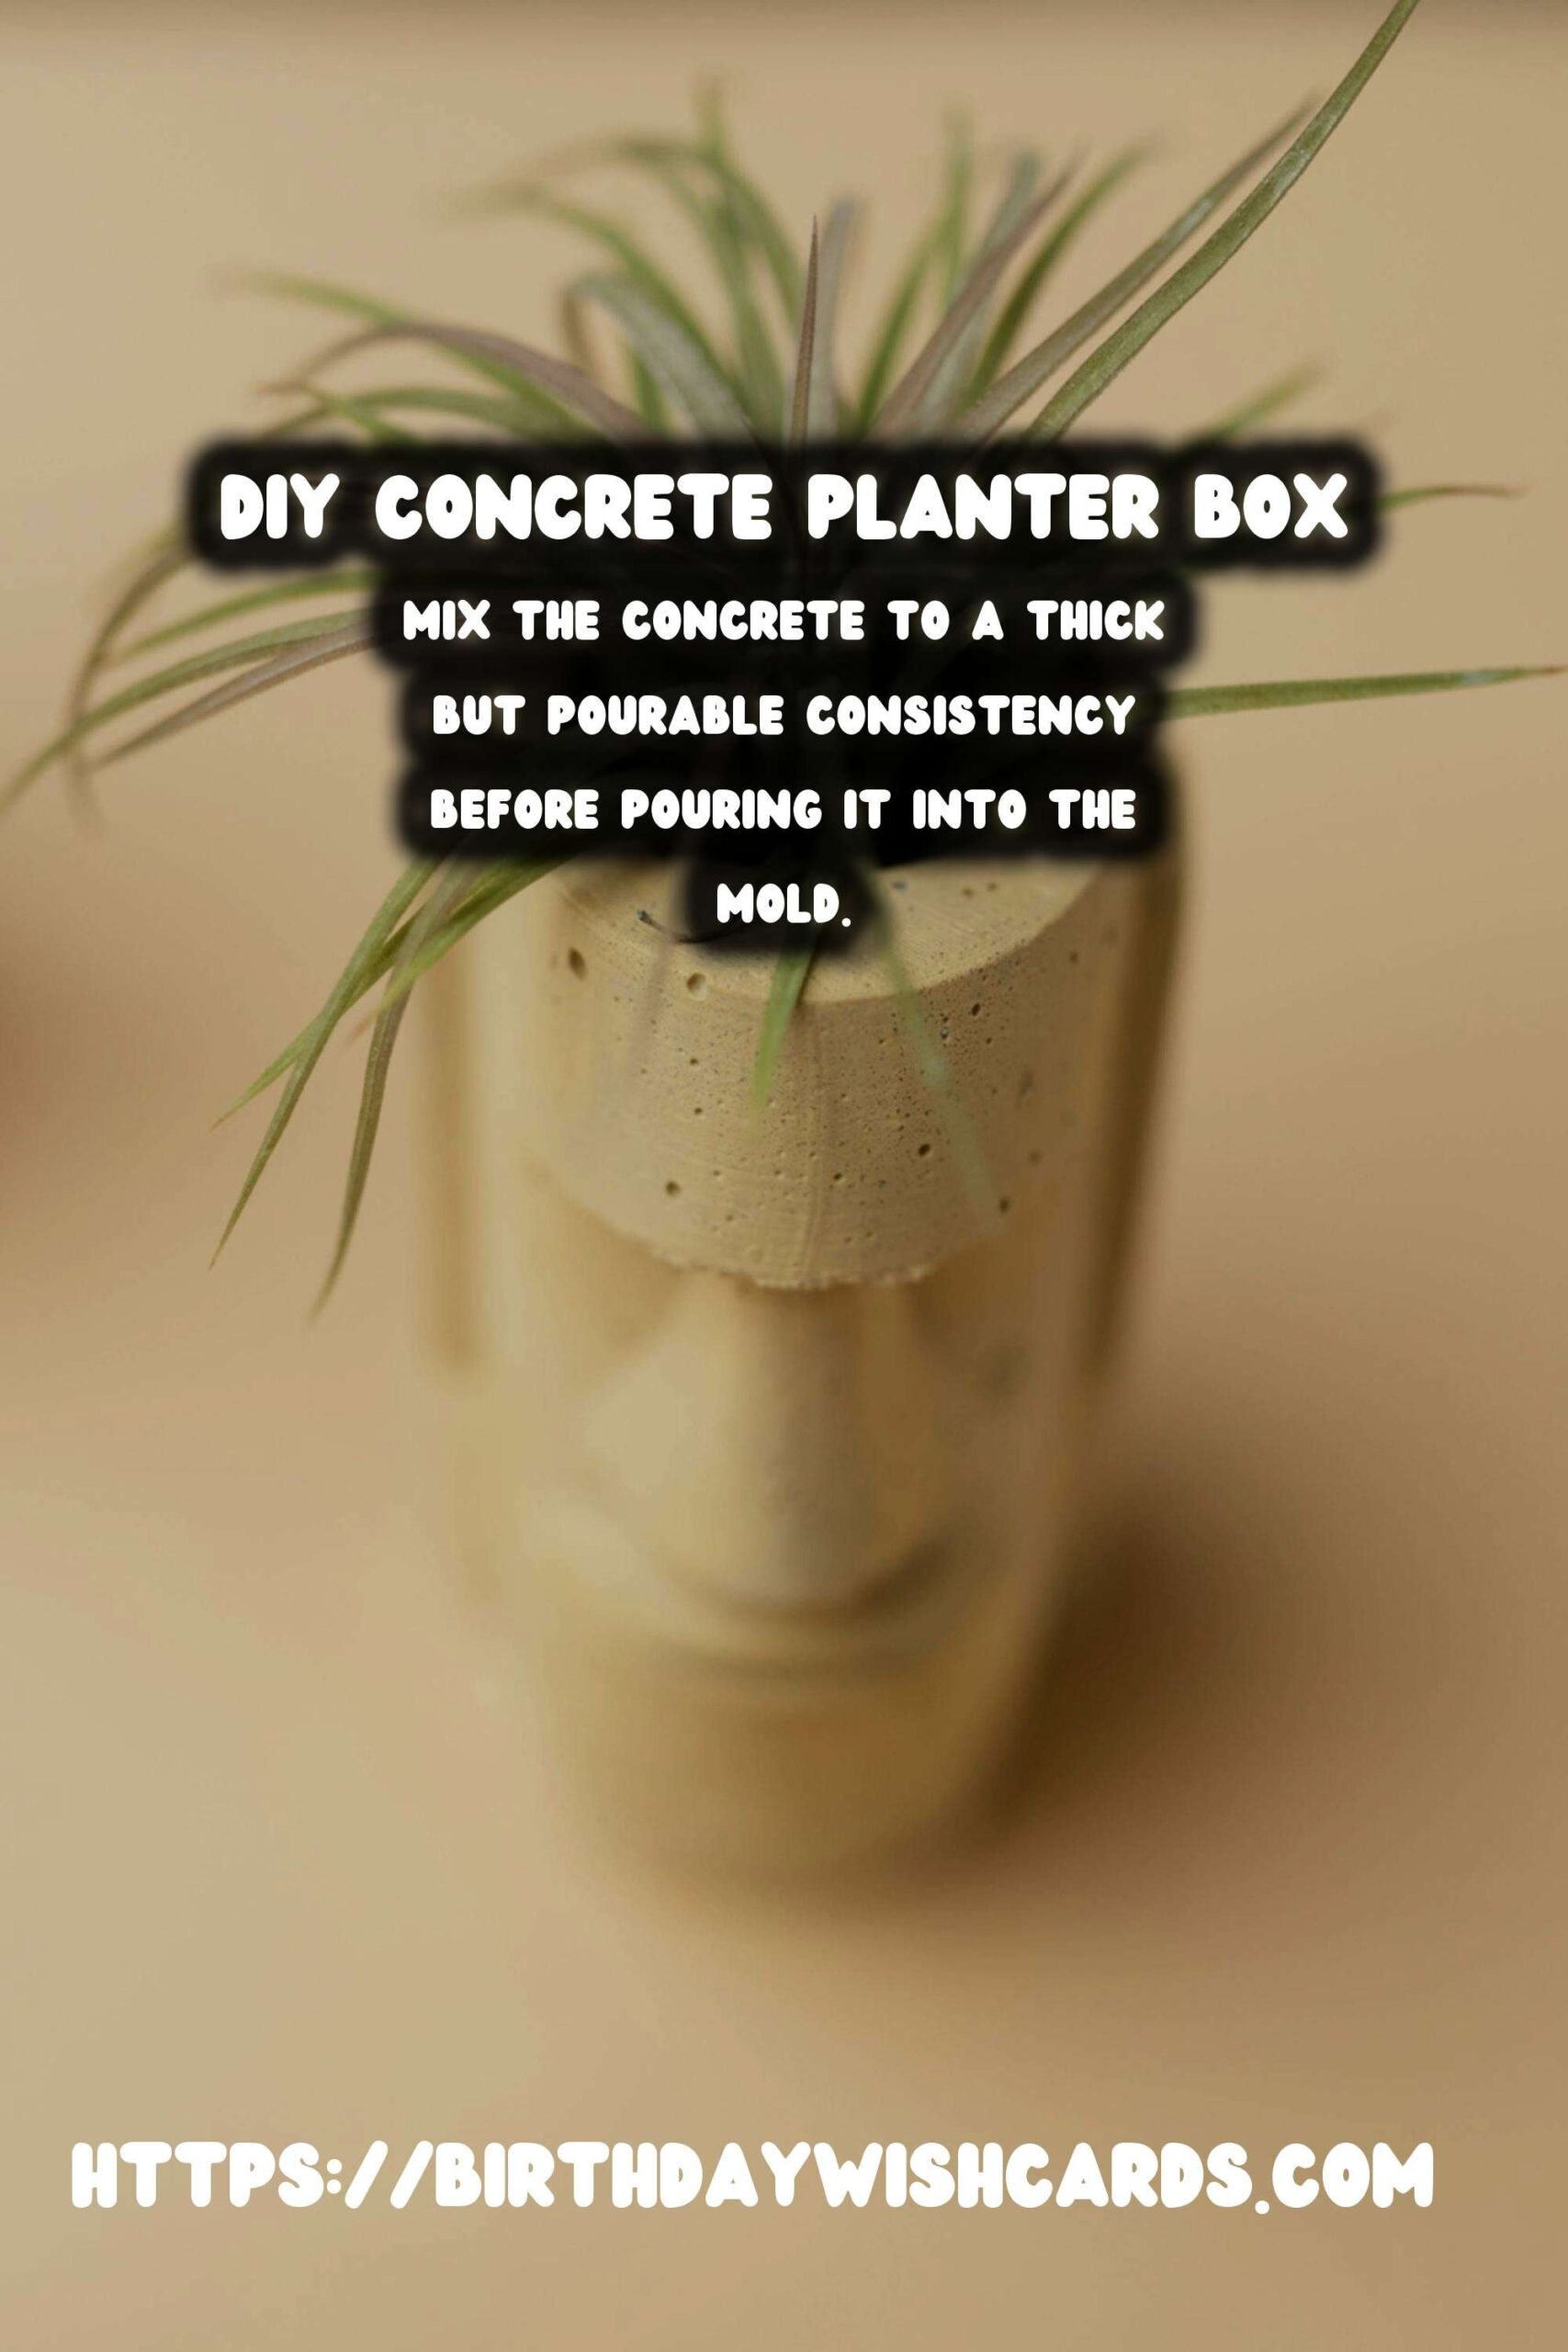

#DIY #ConcretePlanter #PatioDecor #Gardening #HomeImprovement