Creating your own concrete planters for large outdoor plants is a satisfying and rewarding project that not only enhances your garden’s aesthetics but also provides a durable home for your favorite flora. Concrete planters are known for their sturdiness and ability to weather the elements, making them an excellent choice for outdoor use. In this guide, we’ll walk you through the process of making DIY concrete planters, from gathering materials to the final touches.
Why Choose Concrete Planters?
Concrete planters offer several advantages over other materials. They are extremely durable and can withstand harsh weather conditions, making them ideal for outdoor use. Additionally, concrete provides excellent insulation for plant roots, helping to regulate temperature and moisture. This results in healthier plants that can thrive in a stable environment. Furthermore, concrete planters are customizable, allowing you to create a design that perfectly fits your garden’s style.
Materials Needed
Before you begin, gather the following materials:
- Concrete mix (available at most hardware stores)
- Large plastic containers or molds (for the outer shape)
- Smaller plastic containers (for creating the inner cavity)
- Cooking spray or petroleum jelly (to prevent sticking)
- Water
- Mixing tools (such as a trowel or stick)
- Sandpaper (for smoothing edges)
- Protective gloves and mask
Step-by-Step Instructions
Step 1: Prepare Your Work Area
Begin by setting up your work area. Ensure you have a flat and stable surface to work on, and cover it with a plastic sheet or old newspaper to catch any spills. It’s essential to work in a well-ventilated area due to the dust from the concrete mix.
Step 2: Choose Your Mold
Select a large container for the outer mold and a smaller one for the inner cavity. The outer mold will determine the planter’s shape, while the inner mold will create space for the soil and plant. Ensure there’s at least 1-2 inches of space between the molds for adequate thickness.
Step 3: Prepare the Molds
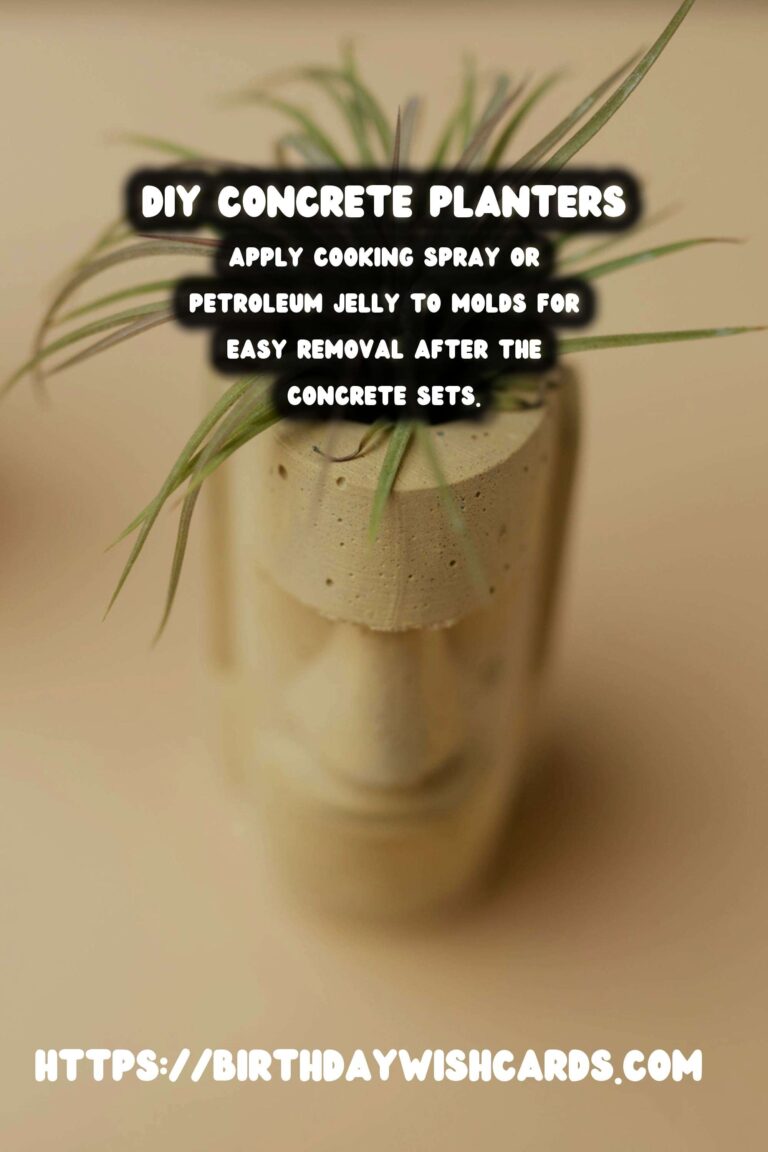
Apply a generous amount of cooking spray or petroleum jelly to the inside of the outer mold and the outside of the inner mold. This will make it easier to remove the molds once the concrete has set.
Step 4: Mix the Concrete
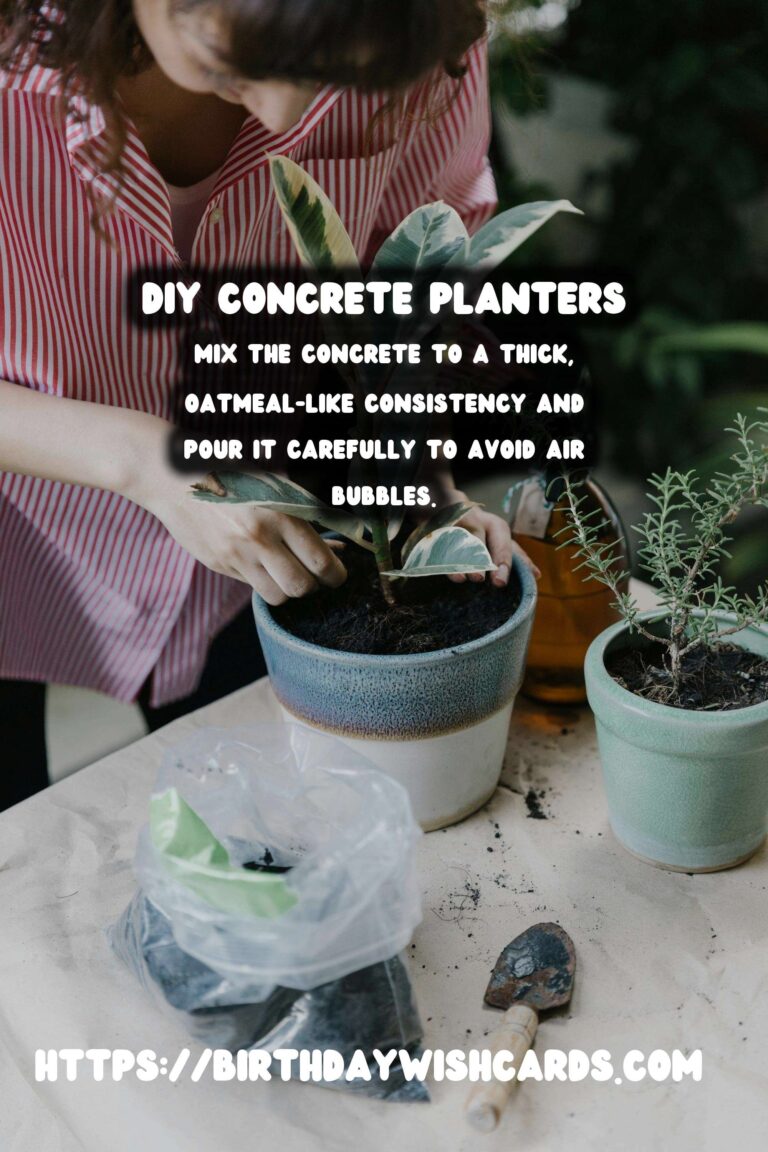
Follow the instructions on your concrete mix bag to prepare the mixture. Typically, this involves adding water to the dry mix and stirring until you achieve a thick, oatmeal-like consistency. Be sure to wear gloves and a mask to protect yourself from the dust.
Step 5: Pour the Concrete
Pour the concrete into the outer mold to a height of about 1 inch. Place the inner mold on top of the poured concrete, ensuring it is centered. Fill the space between the molds with more concrete, tapping the sides to remove air bubbles and ensure even distribution.
Step 6: Let It Set
Allow the concrete to set for at least 24-48 hours. The setting time can vary based on the temperature and humidity levels. Avoid moving the molds during this period to prevent cracking.
Step 7: Remove the Molds
Once the concrete has fully set, carefully remove the inner mold first, followed by the outer mold. You may need to gently tap the sides or use a knife to loosen the edges.
Step 8: Smooth the Edges
Use sandpaper to smooth any rough edges or imperfections. This step is crucial for achieving a professional finish and ensuring the planter is safe to handle.
Step 9: Add Drainage Holes
If your planter does not have built-in drainage holes, use a drill to create a few at the bottom. This will prevent waterlogging and promote healthy root growth.
Step 10: Final Touches
Consider painting or sealing your planter to add a personal touch or protect it from the elements. Once your planter is ready, fill it with high-quality soil and plant your favorite large outdoor plants.
Conclusion
DIY concrete planters are a fantastic way to personalize your garden space while providing a sturdy and reliable home for your plants. With a bit of patience and creativity, you can create unique planters that reflect your style and enhance the beauty of your outdoor environment. Happy planting!
Concrete planters offer durability, excellent insulation, and are customizable for any garden style. Ensure you have a flat and stable work surface, and choose molds that allow for at least 1-2 inches of concrete thickness. Apply cooking spray or petroleum jelly to molds for easy removal after the concrete sets. Mix the concrete to a thick, oatmeal-like consistency and pour it carefully to avoid air bubbles. Allow the concrete to set for 24-48 hours before removing the molds and smoothing the edges with sandpaper. 

#DIY #ConcretePlanters #Gardening #OutdoorPlants #Crafts