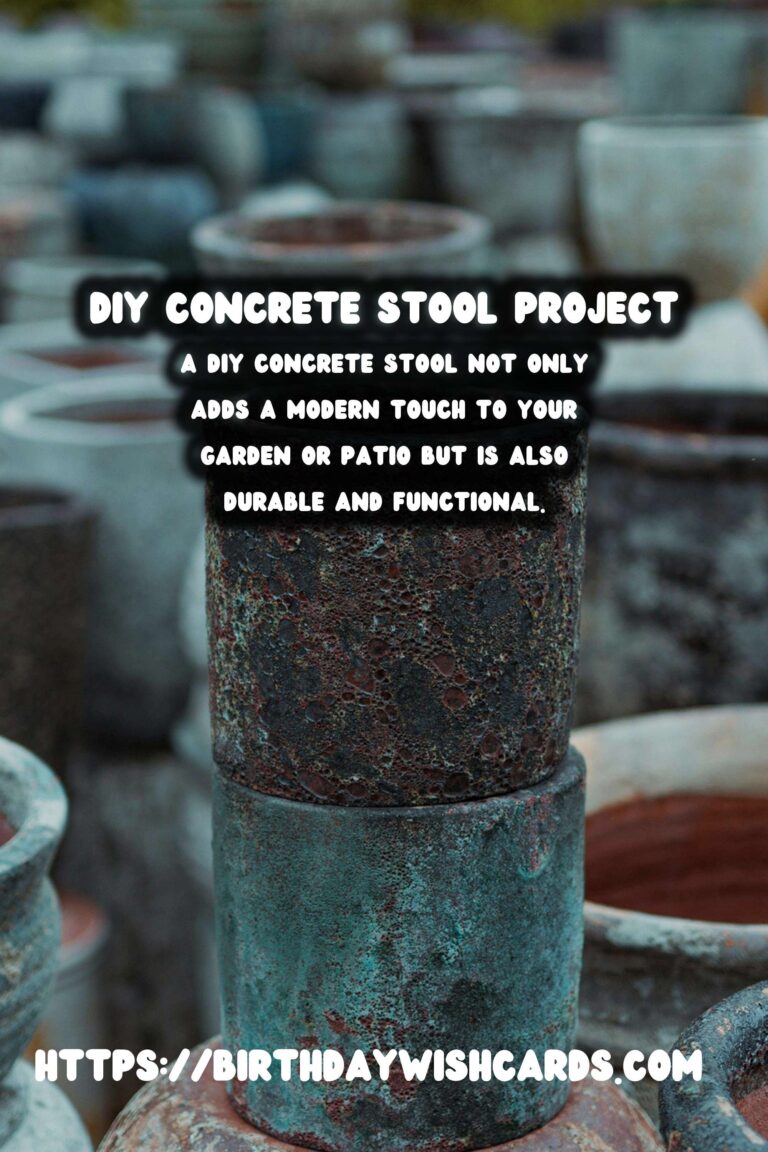
Creating your own outdoor furniture can be a rewarding project. A DIY concrete stool not only adds a modern touch to your garden or patio but is also durable and functional. In this article, we’ll guide you through the process of making your own concrete stool for outdoor seating. Let’s dive into the steps, materials, and tips to ensure your project is a success.
Materials Needed
Before you begin, gather the following materials:
- Concrete mix
- Water
- A large bucket or container for mixing
- A mold for the stool (this can be a large plastic bucket or a custom-built mold)
- Reinforcement mesh or wire
- Sandpaper or a concrete finishing tool
- Sealer (optional, for a smoother finish)
Step-by-Step Instructions
Step 1: Prepare Your Mold
Select a mold for your stool. This could be a 5-gallon bucket or any other container that suits your desired stool size and shape. Ensure the interior is smooth and clean for a better finish. You might want to apply a release agent inside the mold to make it easier to remove the concrete once it has set.
Step 2: Mix the Concrete
In your mixing bucket, combine the concrete mix with water according to the instructions on the package. Stir the mixture until it reaches a thick, pourable consistency. Be sure to mix thoroughly to avoid any lumps.
Step 3: Pour the Concrete
Pour a small amount of concrete into the mold. Place the reinforcement mesh or wire on top of this initial layer to add strength and durability. Continue pouring the rest of the concrete, tapping the sides of the mold to release any air bubbles.
Step 4: Let It Set
Allow the concrete to set for at least 24 hours. Avoid moving the mold during this time to ensure the concrete cures properly. If you’re using a thicker mold, it might take up to 48 hours to fully set.
Step 5: Remove the Mold
Once the concrete has set, carefully remove the mold. If you used a release agent, this process should be relatively straightforward. Gently pull or cut away the mold if necessary.
Step 6: Finish the Surface
Use sandpaper or a concrete finishing tool to smooth out any rough edges or surfaces. If you desire a polished look, consider applying a concrete sealer.
Tips for Success
- Test the consistency of your concrete before pouring to ensure it’s not too watery or too dry.
- Wear protective gear, including gloves and a mask, when handling concrete.
- Consider adding color pigments to your concrete mix for a personalized touch.
Benefits of a Concrete Stool
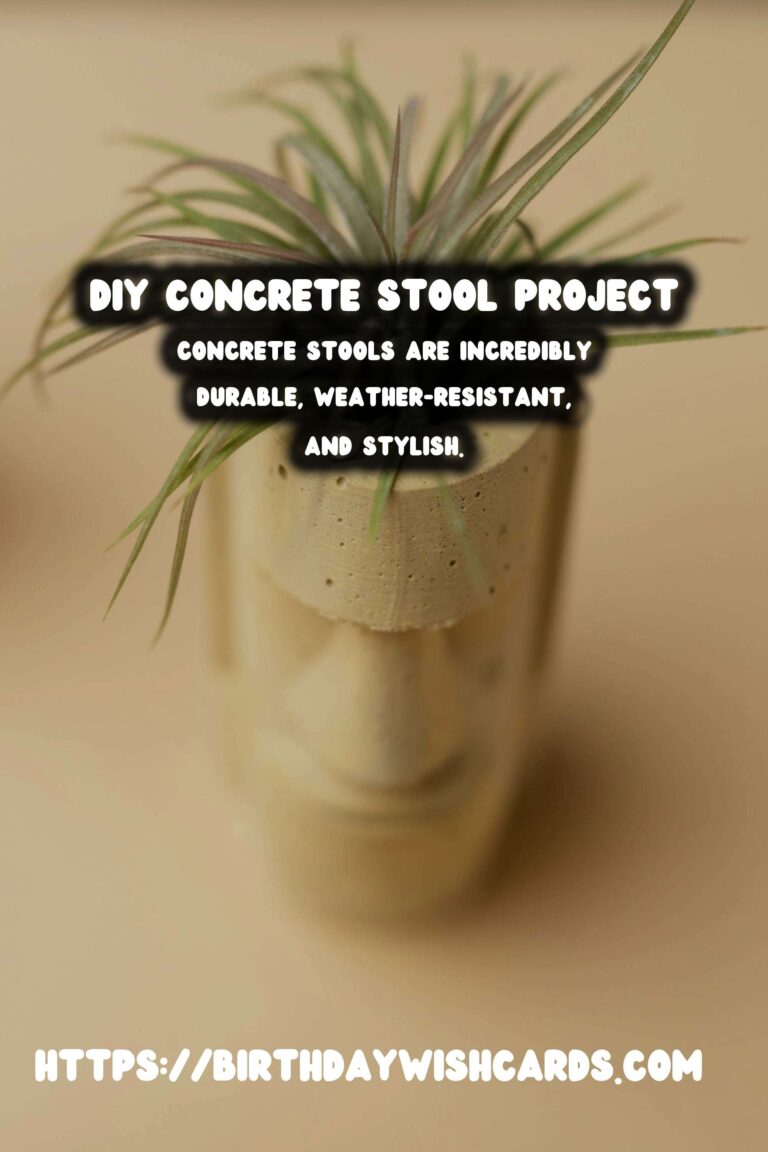
Concrete stools are incredibly durable, weather-resistant, and stylish. They require minimal maintenance and are a cost-effective way to enhance your outdoor space.
Conclusion
Making your own DIY concrete stool for outdoor seating is a fulfilling and practical project. With the right materials and steps, you can create a functional piece of furniture that withstands the test of time. Start your project today and enjoy the benefits of your handcrafted outdoor seating.
Creating your own outdoor furniture can be a rewarding project. A DIY concrete stool not only adds a modern touch to your garden or patio but is also durable and functional. The project involves preparing a mold, mixing concrete, and finishing the surface. Concrete stools are incredibly durable, weather-resistant, and stylish. With the right materials and steps, you can create a functional piece of furniture that withstands the test of time. 

#DIY #ConcreteStool #OutdoorSeating #HomeImprovement #Gardening


