

Concrete trays are becoming a popular choice for organizing and enhancing the aesthetic appeal of entryways. These versatile accessories are not only functional but also add a touch of modern elegance to any space. Whether you’re looking to store keys, mail, or decorative items, a DIY concrete tray can be an excellent addition to your home.
Why Choose Concrete for Your Trays?
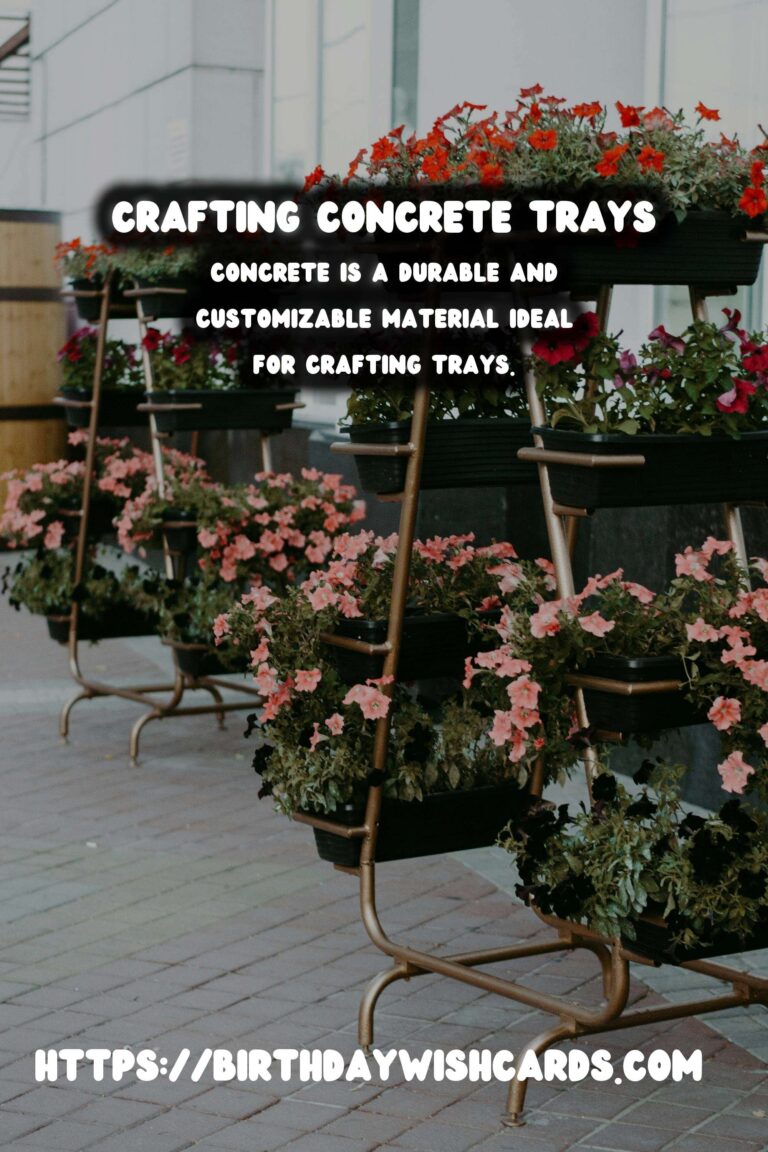
Concrete is a durable and cost-effective material that offers a sleek, industrial look. It’s highly customizable, allowing you to create trays of various shapes, sizes, and finishes. Additionally, concrete trays are heat-resistant and easy to clean, making them a practical choice for busy households.
Materials Needed for DIY Concrete Trays
To create your own concrete tray, you’ll need the following materials:
- Concrete mix
- Water
- A mixing bowl
- Mold (silicone molds work best)
- Sandpaper
- Sealer (optional)
- Decorative elements (optional)
Step-by-Step Guide to Making Concrete Trays
1. Prepare Your Mold
Choose a mold that fits the size and shape you desire for your tray. Silicone molds are ideal as they are flexible and make it easy to remove the hardened concrete.
2. Mix the Concrete
In a bowl, mix the concrete mix with water according to the manufacturer’s instructions. Stir until you achieve a smooth, pancake batter-like consistency.
3. Pour the Concrete
Carefully pour the concrete mixture into your chosen mold. Tap the sides gently to remove air bubbles and ensure the mixture fills all corners.
4. Let It Cure
Allow the concrete to cure for at least 24 hours. The curing time may vary based on the specific mix used, so refer to the instructions on your concrete mix.
5. Remove the Tray
Once cured, gently remove the concrete tray from the mold. If the tray is stuck, lightly tap the mold or use a soft tool to help release it.
6. Sand the Edges
Use sandpaper to smooth any rough edges or surface imperfections. This step will ensure your tray has a professional finish.
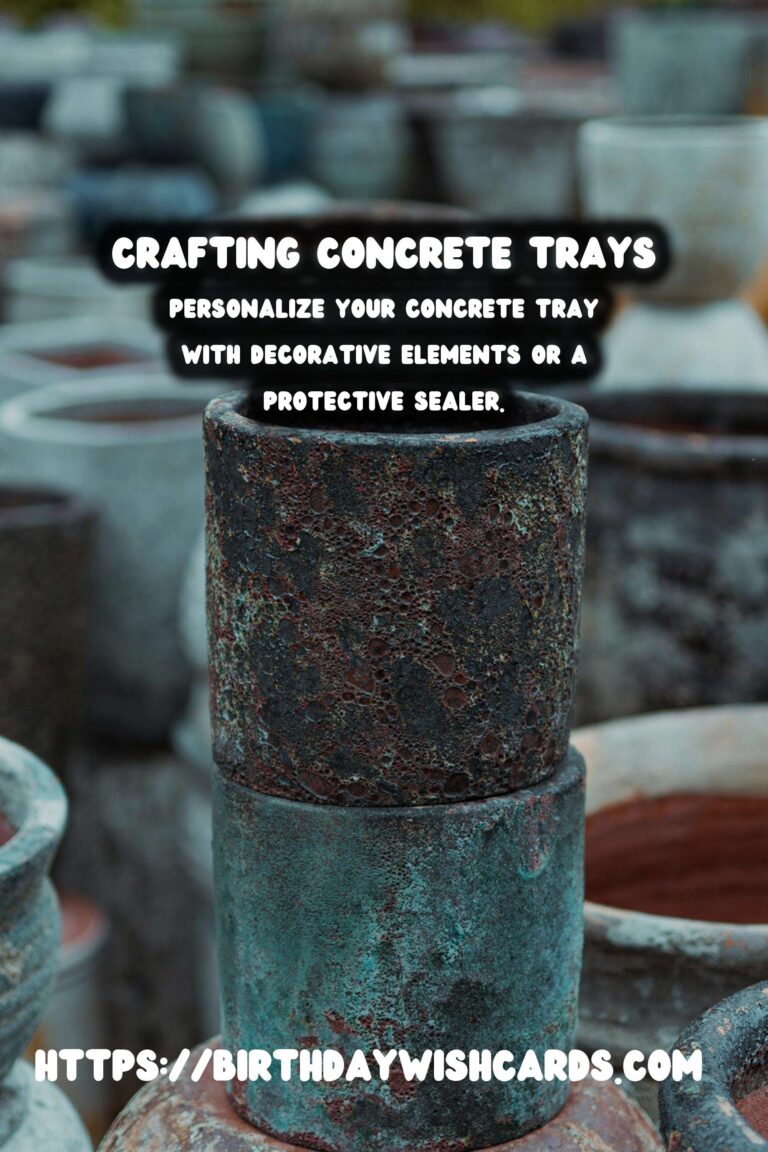
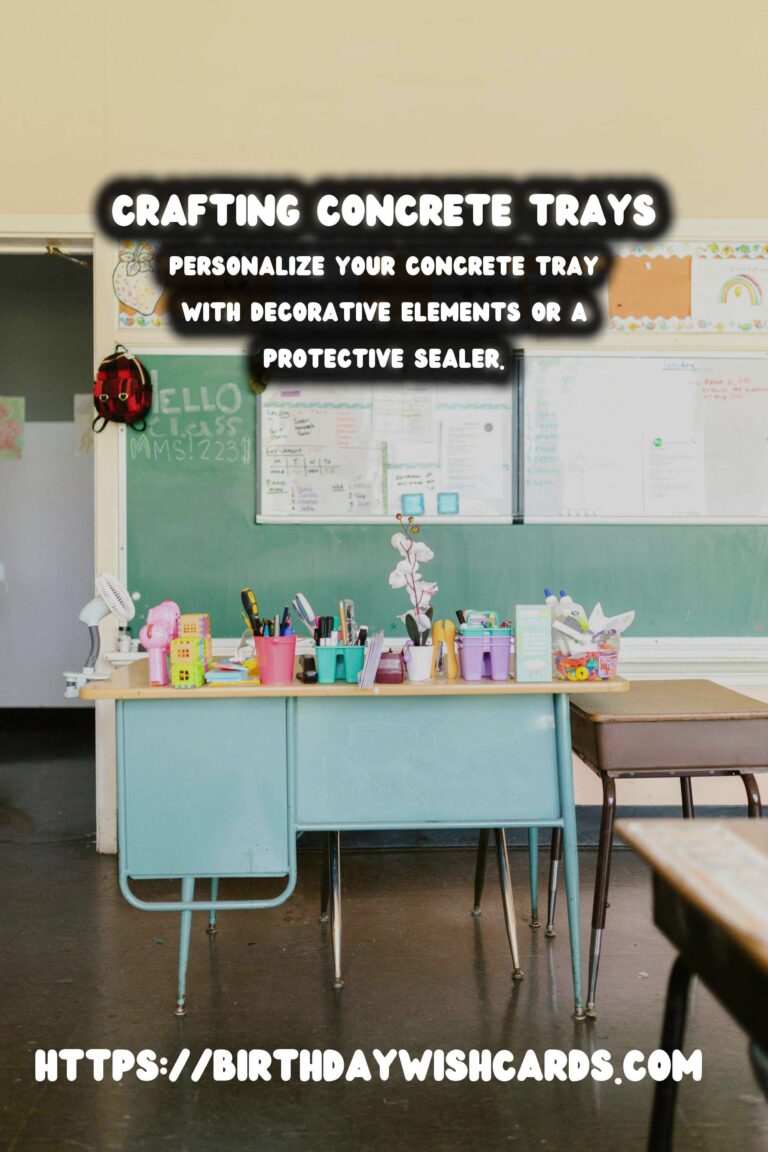
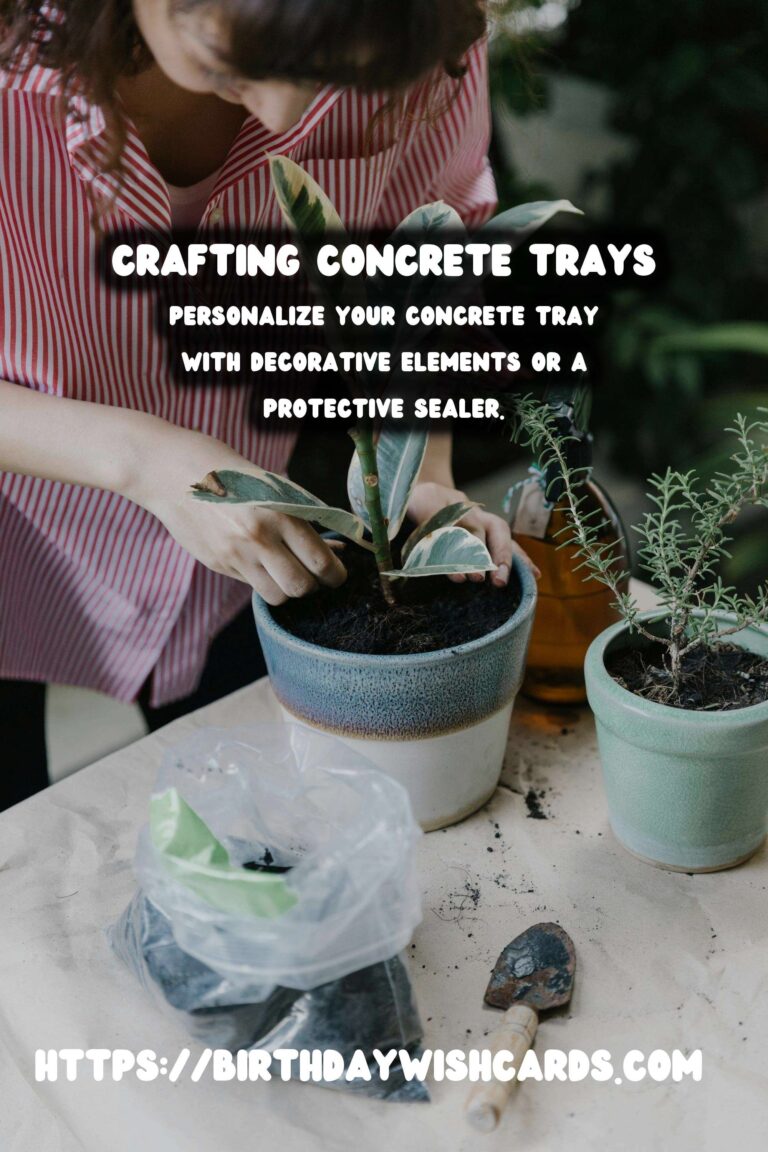
7. Seal and Decorate
If desired, apply a sealer to protect the tray from moisture and staining. You can also add decorative elements like paint or metallic accents to personalize your tray further.
Creative Ideas for Using Concrete Trays
Concrete trays are perfect for organizing small items like keys, coins, and jewelry. They can also serve as a chic base for candles or plants, adding a minimalist touch to your entryway decor. Consider using multiple trays of different shapes and sizes to create a cohesive look.
Caring for Your Concrete Tray
To maintain the beauty and functionality of your concrete tray, clean it regularly with a mild detergent and water. Avoid using harsh chemicals that can damage the surface. If you have applied a sealer, reapply it periodically to keep the tray in optimal condition.
Conclusion
Creating your own DIY concrete tray is a rewarding project that combines creativity with practicality. These trays are not only useful for organizing your entryway but also serve as stylish pieces that reflect your personal taste. With a few materials and some patience, you can craft a piece that enhances the overall ambiance of your home.
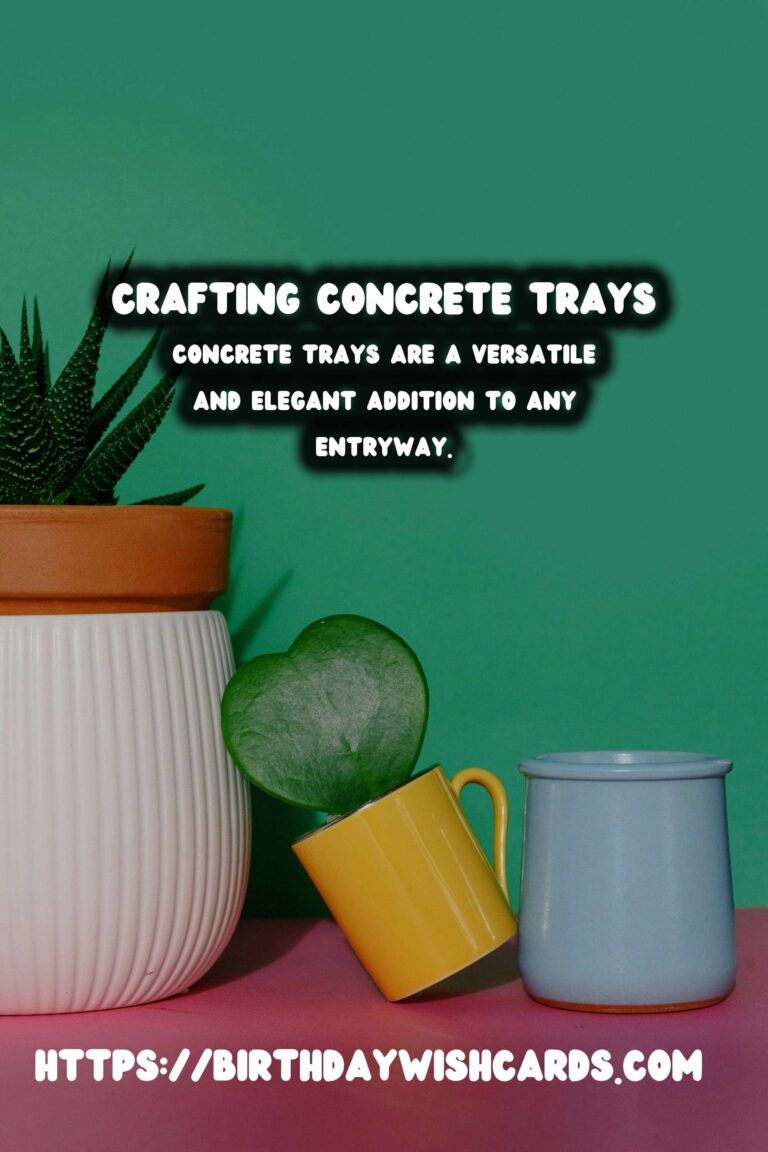
Concrete trays are a versatile and elegant addition to any entryway. Concrete is a durable and customizable material ideal for crafting trays. DIY concrete trays require simple materials and a straightforward process. Personalize your concrete tray with decorative elements or a protective sealer. Regular cleaning and maintenance will keep your concrete tray in excellent condition. 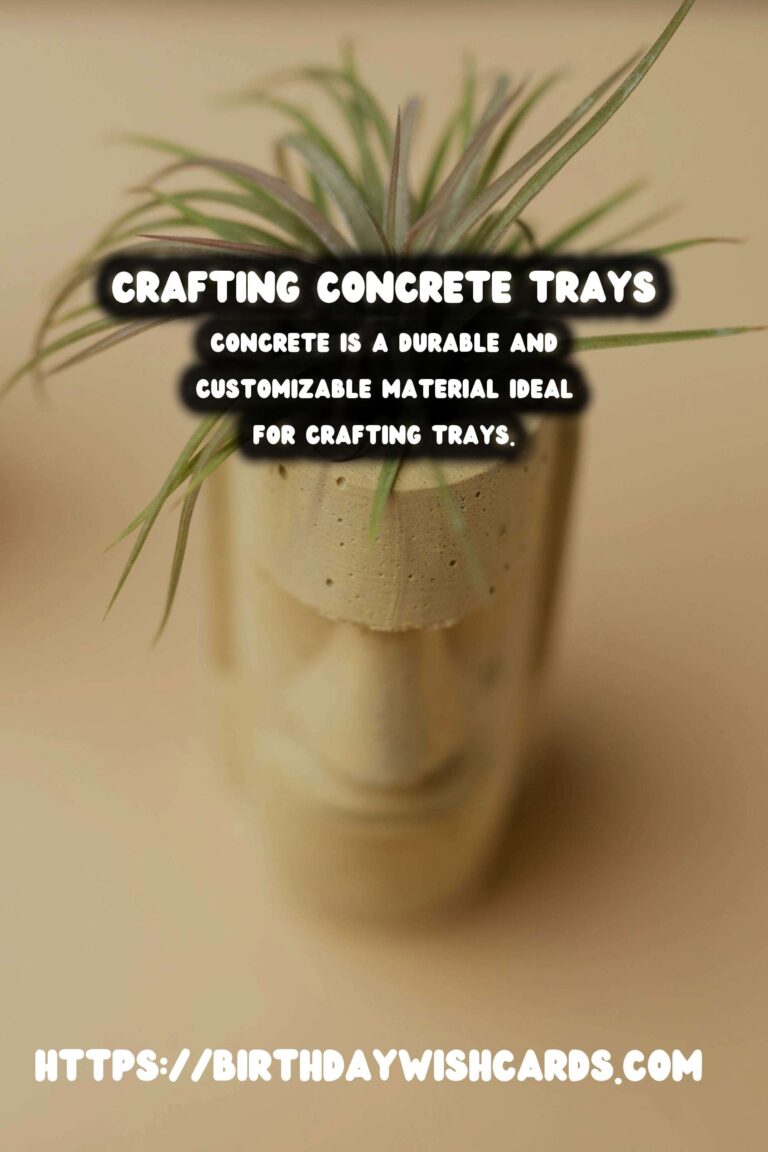


#DIY #HomeDecor #ConcreteTrays #Crafting #EntrywayDesign


