

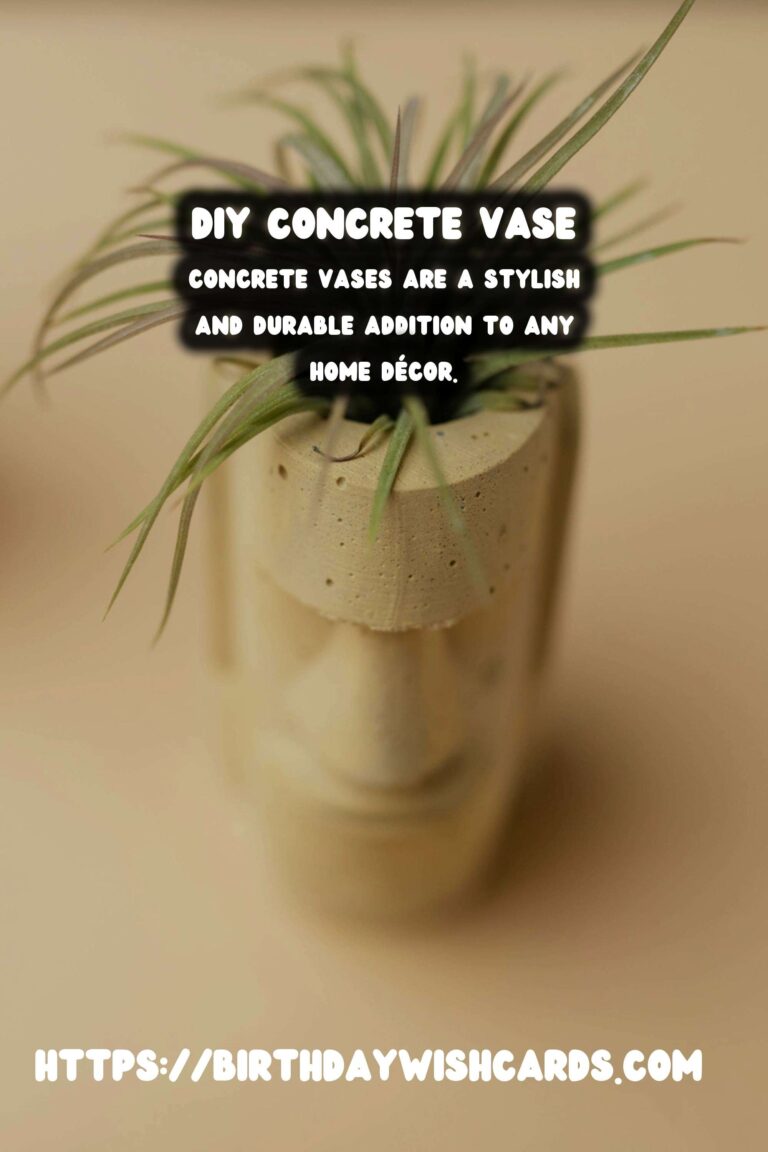
Concrete vases are a stylish and durable addition to any home décor. Creating your own DIY concrete vases with a smooth finish can be a rewarding project that allows for personalization and creativity. In this article, we will guide you through the process of making beautiful concrete vases that are perfect for showcasing your favorite flowers or as a standalone decorative piece.
Why Choose Concrete Vases?
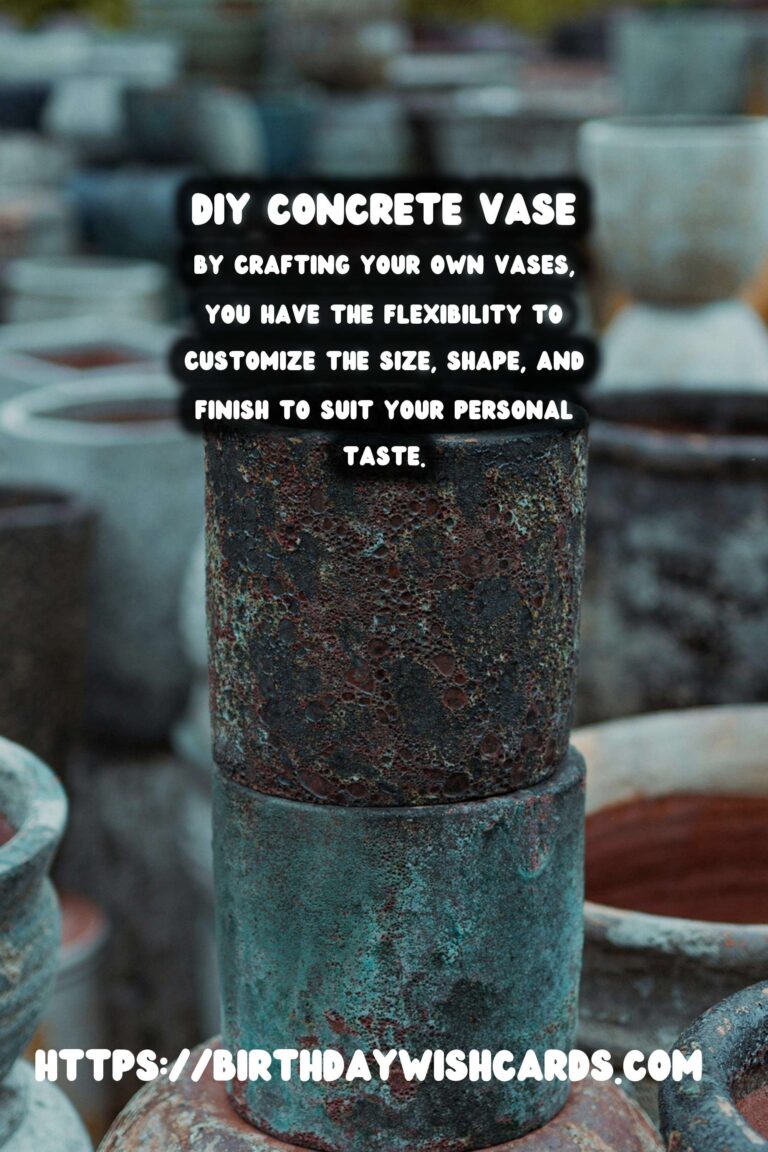
Concrete vases offer several advantages over traditional materials. They are incredibly durable and can withstand the elements, making them suitable for both indoor and outdoor use. Additionally, concrete provides a modern and industrial aesthetic that complements a variety of interior styles. By crafting your own vases, you have the flexibility to customize the size, shape, and finish to suit your personal taste.
Materials Needed
To create your DIY concrete vases, you will need the following materials:
- Concrete mix
- Water
- Mixing container
- Stirring stick or trowel
- Plastic or silicone molds
- Sanding paper (various grits)
- Cooking spray or mold release agent
- Protective gloves and mask
Step-by-Step Instructions
Step 1: Prepare Your Workspace
Before you begin, ensure that your workspace is well-ventilated and protected from spills. Wear protective gloves and a mask to prevent inhalation of concrete dust and skin irritation.
Step 2: Mix the Concrete
In a mixing container, combine the concrete mix with water according to the instructions on the package. Stir the mixture using a stick or trowel until it reaches a smooth, pourable consistency. Avoid adding too much water, as this can weaken the final product.
Step 3: Prepare the Molds
Coat the inside of your chosen molds with cooking spray or a mold release agent to prevent the concrete from sticking. This will facilitate easy removal once the concrete has set.
Step 4: Pour the Concrete
Carefully pour the concrete mixture into the molds, filling them to the desired height. To eliminate air bubbles and ensure an even surface, gently tap the sides of the molds.
Step 5: Allow the Concrete to Set
Let the concrete vases cure for at least 24 to 48 hours in a cool, dry place. The curing time may vary depending on the size of the vase and the specific concrete mix used.
Step 6: Remove the Vases from the Molds
Once the concrete has fully set, carefully remove the vases from the molds. If you’re using a rigid mold, gently tap the sides to loosen the concrete, then slide it out. For flexible molds, peel back the sides to release the vase.
Step 7: Sand the Surface
Using sanding paper, smooth out any rough edges or imperfections on the surface of the vases. Start with a coarser grit and gradually move to a finer grit for a polished finish.
Step 8: Final Touches
Optionally, you can apply a concrete sealer to protect the surface and enhance the color. Allow the sealer to dry completely before using your new concrete vases.
Tips for Personalizing Your Concrete Vases
Consider adding color to your concrete mix using concrete pigments for a unique look. You can also embed decorative stones or tiles into the surface for added texture and interest. The possibilities are endless, allowing you to create a one-of-a-kind piece that reflects your personal style.
Conclusion
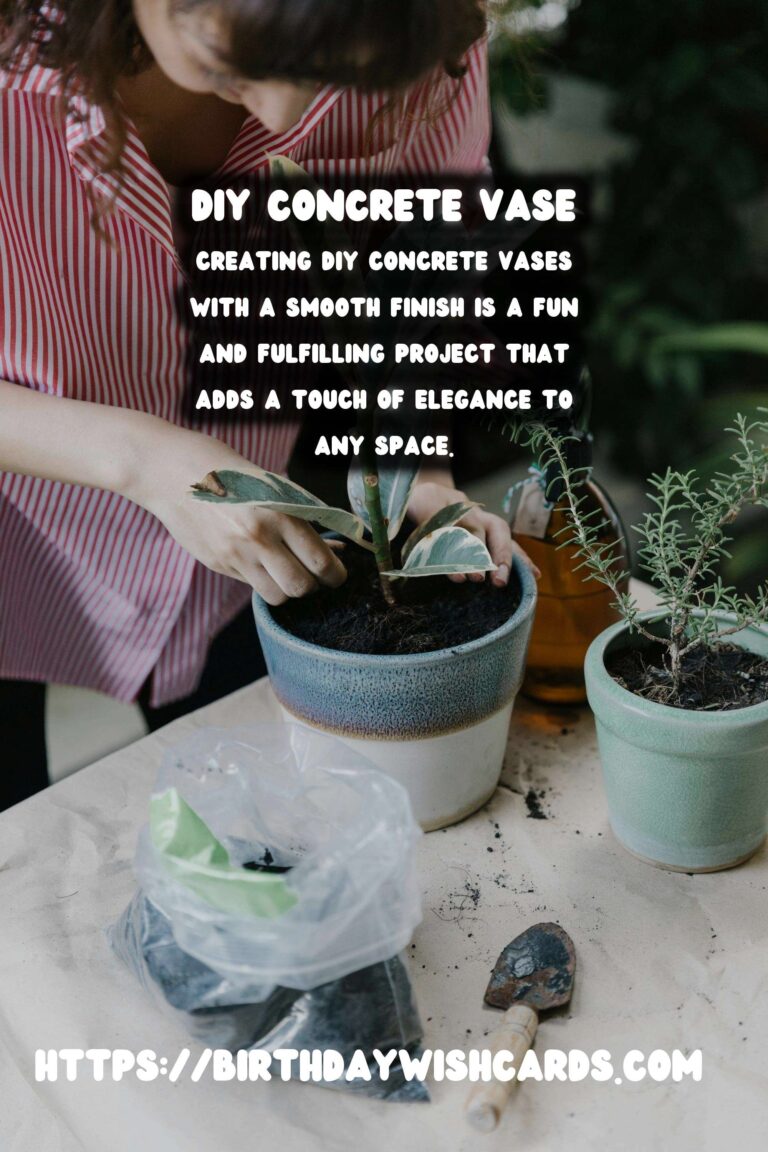
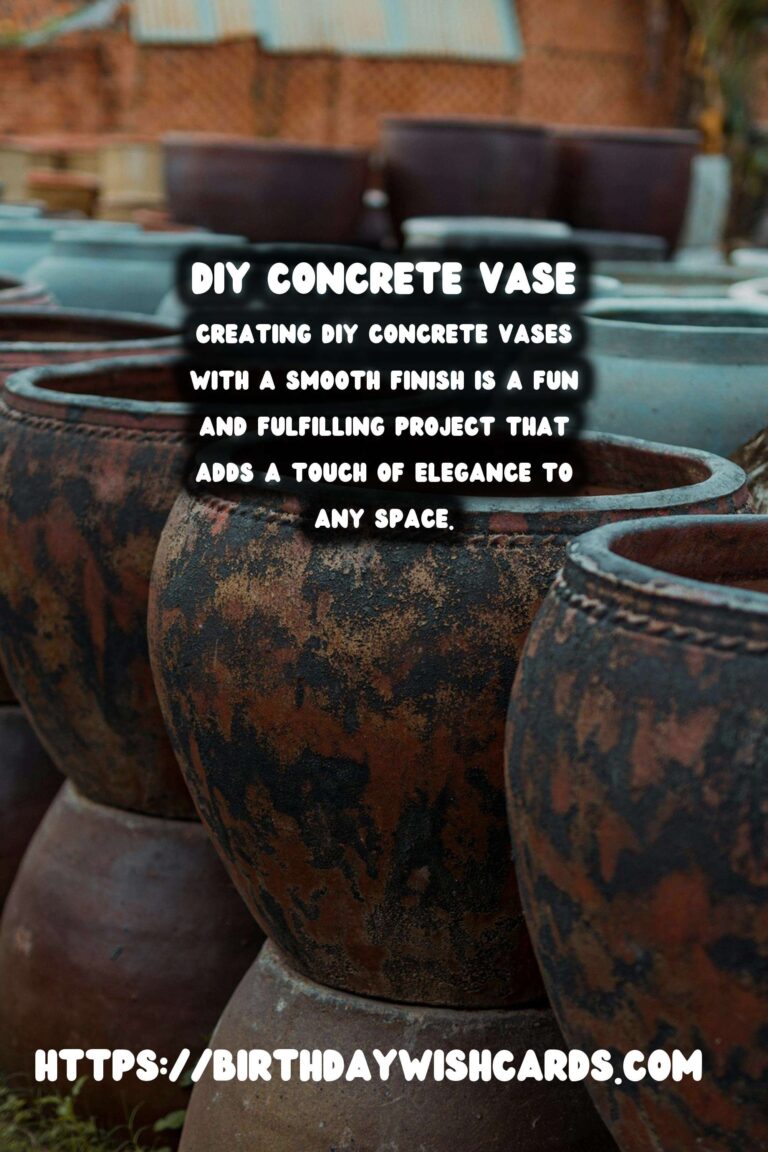
Creating DIY concrete vases with a smooth finish is a fun and fulfilling project that adds a touch of elegance to any space. With the right materials and a bit of patience, you can craft beautiful vases that are both functional and decorative. Whether you’re an experienced DIY enthusiast or a beginner, this project is sure to inspire creativity and add a personal touch to your home décor.
Concrete vases are a stylish and durable addition to any home décor. By crafting your own vases, you have the flexibility to customize the size, shape, and finish to suit your personal taste. The curing time may vary depending on the size of the vase and the specific concrete mix used. Creating DIY concrete vases with a smooth finish is a fun and fulfilling project that adds a touch of elegance to any space. 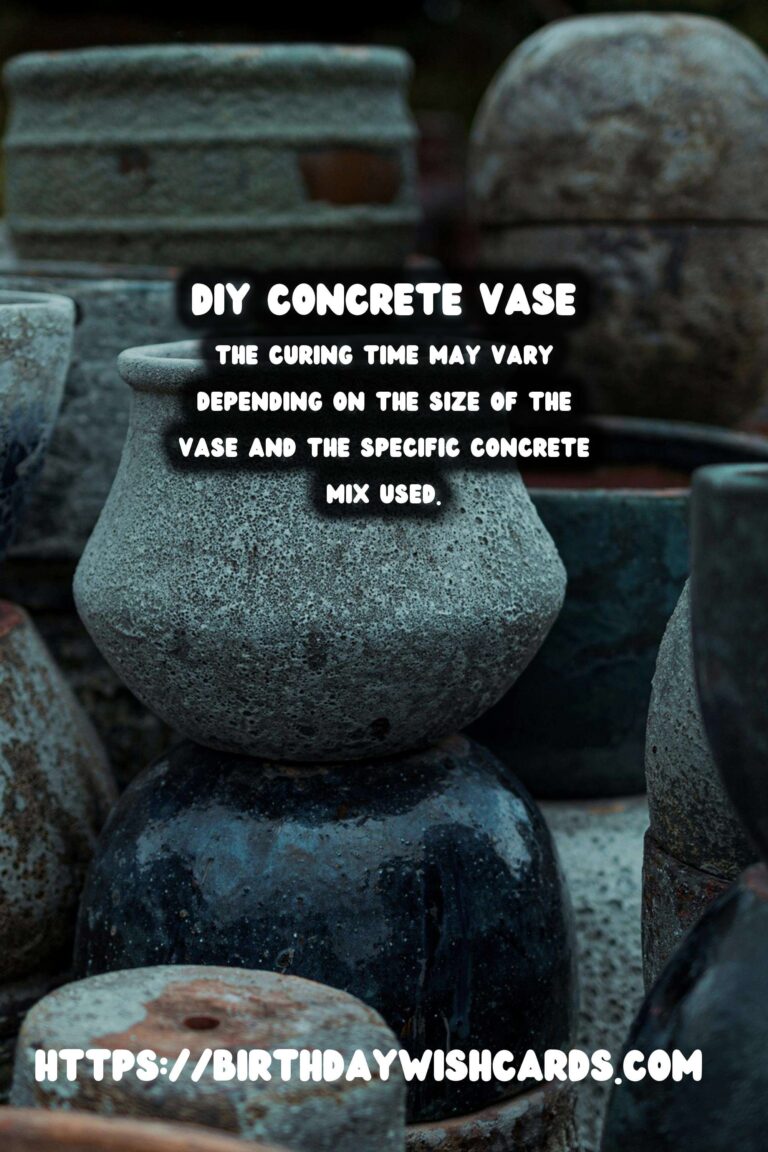


#DIY #ConcreteVases #HomeDecor #Crafting #InteriorDesign