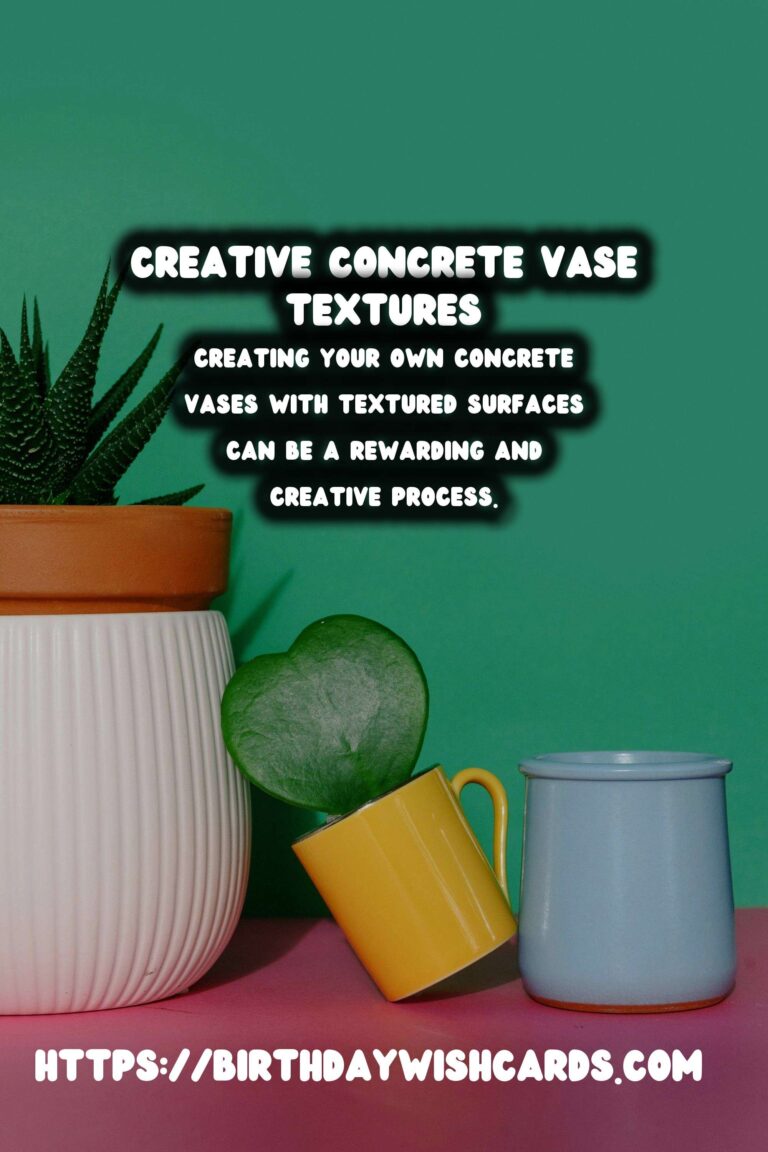
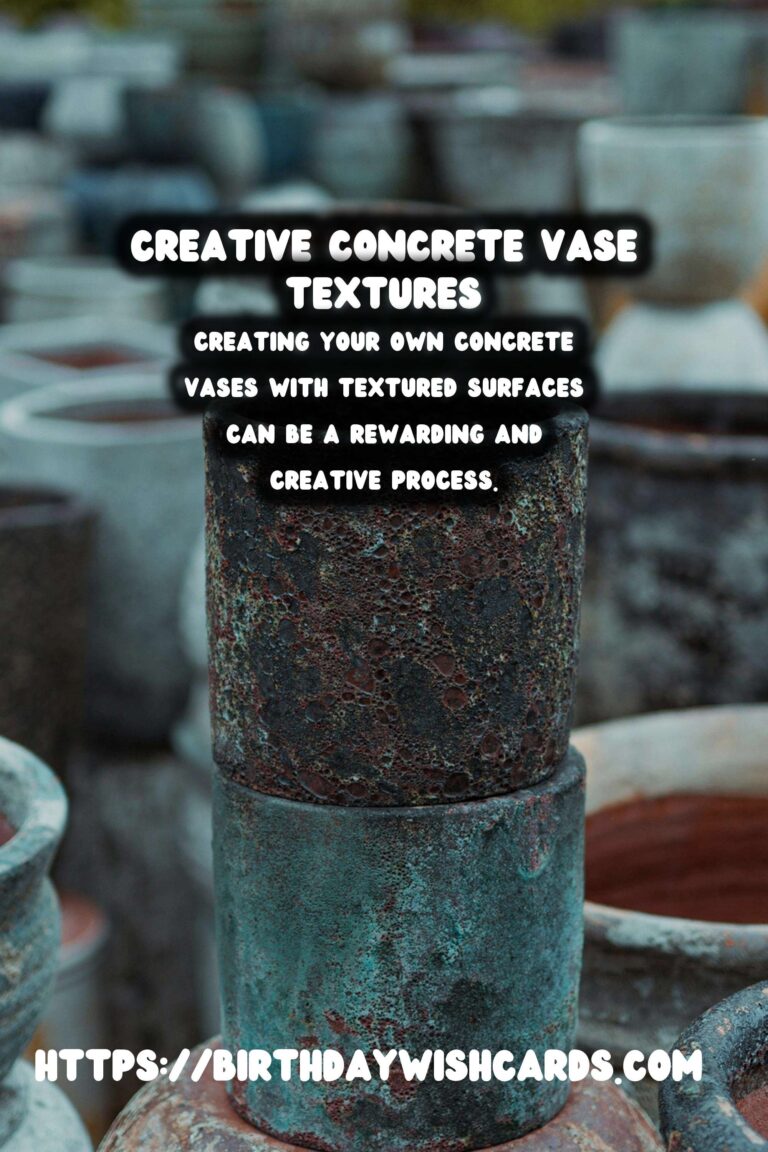
Creating your own concrete vases with textured surfaces can be a rewarding and creative process. These vases not only serve as beautiful decorative pieces but also add a modern and industrial touch to your home decor. In this guide, we will explore the step-by-step process to create stunning DIY concrete vases with unique textures.
Materials Needed for DIY Concrete Vases
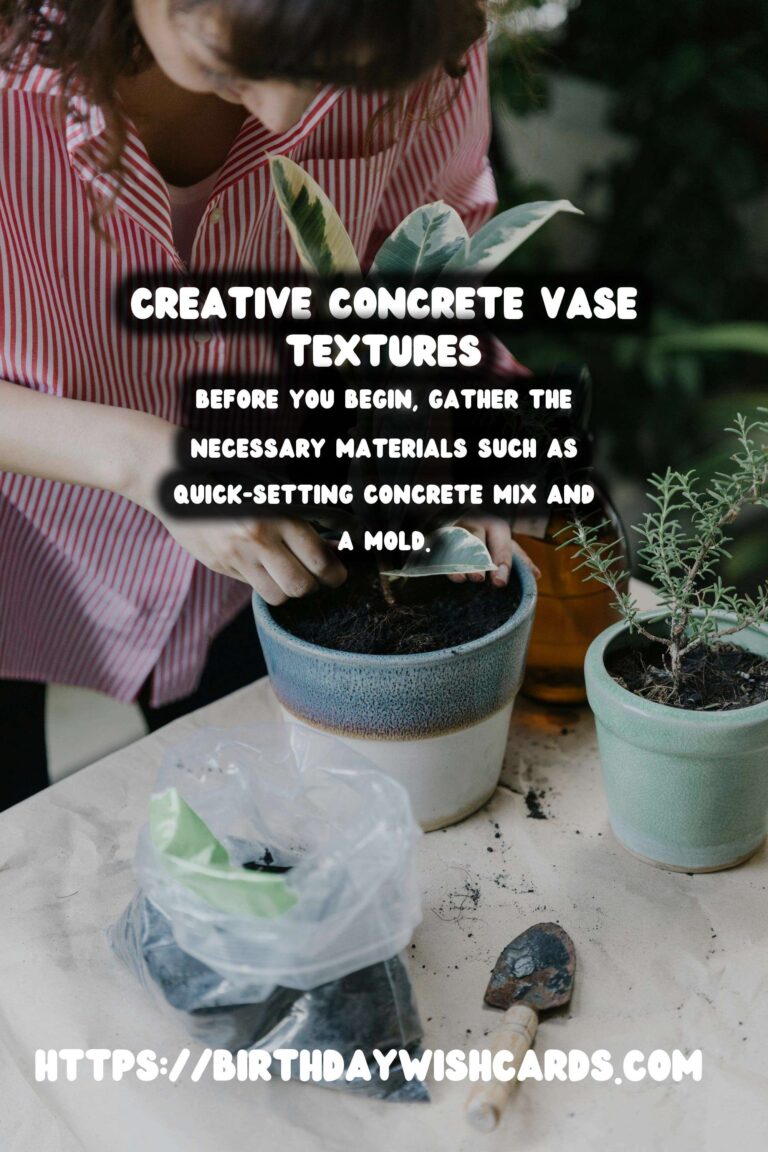
Before you begin, gather the following materials: 1. Quick-setting concrete mix 2. Water 3. Mixing bucket 4. Stirring stick 5. Mold (such as a plastic bottle or silicone mold) 6. Sandpaper 7. Texturing tools (e.g., sponges, fabric, brushes) 8. Safety gear (gloves and mask)
Step-by-Step Instructions
Step 1: Prepare Your Workspace
Start by preparing your workspace. Make sure you have a clean, flat surface to work on, ideally covered with a protective sheet to catch any spills or debris. Wear your safety gear to protect yourself from dust and the concrete mix.
Step 2: Mix the Concrete
In a mixing bucket, combine the quick-setting concrete mix with water according to the package instructions. Stir thoroughly using a stirring stick until you achieve a smooth, lump-free consistency. The mixture should be slightly thicker than pancake batter.
Step 3: Pour the Concrete into the Mold
Carefully pour the mixed concrete into your chosen mold. Use a stick or tool to tap the sides of the mold gently to release any trapped air bubbles, which can affect the strength and appearance of the vase.
Step 4: Add Texture
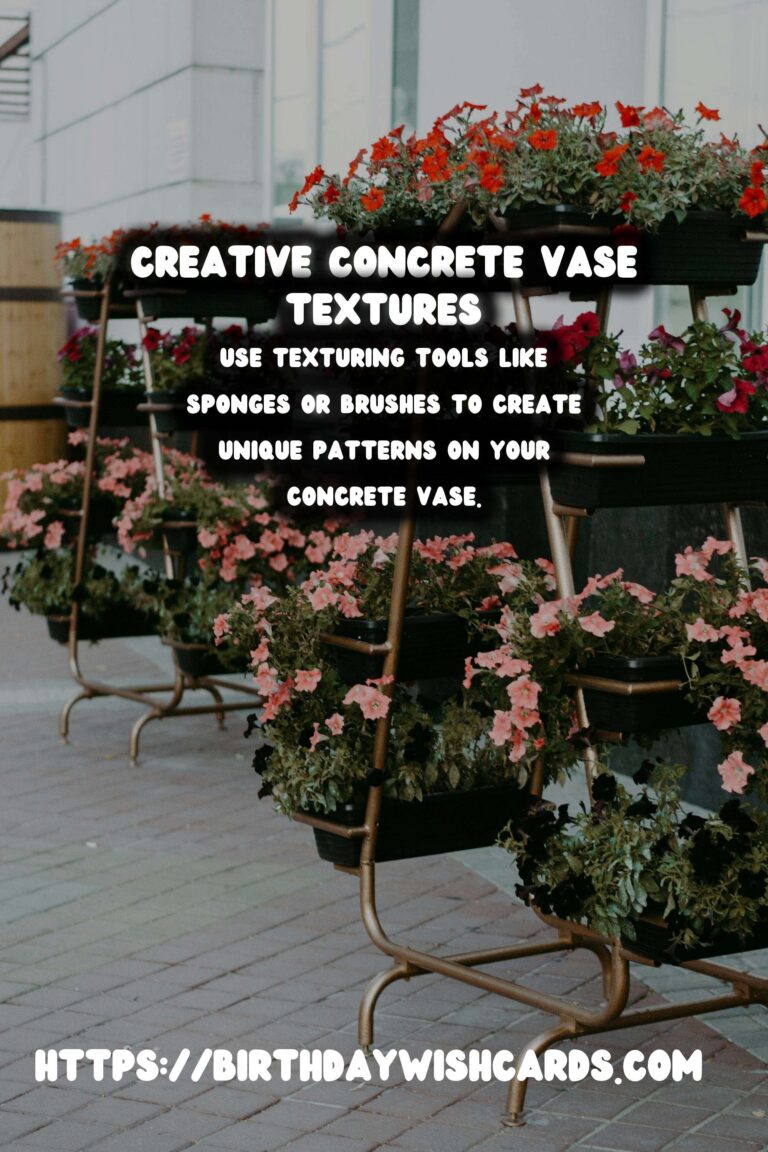
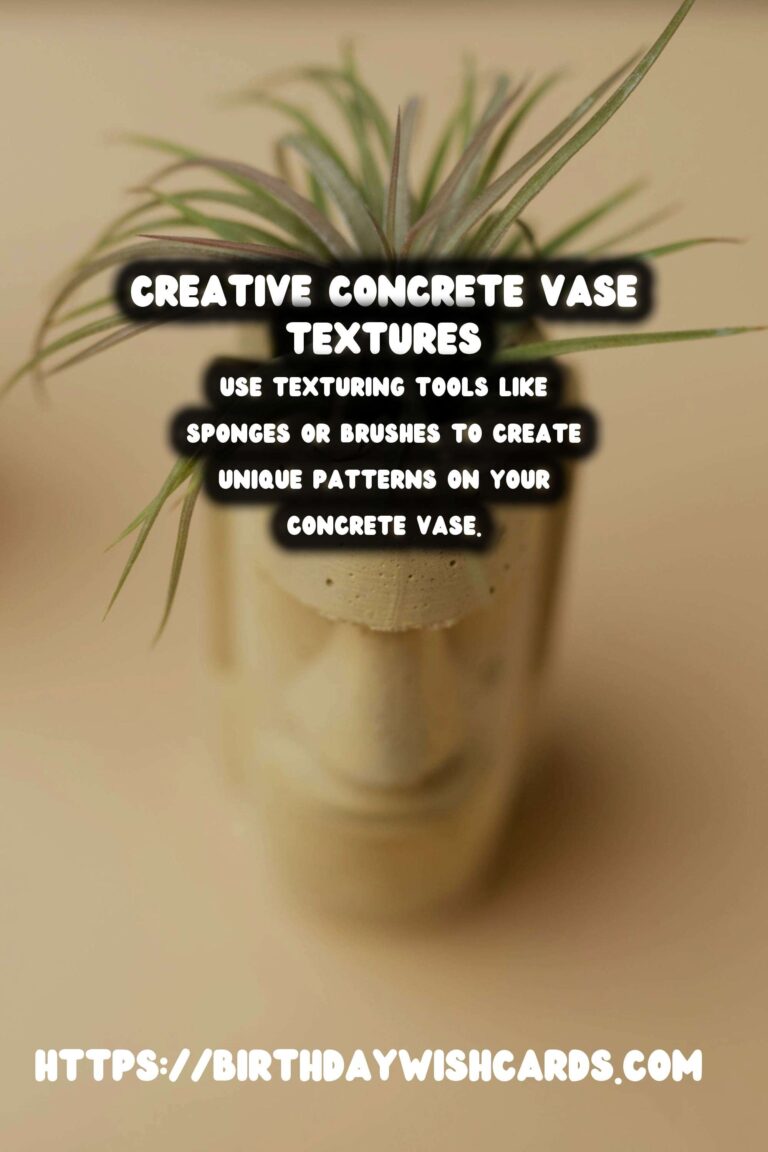
Before the concrete sets completely, use your chosen texturing tools to create patterns and designs on the surface. You can press sponges, fabric, or brushes into the concrete to achieve different textures. Be creative and experiment with various techniques to find the texture you like best.
Step 5: Let the Concrete Cure
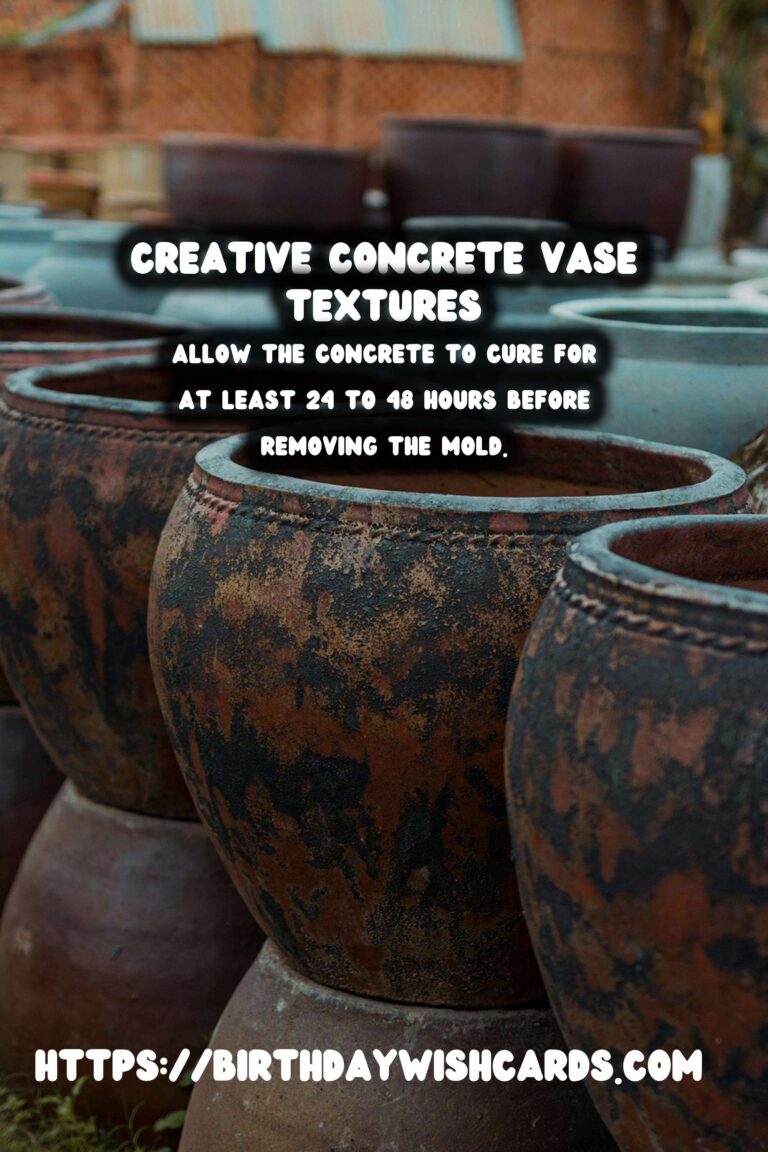
Allow the concrete to cure for at least 24 to 48 hours, depending on the thickness of the vase and the type of concrete used. Ensure the mold is kept in a dry, cool area during the curing process.
Step 6: Remove the Mold
Once the concrete is fully cured, carefully remove the mold. If you used a plastic bottle, you might need to cut it away with a sharp knife or scissors. If you used a silicone mold, gently peel it away from the concrete.
Step 7: Finishing Touches
Use sandpaper to smooth any rough edges or surfaces. You can also apply a sealant to protect the vase and enhance its durability. Finally, consider painting or adding additional decorative elements to personalize your vase.
Tips for Success
Here are some additional tips to ensure your DIY concrete vases turn out beautifully: 1. Experiment with different molds and textures to create a variety of unique designs. 2. Consider using colored concrete or adding pigments for a vibrant look. 3. If you make a mistake, don’t worry. Concrete is forgiving, and you can always start over or adjust your design.
Conclusion
Creating DIY concrete vases with textured surfaces is an enjoyable craft that adds a touch of elegance and modernity to any space. With the right materials and techniques, you can craft stunning pieces that reflect your personal style. Whether you’re looking to add a statement piece to your home or give a handmade gift, these concrete vases are the perfect project.
Creating your own concrete vases with textured surfaces can be a rewarding and creative process. Before you begin, gather the necessary materials such as quick-setting concrete mix and a mold. Use texturing tools like sponges or brushes to create unique patterns on your concrete vase. Allow the concrete to cure for at least 24 to 48 hours before removing the mold. Consider using colored concrete or adding pigments for a vibrant look. 

#DIY #ConcreteVases #HomeDecor #Crafts #InteriorDesign