
Creating a unique and stylish timepiece for your home doesn’t have to be difficult or expensive. With a few materials and some creativity, you can craft a stunning DIY concrete wall clock featuring Roman numerals. This project is perfect for adding a touch of industrial chic to any room. In this guide, we will walk you through the steps to make your own concrete wall clock.
Materials Needed
Before you begin, gather the following materials:
- Concrete mix
- Clock mechanism kit
- Roman numeral stencils
- Mixing bowl and spoon
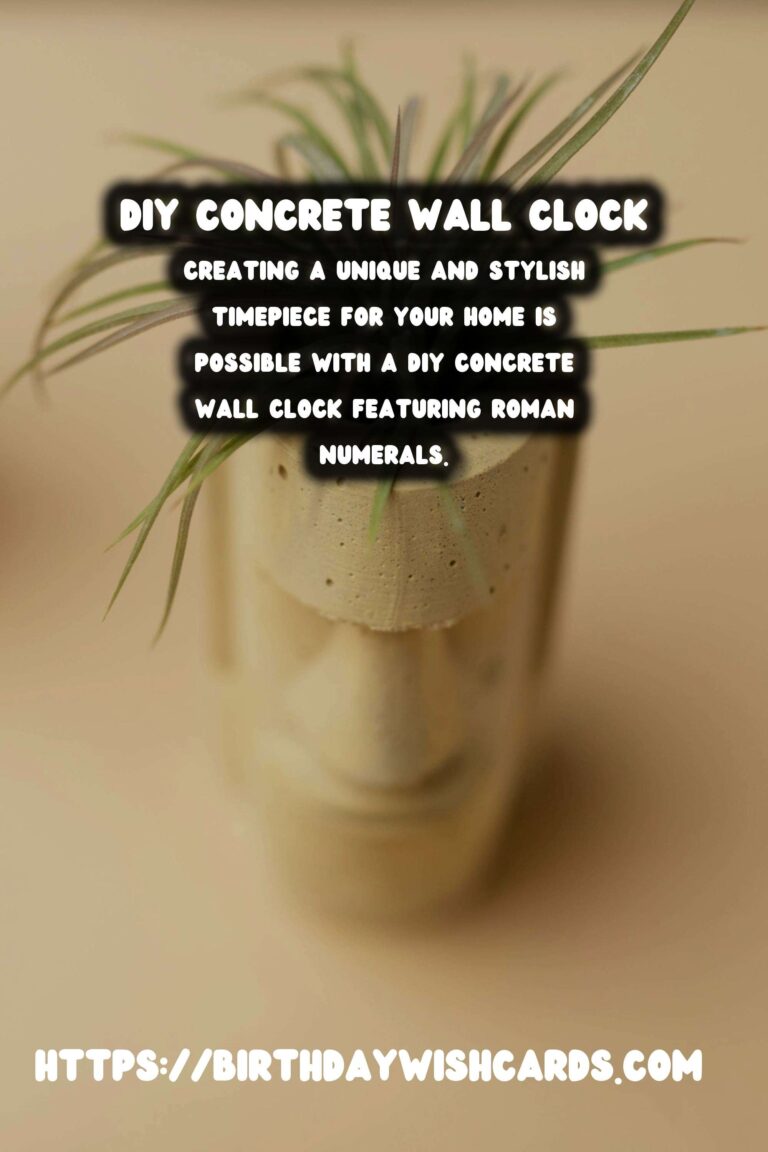
- Mold (a round silicone cake mold works well)
- Sandpaper (medium and fine grit)
- Paint (optional, for adding color to numerals)
- Protective gear (gloves and mask)
Step 1: Prepare the Mold
Start by preparing your mold. Ensure it is clean and dry before use. If you are using a silicone cake mold, you won’t need to apply any release agent, as the silicone will allow the concrete to release easily once it has cured.
Step 2: Mix the Concrete
Follow the instructions on your concrete mix packaging to prepare the concrete. Mix the concrete in a bowl using a spoon, ensuring it has a smooth consistency with no lumps. Make sure to wear gloves and a mask to protect yourself from dust and fumes.
Step 3: Pour the Concrete
Carefully pour the mixed concrete into the prepared mold. Gently tap the sides of the mold to remove any air bubbles and level the surface. Allow the concrete to cure according to the package instructions, typically 24-48 hours.
Step 4: Unmold and Sand
Once the concrete is fully cured, gently remove it from the mold. Use medium-grit sandpaper to smooth any rough edges or surfaces, then follow up with fine-grit sandpaper for a polished finish.
Step 5: Add Roman Numerals
Position the Roman numeral stencils on the clock face, securing them with tape if necessary. If you want a natural concrete look, you can leave the numerals unpainted. For a more colorful or metallic finish, use paint to fill in the stencils. Allow the paint to dry completely.
Step 6: Install the Clock Mechanism
Drill a small hole in the center of the concrete face for the clock mechanism’s shaft. Follow the instructions that came with your clock kit to install the hands and mechanism. Ensure the hands are secure and the clock is functioning correctly.
Step 7: Hang Your Clock
Once the clock mechanism is in place, your concrete wall clock is ready to hang. Choose a suitable location and use a strong hook or nail to support the weight of the clock.
Conclusion
Creating a DIY concrete wall clock with Roman numerals is a rewarding project that adds character and style to your home. With a little effort and creativity, you can enjoy a unique timepiece that is both functional and decorative. Enjoy the satisfaction of displaying your handiwork and the compliments that are sure to follow!
Creating a unique and stylish timepiece for your home is possible with a DIY concrete wall clock featuring Roman numerals. Gathering the right materials is crucial for the success of this project. Mix the concrete until smooth and pour it into the mold, allowing ample time for curing. After the concrete cures, sand it down for a smooth surface and apply Roman numerals using stencils. Install the clock mechanism and hang your finished clock to enjoy its timeless appeal. 


#DIY #ConcreteClock #RomanNumerals #HomeDecor #WallClock