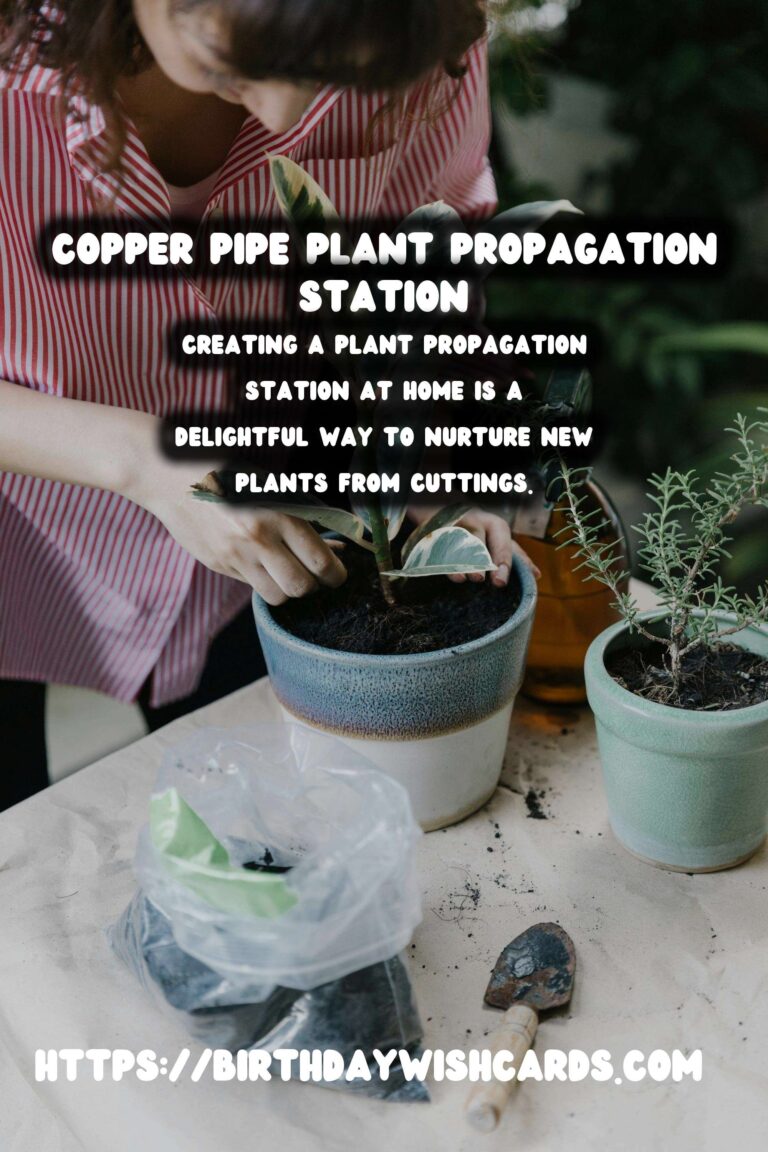
Creating a plant propagation station at home is a delightful way to nurture new plants from cuttings. Using copper pipes not only adds an aesthetic appeal but also provides a sturdy structure. In this guide, we will walk you through the steps to build a functional and stylish propagation station using copper pipes and multiple vials.
Materials Needed for Your Copper Pipe Propagation Station
Before you begin, gather all the necessary materials. You will need:
- Copper pipes (cut into desired lengths)
- Copper pipe fittings (elbows, tees, and caps)
- Glass vials or test tubes
- Pipe cutter
- Sandpaper or a metal file
- Measuring tape
- Marker or pencil
Step-by-Step Guide to Assembling the Propagation Station
Step 1: Design Your Propagation Station
Determine the size and shape of your propagation station. Consider the number of vials you want to include and how they will be spaced. Sketch your design on paper to serve as a guide. A simple rectangular or square design with evenly spaced vials is a popular choice.
Step 2: Cutting the Copper Pipes
Using a pipe cutter, carefully cut the copper pipes to the lengths needed for your design. Ensure that the cuts are clean and even. Use sandpaper or a metal file to smooth any rough edges.
Step 3: Assemble the Frame
Begin assembling the frame by fitting the pipes together with the copper fittings. Connect the pipes using elbows and tees to form the base and vertical supports of the structure. Ensure that all connections are snug and secure.
Step 4: Attach the Vials
Decide on the placement of the vials along the copper structure. Use copper pipe clips or wire to securely attach each vial to the frame. Make sure they are positioned evenly and at a height that allows easy access to the plant cuttings.
Step 5: Finishing Touches
Once the frame is assembled and the vials are in place, inspect the entire structure for stability. Make any necessary adjustments to ensure it stands firmly. Optionally, polish the copper for extra shine and apply a clear sealant to prevent tarnishing.
Using Your Copper Pipe Propagation Station
Fill each vial with water and insert plant cuttings. Place the station in a location with adequate sunlight and monitor the water levels regularly. Within a few weeks, you should see roots developing, indicating successful propagation.
Benefits of Using a Copper Pipe Propagation Station
This DIY project not only enhances your indoor gardening experience but also serves as a unique decorative piece. Copper’s antimicrobial properties help keep the water clean, promoting healthy root growth.
Creating a copper pipe propagation station is a rewarding and creative project that combines functionality with style, perfect for any plant enthusiast.
Creating a plant propagation station at home is a delightful way to nurture new plants from cuttings. Using copper pipes not only adds an aesthetic appeal but also provides a sturdy structure. Determine the size and shape of your propagation station before beginning. Carefully cut the copper pipes to the lengths needed for your design. Secure each vial to the frame using copper pipe clips or wire. Copper’s antimicrobial properties help keep the water clean, promoting healthy root growth. 


#DIY #PlantPropagation #CopperPipe #Gardening #HomeDecor