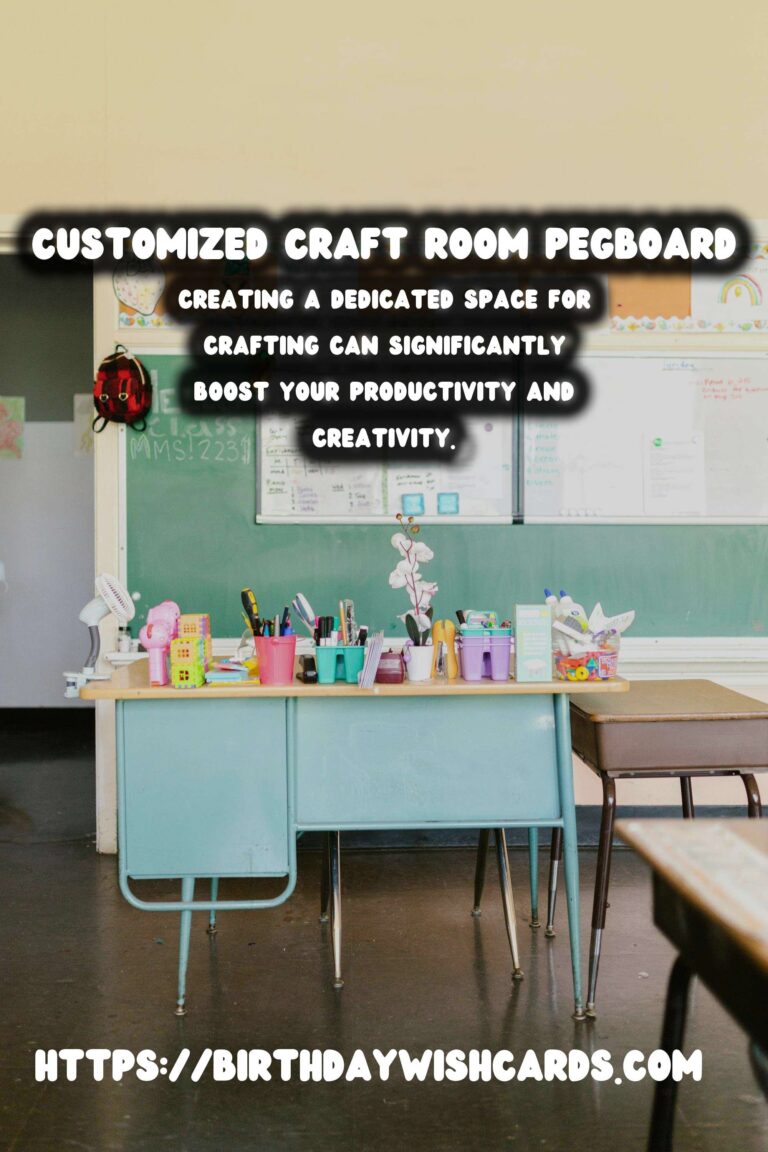
Creating a dedicated space for crafting can significantly boost your productivity and creativity. One of the most effective ways to organize your craft room is by adding a customized pegboard. With a pegboard, you can keep your tools and materials within arm’s reach while also maximizing your available space. In this article, we’ll guide you through the process of creating a DIY craft room pegboard that not only serves its functional purpose but also adds an aesthetic touch to your space.
Benefits of a Pegboard in Your Craft Room
Pegboards offer a versatile solution for organizing craft supplies. They allow you to utilize vertical space efficiently, which is especially beneficial in small rooms. By keeping items off the floor and countertops, you create a cleaner and more inviting environment. Moreover, pegboards are highly customizable, enabling you to arrange hooks, shelves, and baskets according to your needs. This flexibility means that you can easily adjust your setup as your collection of craft supplies grows.
Materials Needed for Your DIY Pegboard
Before you start building your pegboard, gather the necessary materials. You’ll need the following:
- Pegboard panel: Choose a size that fits your wall space.
- Wood spacers or furring strips: These will create space between the wall and the pegboard for hook insertion.
- Hooks, baskets, and shelves: Select various accessories based on your storage needs.
- Drill and screws: Essential for mounting the pegboard to the wall.
- Paint or stain (optional): To match the pegboard with your room’s decor.
Step-by-Step Guide to Installing Your Pegboard
Step 1: Prepare Your Wall
Begin by selecting the wall where you want to install the pegboard. Use a level to ensure that the area is straight. If you plan to paint or wallpaper your craft room, do so before installing the pegboard to avoid any mess.
Step 2: Attach the Spacers
Attach wood spacers or furring strips to the wall using a drill and screws. These spacers will create a gap between the wall and the pegboard, allowing you to insert hooks easily. Ensure that the spacers are evenly spaced and securely attached.
Step 3: Mount the Pegboard
Align the pegboard with the spacers and use screws to secure it. Double-check that the pegboard is level before tightening the screws completely.
Step 4: Customize Your Pegboard
Once the pegboard is mounted, it’s time to customize it. Arrange hooks, shelves, and baskets based on your crafting habits. Consider using a variety of accessories to accommodate different tools, such as scissors, ribbons, and paintbrushes. You can also add labels to help maintain organization.
Creative Ideas for Decorating Your Pegboard
Beyond its functional benefits, a pegboard can also enhance the aesthetic of your craft room. Consider painting the pegboard in a vibrant color that complements your room’s theme. You might also add decorative elements like washi tape or fabric to create patterns. Hanging small frames or artwork can personalize your space further.
Maintaining Your Pegboard
To keep your pegboard organized, regularly reassess your storage needs. As you acquire new supplies, adjust the arrangement to prevent clutter. Periodically cleaning the pegboard and its accessories will also help maintain a tidy and inspiring craft room.
Conclusion
A DIY craft room pegboard is an excellent way to organize and beautify your creative space. By following the steps outlined above, you can easily build a pegboard that meets your specific needs. Remember to personalize it with creative touches to make your craft room both functional and visually appealing.
Creating a dedicated space for crafting can significantly boost your productivity and creativity. Pegboards offer a versatile solution for organizing craft supplies. They allow you to utilize vertical space efficiently, which is especially beneficial in small rooms. Before you start building your pegboard, gather the necessary materials. Begin by selecting the wall where you want to install the pegboard. Consider painting the pegboard in a vibrant color that complements your room’s theme. A DIY craft room pegboard is an excellent way to organize and beautify your creative space. 
#DIY #CraftRoom #Pegboard #Organization #InteriorDesign #CreativeSpace


