Decorative lanterns have always been a charming addition to both indoor and outdoor spaces. They create a cozy atmosphere and add a touch of elegance to any setting. If you’re looking to add a personal touch to your decor, why not try making your own decorative lanterns with pressed flowers? This DIY project is not only easy but also allows you to preserve the beauty of nature in a creative way.
Why Choose Pressed Flowers for Lanterns?
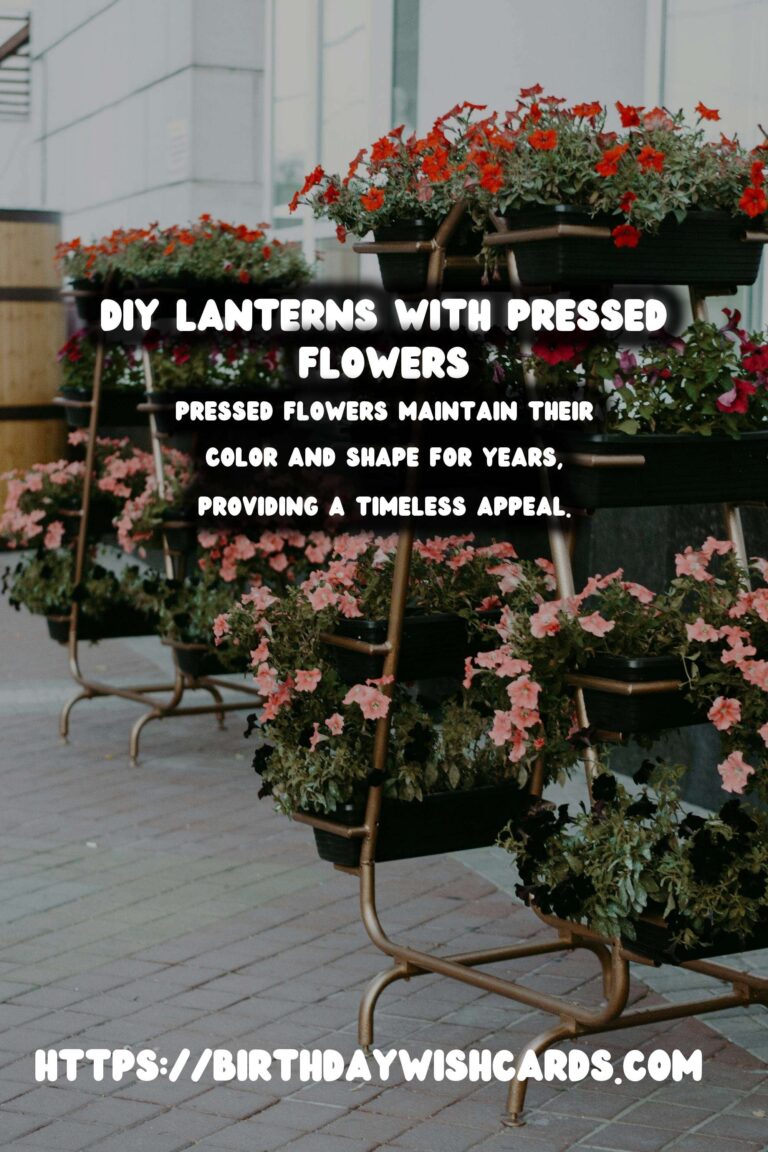
Pressed flowers are a wonderful way to incorporate natural beauty into your home decor. They maintain their color and shape for years, providing a timeless appeal. Using pressed flowers in lanterns adds a delicate and artistic touch, making each piece unique and personal.
Materials Needed
Before you begin, gather these materials:
- Glass lanterns or jars
- Pressed flowers (you can press your own or purchase them)
- Mod Podge or clear-drying glue
- Paintbrush
- Scissors
- Optional: glitter, ribbons, or other decorative elements
Step-by-Step Instructions
Step 1: Selecting Your Flowers
Choose flowers that are vibrant and have thin petals, as these press well and adhere easily to glass surfaces. Some popular choices include pansies, daisies, and violets.
Step 2: Pressing the Flowers
If you haven’t already pressed your flowers, do so by placing them between two sheets of parchment paper and pressing them under a heavy book for about a week. Alternatively, you can use a flower press if you have one.
Step 3: Preparing the Lantern
Clean the surface of the lantern or jar to ensure the glue adheres properly. Dry it thoroughly before proceeding.
Step 4: Arranging the Flowers
Plan your design by arranging the pressed flowers on the surface of the lantern. Play around with different placements until you find a layout that you love.
Step 5: Adhering the Flowers
Using a paintbrush, apply a thin layer of Mod Podge or clear-drying glue on the lantern where you want to place a flower. Gently press the flower onto the glued area and smooth it out with your fingers or a soft brush to remove any air bubbles.
Step 6: Sealing the Design
Once all the flowers are in place, apply another layer of Mod Podge over the entire surface of the lantern to seal the flowers. This will protect the flowers and give the lantern a finished look.
Step 7: Adding Final Touches
If desired, add some glitter or ribbons around the top or base of the lantern for added flair. Allow everything to dry completely before using your lantern.
Displaying Your Lantern
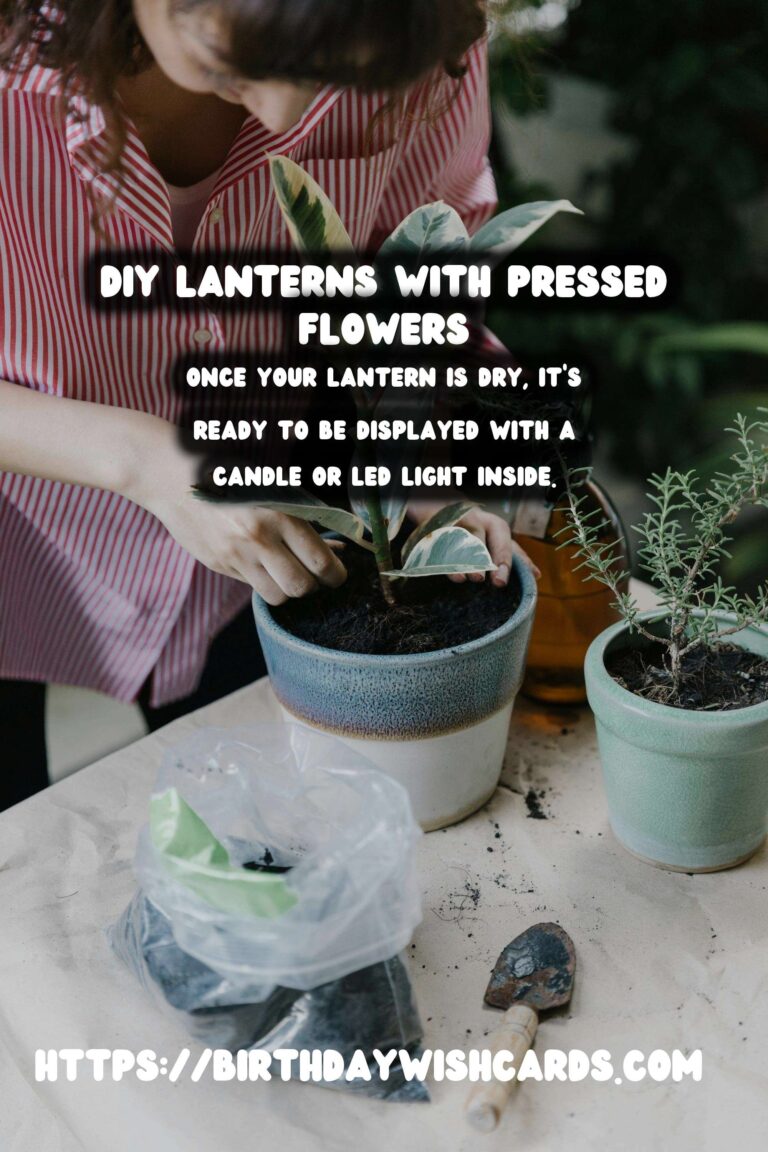
Once your lantern is dry, it’s ready to be displayed! Place a candle or LED light inside to illuminate the flowers, casting beautiful shadows and colors. These lanterns make excellent centerpieces for dining tables, accents for patios, or even nightlights in bedrooms.
Conclusion
Creating DIY decorative lanterns with pressed flowers is a rewarding project that combines creativity with the beauty of nature. It’s an enjoyable activity that results in a stunning piece of decor that can brighten up any space. So go ahead, gather your materials, and let your creativity bloom!
Decorative lanterns with pressed flowers add a personal touch and create a cozy atmosphere. Pressed flowers maintain their color and shape for years, providing a timeless appeal. This DIY project allows you to preserve the beauty of nature in a creative way. Using a paintbrush, apply a thin layer of Mod Podge or clear-drying glue on the lantern. Once your lantern is dry, it’s ready to be displayed with a candle or LED light inside. 


#DIY #DecorativeLanterns #PressedFlowers #HomeDecor #Crafts