
Creating a visually appealing indoor garden doesn’t have to be complicated or expensive. With a few simple materials and some creativity, you can transform ordinary planters into decorative pieces that complement your home’s interior. In this article, we’ll guide you through the process of making no-sew fabric-covered planters. This DIY project is perfect for anyone looking to add a personal touch to their plant displays without the need for sewing skills.
Why Choose Fabric Covered Planters?
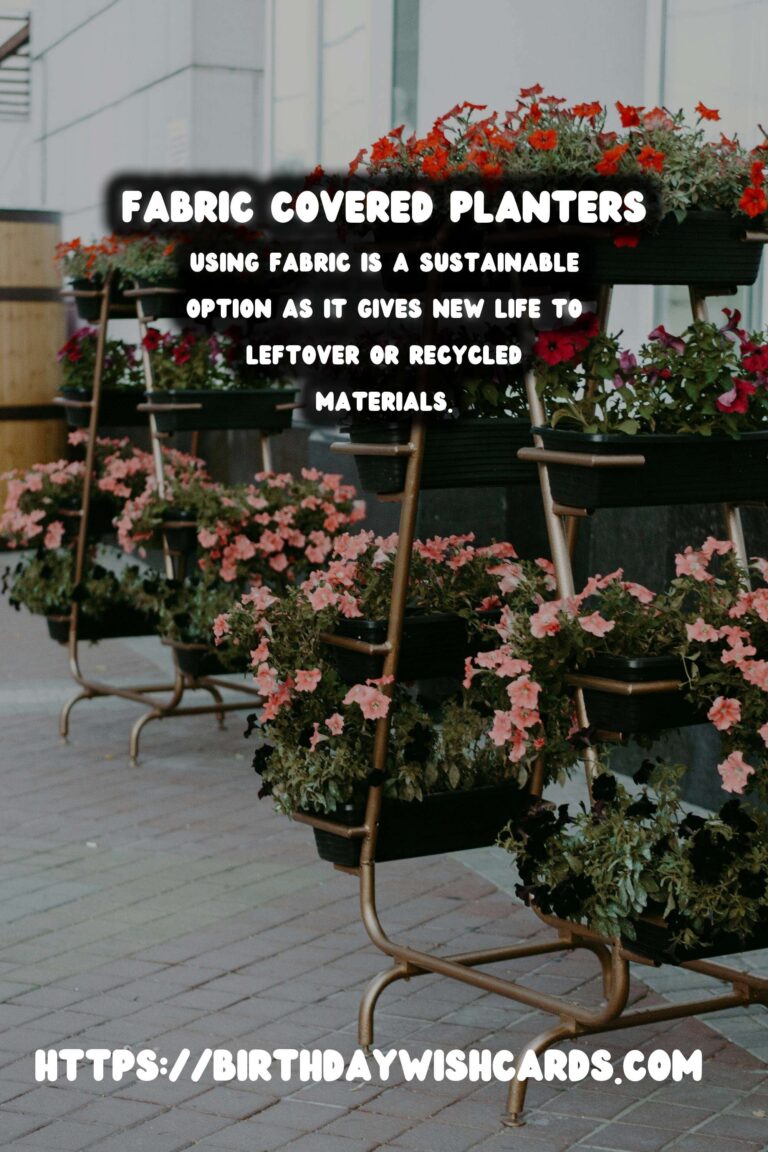
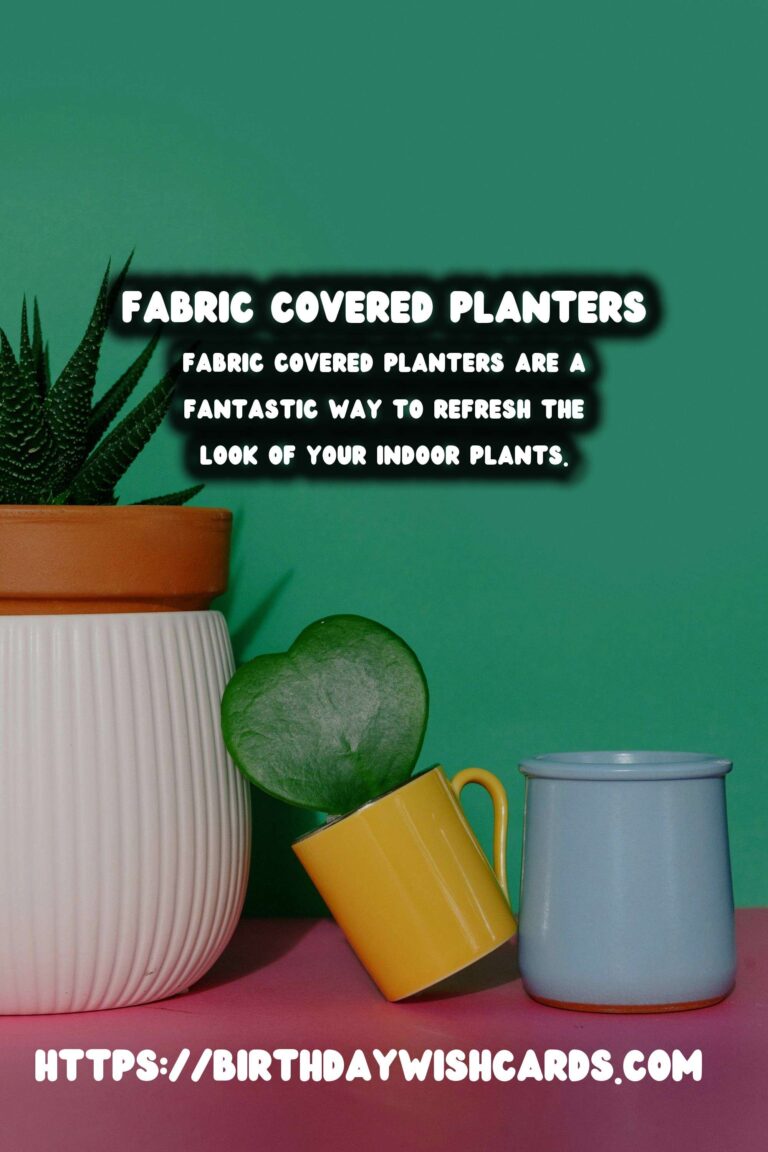
Fabric covered planters are a fantastic way to refresh the look of your indoor plants. Not only do they add texture and color, but they also allow you to customize your decor to match your personal style. Additionally, using fabric is a sustainable option as it gives new life to leftover or recycled materials.
Materials Needed for No-Sew Fabric Covered Planters
Before you begin, gather the following materials:
- Planters or pots of your choice
- Fabric (cotton, linen, or any lightweight fabric)
- Fabric glue or Mod Podge
- Scissors
- Paintbrush or foam brush
- Measuring tape
- Optional: embellishments such as ribbons, buttons, or beads
Step-by-Step Instructions
Step 1: Measure Your Planter
Start by measuring the height and circumference of your planter. This will help you determine how much fabric you’ll need. Add an extra inch to the height measurement to allow for an overlap at the bottom and top of the planter.
Step 2: Cut the Fabric
Using your measurements, cut a piece of fabric that will wrap around the planter with a little extra for gluing. Ensure that the fabric is straight and free of any wrinkles.
Step 3: Apply Fabric Glue
Apply fabric glue or Mod Podge to the outside of the planter using a paintbrush or foam brush. Make sure to cover the entire surface evenly.
Step 4: Attach the Fabric
Carefully wrap the fabric around the planter, pressing it firmly to adhere to the glue. Smooth out any bubbles or wrinkles as you go. Overlap the fabric at the end and apply a little extra glue to secure it in place.
Step 5: Finish the Edges
Fold the excess fabric over the top and bottom edges of the planter and glue it down. This will create a clean finish and prevent the fabric from fraying.
Step 6: Optional Decorations
If desired, add embellishments such as ribbons, buttons, or beads to enhance the look of your fabric-covered planter. Use glue to adhere these items securely.
Tips for Choosing Fabric
When selecting fabric for your planters, consider the following tips:
- Choose colors and patterns that complement your existing decor.
- Opt for durable, washable fabrics to ensure longevity.
- Consider using outdoor fabric if your planters will be exposed to moisture or direct sunlight.
Conclusion
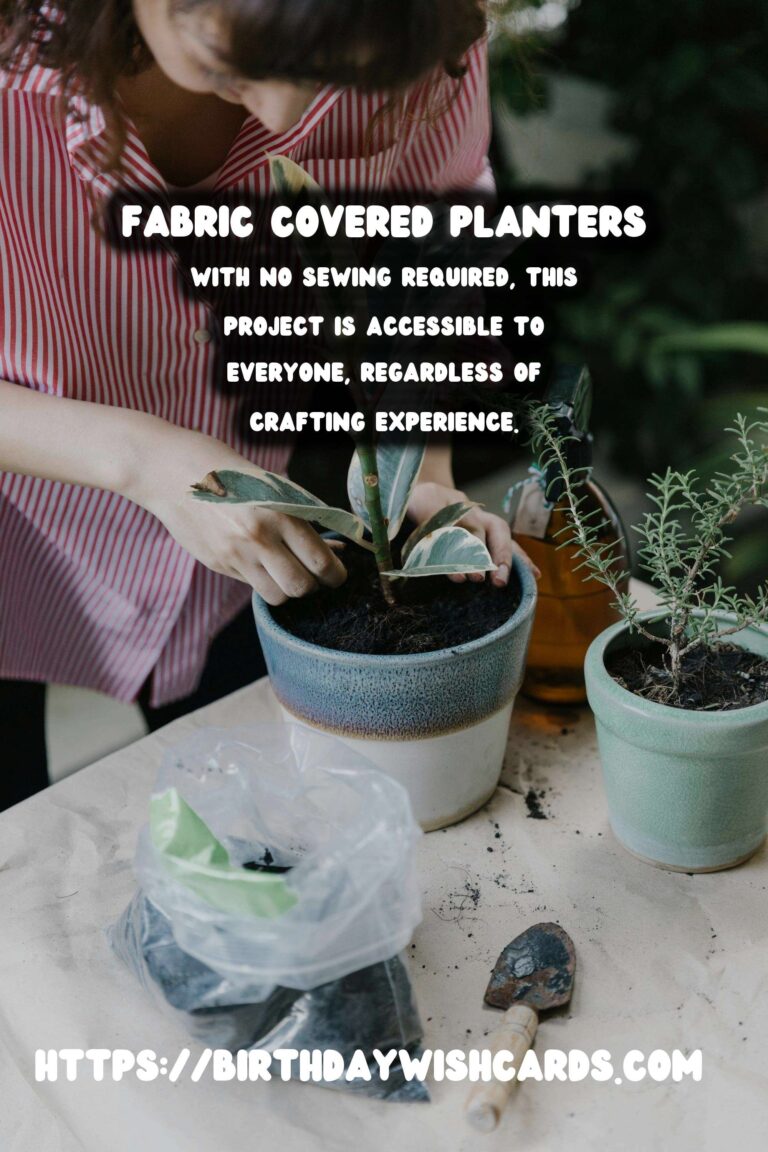
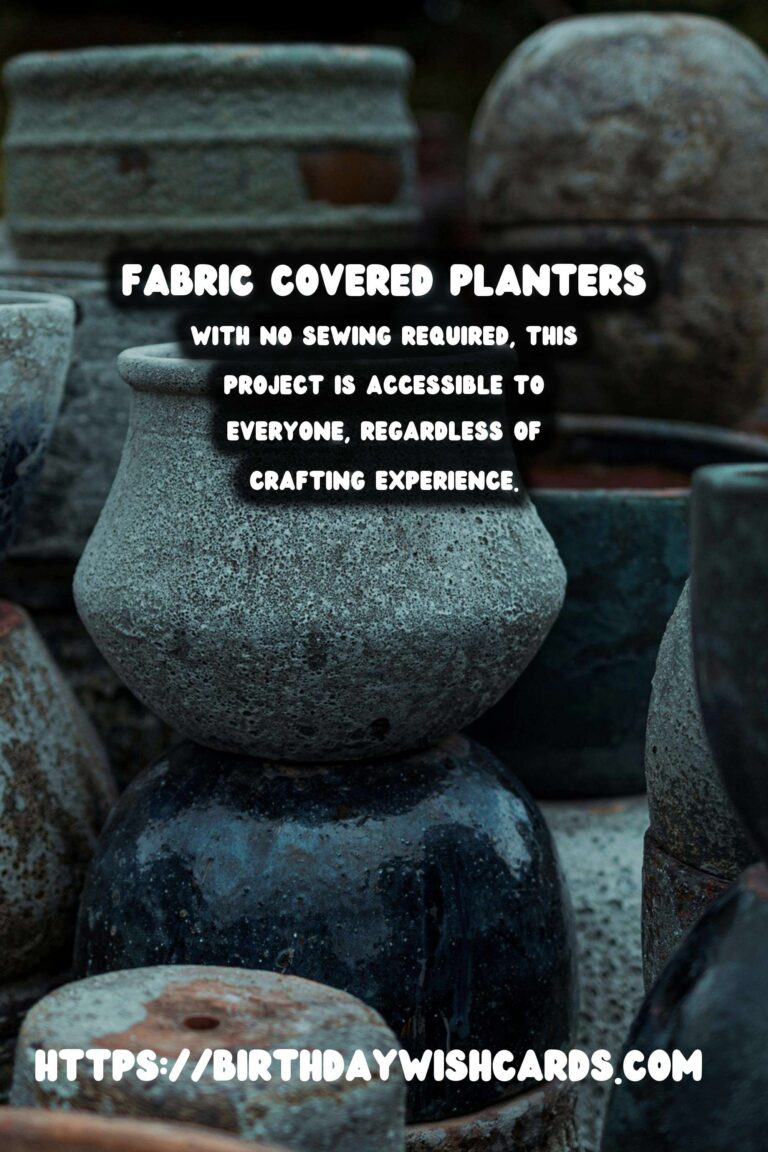
DIY fabric-covered planters are a simple yet effective way to enhance your indoor garden. With no sewing required, this project is accessible to everyone, regardless of crafting experience. Not only do these planters add a splash of color and texture to your home, but they also provide a fun and creative outlet. By following this guide, you’ll be able to create beautiful planters that reflect your personal style and brighten up any space.
Fabric covered planters are a fantastic way to refresh the look of your indoor plants. This DIY project is perfect for anyone looking to add a personal touch to their plant displays without the need for sewing skills. Using fabric is a sustainable option as it gives new life to leftover or recycled materials. With no sewing required, this project is accessible to everyone, regardless of crafting experience. 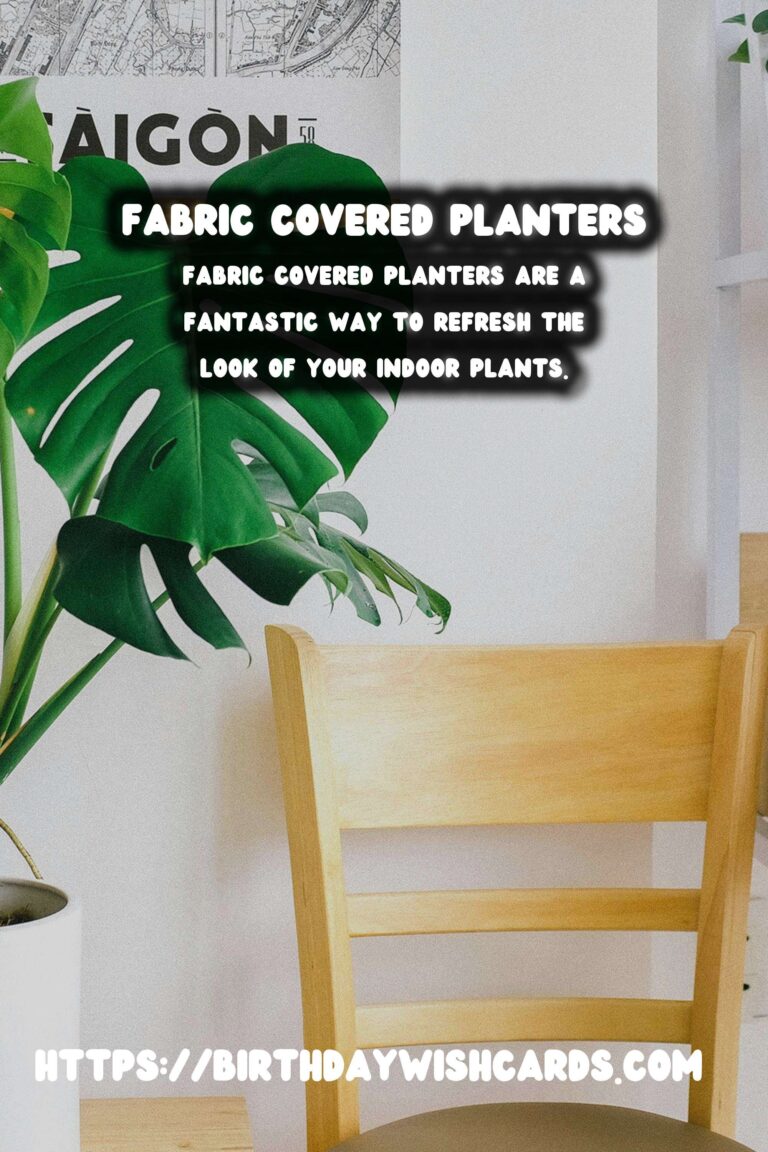
#DIY #FabricCoveredPlanters #IndoorGardening #NoSew #HomeDecor


