

Creating a serene and aesthetically pleasing environment in your bedroom can be greatly enhanced by the addition of greenery. One of the most innovative and stylish ways to incorporate plants into your bedroom decor is by installing DIY floating plant shelves. These shelves not only provide a unique and modern look but also save floor space and allow you to display your favorite plants at eye level.
Why Choose Floating Plant Shelves?
Floating plant shelves offer a minimalist and sleek design that can complement any bedroom style. They provide an excellent solution for small spaces where floor space is limited. By elevating plants, you create a more dynamic visual effect, making your room appear larger and more vibrant.
Moreover, floating plant shelves allow for better light exposure for your plants, which can be crucial for their growth, especially in a bedroom setting where natural light might be limited.
Materials Needed for DIY Floating Plant Shelves
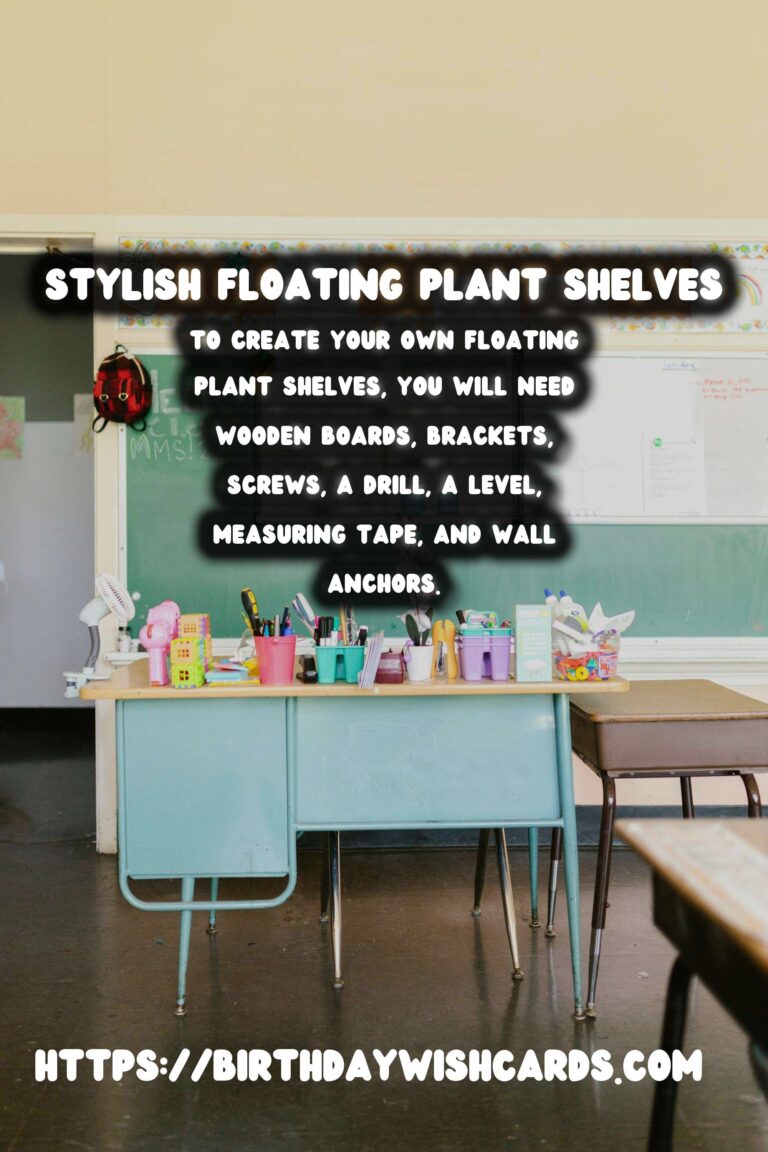
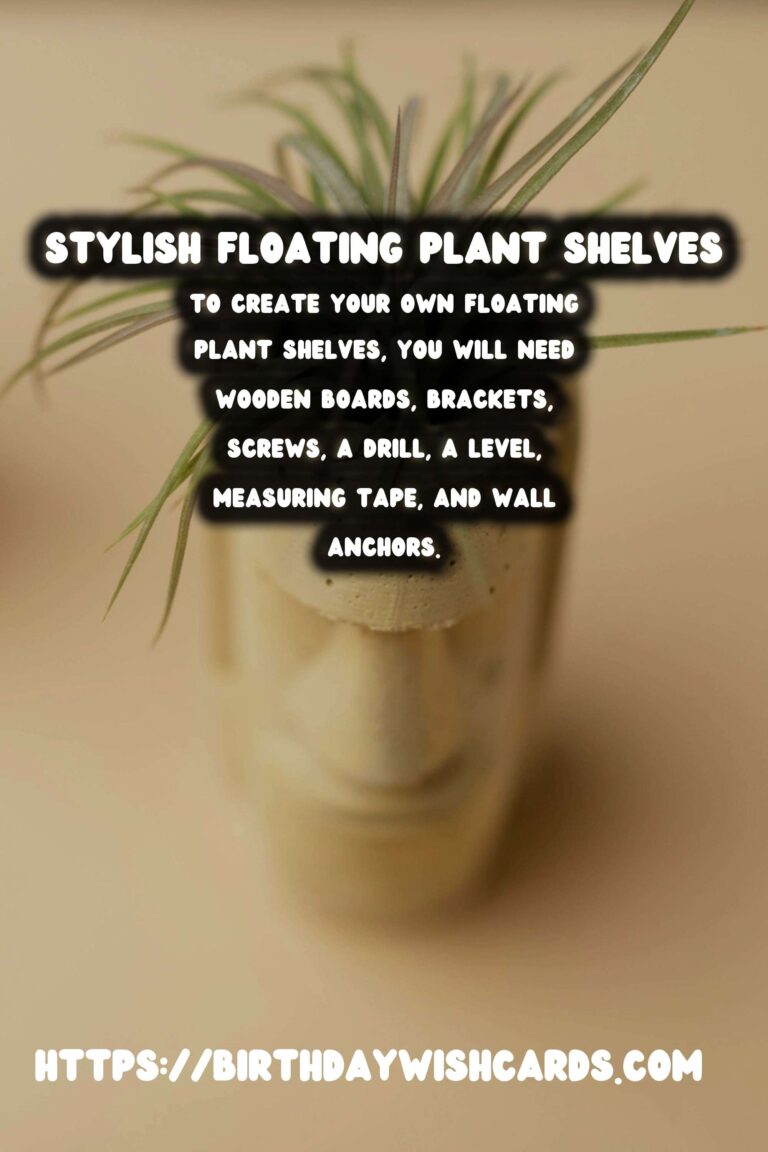
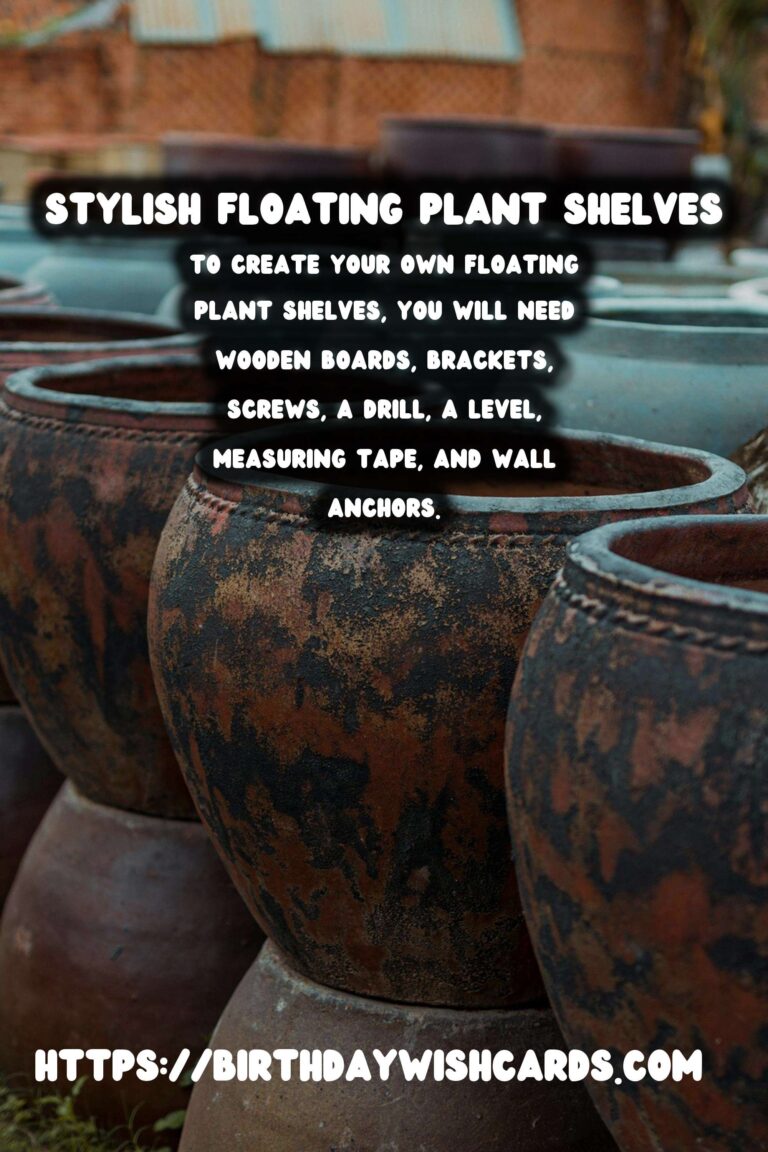
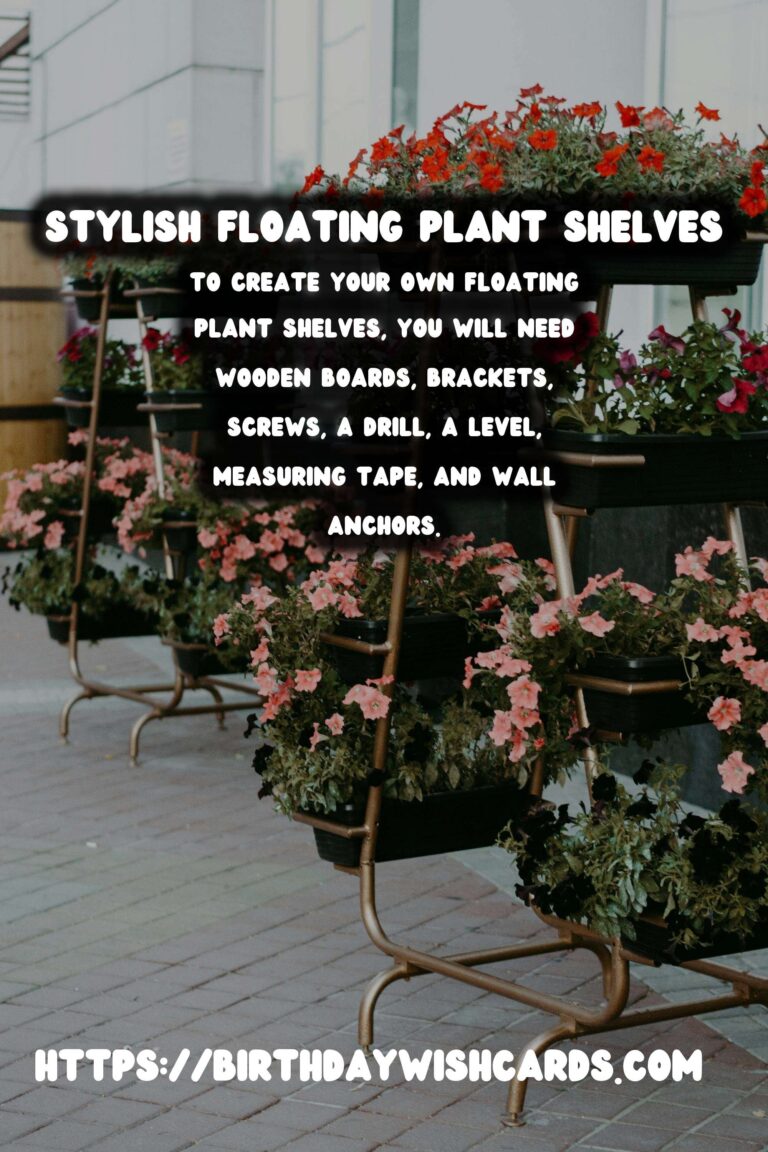
To create your own floating plant shelves, you will need the following materials: wooden boards or shelves, brackets or invisible shelf supports, screws, a drill, a level, measuring tape, and wall anchors. You may also want to consider adding a protective finish to your wooden shelves to prevent water damage from the plants.
Step-by-Step Guide to Building Floating Plant Shelves
Step 1: Plan Your Layout
Before starting the installation, plan where you want to place your shelves. Consider the size and number of plants you wish to display, as well as the height and spacing between each shelf. Use a measuring tape and level to mark the positions on your wall.
Step 2: Install the Brackets or Supports
Using a drill, attach the brackets or invisible supports to the wall at the marked spots. Ensure they are level and securely fastened, as they will bear the weight of the plants and shelves.
Step 3: Attach the Shelves
Place the wooden boards onto the brackets or supports. Use screws to fasten them securely. Check again with a level to ensure they are even.
Step 4: Add Your Plants
Once your shelves are securely in place, arrange your plants on them. Consider using a variety of plant sizes and types to create a visually interesting display. Hanging plants or trailing vines can add a cascading effect, enhancing the overall look.
Caring for Plants on Floating Shelves
Plants on floating shelves require regular care and maintenance. Ensure they have adequate light and remember to water them according to their needs. Use plant trays or waterproof liners to protect your shelves from water damage. Rotate plants regularly to ensure even growth.
Conclusion
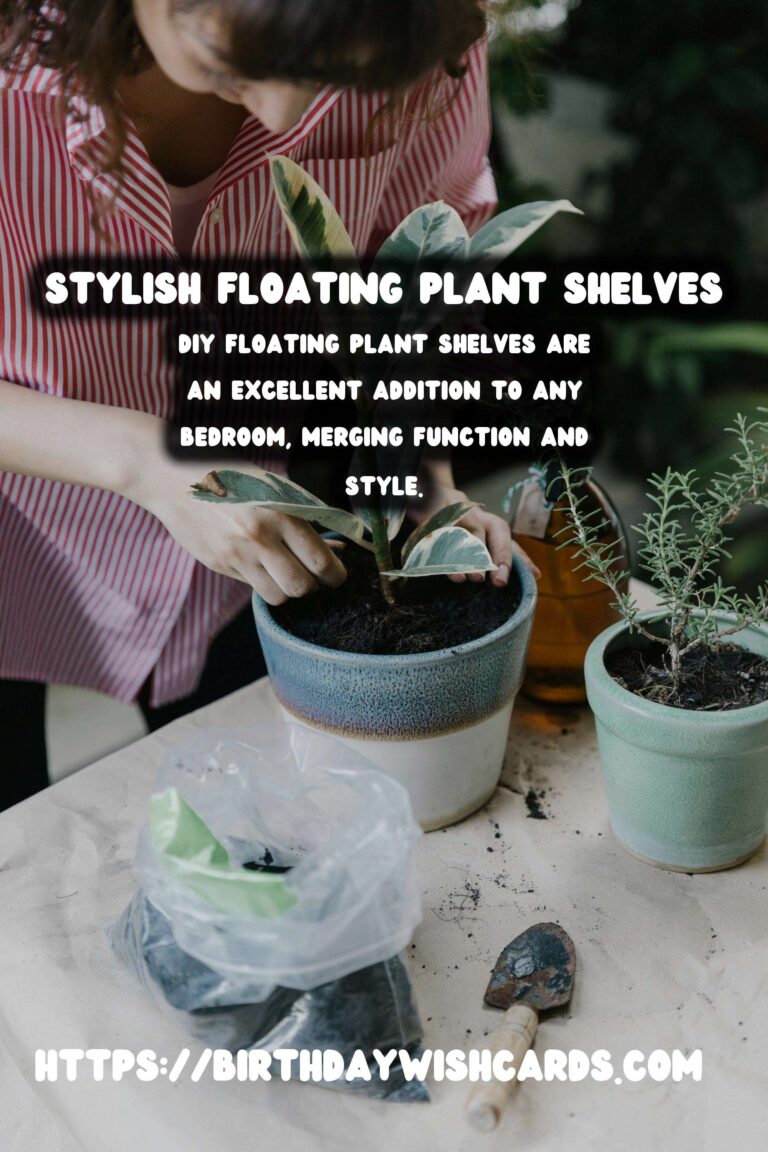
DIY floating plant shelves are an excellent addition to any bedroom, merging function and style. They provide a practical solution for plant lovers looking to maximize their space while adding a touch of nature to their decor. With a little planning and effort, you can create a beautiful and unique display that will enhance your living space.
Floating plant shelves offer a minimalist and sleek design that can complement any bedroom style. They provide an excellent solution for small spaces where floor space is limited. To create your own floating plant shelves, you will need wooden boards, brackets, screws, a drill, a level, measuring tape, and wall anchors. DIY floating plant shelves are an excellent addition to any bedroom, merging function and style. 


#DIY #FloatingShelves #BedroomDecor #PlantLovers #HomeImprovement