Floating shelves have become a popular choice for modern kitchen designs. These shelves not only provide additional storage space but also enhance the aesthetic appeal of your kitchen. In this comprehensive guide, we will walk you through the process of creating your own DIY floating shelves to display your kitchenware beautifully.
Why Choose Floating Shelves?
Floating shelves offer a sleek and contemporary look that can transform any kitchen. Unlike traditional shelves, they do not have visible brackets, giving them a ‘floating’ appearance. This makes them ideal for showcasing decorative items, plants, and your favorite kitchenware without the clutter of hardware.
Materials and Tools Needed
Before you begin, gather the following materials and tools:
- Wood planks (according to your desired size)
- Wall anchors
- Brackets (concealed)
- Drill and drill bits
- Level
- Measuring tape
- Screws
- Sandpaper
- Paint or wood stain
Step-by-Step Guide to Building Floating Shelves
Step 1: Measuring and Planning
Start by measuring the space where you want to install the shelves. Consider the height and length to ensure they fit well without making the space look cramped. Planning is crucial to avoid mistakes later on.
Step 2: Cutting and Preparing the Wood
Cut the wood planks to your desired length. Use sandpaper to smooth the edges and surfaces. If you prefer a natural look, apply a wood stain. For a more colorful appearance, paint the shelves in a hue that complements your kitchen decor.
Step 3: Installing the Brackets
Use a level to mark where the brackets will go on the wall. Drill holes and insert wall anchors for added support. Attach the brackets securely, ensuring they are level and evenly spaced.
Step 4: Mounting the Shelves
Once the brackets are in place, carefully mount the shelves onto the brackets. Use screws to secure them. Make sure each shelf is level before tightening the screws completely.
Step 5: Styling Your Shelves
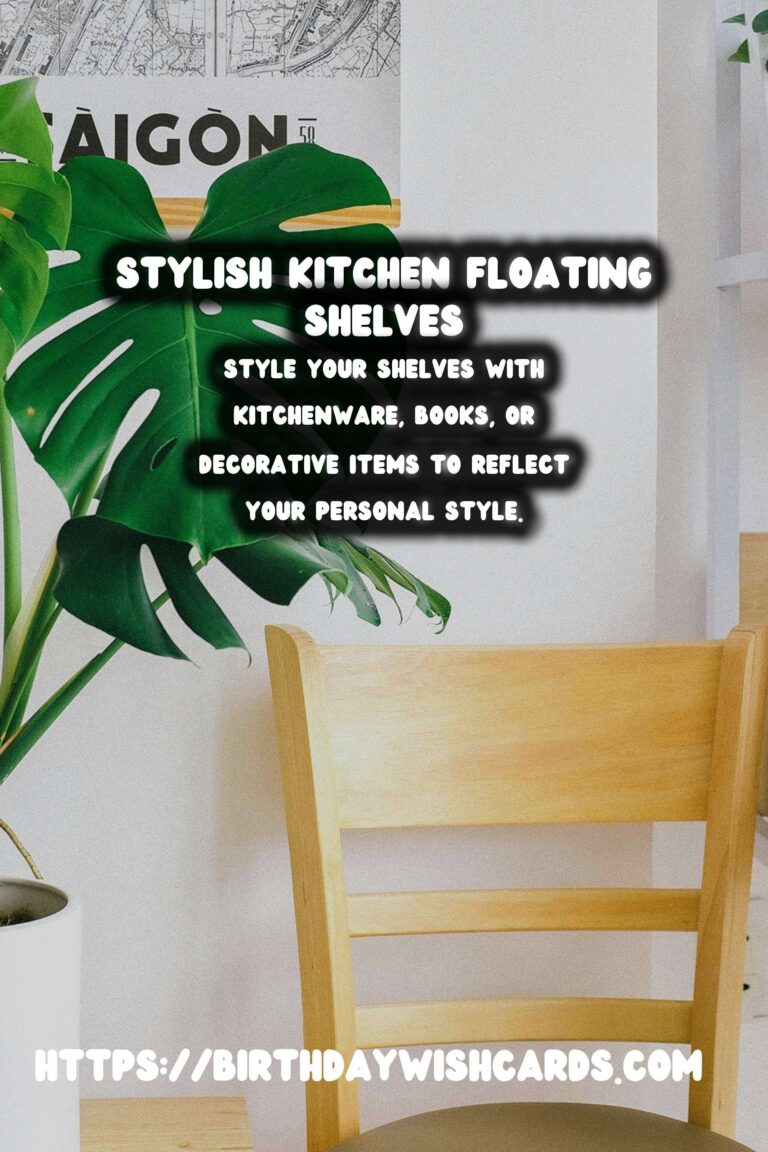
After installation, style your shelves with kitchenware, books, or decorative items. Keep functionality in mind to avoid overcrowding. This is your chance to showcase your personal style, so have fun with it!
Maintenance Tips
To keep your floating shelves looking their best, dust them regularly. Avoid placing too much weight on them to prevent sagging. Periodically check the stability of the brackets and tighten any loose screws.
Conclusion
DIY floating shelves are a fantastic way to enhance your kitchen’s functionality and style. With the right materials and a bit of effort, you can create stunning displays that reflect your personality. Whether you have a small kitchen or a spacious one, these shelves can fit seamlessly into your design.
Floating shelves offer a sleek and contemporary look that can transform any kitchen. Gather wood planks, wall anchors, brackets, and other essential tools before starting your DIY project. Carefully measure and install the brackets to ensure your shelves are secure and level. Style your shelves with kitchenware, books, or decorative items to reflect your personal style. Regular maintenance, such as dusting and tightening screws, will keep your shelves looking their best. 


#DIY #FloatingShelves #KitchenDisplay #InteriorDesign #HomeImprovement