Pallet wood has become a popular material for DIY projects due to its availability, cost-effectiveness, and rustic charm. One of the most practical and aesthetically pleasing projects you can undertake is building a pallet wood plant stand. This guide will walk you through the steps necessary to create a beautiful and functional piece for your home or garden.
Why Choose Pallet Wood?
Pallet wood is not only easy to find but also versatile enough for a wide range of projects. Many people are drawn to pallet wood for its natural, weathered look. The wood is often free or inexpensive, making it an ideal choice for budget-conscious DIYers. Additionally, using pallet wood is an environmentally friendly option as it involves recycling and repurposing materials that might otherwise go to waste.
Materials and Tools Required
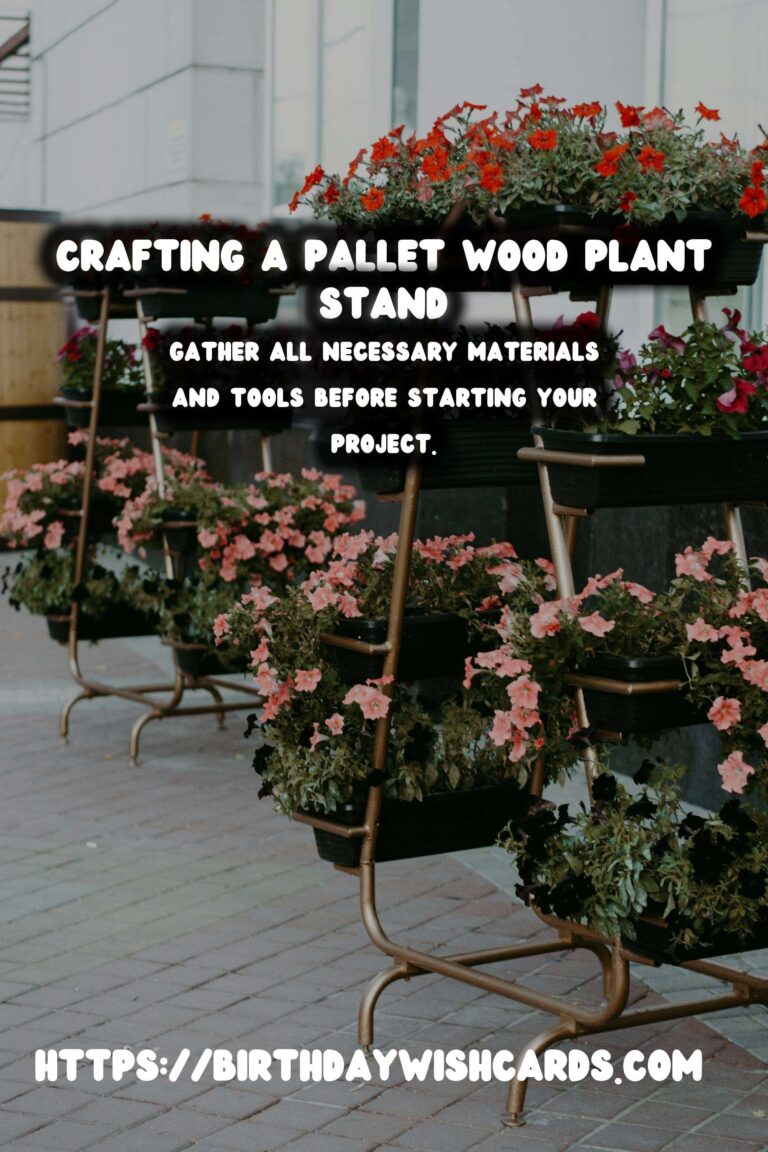
Before you start your project, it’s essential to gather all the necessary materials and tools. Here’s a list to get you started:
- Pallet wood boards
- Saw (hand saw or power saw)
- Hammer and nails or a drill and screws
- Sandpaper or a power sander
- Wood stain or paint (optional)
- Measuring tape
- Protective gear (gloves and safety glasses)
Step-by-Step Instructions
Step 1: Prepare the Pallet Wood
Begin by sourcing your pallet wood. Look for pallets that are in good condition and free from chemical spills or mold. Once you have your pallets, dismantle them carefully using a pry bar or a hammer. Remove any nails or staples and inspect the wood for damage.
Step 2: Cut the Wood to Size
Decide on the dimensions of your plant stand. Use a measuring tape to mark the wood, and then cut it to the desired size using a saw. Typically, you will need pieces for the top, bottom, and legs of the stand.
Step 3: Sand the Wood
After cutting the wood, it’s time to sand it. Use sandpaper or a power sander to smooth out any rough edges and surfaces. This step helps prevent splinters and gives the wood a more finished appearance.
Step 4: Assemble the Plant Stand
Start by assembling the top of the plant stand. Lay out the cut pieces and secure them together using nails or screws. Next, attach the legs to the top. Make sure everything is aligned properly before securing it in place. You may want to use a level to ensure the stand is even.
Step 5: Finish the Stand
Once the plant stand is assembled, you can choose to leave it natural or apply a wood stain or paint. If you opt to finish the wood, make sure to do so in a well-ventilated area and allow adequate drying time.
Additional Tips
Here are some additional tips to consider when making your pallet wood plant stand:
- Consider adding shelves for extra functionality.
- Use a sealant to protect the wood if you’ll be placing the stand outdoors.
- Experiment with different designs, such as tiered stands or stands with decorative cutouts.
Conclusion
Building a pallet wood plant stand is a rewarding project that combines creativity with practicality. Not only will you have a functional piece to display your plants, but you’ll also have the satisfaction of having built it yourself. Whether you’re an experienced DIY enthusiast or a beginner, this project is an excellent way to hone your skills and create something beautiful for your home or garden.
Pallet wood is an environmentally friendly and cost-effective option for DIY projects. This guide will help you create a beautiful and functional pallet wood plant stand. Gather all necessary materials and tools before starting your project. Prepare, cut, sand, and assemble the pallet wood to build your plant stand. You can choose to stain or paint your stand to enhance its appearance. 

#DIY #PalletWood #PlantStand #Crafting #HomeDecor