


Creating a hanging planter from recycled materials is a simple yet rewarding DIY project that can enhance your home decor while promoting sustainability. This guide will walk you through the process, helping you craft a beautiful and eco-friendly hanging planter using items you likely already have around your home.
Why Choose Recycled Materials?
Using recycled materials for your DIY projects not only saves money but also reduces waste and helps the environment. By repurposing items, you contribute to lessening the demand for new resources and play a part in reducing your carbon footprint.
Materials You’ll Need
To get started on your DIY hanging planter, gather the following materials:
- Plastic bottles or containers
- Scissors or a craft knife
- Strong twine or rope
- Paint and brushes (optional)
- Soil and plants of your choice
- Drill or a tool to make holes
Step-by-Step Instructions
Step 1: Prepare Your Container
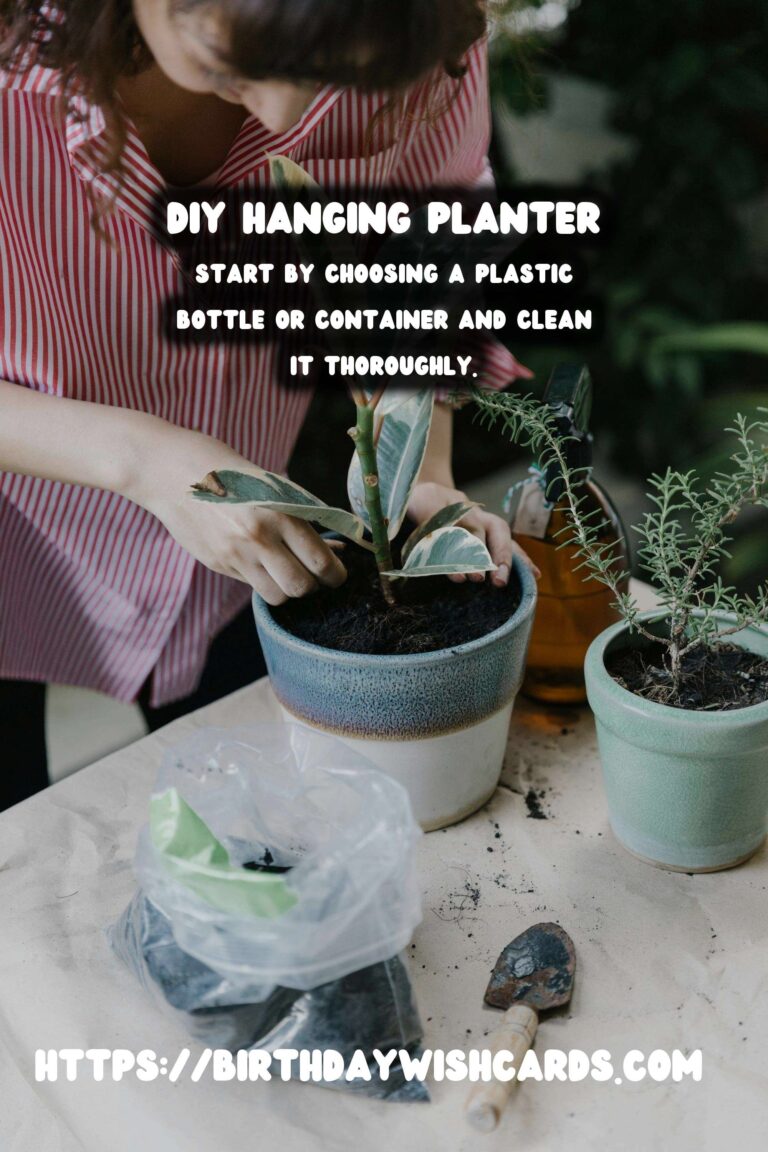
Start by choosing a plastic bottle or container. Clean it thoroughly to remove any labels or residues. Once clean, cut the bottle to your desired height for the planter. The top half of a plastic bottle often works best.
Step 2: Create Drainage Holes
Using a drill or sharp tool, carefully make several drainage holes at the bottom of the container. Drainage is crucial for preventing water from accumulating at the base, which can lead to root rot.
Step 3: Decorate Your Planter (Optional)
If you wish, paint your container to match your home decor. Use non-toxic paint to ensure it’s safe for your plants. Allow the paint to dry completely before proceeding to the next step.
Step 4: Attach the Hanging Mechanism
Cut three to four equal lengths of twine or rope. Attach them securely around the top edge of the container, making sure they are evenly spaced. Gather the ends of the twine and tie them together in a knot, creating a loop for hanging.
Step 5: Add Soil and Plant
Fill your planter with soil, leaving some space at the top. Plant your chosen greenery, ensuring it is well-situated in the soil. Water the plant lightly to help it settle into its new home.
Step 6: Hang Your Planter
Choose a suitable spot for your new hanging planter. Consider the plant’s light requirements and hang it accordingly. Ensure the hook or support you use is strong enough to hold the weight of the planter.
Maintenance Tips
Regularly check the soil moisture levels and water your plants as needed. Trim any dead leaves to encourage healthy growth. Rotate the planter occasionally to ensure even light exposure for all sides of the plant.
Conclusion
By following these steps, you can create a unique and environmentally friendly hanging planter. It’s a perfect way to add greenery to small spaces, enhance your living area, and practice sustainable living.
Creating a hanging planter from recycled materials is a simple yet rewarding DIY project. Using recycled materials for your DIY projects not only saves money but also reduces waste. Start by choosing a plastic bottle or container and clean it thoroughly. Make several drainage holes at the bottom of the container to prevent root rot. Attach twine or rope securely around the container for hanging. By following these steps, you can create a unique and environmentally friendly hanging planter. 


#DIY #HangingPlanter #RecycledMaterials #SustainableLiving #EcoFriendly