


Creating a kitchen island is one of the most transformative projects you can undertake to enhance your kitchen’s functionality and aesthetic appeal. Whether you are a seasoned DIY enthusiast or a beginner looking to try your hand at a rewarding home improvement project, building a kitchen island can be both a fun and practical endeavor.

Why Build a Kitchen Island?
A kitchen island can serve multiple purposes. It can provide additional counter space, extra storage, and a casual dining area, making it a versatile addition to any kitchen. Moreover, a well-crafted kitchen island can significantly boost the value of your home.

Planning Your Kitchen Island
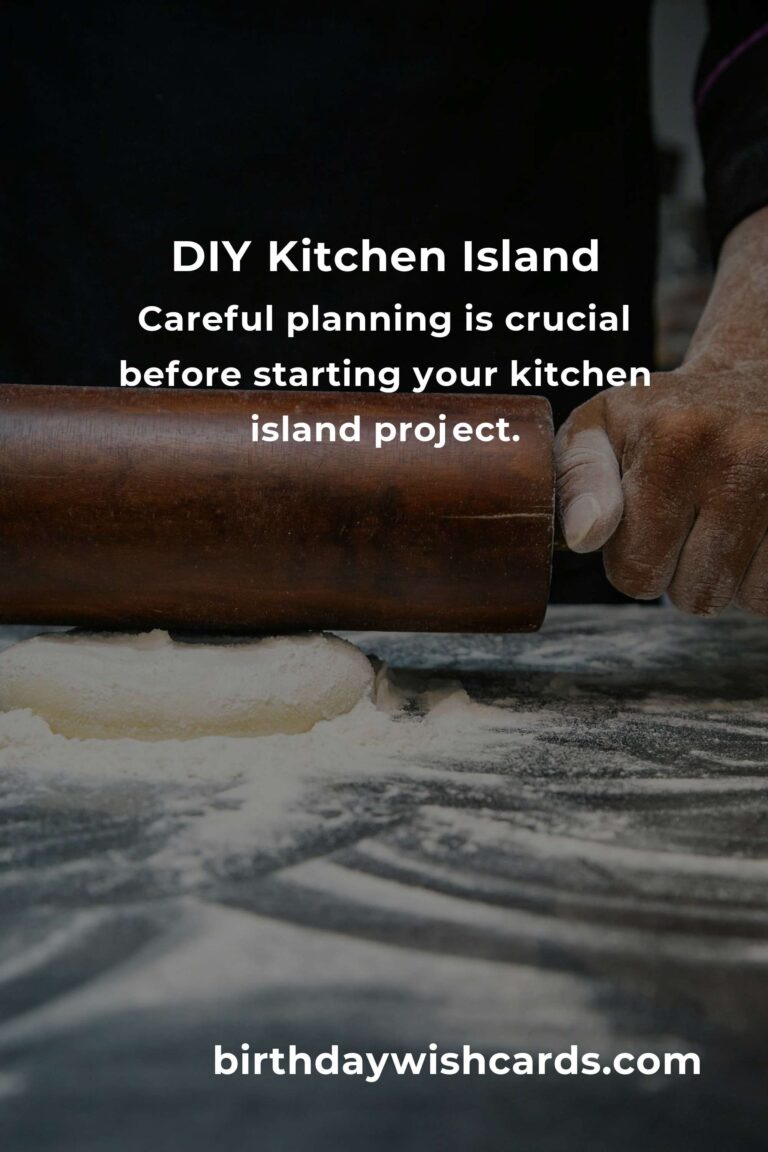
Before starting your project, it is crucial to plan your kitchen island meticulously. Consider the size of your kitchen and the available space. A good rule of thumb is to ensure at least 36 to 48 inches of clearance around the island for easy movement. Decide on the primary function of your island: will it be used primarily for food preparation, dining, or storage?

Choosing Materials
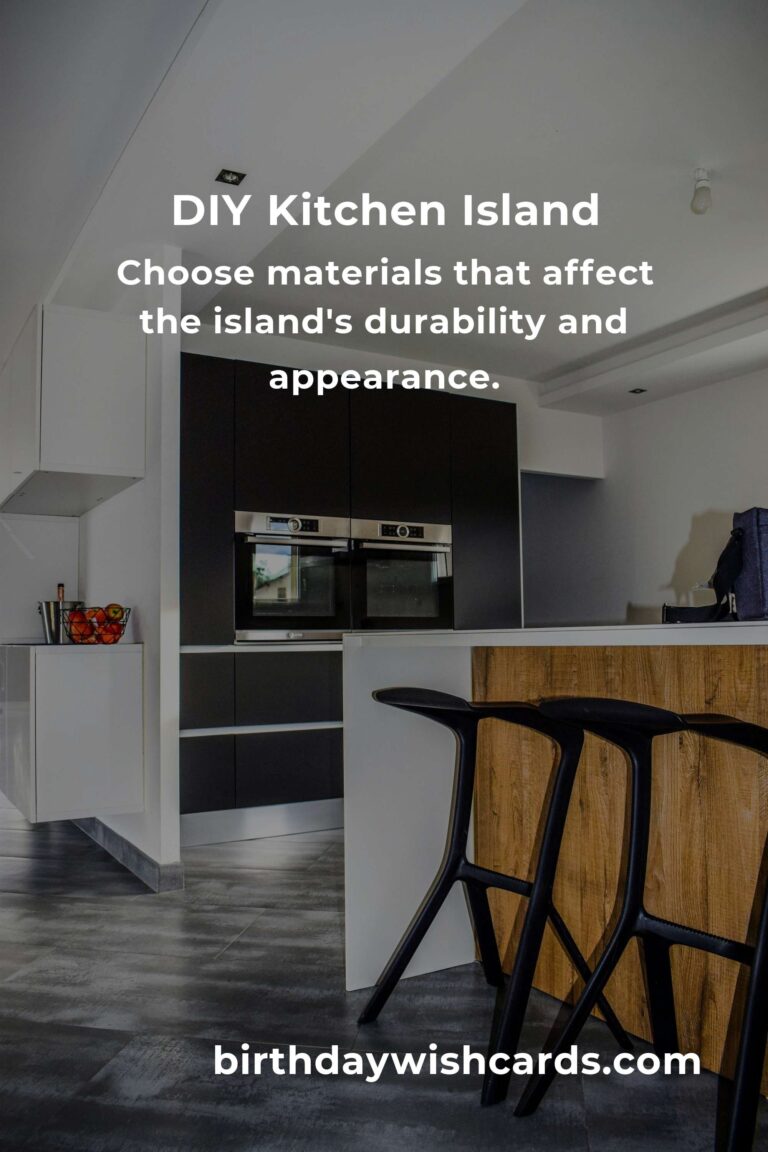
The materials you choose for your kitchen island will greatly affect its durability and appearance. Common materials include wood, stainless steel, and granite. Wood is a popular choice for its warmth and versatility, while stainless steel offers a sleek, modern look. Granite provides a durable and elegant surface but can be more expensive.


Step-by-Step Guide to Building a Basic Kitchen Island
Step 1: Gather Your Tools and Materials
Make a list of all the tools and materials you’ll need, including a saw, drill, screws, wood or chosen material, sandpaper, and paint or finish.

Step 2: Build the Base
Start by constructing the base of your island. This can be a simple rectangular frame built from 2×4 lumber. Ensure it is sturdy, as it will support the entire structure.
Step 3: Add Shelving and Cabinets
Depending on your storage needs, you can add shelves or cabinets to your island. These can be custom-built or repurposed from old furniture pieces for a cost-effective solution.
Step 4: Install the Countertop
Choose a countertop material that complements your kitchen’s style. Attach it securely to the base, ensuring it is level and firmly in place.
Step 5: Finishing Touches
Sand the entire island to remove any rough edges, then apply a finish or paint to protect the wood and enhance its appearance. Add decorative elements like handles or hooks for added functionality.
Design Ideas for Beginners
If you’re new to DIY projects, start with a simple design. Consider a portable kitchen island with wheels for flexibility or a rustic farmhouse style using reclaimed wood for a charming, budget-friendly option.
Common Mistakes to Avoid
Be mindful of your kitchen’s workflow and avoid placing the island in a way that obstructs movement. Ensure your island is proportionate to your kitchen to avoid overwhelming the space.
Conclusion
Building a DIY kitchen island can be a fulfilling project that improves your kitchen’s utility and aesthetic. With careful planning and the right materials, even beginners can create a beautiful and functional centerpiece for their kitchen.
Creating a kitchen island can enhance your kitchen’s functionality and aesthetic appeal.
A kitchen island can provide additional counter space, extra storage, and a casual dining area.
Careful planning is crucial before starting your kitchen island project.
Choose materials that affect the island’s durability and appearance.
Even beginners can create a beautiful and functional kitchen island with the right guidance.
#DIY #KitchenIsland #HomeImprovement #Beginners #DIYProjects