
Macrame plant hangers are a beautiful and functional way to add a touch of greenery to your home decor while showcasing your crafting skills. With just a few materials and a bit of patience, you can create a stunning macrame plant hanger that will make your plants the centerpiece of any room. In this guide, we will walk you through the process of making your own macrame plant hanger for the wall.
Materials You Will Need
Before diving into the process, gather the following materials:
- Cotton macrame cord (about 100 feet, depending on the size of the plant hanger you wish to make)
- Wooden ring or metal hoop (for hanging)
- Scissors
- Measuring tape
- Plant pot
Step 1: Prepare Your Cords
Start by cutting your macrame cords to the desired length. For a basic plant hanger, you will need four cords, each about 15 feet long. This length will allow for a medium-sized hanger. If you want a larger or more intricate design, consider adding more cords or increasing their length.
Step 2: Attach the Cords to the Ring
Fold each cord in half and thread the folded end through the wooden ring, creating a loop. Pull the loose ends through this loop to secure the cord to the ring. Repeat this with all the cords until they are all attached to the ring.
Step 3: Create the Top Knot
Gather all the cords together just below the wooden ring and tie a large overhand knot. This will form the top of your plant hanger and keep all the cords in place.
Step 4: Design the Hanger
Now, it’s time to get creative with your knots. A simple pattern to start with is the square knot. Divide the cords into groups of four. To make a square knot, take the outer left cord and cross it over the two middle cords, then under the outer right cord. Bring the outer right cord under the middle two and through the loop created by the left cord. Pull to tighten. Repeat this process, alternating sides, to create a series of square knots.
Step 5: Form the Basket
Once you’ve reached the desired length of the design, it’s time to make the basket that will hold the pot. Leave a few inches of space below your last knot and gather the cords again. Tie another overhand knot to create a base. This will form the bottom of the hammock for your plant pot.
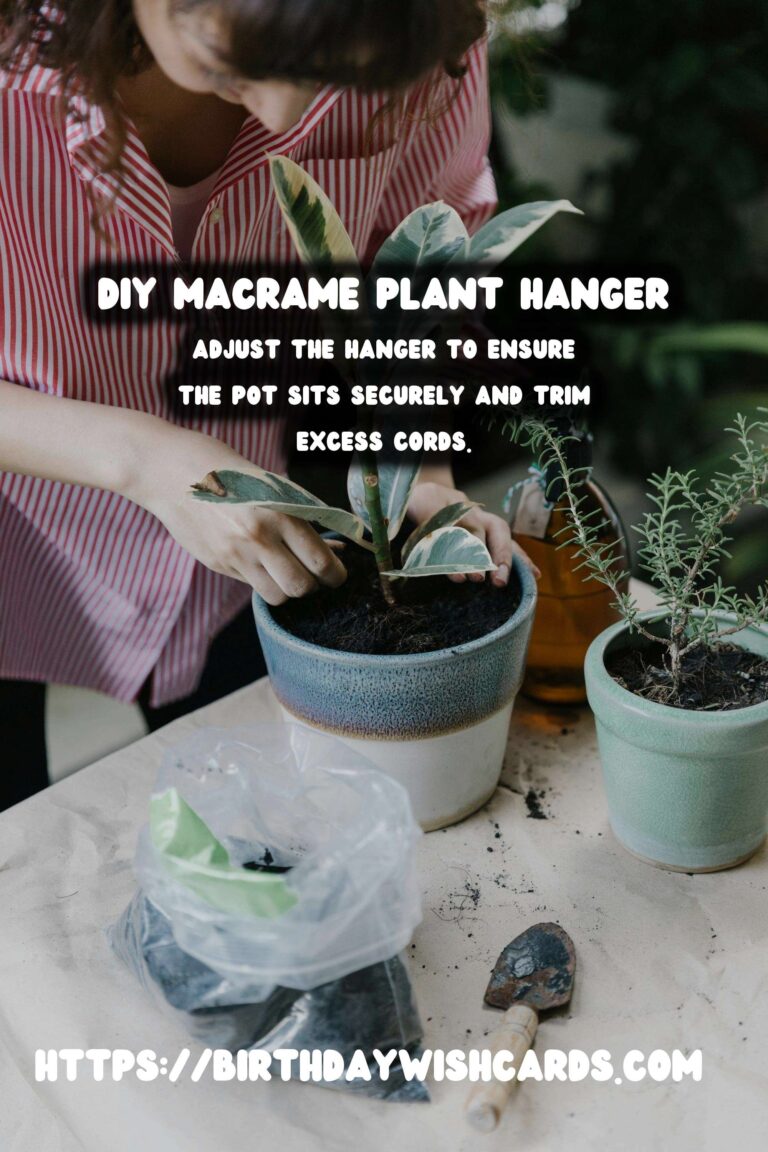
Step 6: Final Adjustments
Place your plant pot into the hanger to test the fit. Adjust the knots as necessary to ensure the pot sits securely and evenly. Trim any excess cord ends to your desired length for a neat finish.
Conclusion
With these steps, you can create a beautiful macrame plant hanger that will add a personal touch to your home decor. Experiment with different knot patterns and cord colors to make each hanger unique. Happy crafting!
Macrame plant hangers add greenery to your home decor and showcase crafting skills. Gather materials like cotton macrame cord, a wooden ring, scissors, and a plant pot. Start by cutting cords and attaching them to a ring with a loop. Create a top knot to secure the cords and begin designing with square knots. Form a basket to hold the plant pot using overhand knots. Adjust the hanger to ensure the pot sits securely and trim excess cords. 

#DIY #Macrame #PlantHanger #HomeDecor #Crafts


