
Creating beautiful ombre painted vases at home is an excellent way to add a personalized touch to your decor. Whether you want to upcycle old vases or add a splash of color to new ones, this DIY project is both fun and rewarding. In this article, we will guide you through the process of making your own ombre painted vases with simple materials and techniques.
Materials Needed
Before you begin, gather the following materials:
- Glass vases
- Acrylic paint (choose at least two complementary colors for the ombre effect)
- Paintbrushes or sponges
- Painter’s tape
- Clear acrylic sealer (optional)
Step 1: Preparing the Vases
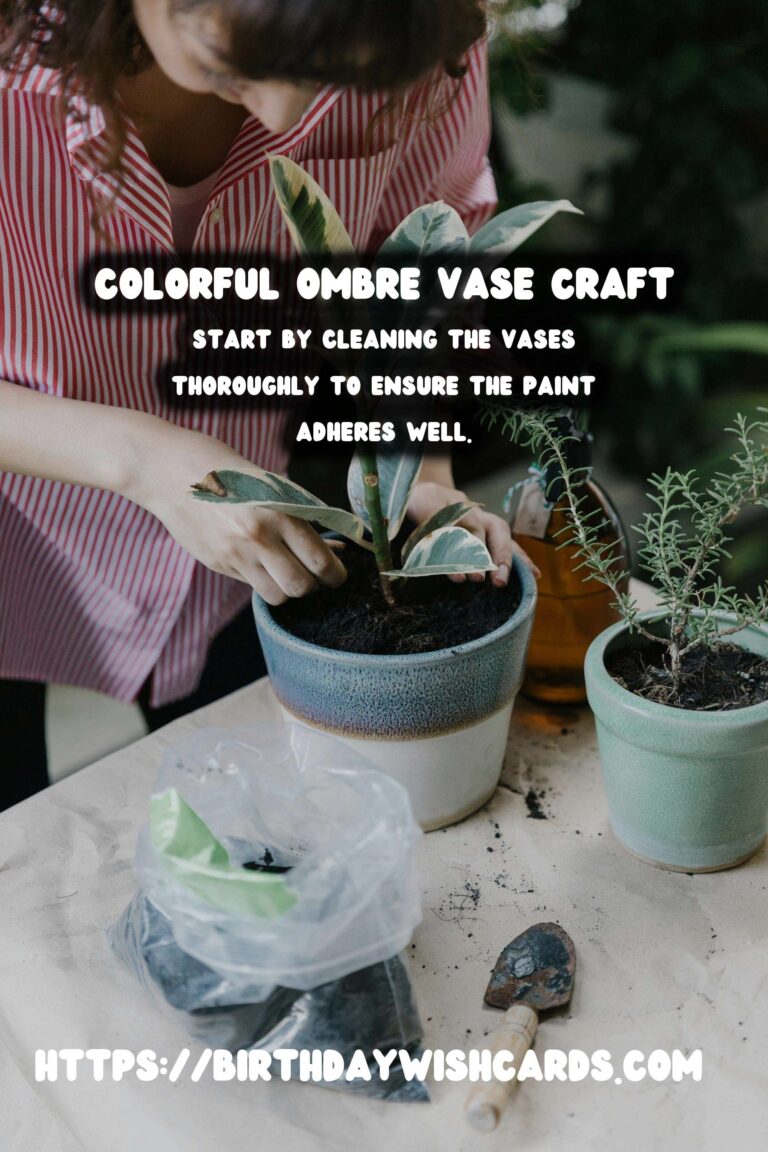
Start by cleaning the vases thoroughly to ensure the paint adheres well. Use soap and water to wash them, and let them dry completely. If there are any labels or stickers, remove them carefully.
Step 2: Applying the Base Coat
Apply a base coat of paint to the entire vase. This will be the lightest color in your ombre effect. Use a paintbrush or sponge to cover the surface evenly. Allow the base coat to dry completely before moving on to the next step.
Step 3: Creating the Ombre Effect
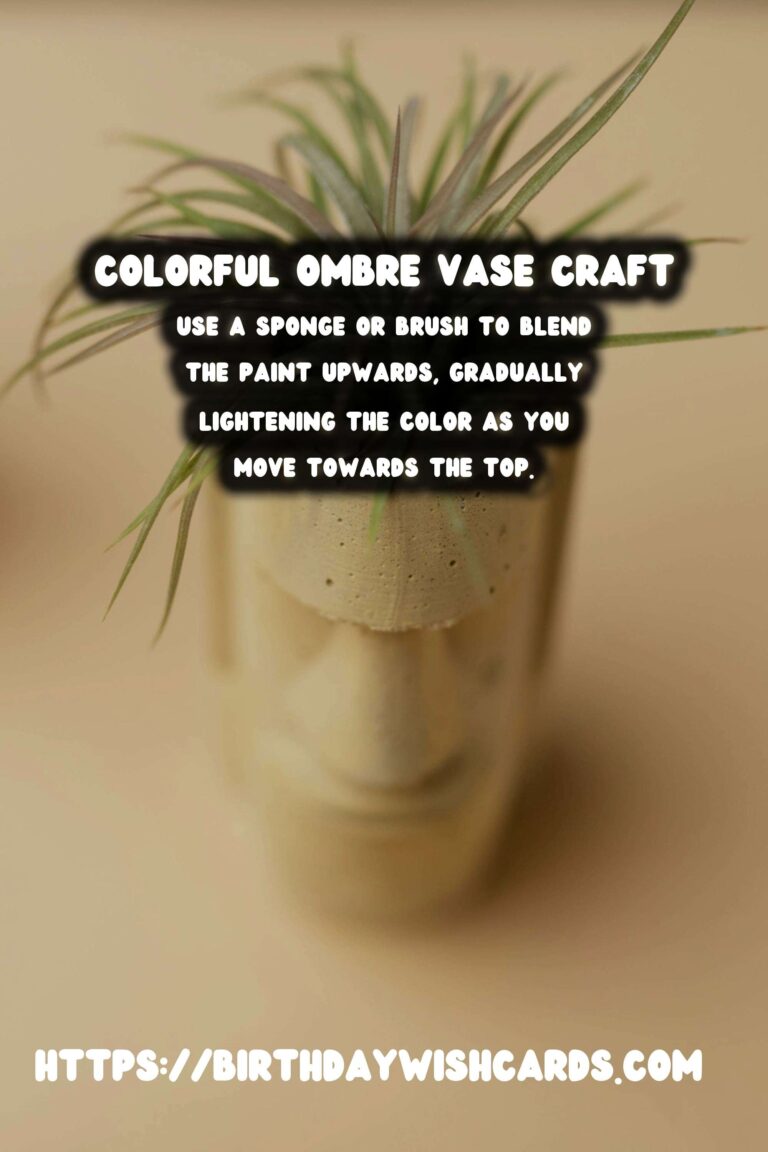
Once the base coat is dry, it’s time to create the ombre effect. Start by applying the darkest color at the bottom of the vase. Use a sponge or brush to blend the paint upwards, gradually lightening the color as you move towards the top. To achieve a smooth transition, blend the colors together gently where they meet. You might need to add more layers to perfect the gradient effect.
Step 4: Finishing Touches
After achieving the desired ombre look, let the paint dry completely. If you’d like to add a glossy finish or make your vases more durable, apply a clear acrylic sealer. Follow the instructions on the sealer for the best results.
Step 5: Displaying Your Creations
Once your vases are fully dry, they are ready to be displayed. Fill them with fresh flowers, foliage, or decorative branches to complement the ombre colors. Arrange them on tables, shelves, or mantels to enhance your home decor.
Tips for Success
Experiment with different color combinations and techniques to create unique designs. If you’re new to painting, practice blending colors on a piece of paper before painting the vases. Use painter’s tape to create clean lines or patterns if desired.
Creating DIY ombre painted vases is a wonderful way to express your creativity and personalize your space. With patience and practice, you’ll be able to create stunning pieces that add a touch of elegance to any room.
Creating beautiful ombre painted vases at home is an excellent way to add a personalized touch to your decor. Start by cleaning the vases thoroughly to ensure the paint adheres well. Apply a base coat of paint to the entire vase, which will be the lightest color in your ombre effect. Use a sponge or brush to blend the paint upwards, gradually lightening the color as you move towards the top. After achieving the desired ombre look, let the paint dry completely. Once your vases are fully dry, they are ready to be displayed. 


#DIY #OmbreVases #HomeDecor #CraftIdeas #Upcycle


