

Closets are essential spaces in our homes, often filled with clothes, shoes, and other personal items. Over time, these confined spaces can accumulate odors that are less than pleasant. One effective and creative solution is to use DIY scented sachets. These aromatic pouches not only freshen up your closet but also add a personal touch with scents that reflect your preferences.
What Are Scented Sachets?
Scented sachets are small, fragrant bags usually filled with dried herbs, flowers, or essential oils. They are used to impart a pleasant aroma to closed spaces such as closets, drawers, and even vehicles. The concept of using aromatic sachets dates back centuries, with applications in various cultures for both practical and ceremonial purposes.
Why Choose DIY Scented Sachets?
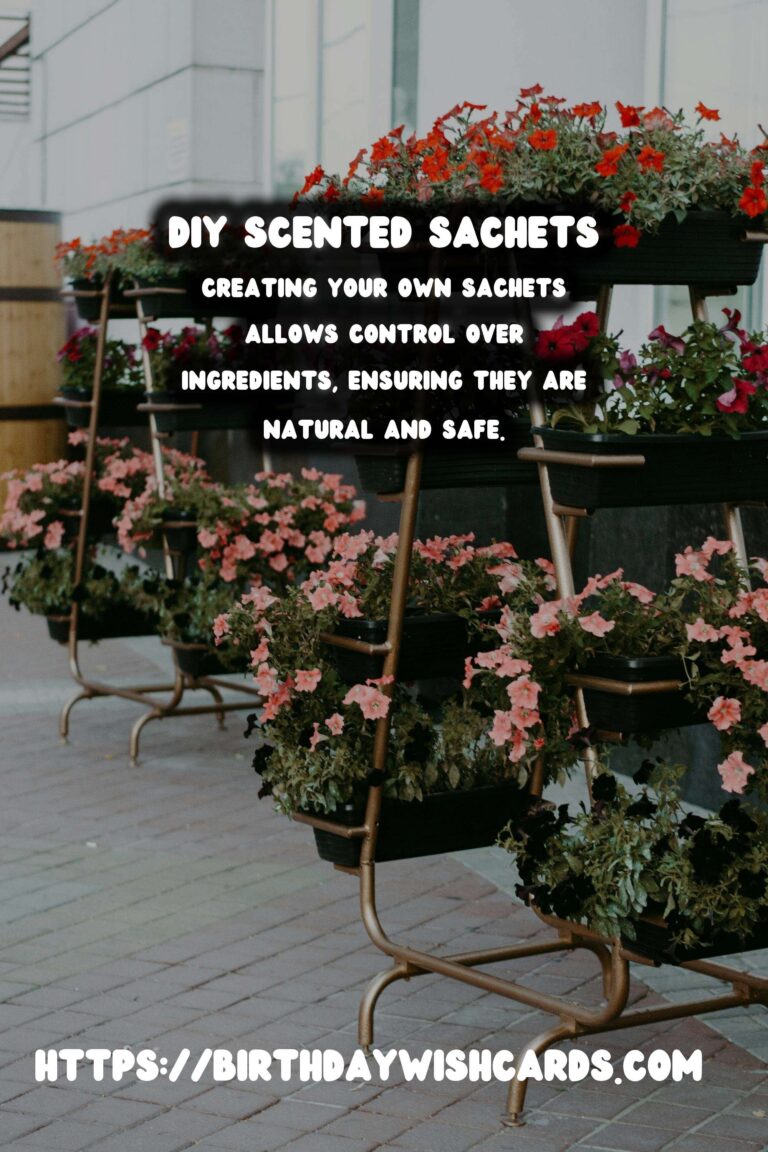
The benefits of making your own scented sachets are numerous. Firstly, it allows you to customize the fragrance to suit your liking. Additionally, DIY sachets can be a cost-effective alternative to store-bought options, which often contain synthetic fragrances. By creating your own, you also have control over the ingredients, ensuring they are natural and safe.
Materials Needed
Before you start, gather the following materials:
- Cotton or muslin fabric
- Scissors
- Needle and thread or a sewing machine
- Dried herbs or flowers (such as lavender, rose petals, chamomile)
- Essential oils (optional for added fragrance)
- Ribbon or cord (for tying sachets)
Step-by-Step Guide to Making Scented Sachets
Step 1: Prepare the Fabric
Cut the fabric into small squares or rectangles, approximately 5×5 inches. The size can vary based on personal preference, but smaller sachets are generally more versatile.
Step 2: Sew the Sachets
Fold each fabric piece in half, with the patterned side facing inward. Sew along two sides, leaving one side open for filling. You can use a sewing machine or sew by hand.
Step 3: Fill with Aromatics
Once your sachet bag is ready, fill it with your choice of dried herbs or flowers. For an extra boost of fragrance, add a few drops of essential oil directly onto the fillings.
Step 4: Secure and Finish
After filling, sew or tie the open end of the sachet. If using a ribbon or cord, tie it around the top to secure the contents and add a decorative touch.
Placement Tips for Scented Sachets
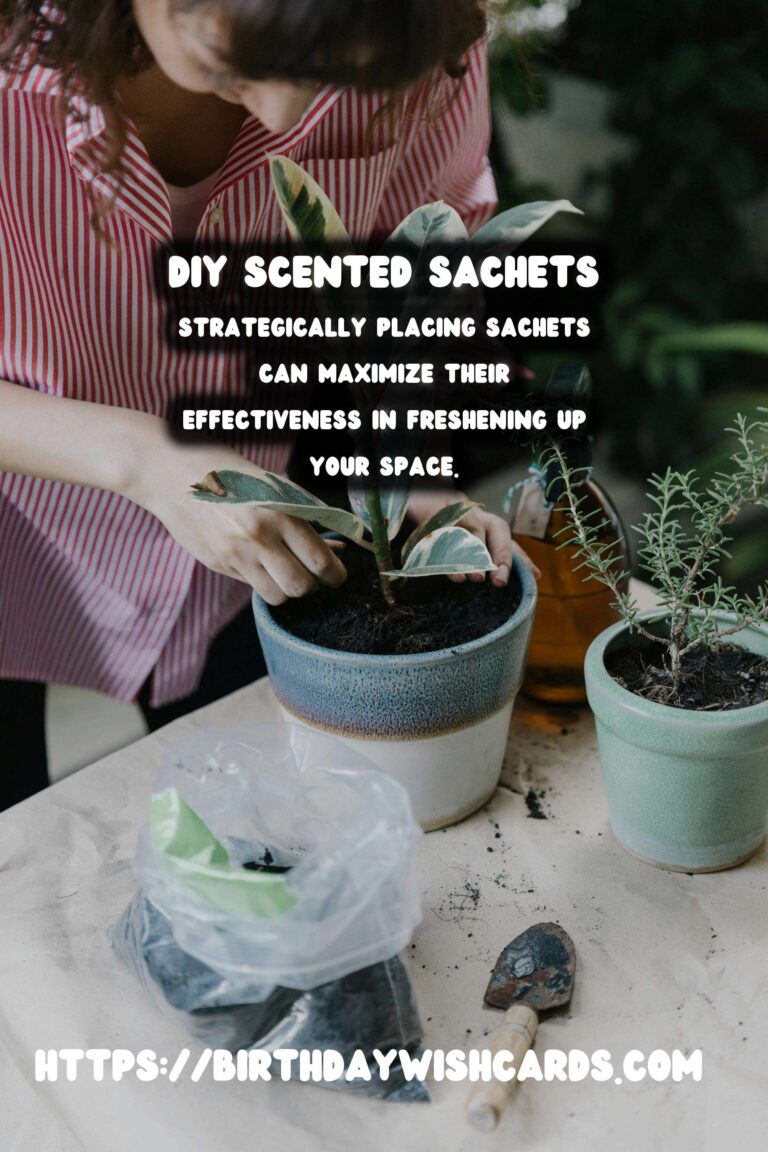
Strategically placing your sachets can maximize their effectiveness. Consider hanging them on closet rods, placing them in drawers, or tucking them into shoe racks. For larger closets, use multiple sachets to ensure even distribution of the fragrance.
Refreshing Your Sachets
Over time, the scent of your sachets may fade. Refresh them by adding a few more drops of essential oil or replacing the dried materials. Regularly refreshing your sachets ensures a consistently pleasant aroma in your closet.
Conclusion
DIY scented sachets are a simple and elegant solution for keeping your closets smelling fresh. They offer the dual benefits of customization and cost-effectiveness, allowing you to create a personalized aromatic experience in your home. With a few basic materials and a bit of creativity, you can transform your closet environment effortlessly.
DIY scented sachets offer a customizable and cost-effective solution for freshening up closets. Scented sachets are small fragrant bags filled with dried herbs or essential oils. Creating your own sachets allows control over ingredients, ensuring they are natural and safe. Strategically placing sachets can maximize their effectiveness in freshening up your space. 
#DIYScentedSachets #ClosetFresheners #HomeFragrance