Herbs are a delightful addition to any kitchen, offering fresh flavors that enhance dishes and add a touch of nature to your meals. However, if you’re growing your own herbs, you might find that you have more than you can use fresh. Drying herbs is an excellent way to preserve them, and a wall-mounted herb drying rack provides an efficient, space-saving solution.
Why Use a Wall Mounted Herb Drying Rack?
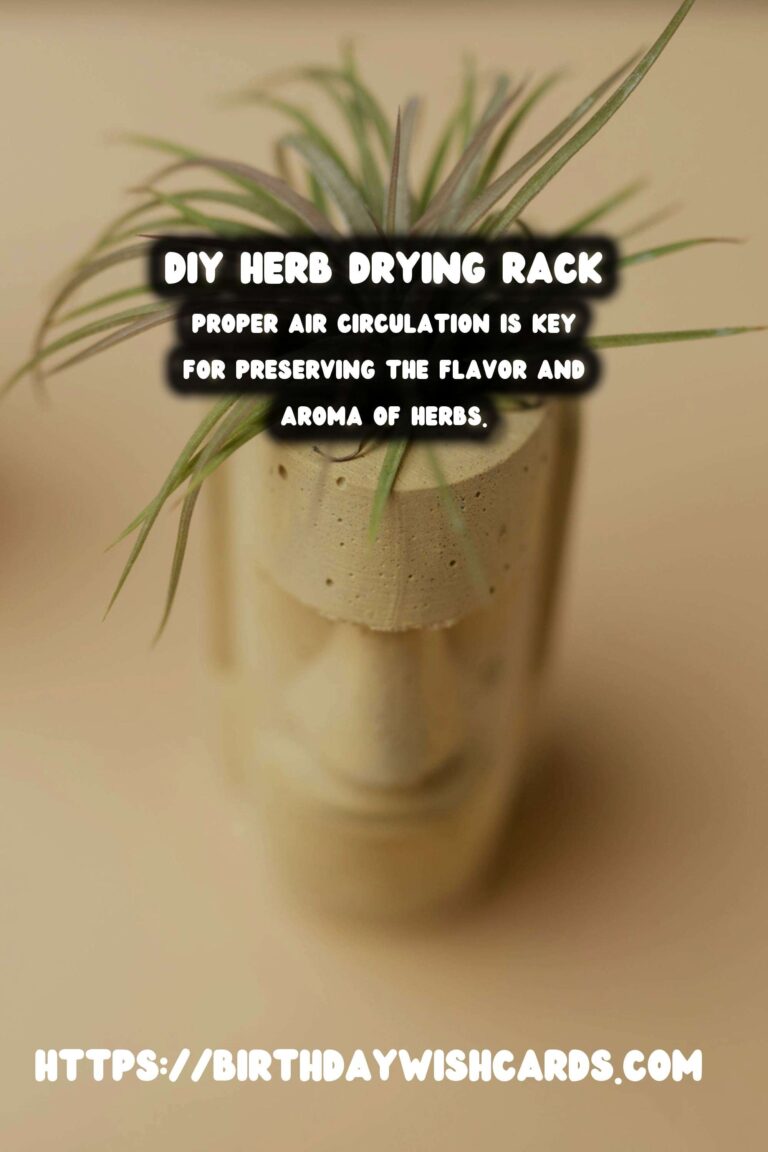
Using a wall-mounted herb drying rack allows you to take advantage of vertical space in your home. It keeps your herbs organized and away from cluttered countertops or tables. Moreover, it ensures that herbs dry evenly with good air circulation, preserving their flavor and aroma.
Materials Needed
To create your own wall-mounted herb drying rack, you’ll need the following materials:
- Wooden board (size depends on available space)
- Hooks or pegs
- Screws and wall anchors
- Drill
- Sandpaper
- Wood stain or paint (optional)
- Twine or string
Building Your Herb Drying Rack
Step 1: Prepare the Board
Start by selecting a wooden board that suits your available space. Sand down any rough edges to prevent splinters. If you desire a more polished look, apply a coat of wood stain or paint and allow it to dry completely.
Step 2: Attach Hooks or Pegs
Determine the layout for your hooks or pegs, ensuring they are evenly spaced to accommodate various herb bunches. Use a drill to make pilot holes and then screw in the hooks or pegs securely.
Step 3: Install the Rack
Identify a suitable wall space in your kitchen or pantry. Use a level to ensure your rack will be straight, then mark the wall where you’ll place your screws and anchors. Drill holes and insert wall anchors if necessary, then attach your board to the wall using screws.
Step 4: Hang Your Herbs
Using twine or string, tie small bunches of herbs together. Hang them upside down from the hooks or pegs on your rack. Make sure to leave enough space between each bunch to allow for proper air circulation.
Tips for Drying Herbs
For best results, choose herbs that are free from moisture and dirt. Harvest your herbs in the morning after dew has evaporated and before the heat of the day. Ensure the drying area is well-ventilated and away from direct sunlight to preserve the herbs’ essential oils.
Enjoy Your Dried Herbs
Once your herbs are completely dry, store them in airtight containers, away from light and heat. Dried herbs can be used in cooking, teas, or even as part of homemade beauty products. With your new wall-mounted herb drying rack, you’ll have a steady supply of preserved herbs ready to enhance your culinary creations!
A wall-mounted herb drying rack is an efficient way to preserve herbs. Using vertical space, it keeps herbs organized and ensures even drying. Building your own rack involves simple materials like a wooden board and hooks. Proper air circulation is key for preserving the flavor and aroma of herbs. Store dried herbs in airtight containers to maintain their quality. 


#HerbDrying #DIYProjects #KitchenHacks #HerbGarden #HomeGardening