
Succulents have become incredibly popular due to their low maintenance and aesthetic appeal. A wall-mounted succulent planter is a creative and stylish way to bring greenery into your home without taking up floor space. In this guide, we will walk you through the steps to create your own DIY wall-mounted succulent planter.
Why Choose a Wall Mounted Succulent Planter?
Wall-mounted planters are a fantastic choice for small spaces or for those who want to add a vertical element to their home decor. Succulents, with their diverse shapes and colors, make an excellent choice for such planters. They require minimal watering and care, making them ideal for busy lifestyles.
Materials Needed
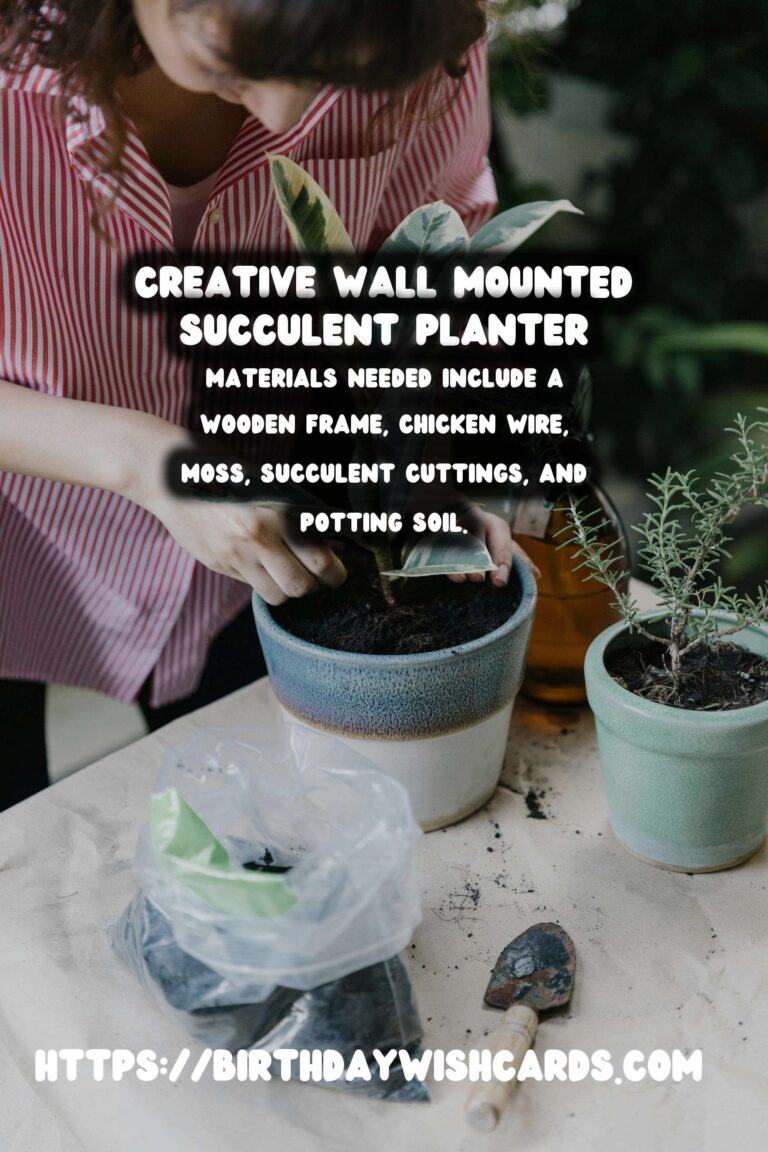
To create your wall-mounted succulent planter, you will need the following materials:
- A wooden frame or shadow box
- Chicken wire
- Moss (sphagnum moss is ideal)
- Succulent cuttings
- Potting soil (cactus mix is recommended)
- Staple gun
- Scissors
- Drill and screws (for mounting)
Step-by-Step Instructions
Step 1: Prepare the Frame
Start by selecting a sturdy wooden frame or shadow box. Remove any backing and glass if present. You can paint or stain the wood to match your decor if desired. Allow it to dry completely before proceeding.
Step 2: Attach the Chicken Wire
Cut a piece of chicken wire slightly larger than the frame. Lay the wire over the back of the frame and staple it securely in place. Make sure it is taut to prevent sagging when the planter is filled.
Step 3: Add the Moss Layer
Soak the sphagnum moss in water until it is thoroughly wet. Squeeze out excess water and layer it over the chicken wire. The moss will help retain moisture and provide a base for the succulents.
Step 4: Fill with Soil
Next, fill the frame with cactus mix potting soil. Press the soil firmly against the moss to ensure stability and support for the plants.
Step 5: Insert Succulent Cuttings
Carefully make small holes in the moss and soil layer where you want to place your succulents. Insert the cuttings into these holes, ensuring they are secure and in contact with the soil. Arrange them creatively to achieve the desired look.
Step 6: Mount Your Planter
Finally, use a drill and screws to mount the planter on the wall. Ensure that it is securely fastened to support the weight. Hang it in a location that receives indirect sunlight for optimal growth.
Tips for Maintaining Your Succulent Planter
Succulents are hardy plants but still require some care. Water your planter sparingly, allowing the soil to dry out between waterings. Rotate the planter occasionally to ensure even light exposure. Trim any dead leaves to keep your planter looking fresh and vibrant.
Conclusion
Creating a DIY wall-mounted succulent planter is a rewarding project that adds a unique touch of nature to your home decor. With the right materials and a bit of creativity, you can design a stunning vertical garden that will be the envy of all who see it.
Succulents are popular for their low maintenance and aesthetic appeal. Wall-mounted planters are perfect for small spaces and add a vertical element to decor. This guide walks you through creating a DIY wall-mounted succulent planter. Materials needed include a wooden frame, chicken wire, moss, succulent cuttings, and potting soil. Following a step-by-step process will help you successfully build your planter. Maintaining your succulent planter involves sparing watering and occasional rotation. 


#Succulents #DIYPlanter #WallDecor #HomeGardening #VerticalGarden