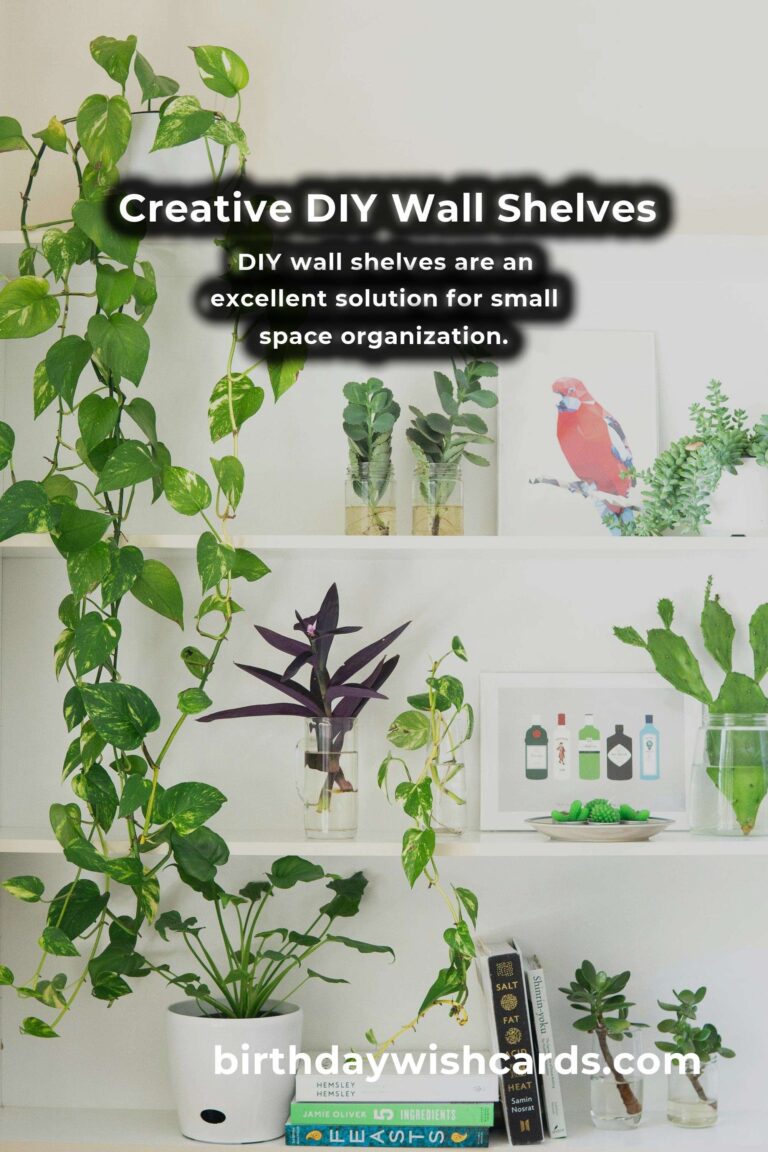
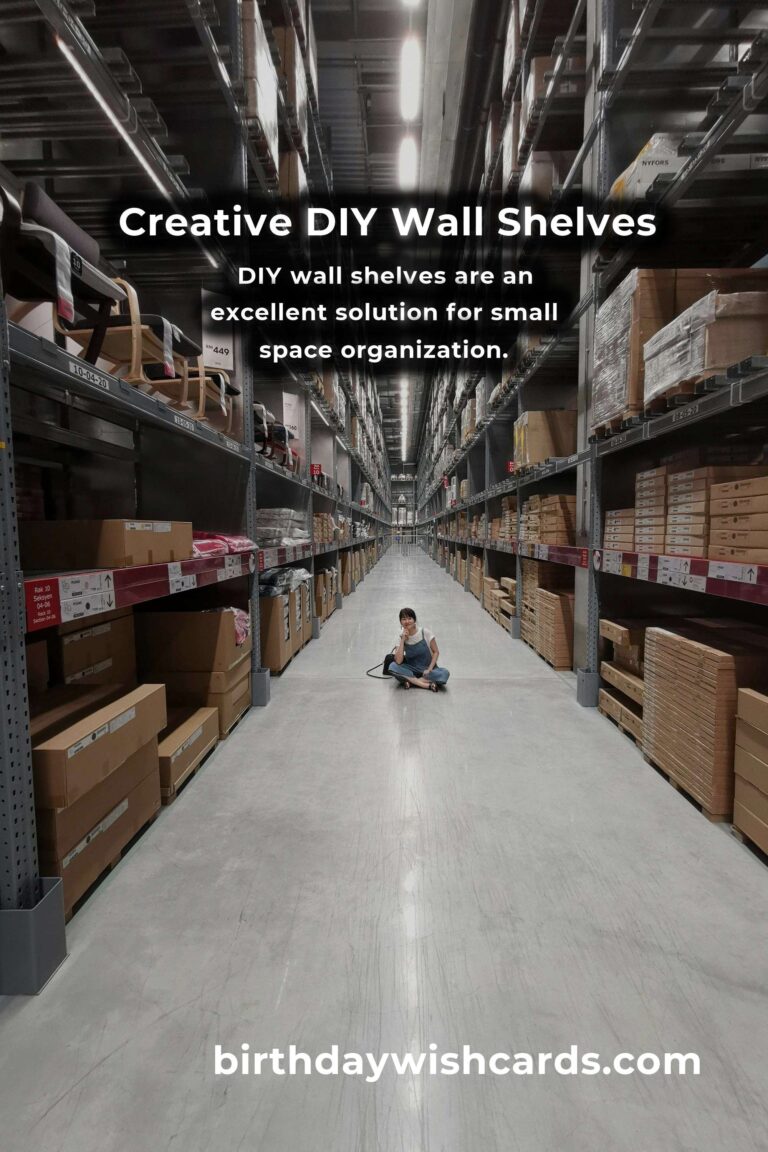
In today’s fast-paced world, maximizing space within our homes has become essential. Whether you live in a cozy apartment or a compact house, organizing your space efficiently can make a significant difference. DIY wall shelves are an excellent solution for small space organization. Not only do they provide additional storage, but they also add a personal touch to your home decor.
Why Choose DIY Wall Shelves?
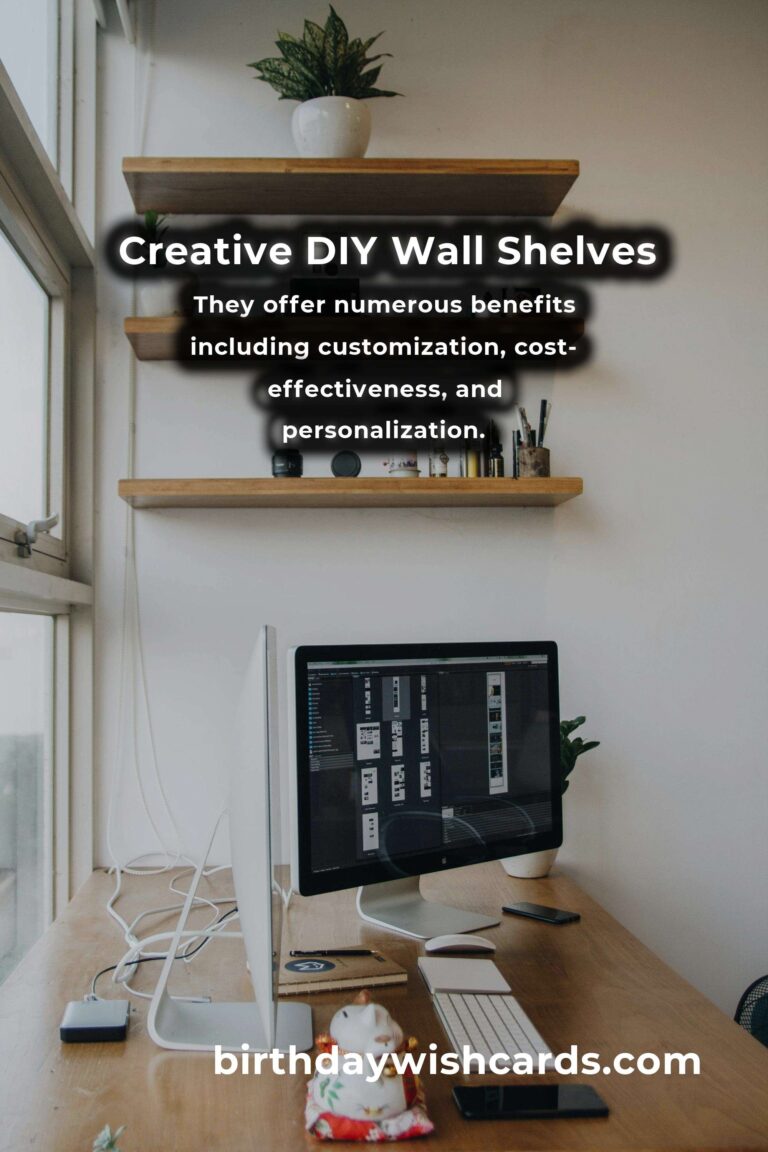
DIY wall shelves offer numerous benefits. Firstly, they are customizable to fit your specific needs and space constraints. You can choose the size, shape, and material that best suits your home. Secondly, they are cost-effective. Building your own shelves can be much cheaper than purchasing pre-made options. Lastly, DIY projects are a great way to express your creativity and personalize your living space.
Materials Needed for DIY Wall Shelves
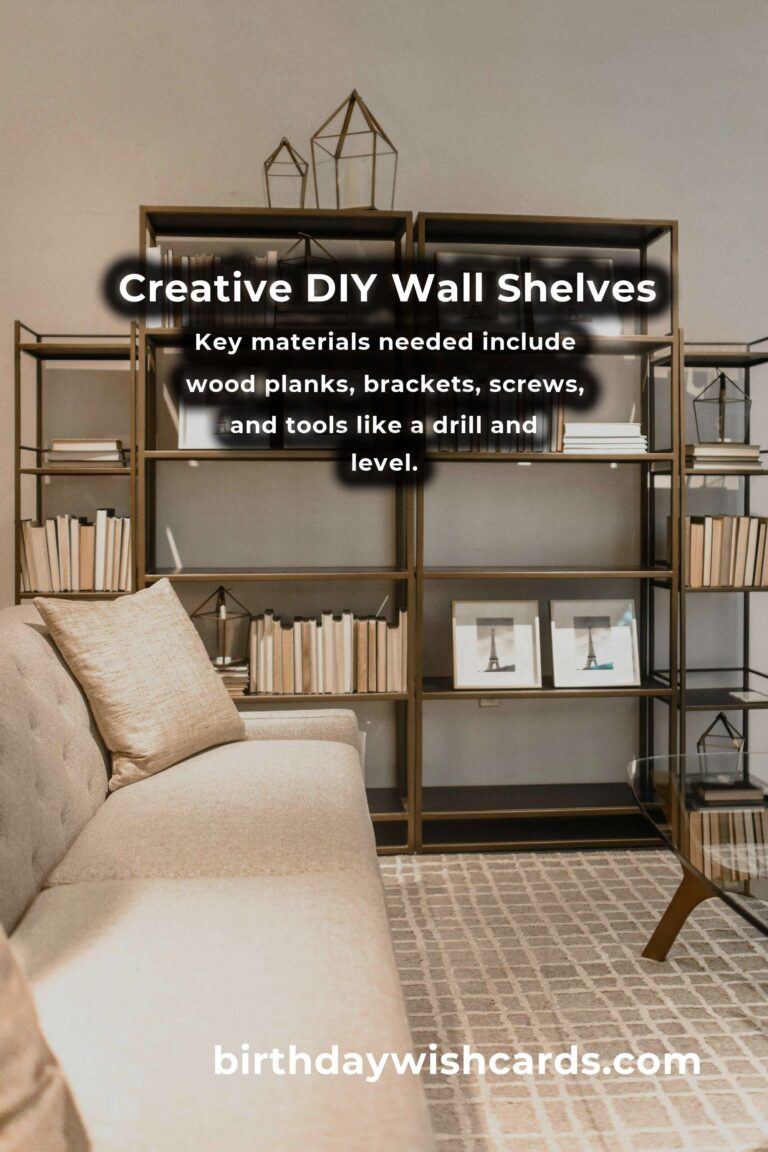
Before starting your DIY project, it’s important to gather all necessary materials. Here are some common items you’ll need:
- Wood planks or boards
- Brackets or shelf supports
- Screws and wall anchors
- Drill or screwdriver
- Level
- Measuring tape
- Sandpaper (optional for smoothing edges)
- Paint or wood stain (optional for finishing)
Steps to Build Your DIY Wall Shelves
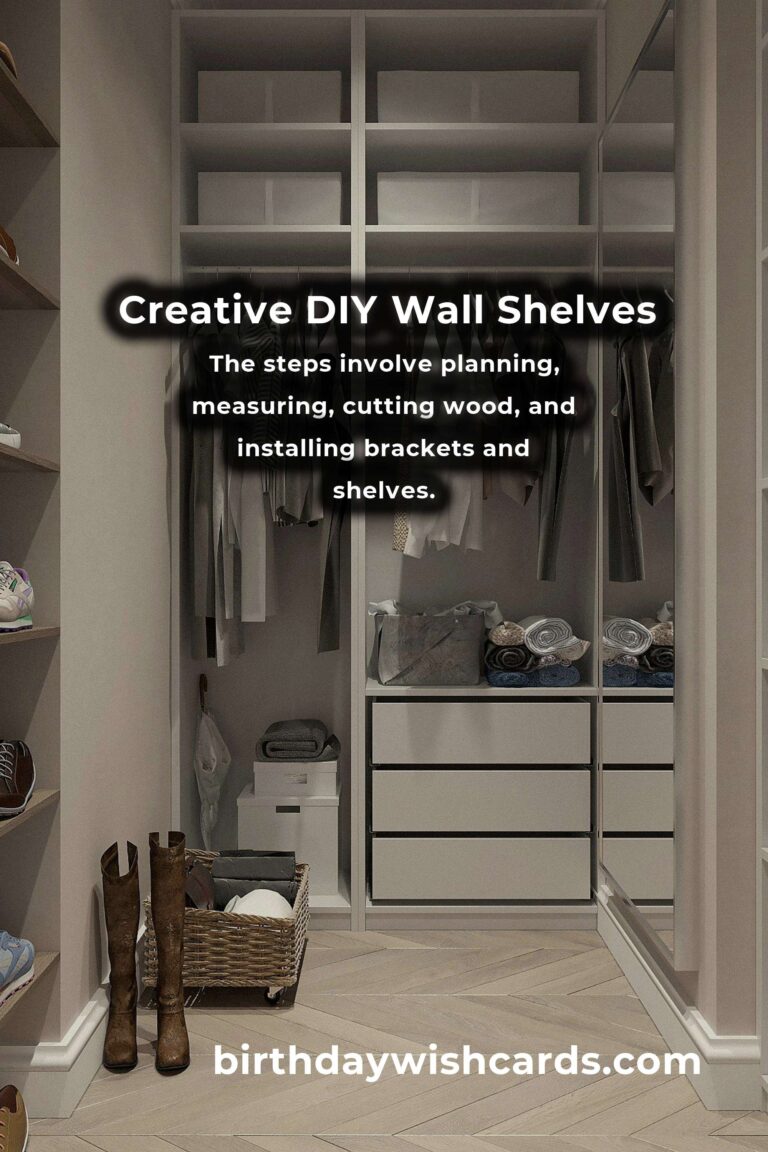
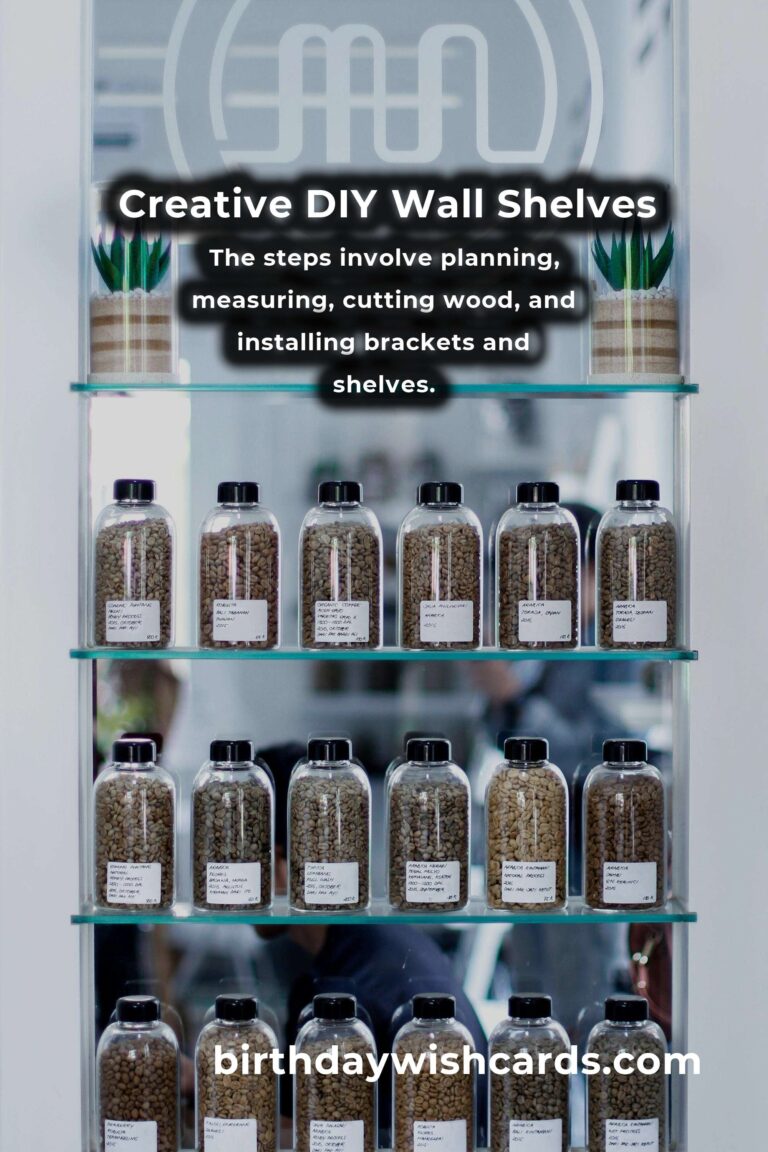
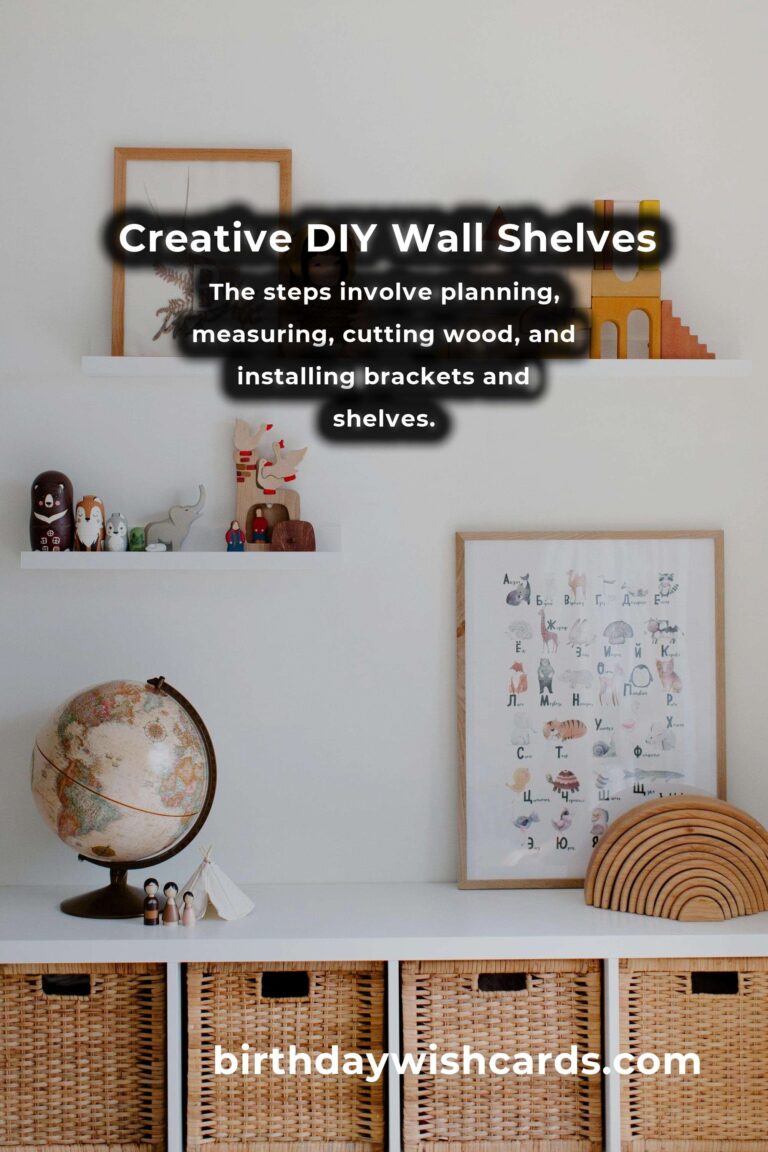
Step 1: Plan and MeasureBegin by deciding where you want to install your shelves. Measure the available wall space and determine how many shelves you can fit. Consider the items you plan to store and ensure the shelves are deep and sturdy enough to hold them.
Step 2: Choose Your MaterialsSelect the type of wood and brackets that match your home decor. Cedar, pine, or oak are popular choices for a rustic look, while metal brackets can add a modern touch.
Step 3: Cut and Prepare the WoodUsing a saw, cut the wood to your desired shelf length. Smooth any rough edges with sandpaper. If you wish, apply paint or wood stain and allow it to dry completely.
Step 4: Install the BracketsUsing a drill, attach the brackets to the wall at your marked points. Make sure they are level and secure. Use wall anchors if necessary for additional support.
Step 5: Mount the ShelvesPlace the wood planks onto the brackets and secure them with screws. Double-check that everything is level before finalizing the installation.
Tips for Small Space Organization
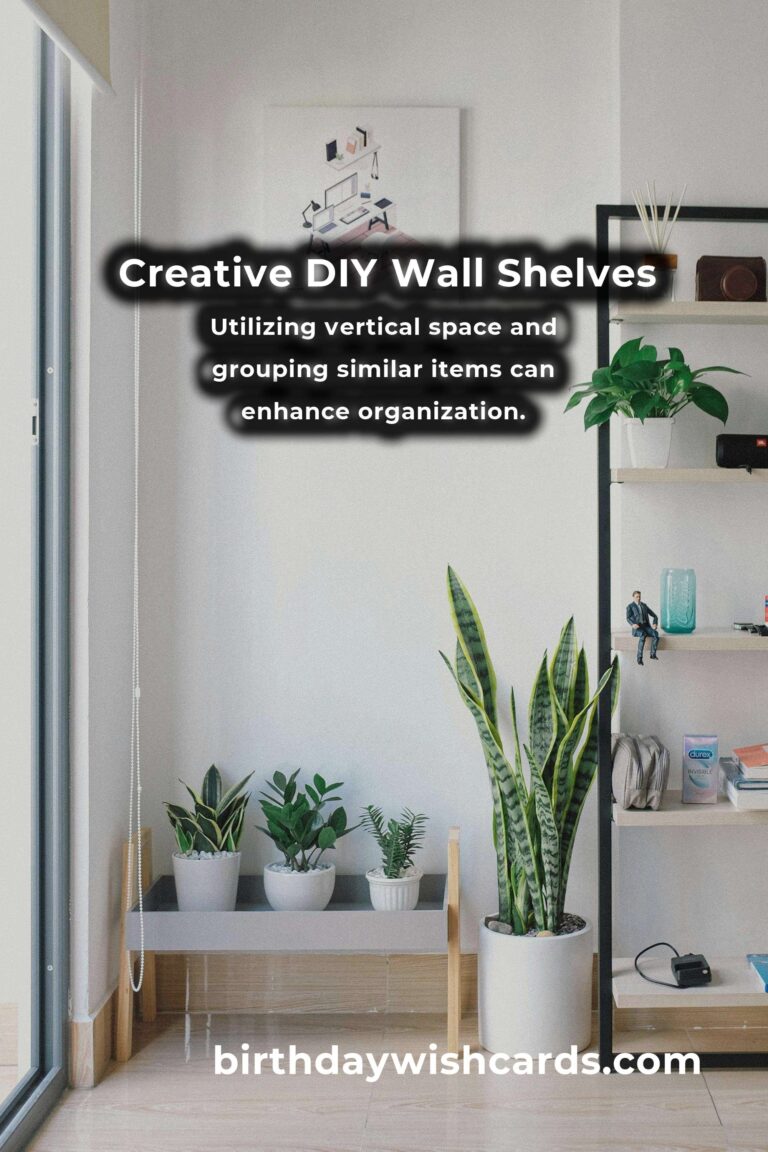
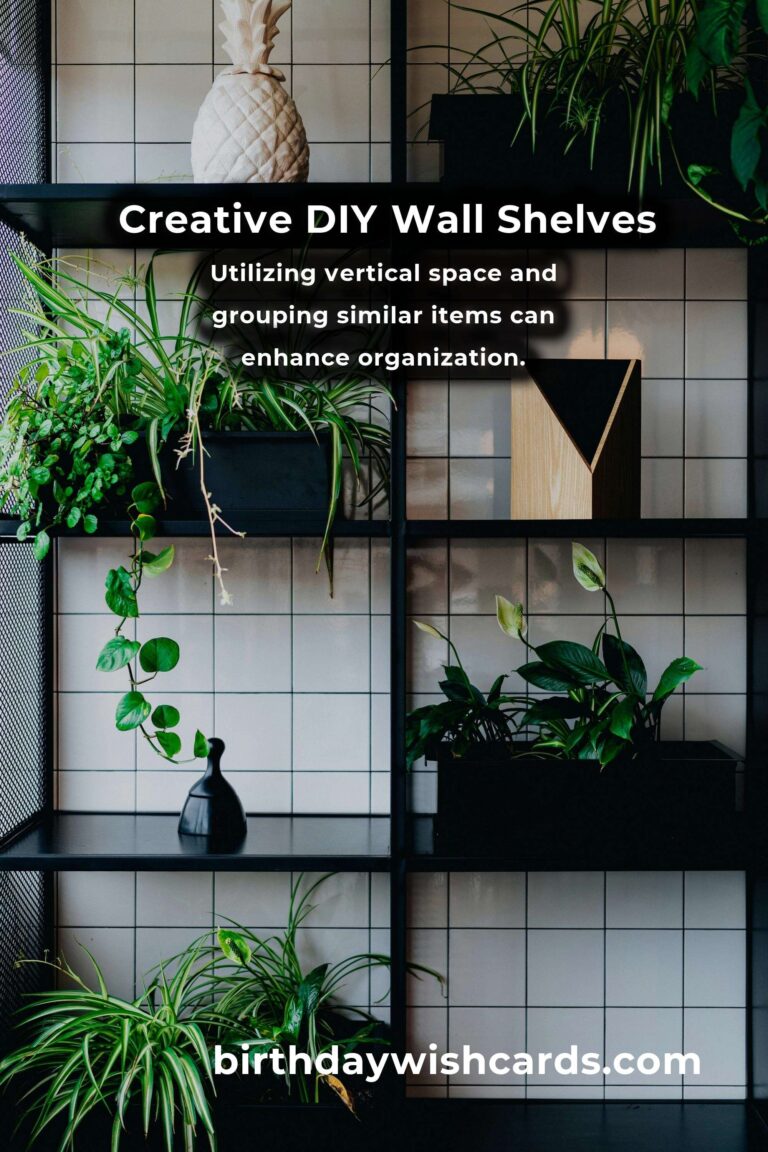
Utilize vertical space: Install shelves higher up to maximize floor space.Group similar items: Keep like items together for easy access and a tidy appearance.Incorporate decorative elements: Use baskets and boxes for storage to maintain a clutter-free look.Regularly declutter: Periodically go through items and remove unnecessary clutter.
Conclusion
DIY wall shelves are a practical and stylish solution for small space organization. With a little planning and creativity, you can transform your living area into a functional and beautiful space. Whether you’re a seasoned DIY enthusiast or a beginner, creating your own wall shelves is a rewarding project that enhances your home’s storage and aesthetic appeal.
DIY wall shelves are an excellent solution for small space organization. They offer numerous benefits including customization, cost-effectiveness, and personalization. Key materials needed include wood planks, brackets, screws, and tools like a drill and level. The steps involve planning, measuring, cutting wood, and installing brackets and shelves. Utilizing vertical space and grouping similar items can enhance organization.
#DIY #WallShelves #HomeOrganization #SmallSpace #HomeDecor