


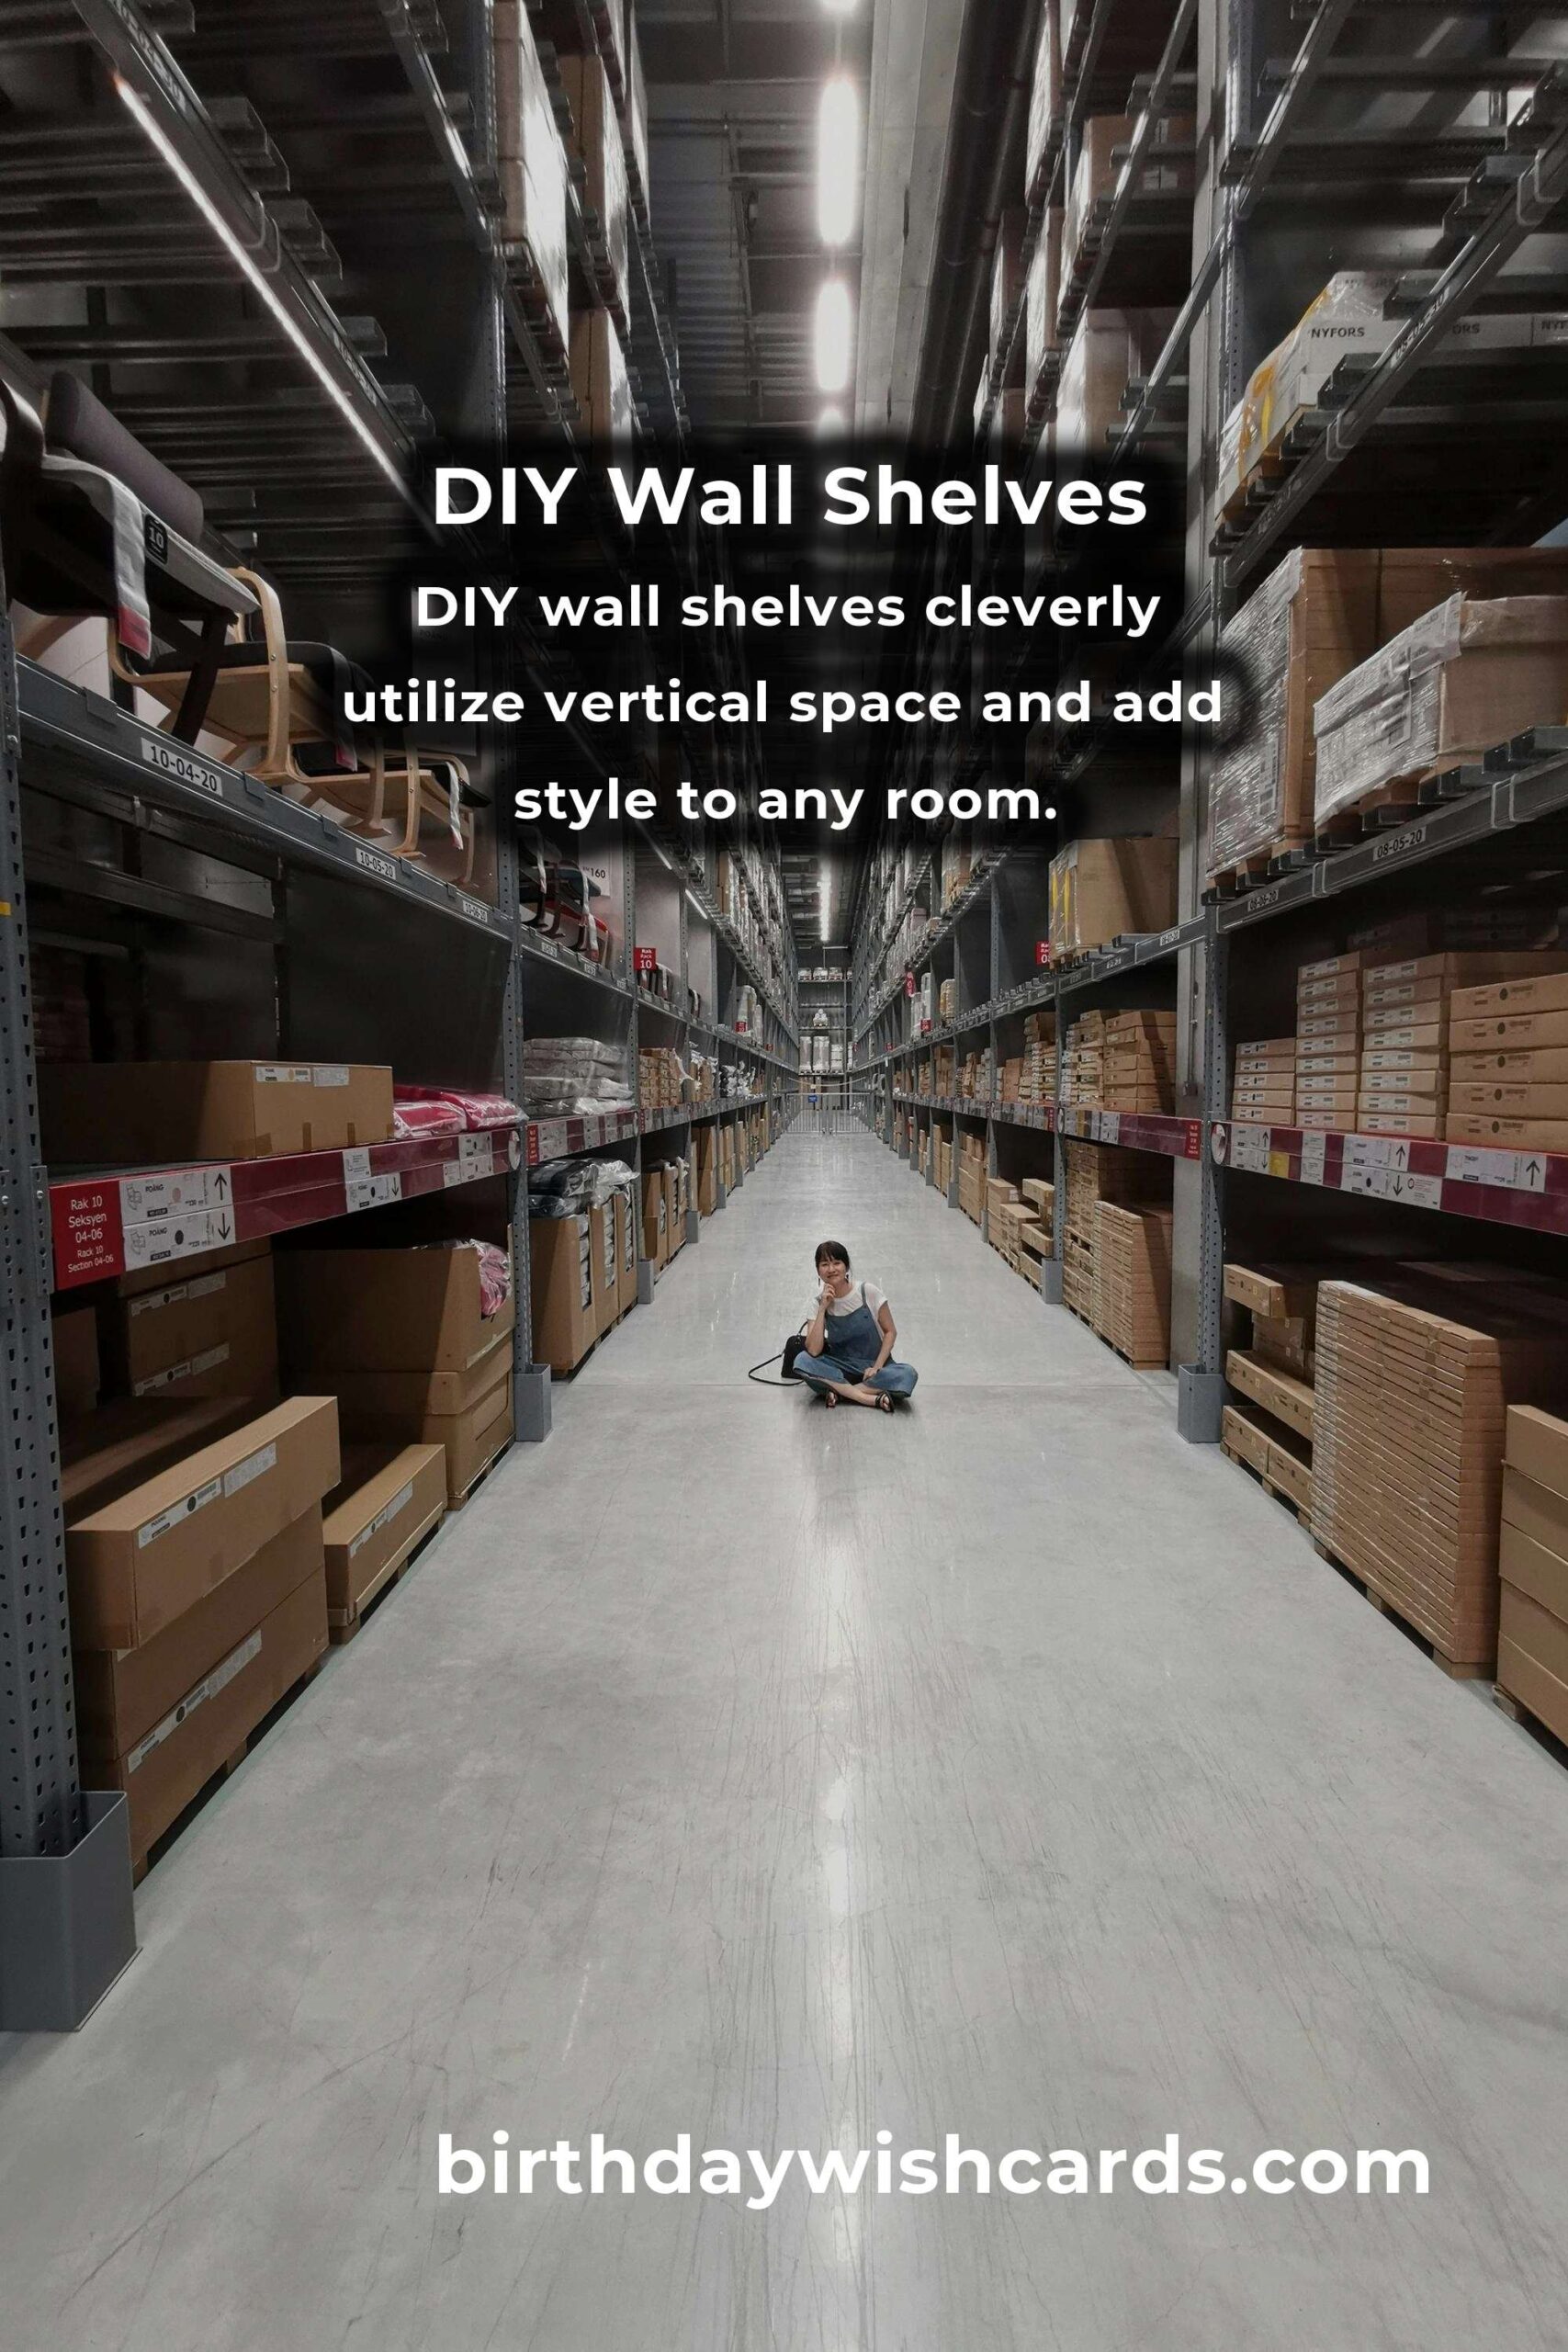
Creating additional storage in your home can sometimes be a challenge, but with DIY wall shelves, you can cleverly utilize vertical space while adding a touch of style to any room. Wall shelves not only provide a practical solution for storing books, plants, and decorative items but also enhance the aesthetic appeal of your home. In this comprehensive guide, we will explore various DIY wall shelf ideas that cater to different styles and needs, ensuring you find the perfect fit for your space.
Why Choose DIY Wall Shelves?
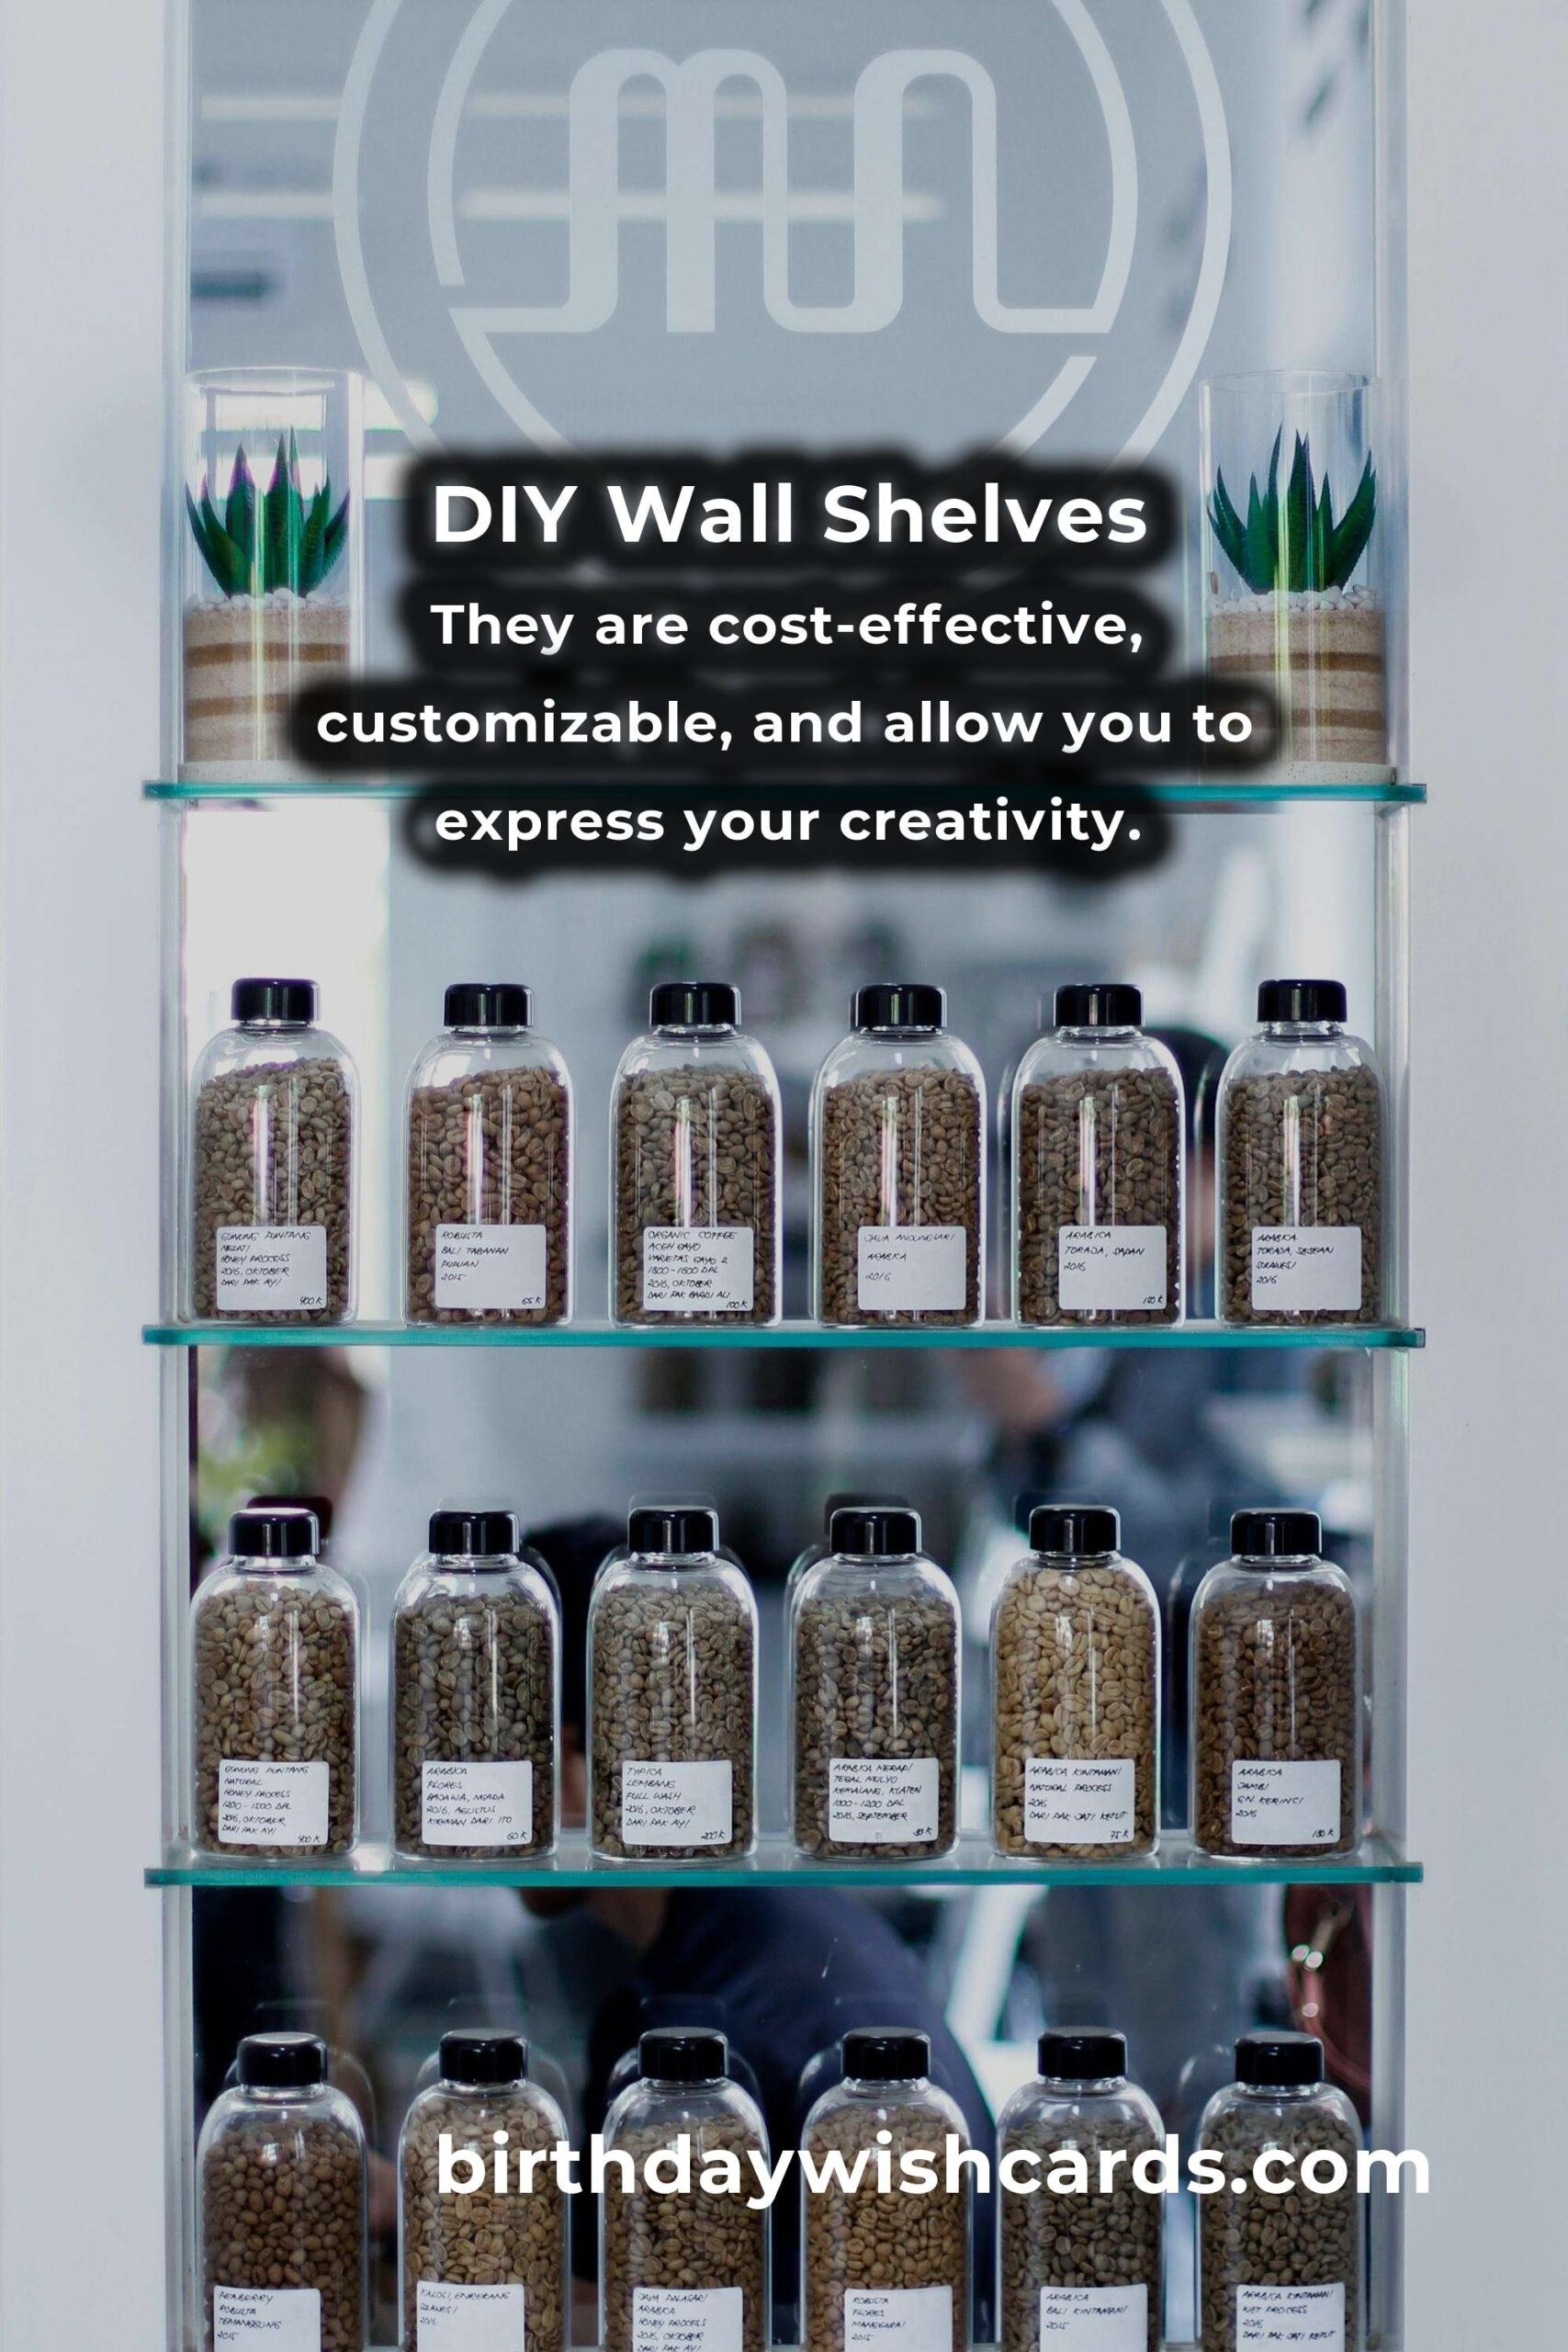
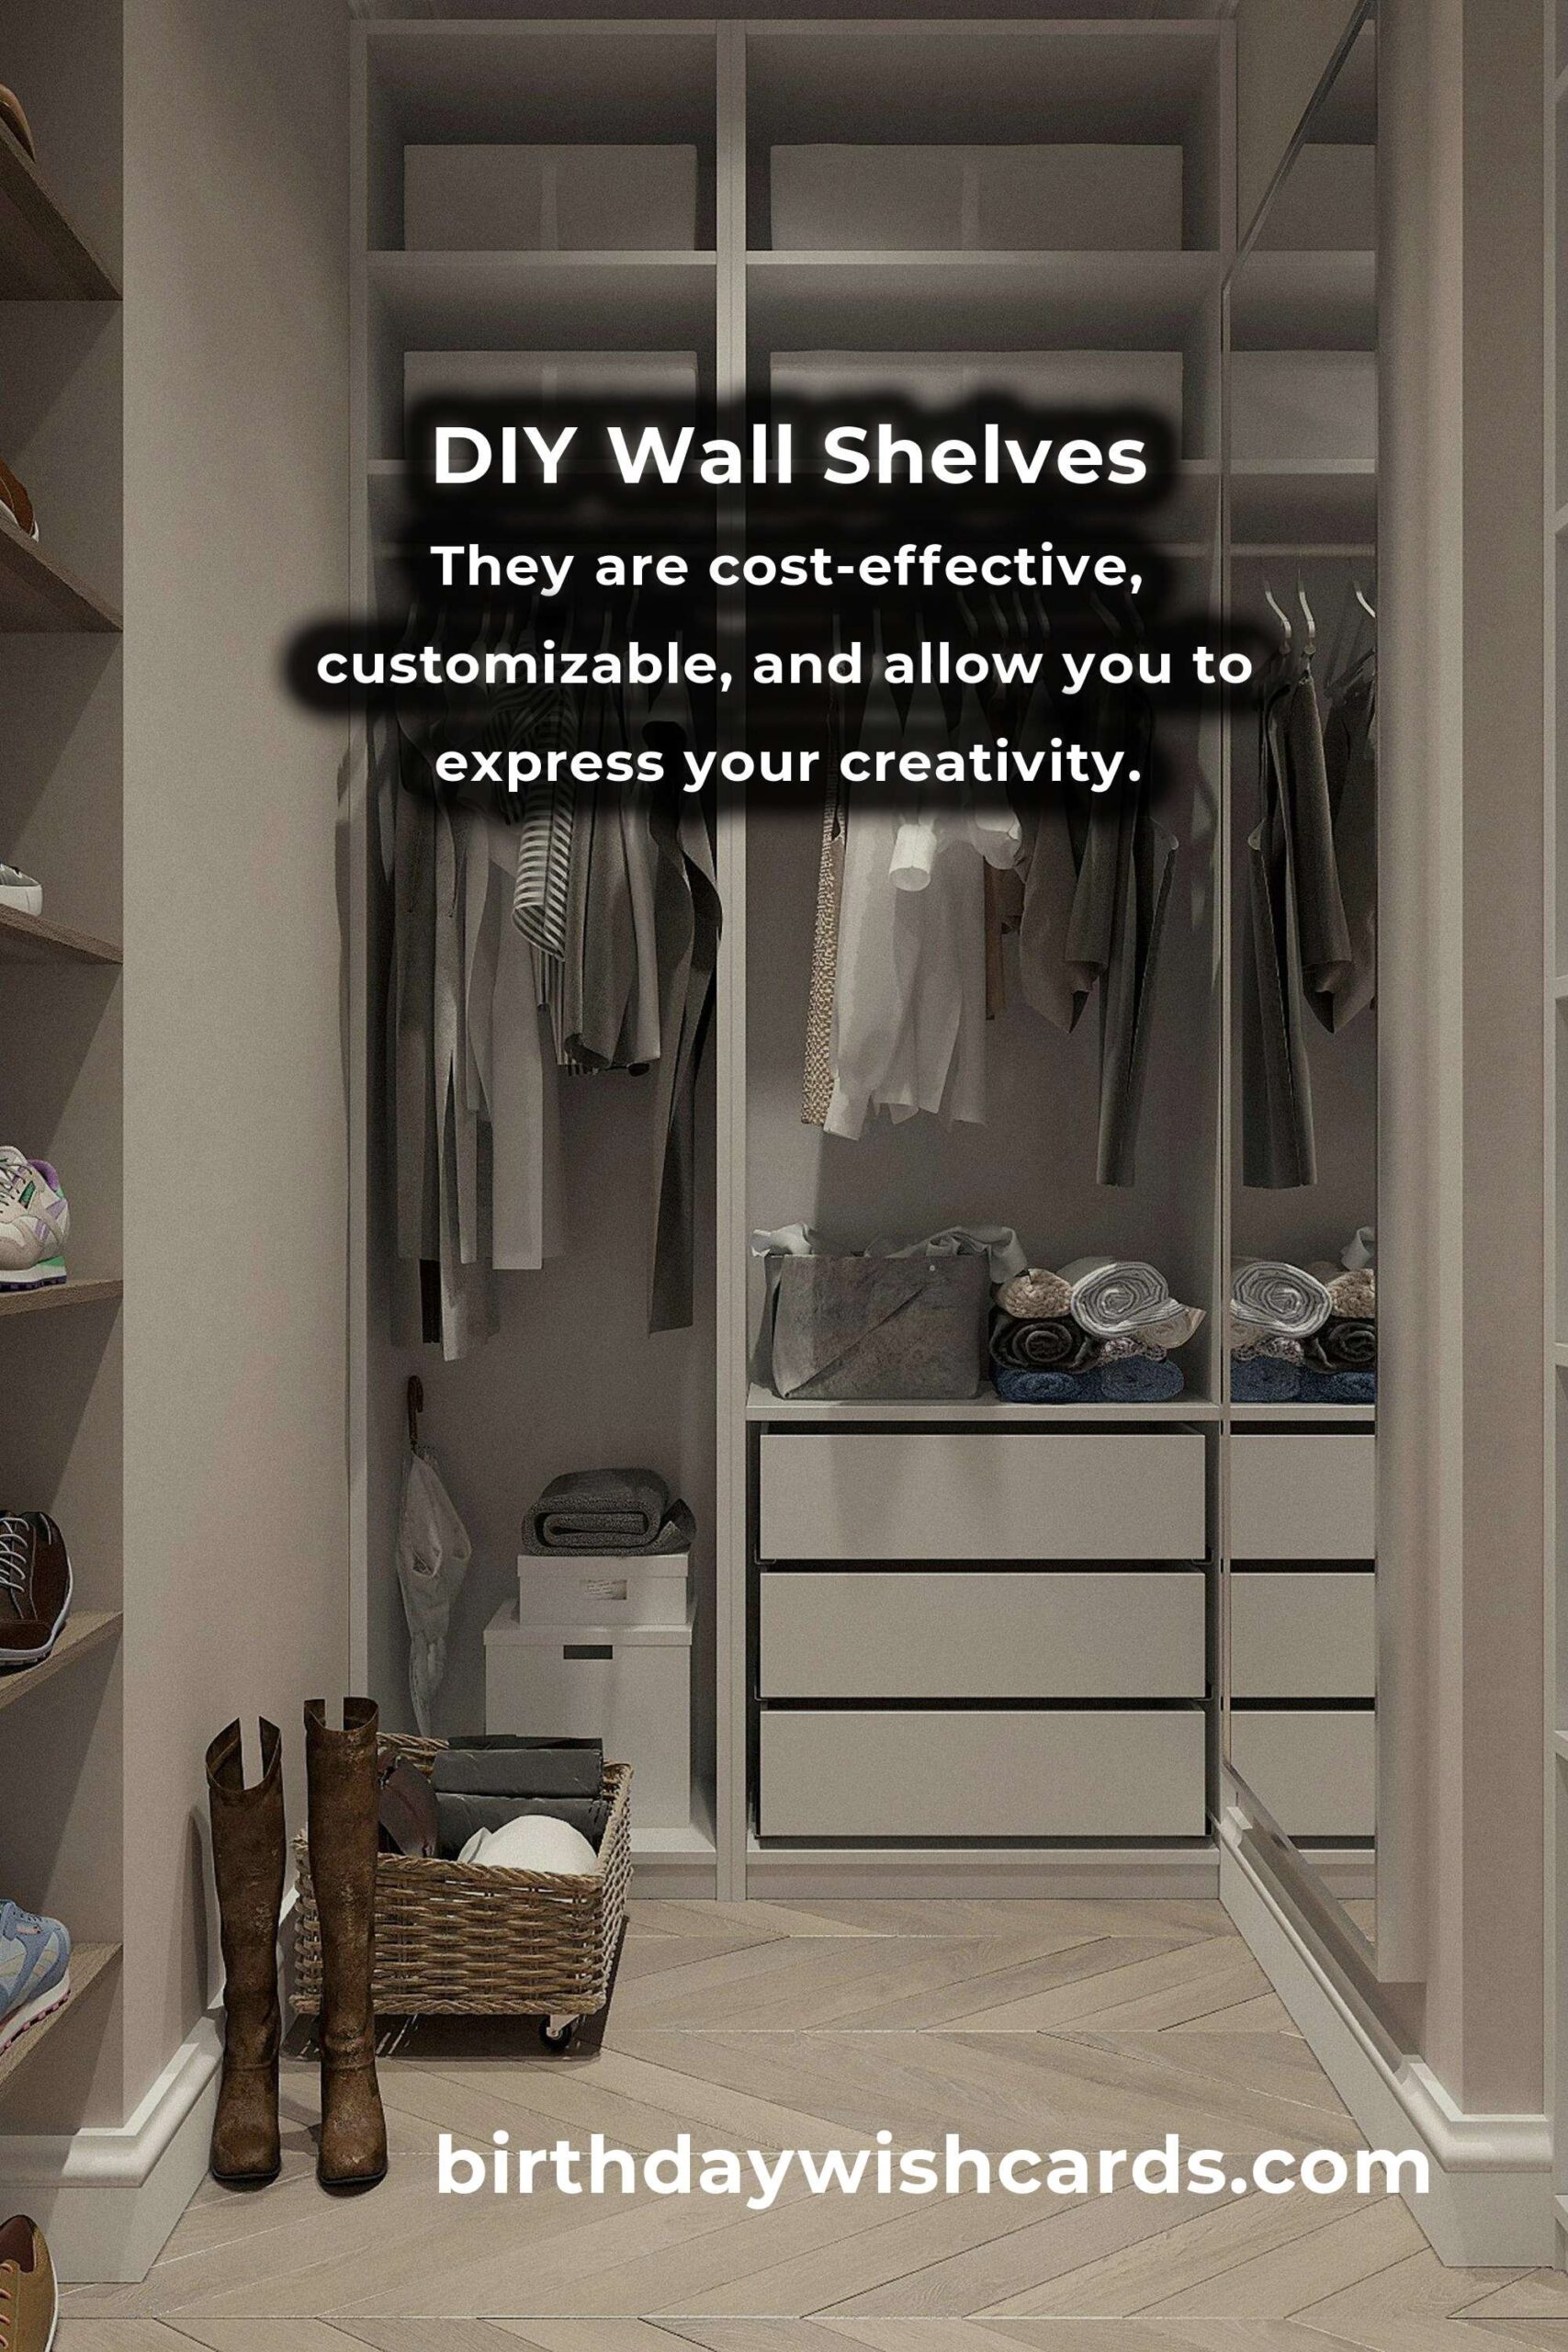
DIY wall shelves offer several benefits. They are cost-effective, customizable, and allow you to express your creativity. Unlike pre-made shelves, DIY options give you the freedom to choose materials, colors, and designs that match your home decor. Additionally, making your own shelves can be a rewarding project that provides a sense of accomplishment once completed.
Materials and Tools Required
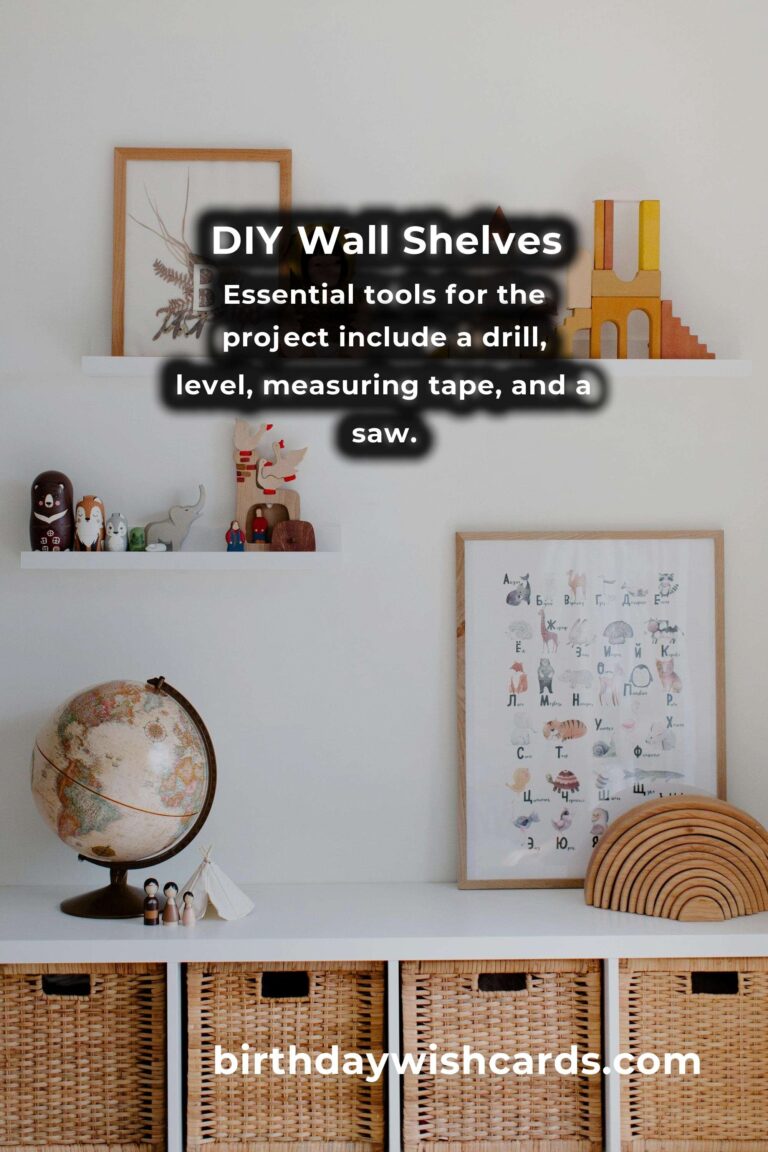
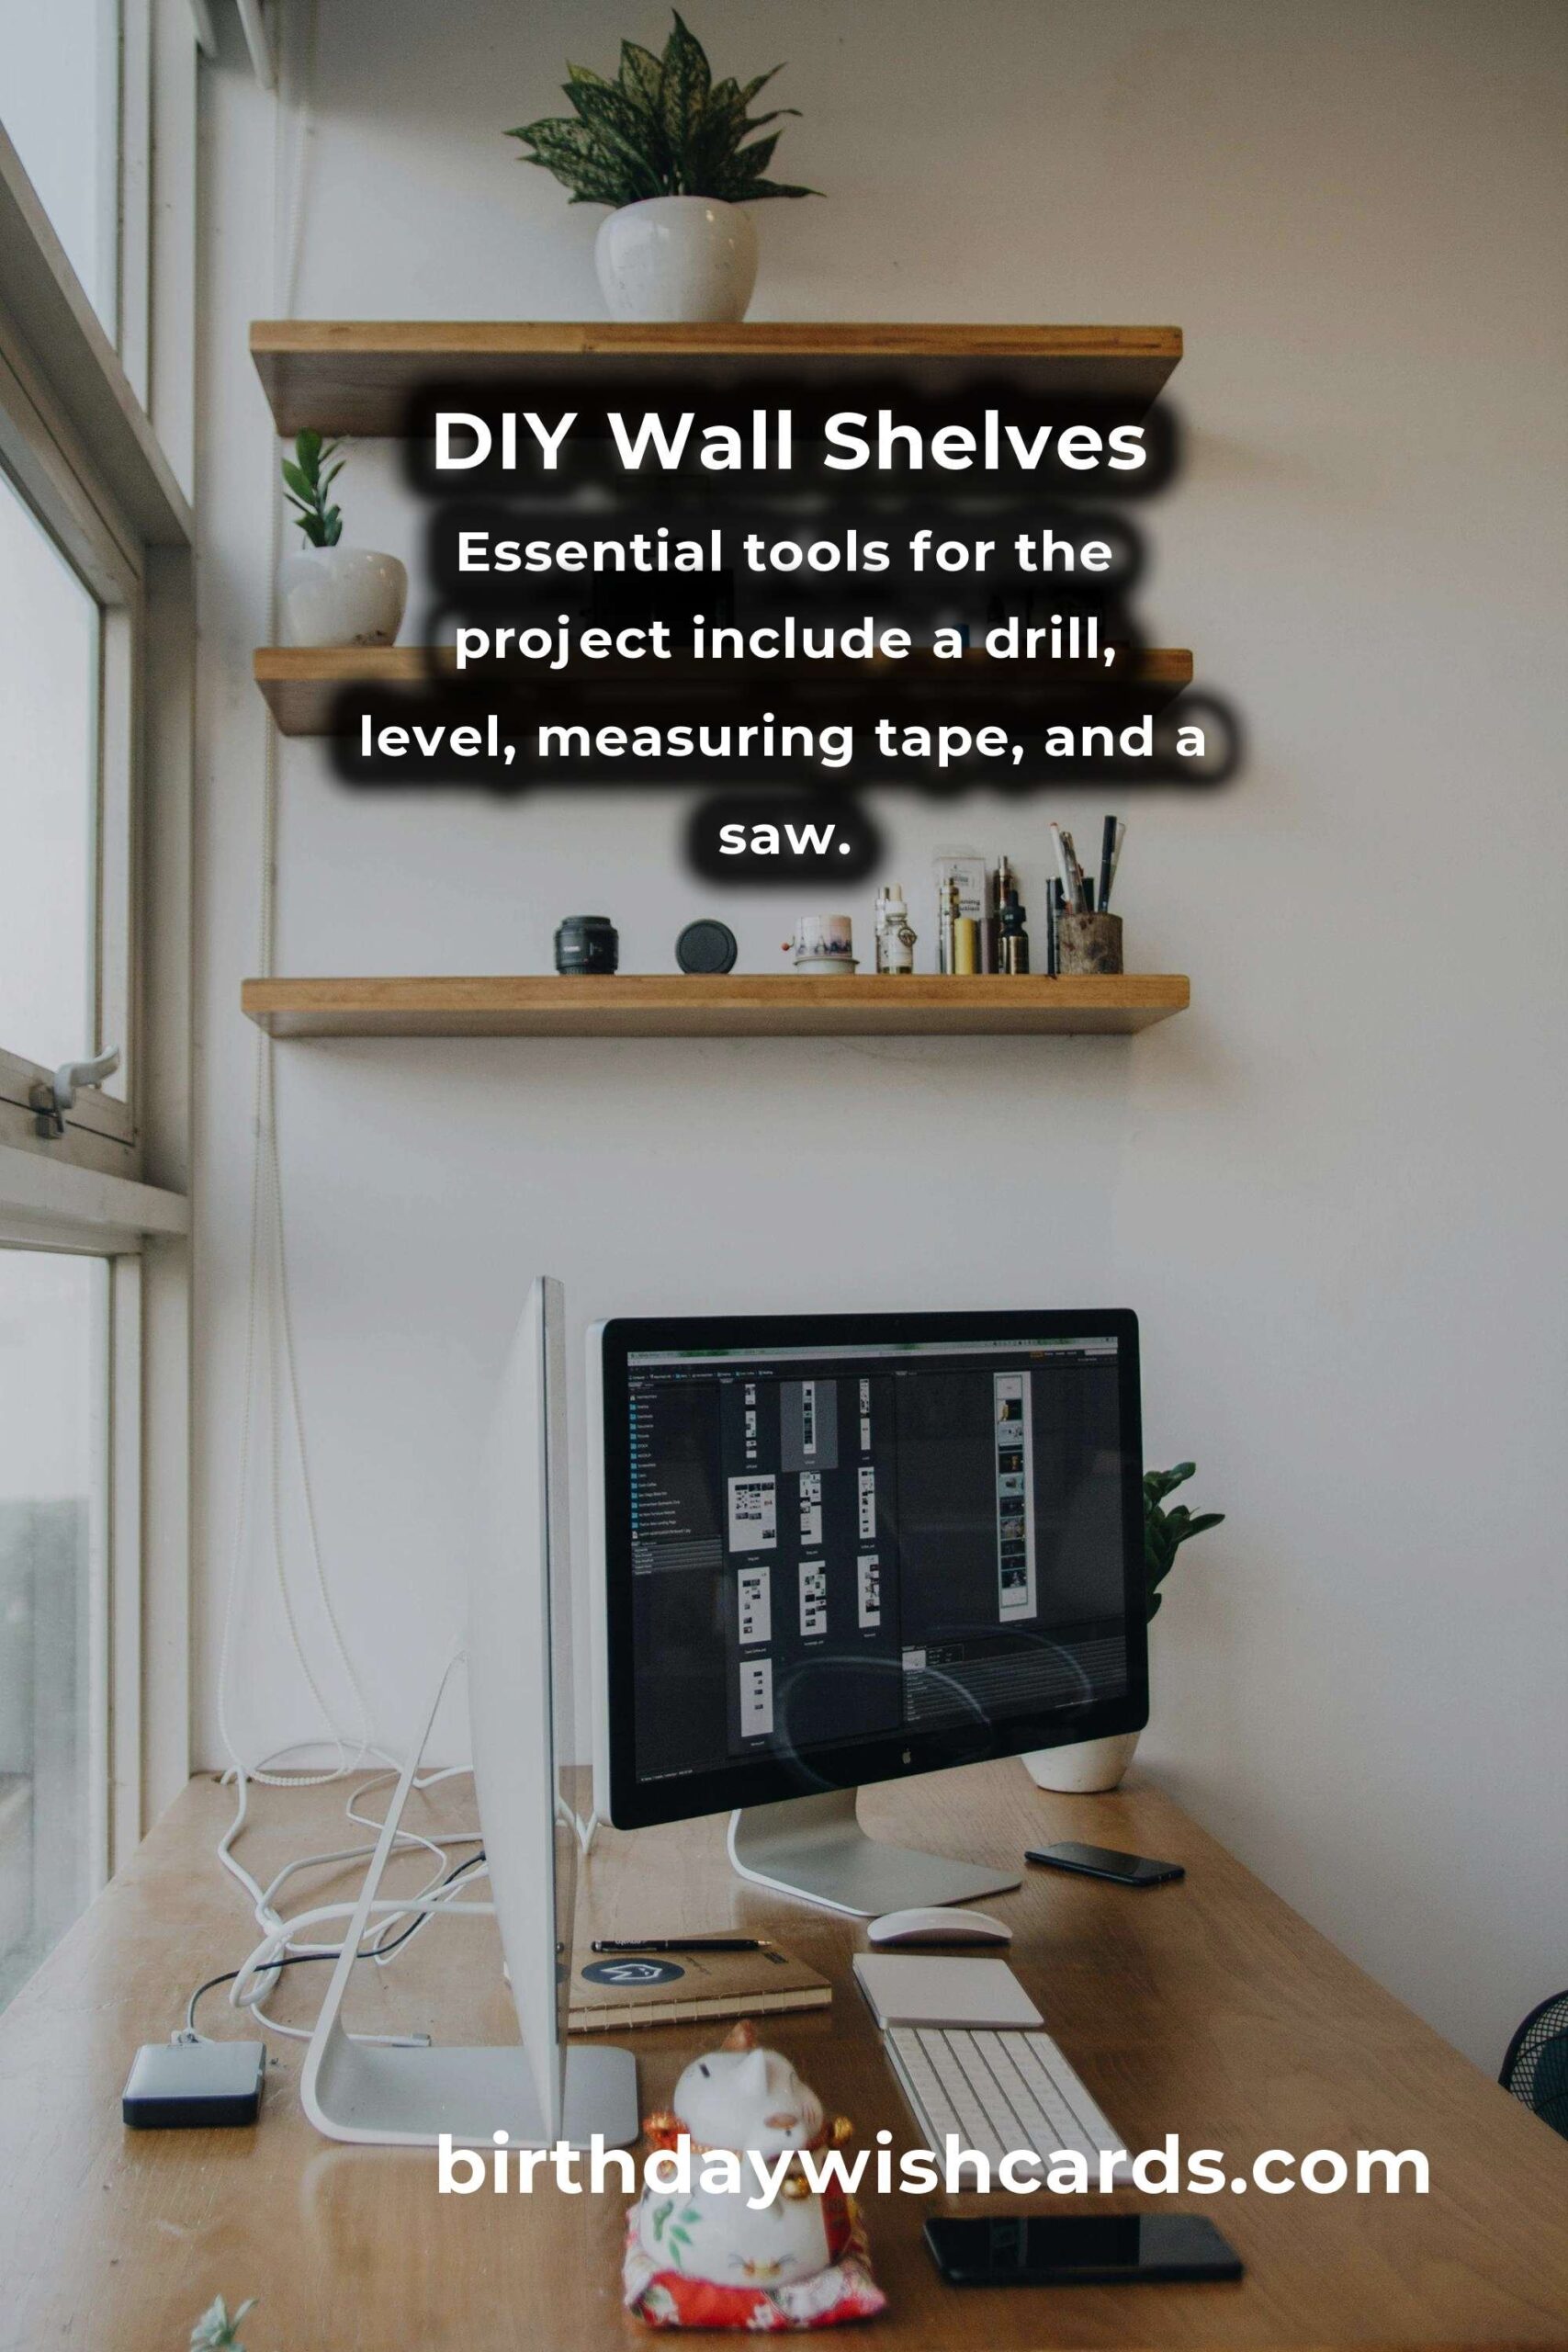
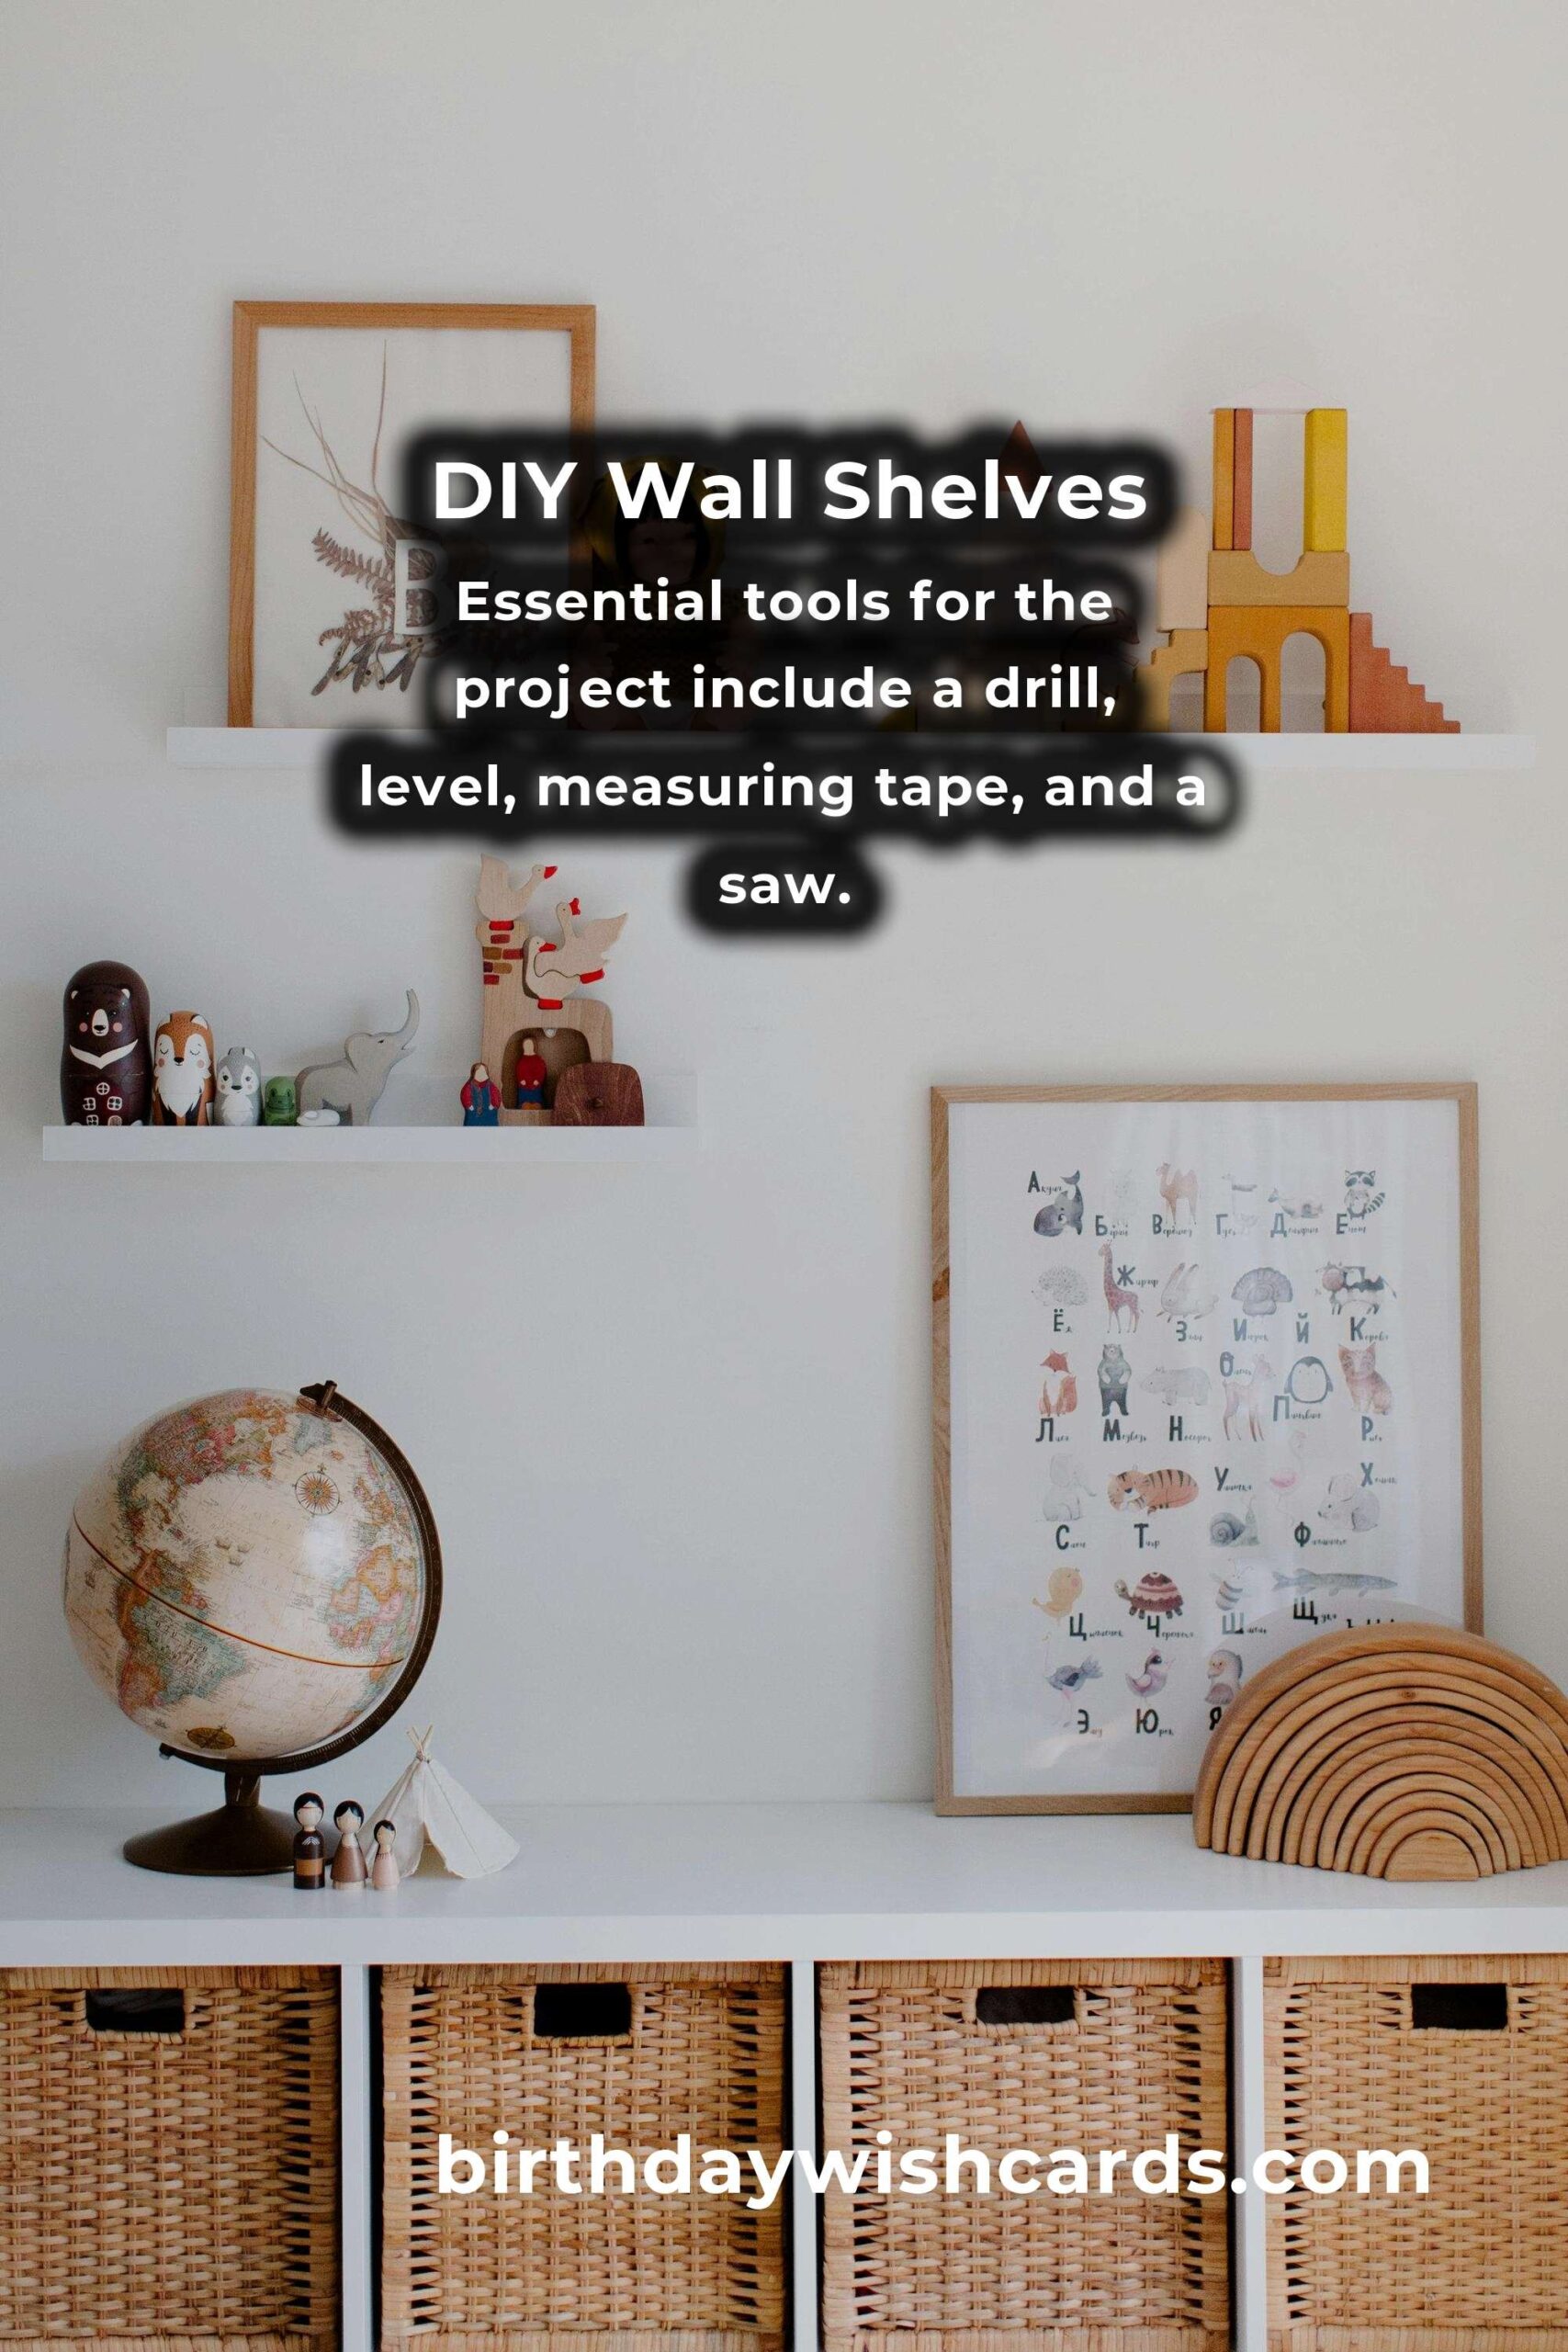
Before embarking on your DIY wall shelf project, it is essential to gather the necessary materials and tools. Common materials include wood planks, brackets, screws, and wall anchors. Depending on your design, you might also need paint, stain, or varnish. Essential tools for the project include a drill, level, measuring tape, and a saw. Having these materials and tools on hand will ensure a smooth building process.

Step-by-Step Guide to Building DIY Wall Shelves
Step 1: Plan Your Design
Begin by deciding on the style and size of your wall shelves. Consider the items you plan to store and the available wall space. Sketch a design or find inspiration from online resources to visualize the final product.
Step 2: Measure and Cut
Measure the wall where you intend to install the shelves. Use these measurements to cut the wood planks to the desired length. Ensure all cuts are straight and even to maintain a professional look.
Step 3: Sand and Finish
Sand the edges and surfaces of the wood planks to smooth out any rough spots. If you plan to paint or stain the shelves, now is the time to apply your chosen finish. Allow enough time for the paint or stain to dry completely before proceeding.
Step 4: Install Brackets
Determine the placement of your brackets on the wall. Use a level to ensure they are straight and evenly spaced. Drill holes into the wall and secure the brackets using screws and wall anchors.
Step 5: Mount the Shelves
Place the finished wood planks onto the brackets. Double-check that everything is level and securely fastened. Make any necessary adjustments before adding your items to the shelves.
Creative DIY Wall Shelf Ideas
From minimalistic floating shelves to rustic ladder-style designs, there are countless DIY wall shelf ideas to explore. Consider using reclaimed wood for a vintage look, or incorporate metal pipes for an industrial vibe. For a unique touch, try geometric shapes or asymmetrical arrangements to create a focal point in the room.
Conclusion
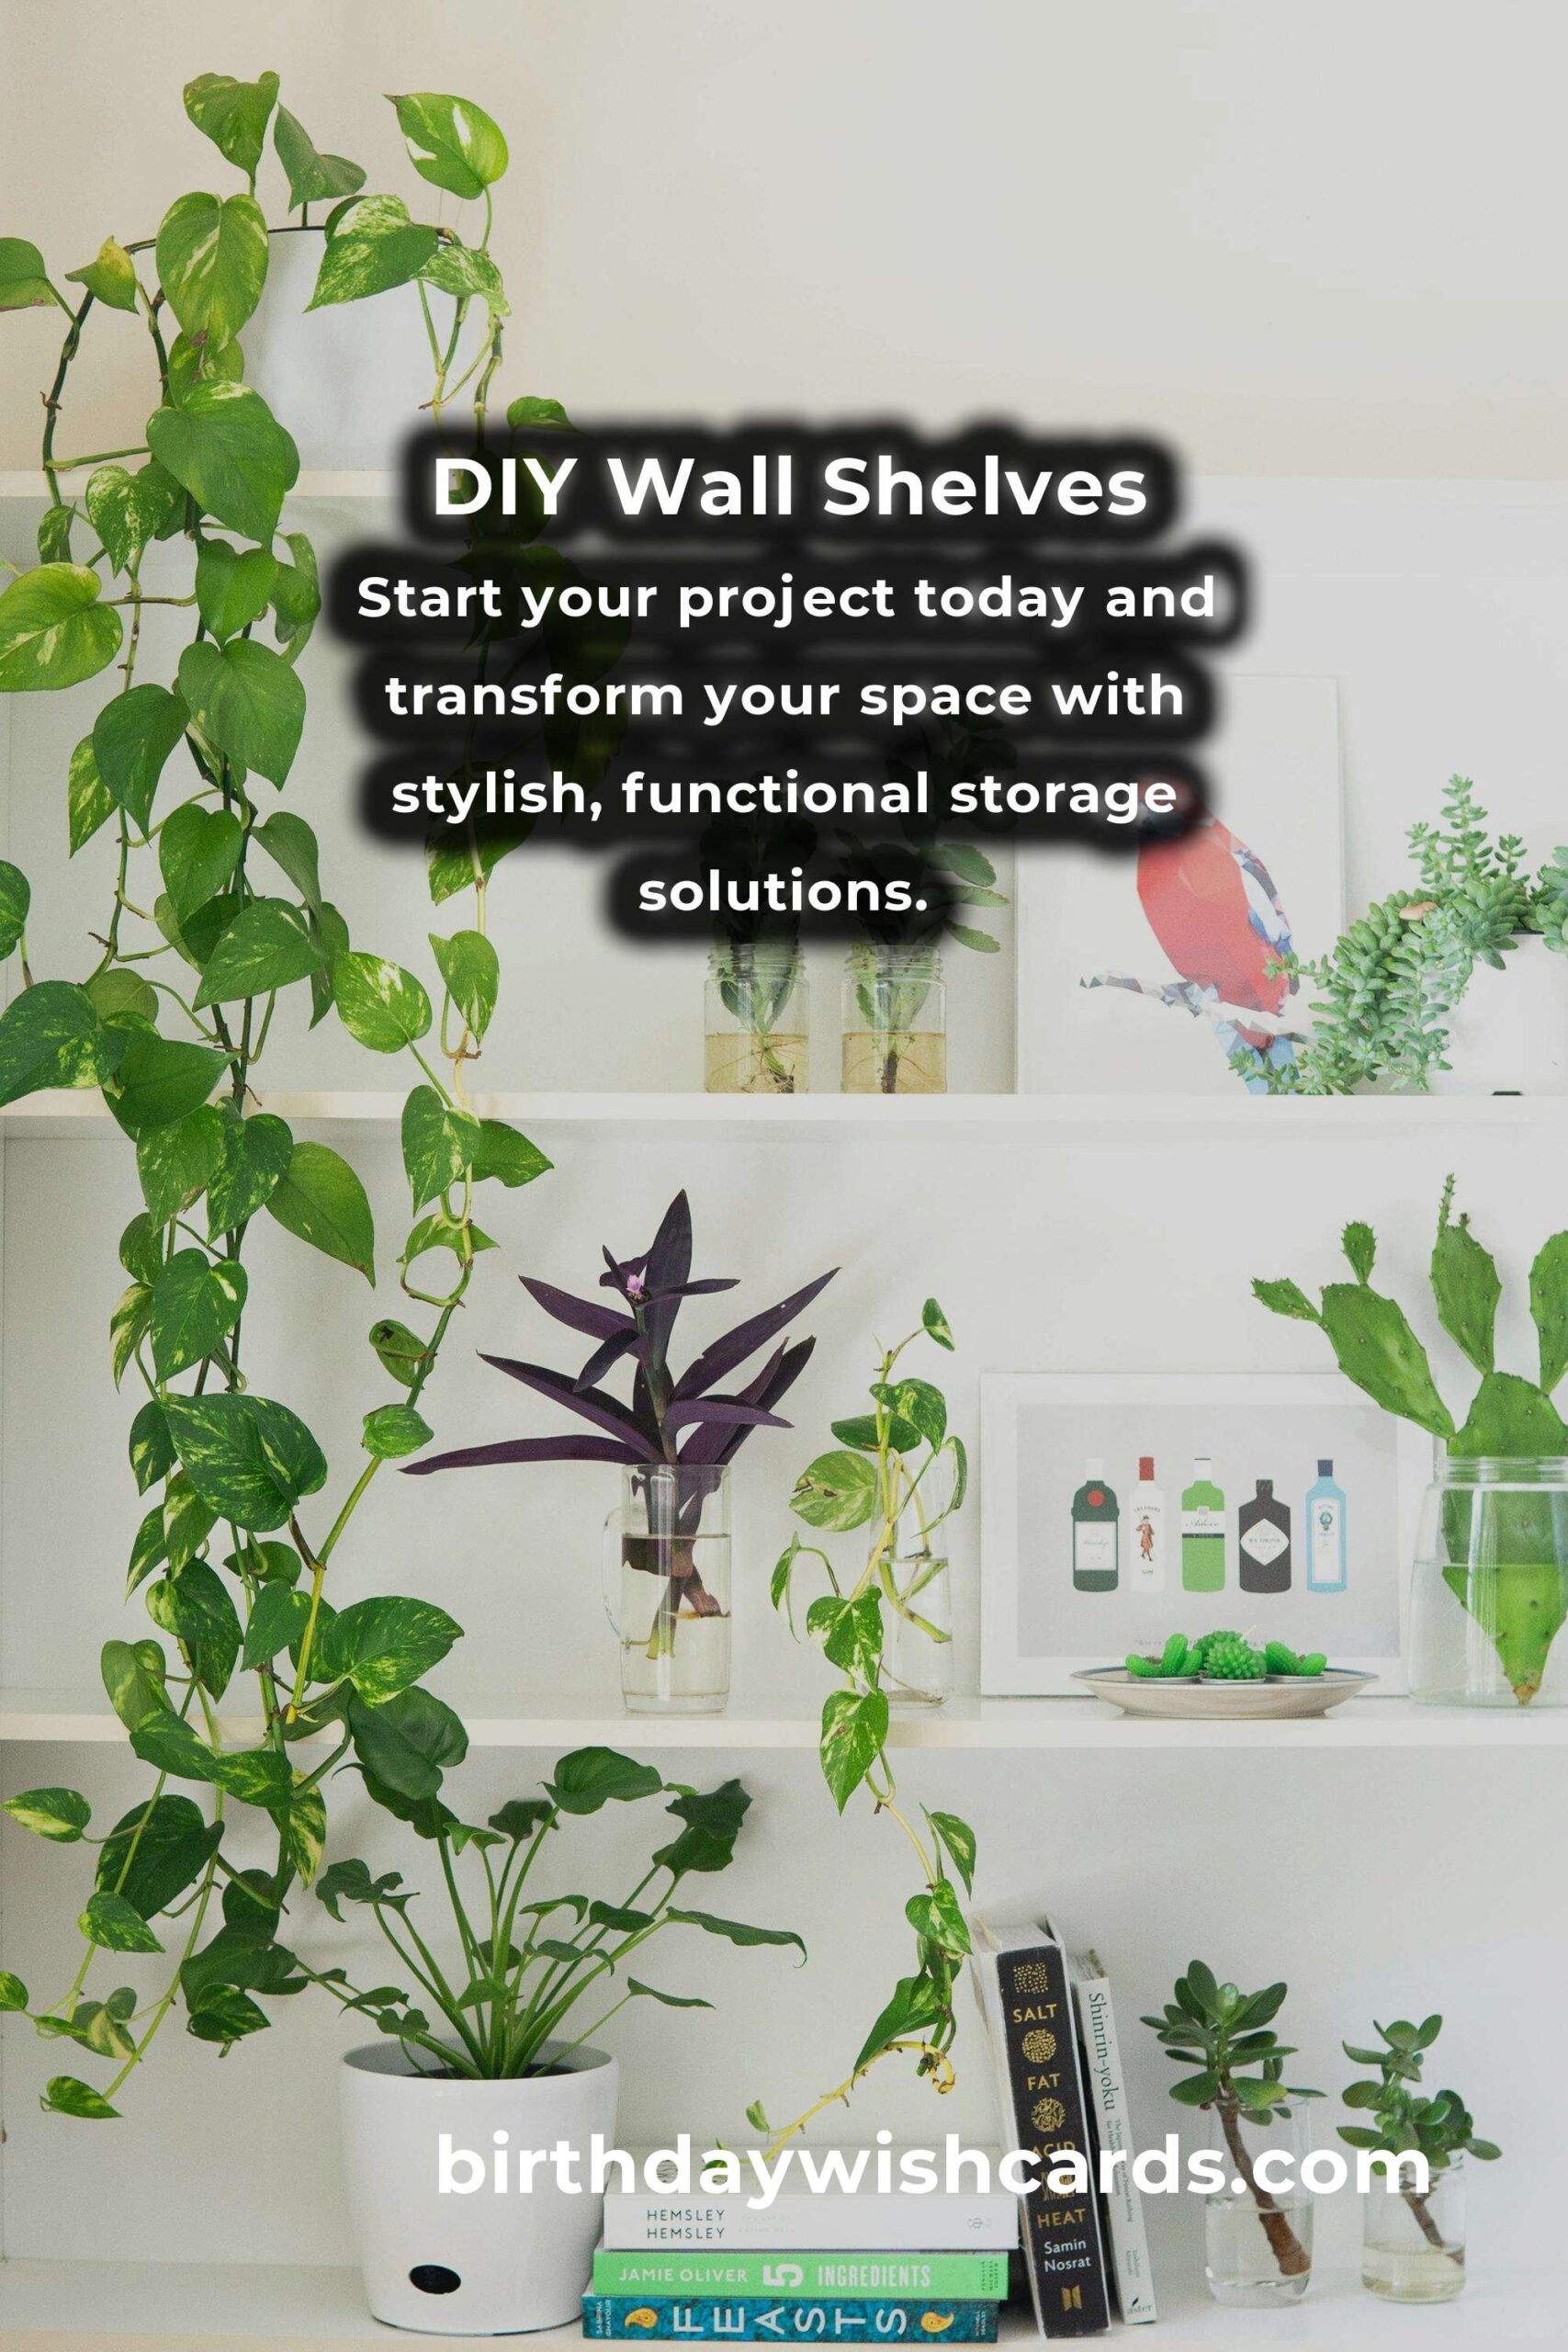
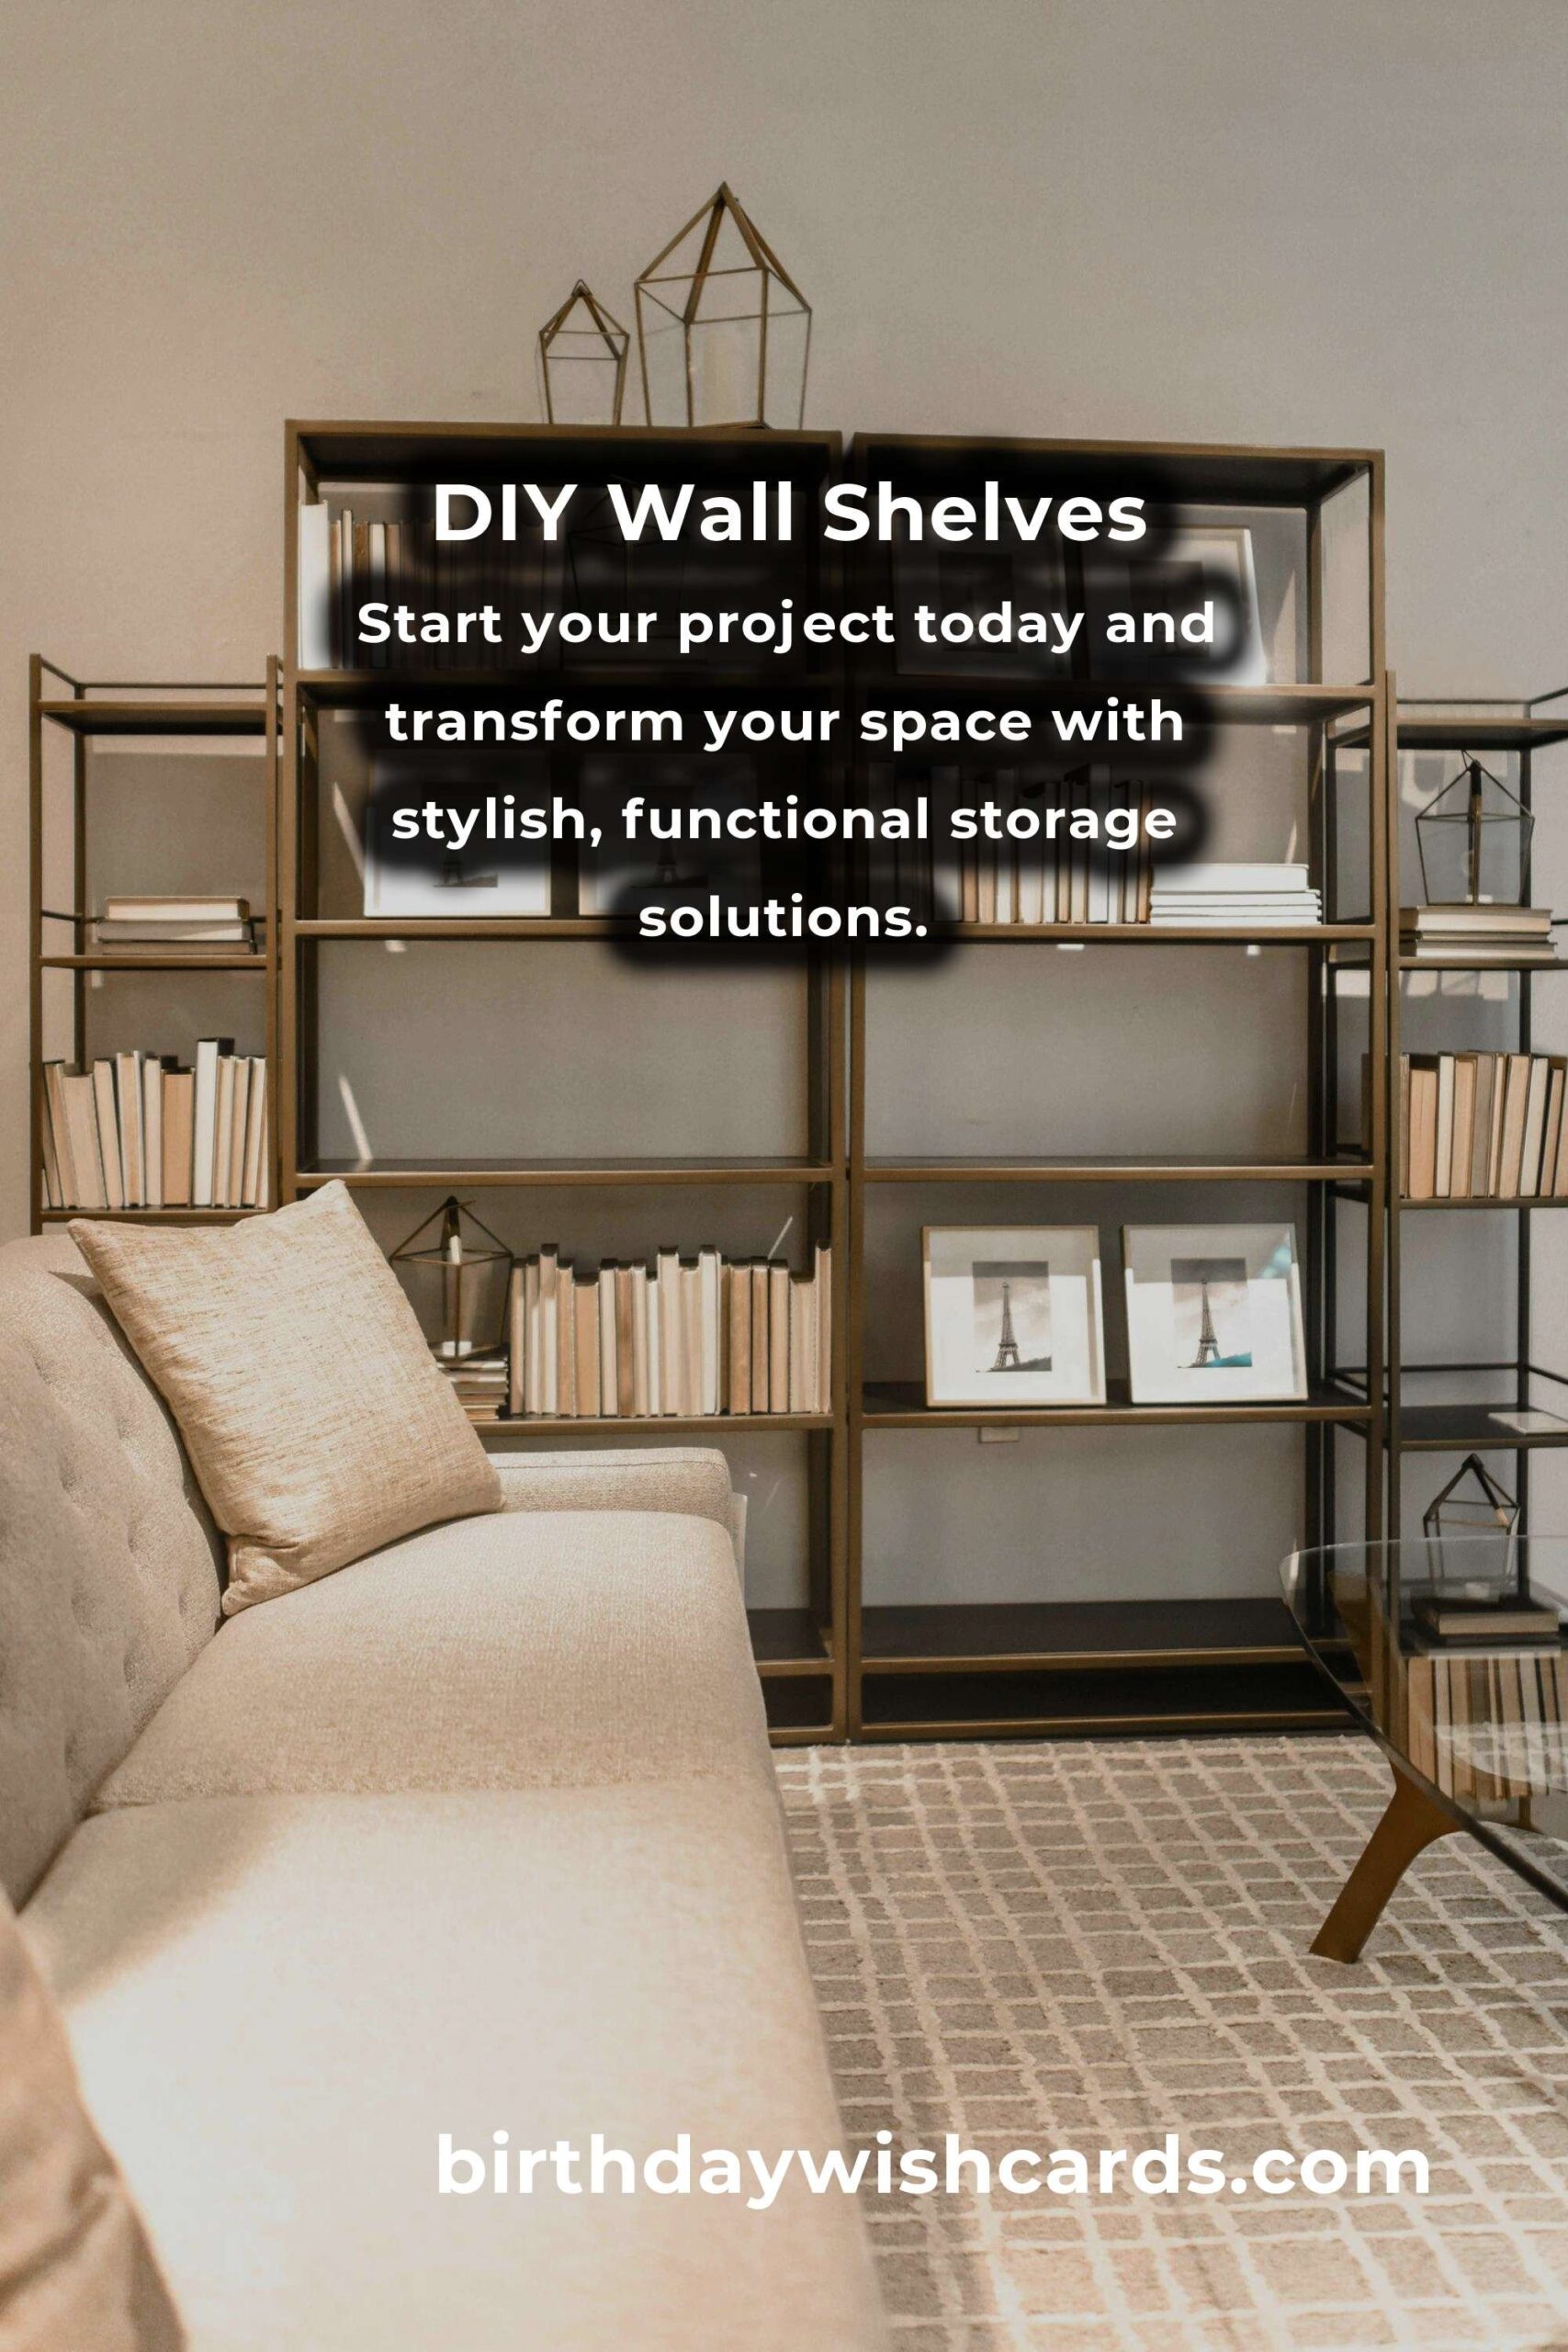
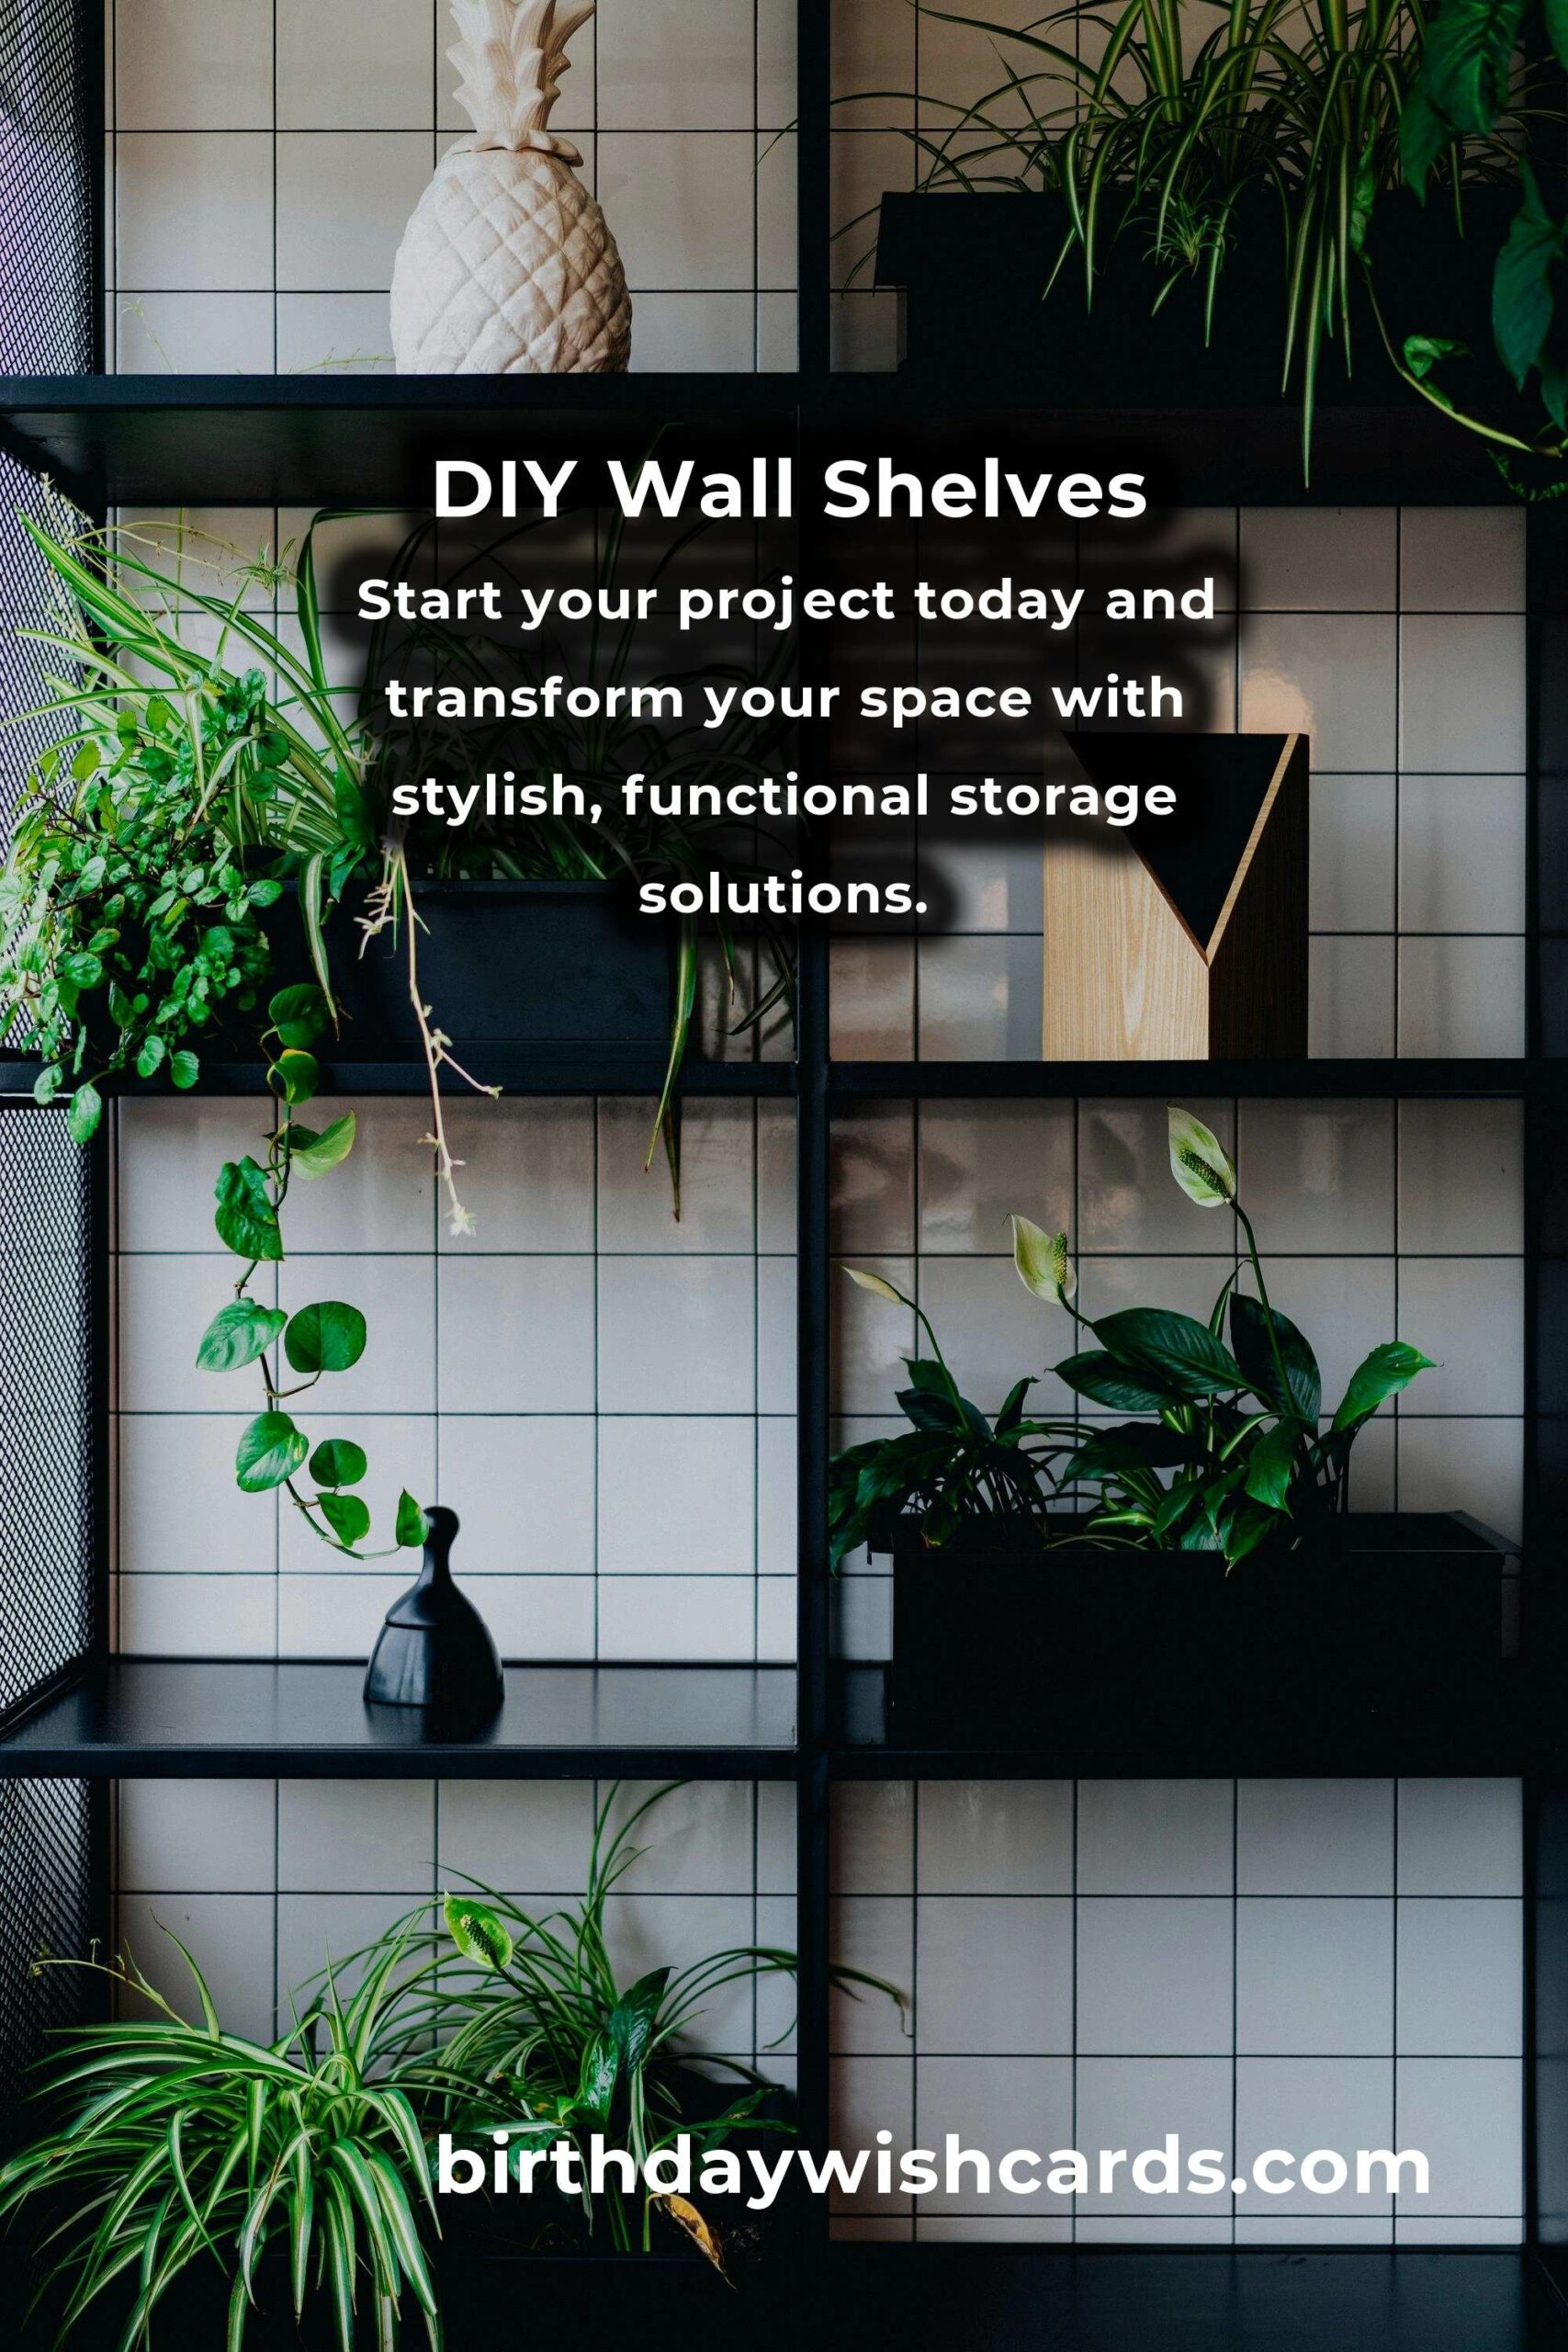
DIY wall shelves are an excellent way to enhance your home’s storage capabilities while showcasing your personal style. By following this guide, you can create custom shelves that suit your needs and preferences. Whether you prefer a modern, rustic, or eclectic look, there is a DIY wall shelf design for you. Start your project today and transform your space with stylish, functional storage solutions.
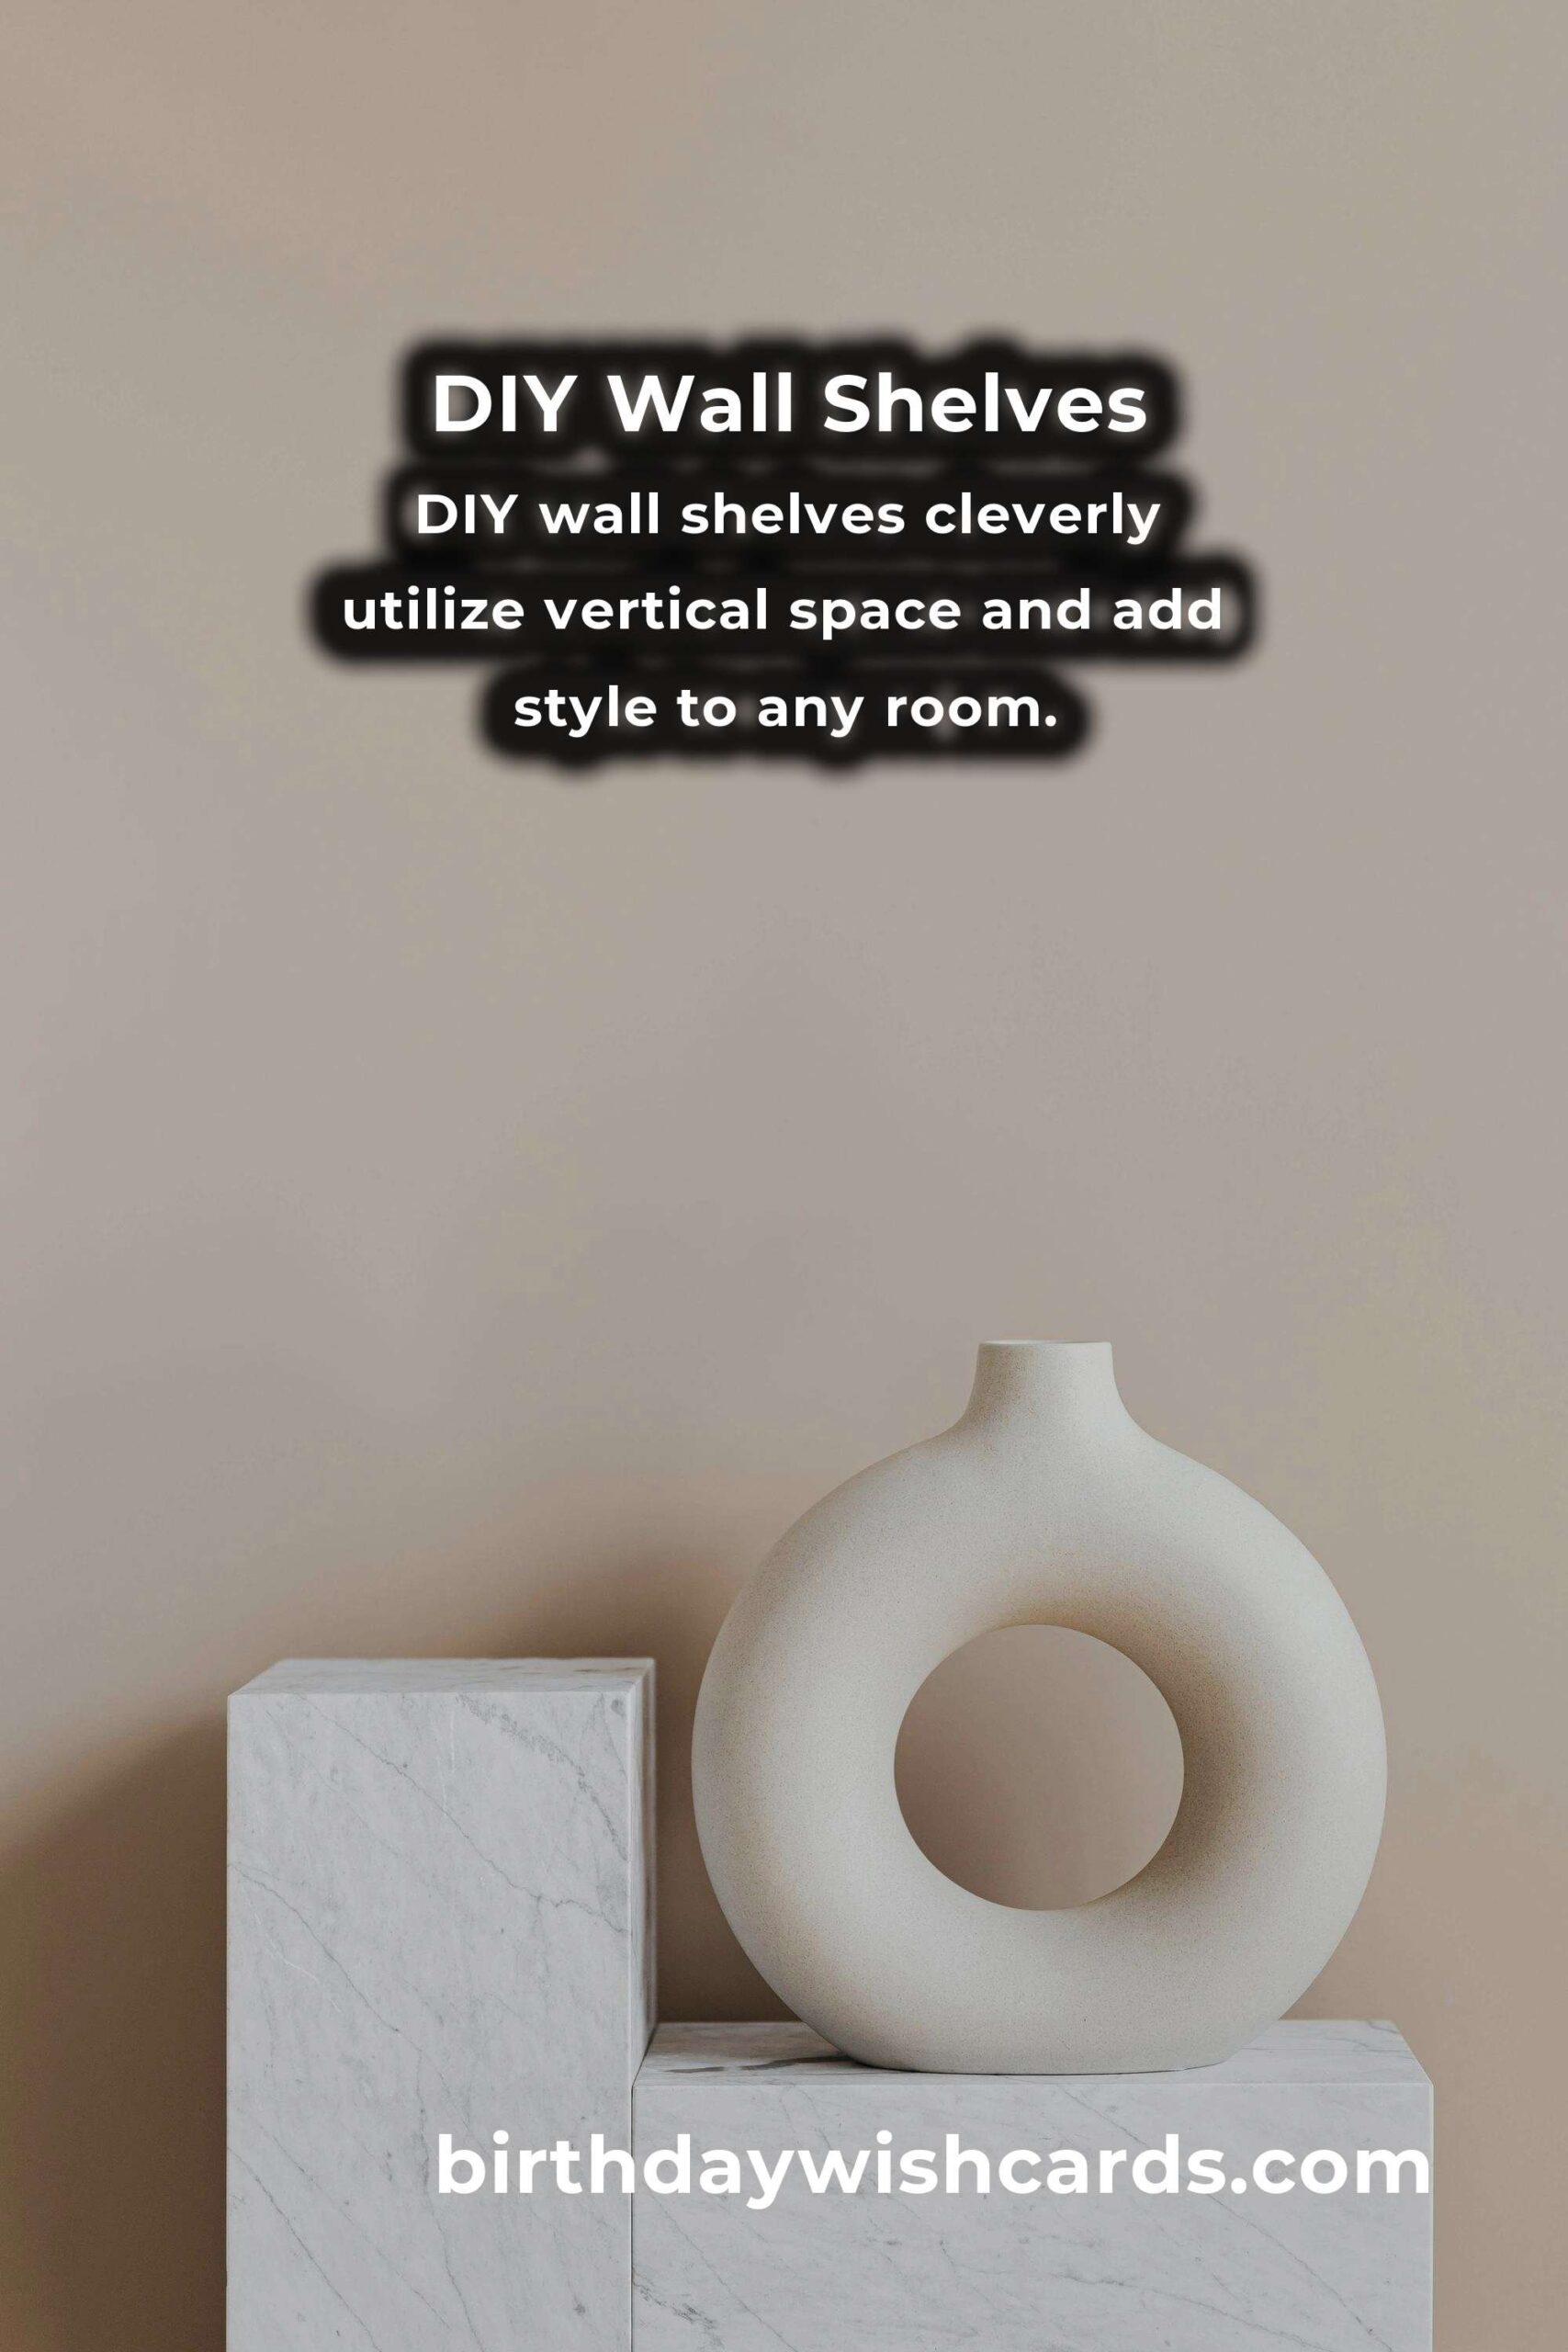
DIY wall shelves cleverly utilize vertical space and add style to any room. They are cost-effective, customizable, and allow you to express your creativity. Essential tools for the project include a drill, level, measuring tape, and a saw. Start your project today and transform your space with stylish, functional storage solutions.
#DIY #WallShelves #HomeStorage #InteriorDesign #HomeImprovement