
Creating a DIY wooden planter box for your deck can be a rewarding project that not only beautifies your outdoor space but also provides a functional way to grow your favorite plants and flowers. In this comprehensive guide, we will walk you through the steps to build a sturdy and attractive wooden planter box that will be the envy of your neighbors.
Materials Needed for Your Wooden Planter Box
To get started on your DIY wooden planter box, you will need the following materials:
- Wooden boards (cedar or redwood are recommended for durability)
- Wood screws
- Drill
- Saw
- Measuring tape
- Sandpaper
- Wood stain or sealant
- Plastic liner (optional)
Step-by-Step Instructions
Step 1: Planning and Measuring
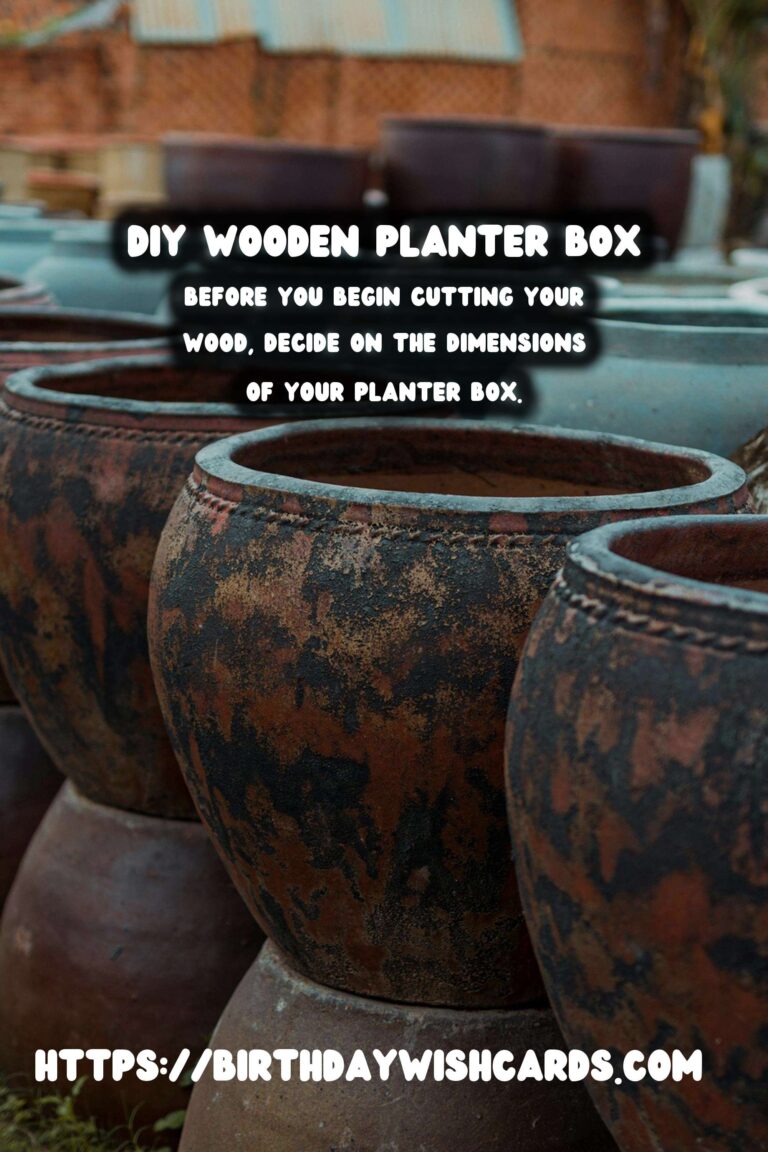
Before you begin cutting your wood, decide on the dimensions of your planter box. Consider the space available on your deck and the types of plants you wish to grow. A typical size for a deck planter might be 48 inches long, 24 inches wide, and 18 inches high. Use your measuring tape to mark your desired dimensions on the wooden boards.
Step 2: Cutting the Wood
Using a saw, carefully cut the wood according to your measurements. You will need four pieces for the sides and bottom of the box, and four pieces for the legs, if you choose to elevate your planter. Sand the edges of each piece to ensure they are smooth and free of splinters.
Step 3: Assembling the Box
Begin by attaching the side pieces using wood screws and a drill, forming a rectangular frame. Next, attach the bottom piece to the frame. If you are adding legs to your planter, attach them securely to the corners of the box. Ensure that all joints are tight and secure.
Step 4: Finishing Touches
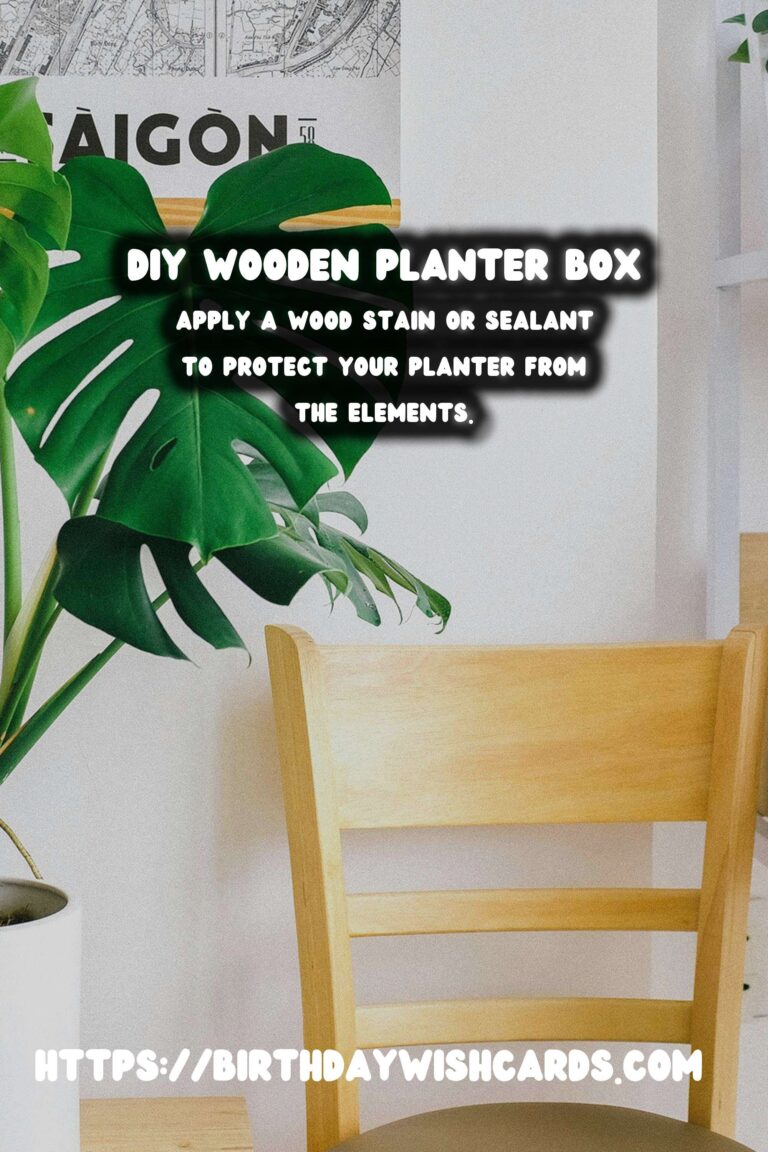
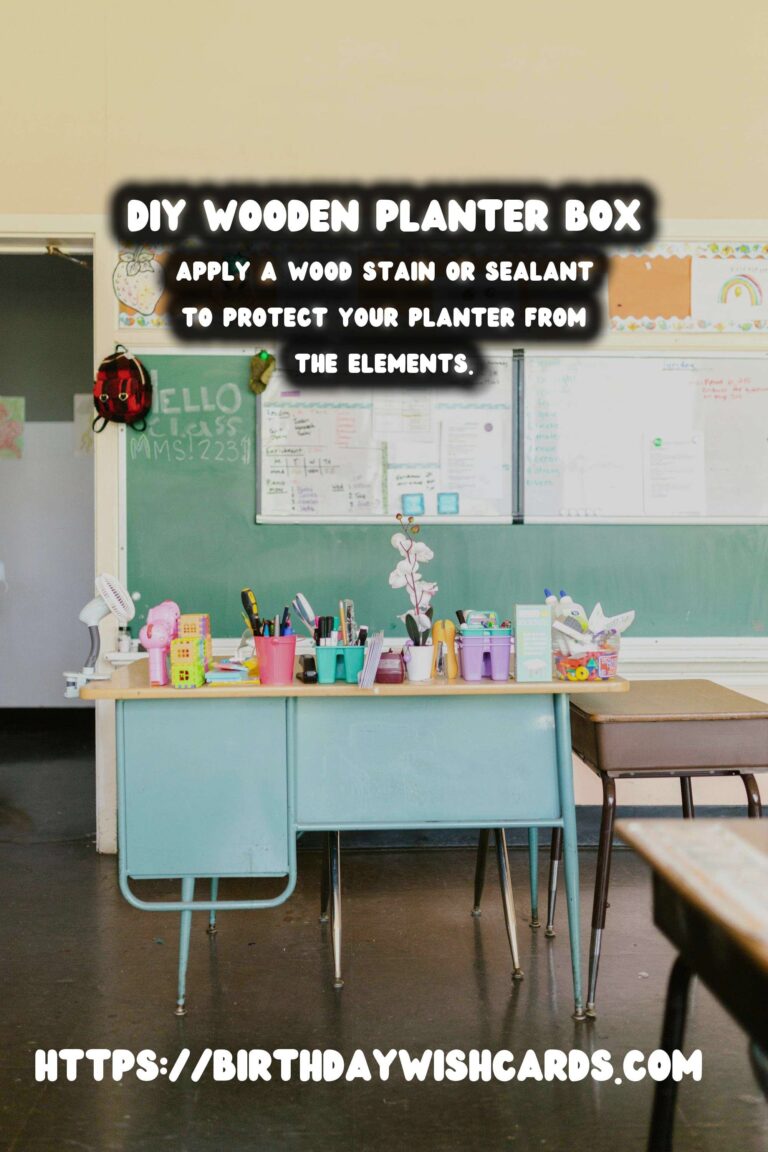
Apply a wood stain or sealant to protect your planter from the elements and enhance its appearance. Allow the stain to dry completely. If desired, place a plastic liner inside the planter to prolong its life and prevent soil from directly contacting the wood.
Benefits of a Wooden Planter Box
Wooden planter boxes offer numerous benefits. They are durable, customizable, and add a natural aesthetic to any outdoor space. Additionally, they provide excellent drainage and root protection for your plants, ensuring healthy growth.
Choosing the Right Plants for Your Planter Box
When selecting plants for your wooden planter box, consider the amount of sunlight your deck receives and choose plants accordingly. Popular options include herbs, flowers, and small vegetables. Make sure to provide adequate soil and water to support your plants’ growth.
Maintaining Your Wooden Planter Box
To keep your wooden planter box looking its best, periodically check for signs of wear or damage. Reapply wood stain or sealant as needed, usually every couple of years. Ensure that your plants are healthy and remove any dead foliage promptly.
By following these steps, you can create a beautiful and functional DIY wooden planter box that will enhance your deck and provide a perfect home for your favorite plants.
Creating a DIY wooden planter box for your deck can be a rewarding project. Wooden planter boxes are durable, customizable, and add a natural aesthetic. Before you begin cutting your wood, decide on the dimensions of your planter box. Apply a wood stain or sealant to protect your planter from the elements. When selecting plants, consider the amount of sunlight your deck receives. 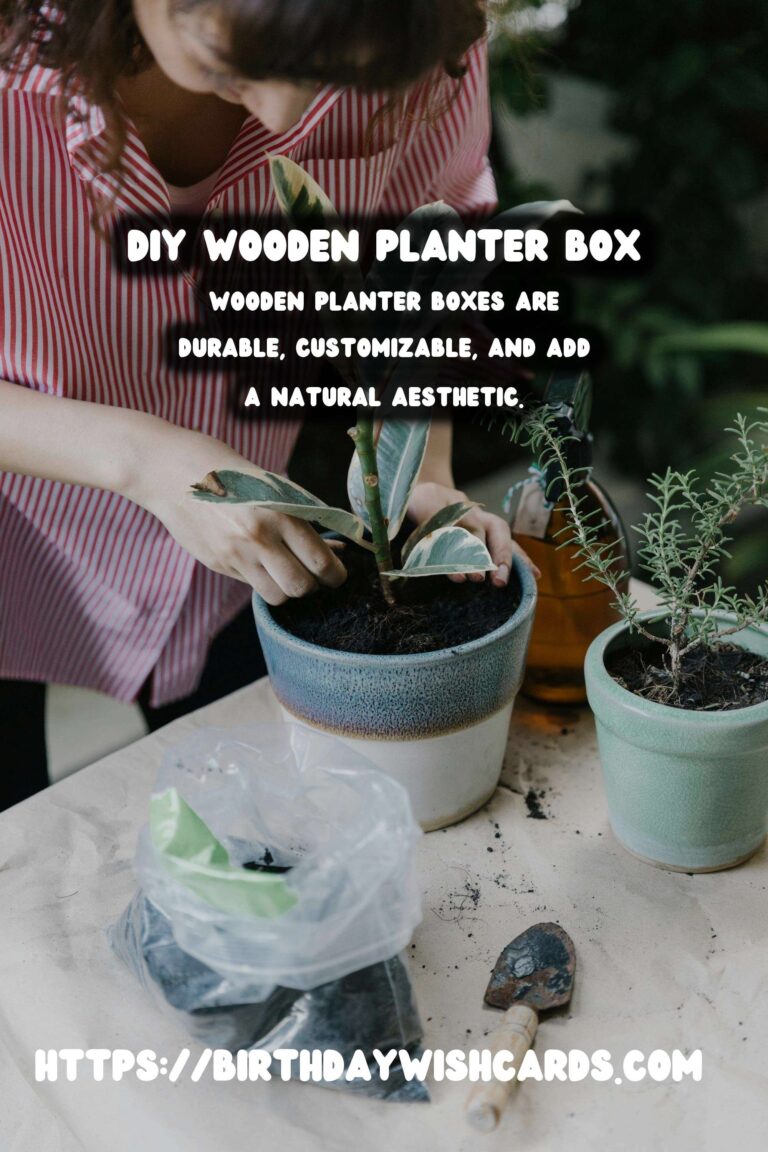


#DIY #Woodworking #PlanterBox #OutdoorLiving #Gardening