
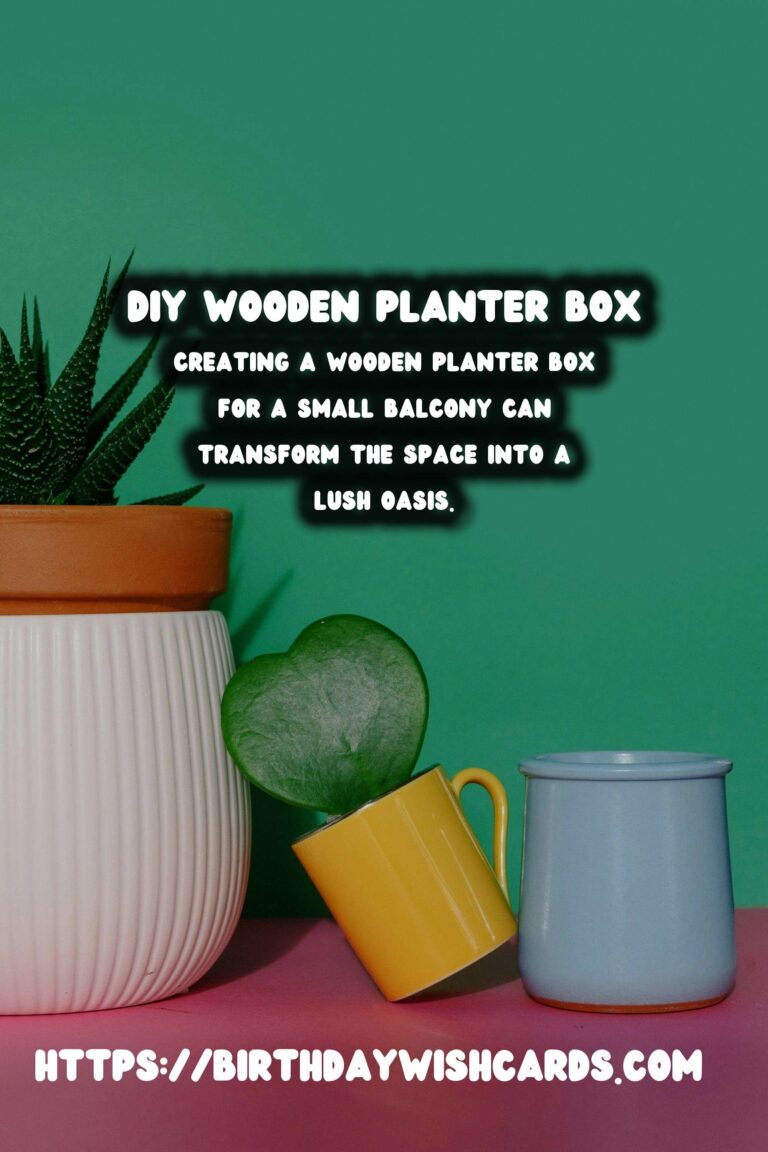
Creating a wooden planter box for your small balcony can transform the space into a lush oasis. Whether you’re a seasoned gardener or a beginner, building a DIY wooden planter box is an achievable project that can add both beauty and functionality to your home. In this guide, we will take you through each step to create your very own planter box.
Why Choose a Wooden Planter Box?
Wooden planter boxes are a popular choice for several reasons. They are aesthetically pleasing, durable, and offer a natural environment for your plants. Additionally, they allow for customization in terms of size and style, making them perfect for any space, especially small balconies where space is limited.
Materials Needed
Before you begin, gather the following materials:
- Wood planks (cedar or redwood are recommended for durability)
- Galvanized screws
- Drill
- Saw
- Measuring tape
- Sandpaper
- Wood sealant
- Potting soil
- Your choice of plants
Step-by-Step Instructions
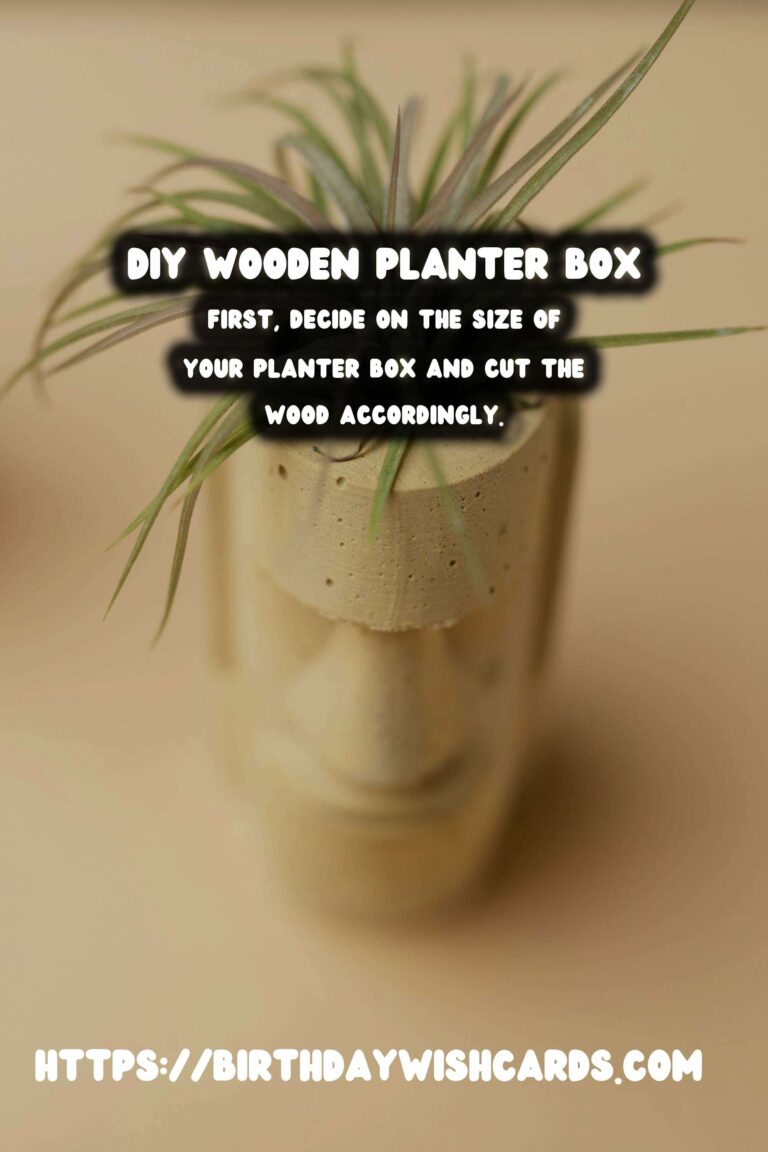
Step 1: Measure and Cut the Wood
First, decide on the size of your planter box. A common size for small balconies is 24 inches long, 12 inches wide, and 12 inches deep. Use the measuring tape to measure the wood planks and mark where you need to cut. Carefully use the saw to cut the wood to your desired dimensions.
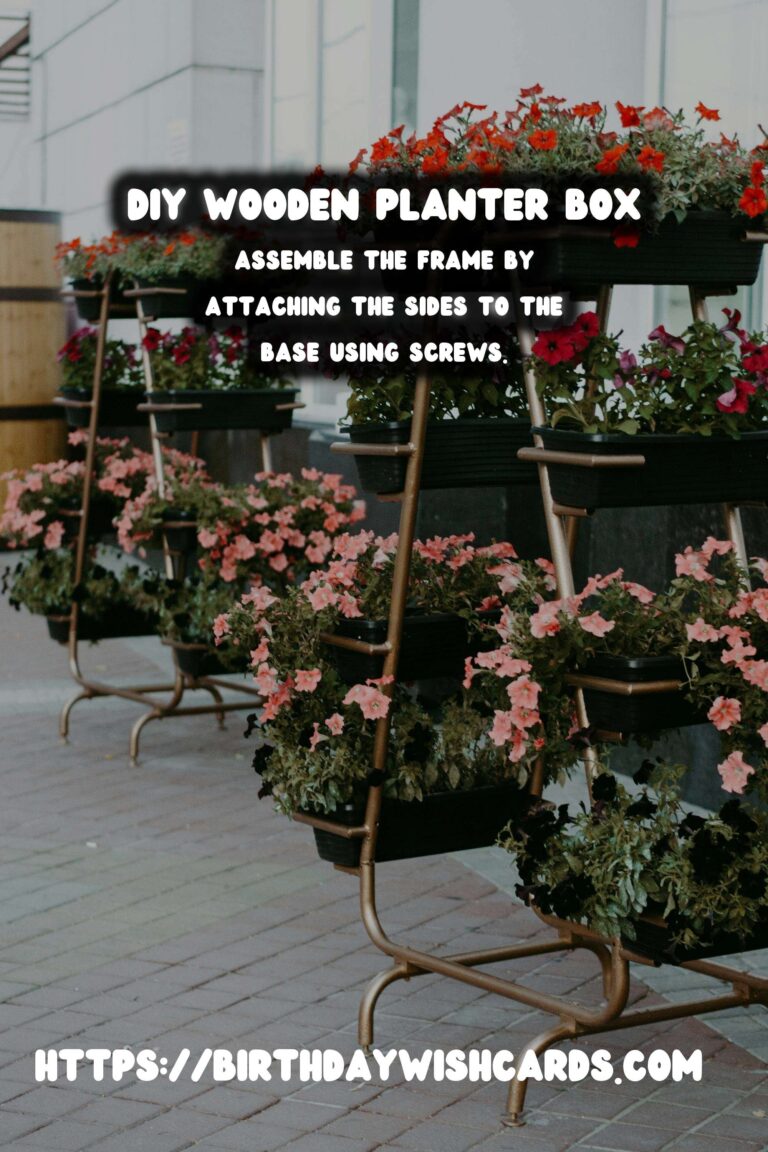
Step 2: Assemble the Frame
Once all pieces are cut, begin assembling the frame. Start by attaching the sides to the base using the drill and galvanized screws. Make sure each corner is secured tightly.
Step 3: Sand and Seal
After assembling the frame, use sandpaper to smooth out any rough edges. This will prevent splinters and give your planter a polished look. Once sanded, apply a wood sealant to protect the wood from moisture and extend its lifespan.
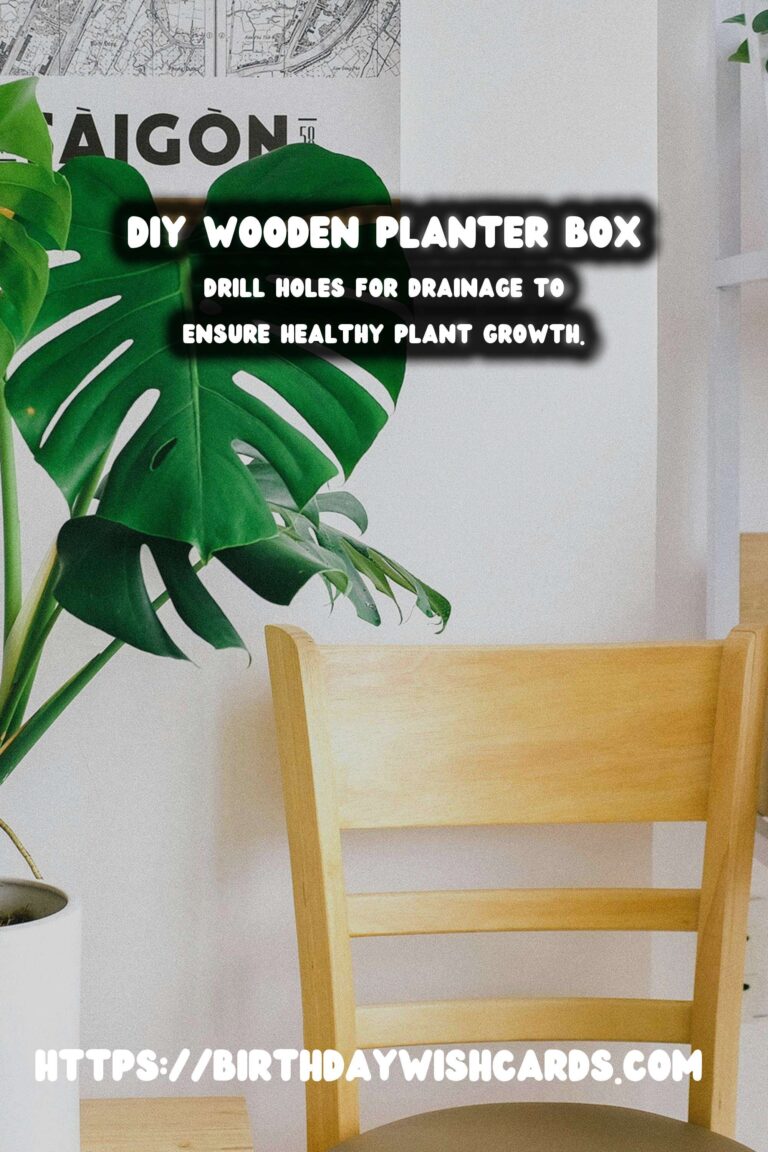
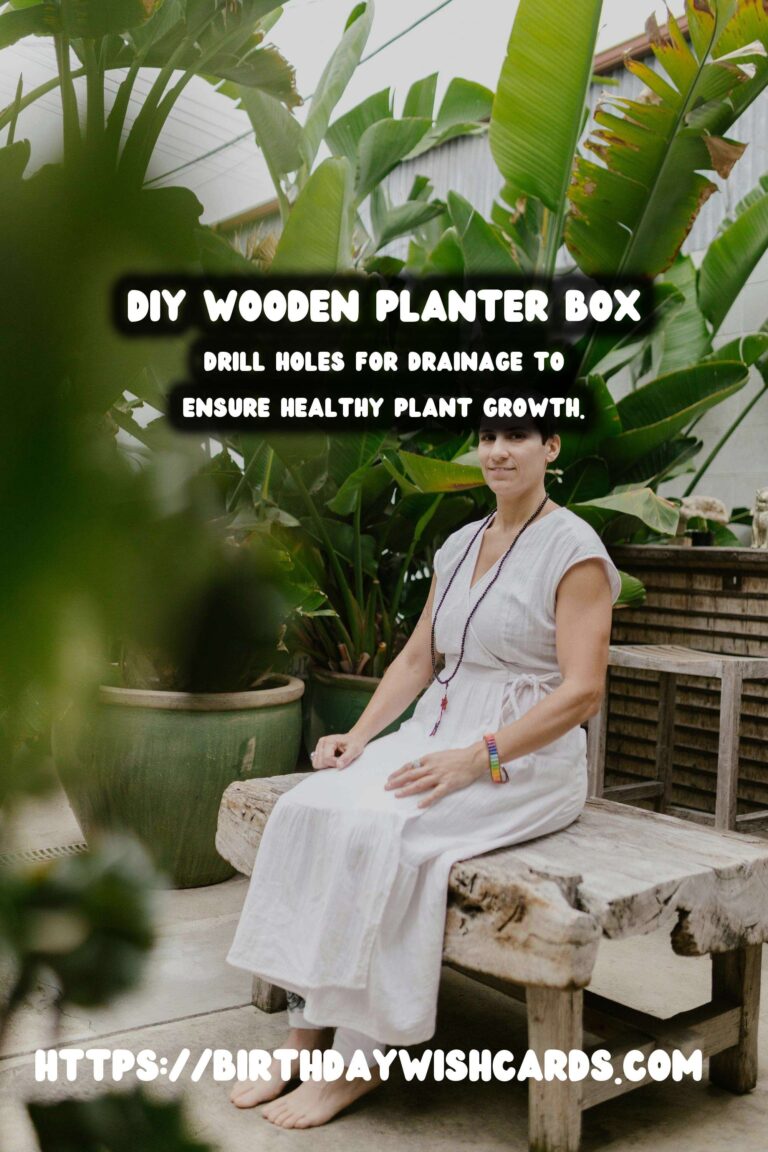
Step 4: Add Drainage
Drill several holes in the bottom of your planter box for drainage. This is crucial for preventing overwatering and ensuring healthy plant growth.
Step 5: Fill and Plant
Fill your planter with potting soil, leaving a few inches at the top. Arrange your plants in the planter, ensuring each has enough space to grow. Once in place, fill in with additional soil and pat down gently.
Care and Maintenance
To keep your plants thriving, water them regularly and check the soil moisture. Depending on the type of plants you choose, they may require specific sunlight or shade conditions, so be sure to place your planter box in an appropriate spot on your balcony.
Conclusion
Creating a DIY wooden planter box for your small balcony is a rewarding project that can enhance your living space. With just a few materials and some basic tools, you can build a beautiful and functional planter that will bring a touch of nature to your home.
Creating a wooden planter box for a small balcony can transform the space into a lush oasis. Wooden planter boxes are aesthetically pleasing and offer a natural environment for plants. First, decide on the size of your planter box and cut the wood accordingly. Assemble the frame by attaching the sides to the base using screws. Drill holes for drainage to ensure healthy plant growth. 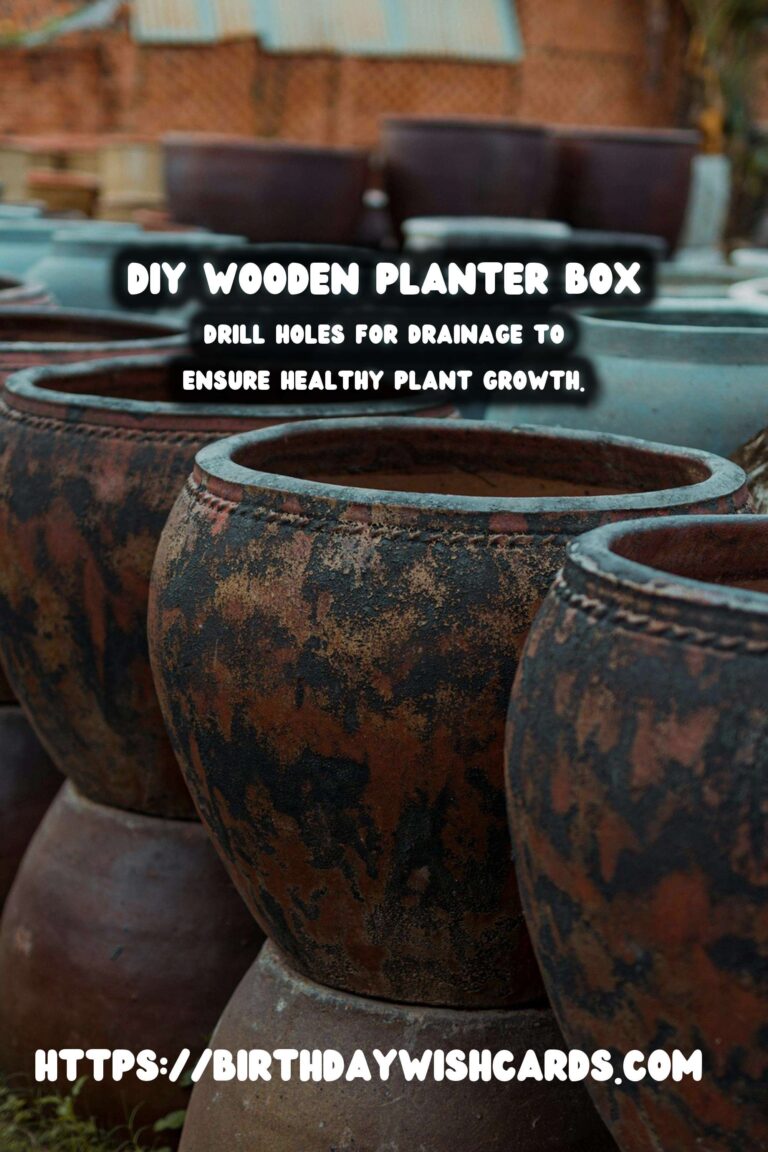

#DIY #WoodenPlanterBox #SmallBalcony #Gardening #HomeImprovement


