
Are you tired of struggling to move heavy plant pots around your home or garden? A plant caddy can be the perfect solution, allowing you to easily reposition your plants without any hassle. In this comprehensive guide, we will walk you through the process of creating your own DIY plant caddy, perfect for heavy pots. This simple yet effective project requires minimal tools and materials, making it an ideal weekend project for any plant enthusiast.
Why You Need a Plant Caddy
Plant caddies are incredibly useful for a variety of reasons. They allow you to:
- Move heavy pots with ease
- Rearrange your garden or indoor plant setup
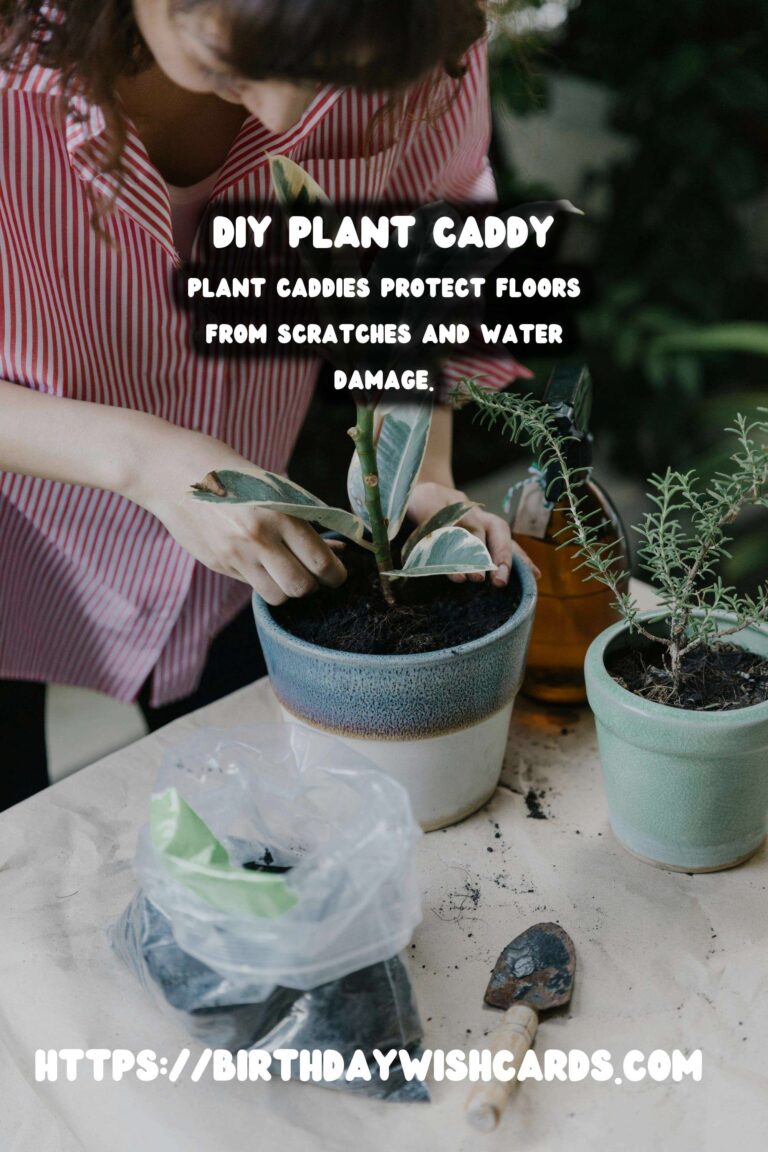
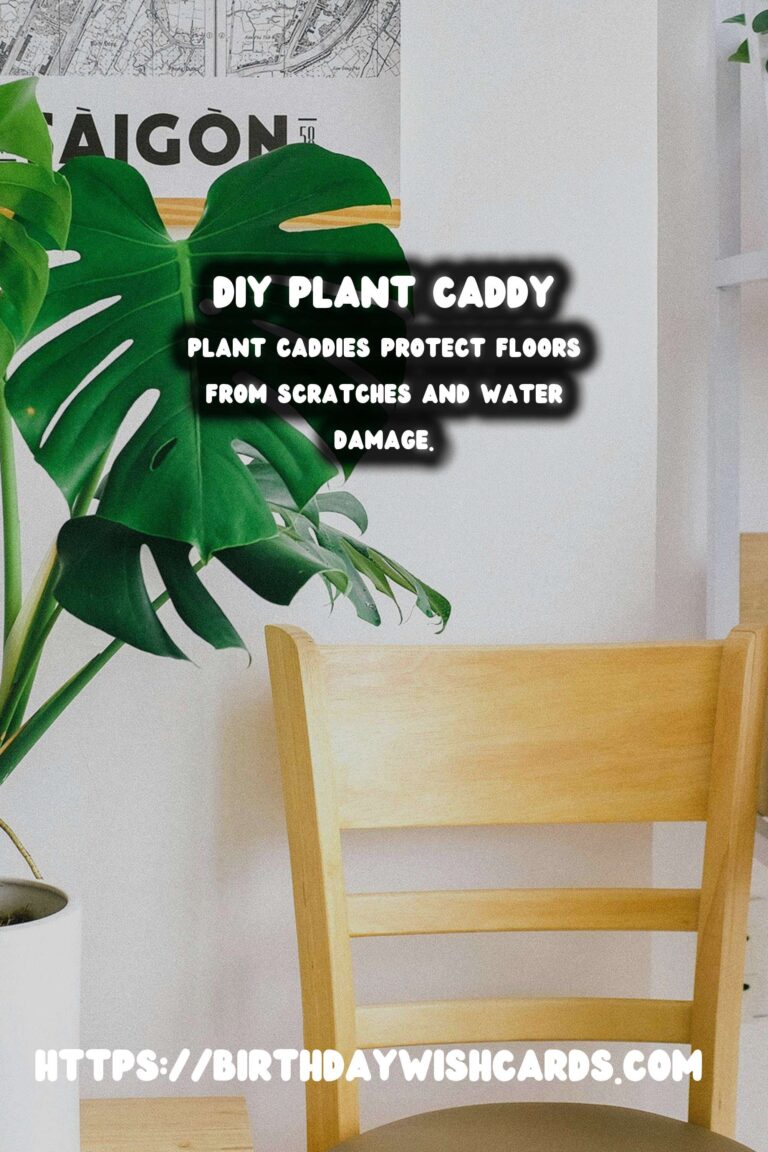
- Protect your floors from scratches and water damage
- Improve air circulation around your plants
With these benefits in mind, let’s dive into the DIY process!
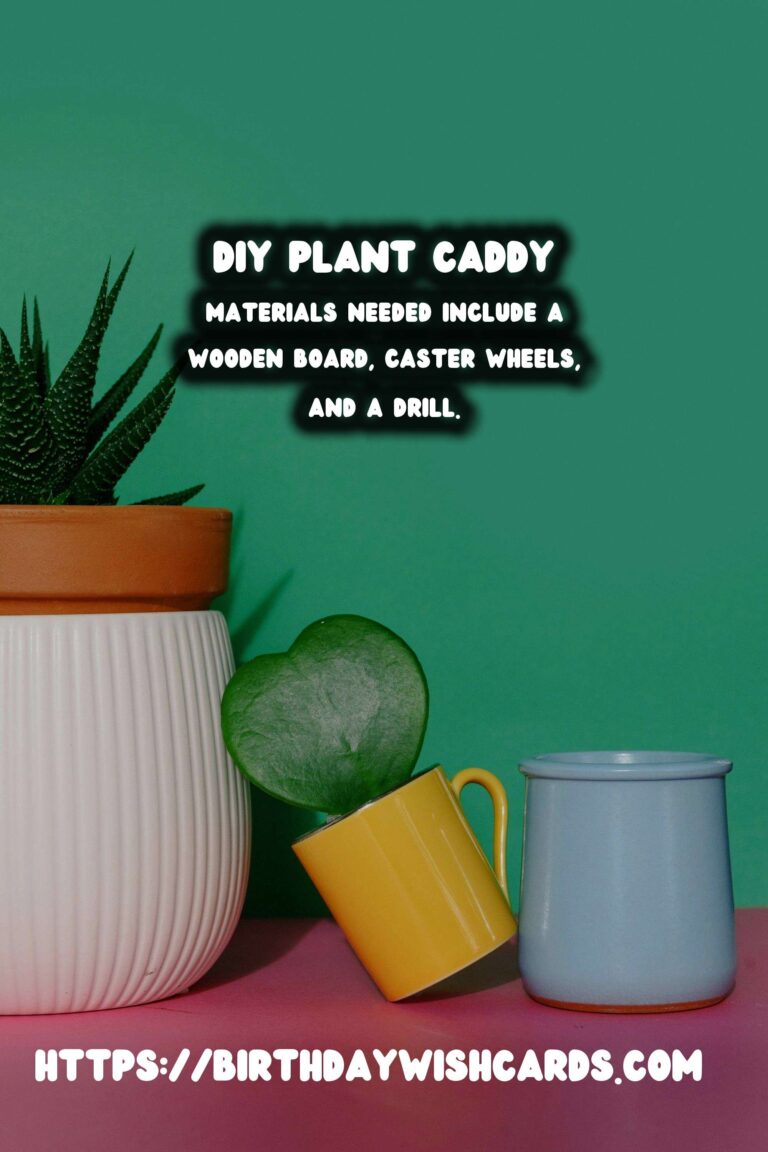
Materials Needed
To make your own plant caddy, you will need the following materials:
- Wooden board (size depends on the pot)
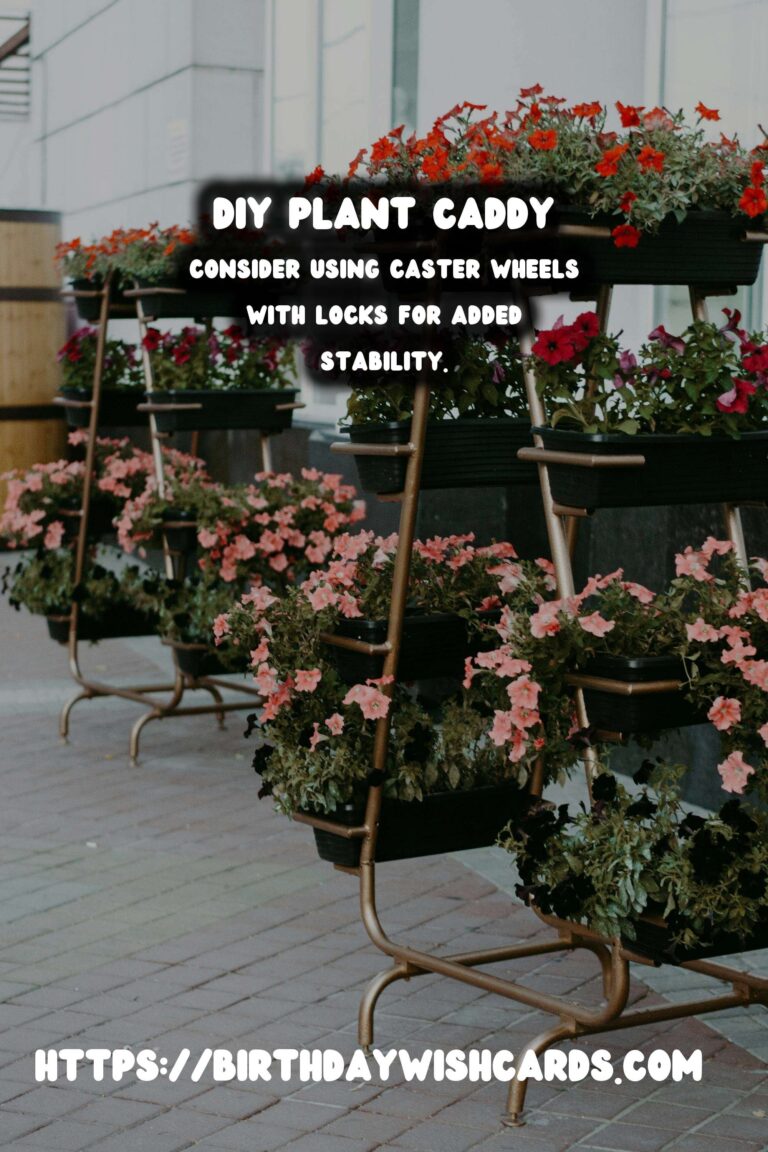
- Four caster wheels (preferably with locks)
- Drill and drill bits
- Screws
- Screwdriver
- Sandpaper
- Wood finish or paint (optional)
Step-by-Step Instructions
Step 1: Measure Your Pot
Begin by measuring the base of your plant pot. Add a few inches to the diameter so that the caddy will provide ample support and stability. This measurement will determine the size of your wooden board.
Step 2: Cut the Wooden Board
Using your measurements, cut the wooden board to size. If you don’t have the tools to cut wood yourself, most hardware stores can do this for you.
Step 3: Sand the Edges
Once your board is cut, use sandpaper to smooth any rough edges. This will prevent splinters and give your caddy a more finished look.
Step 4: Attach the Caster Wheels
Position the caster wheels at each corner of the board. Use a pencil to mark where the screws will go, then drill pilot holes. Screw the wheels in place, ensuring they are securely attached. Consider using wheels with locks to prevent the caddy from moving unintentionally.
Step 5: Finish the Wood (Optional)
If you wish to protect the wood or add a decorative touch, apply a wood finish or paint. Ensure the finish is dry before using the caddy.
Tips for Using Your Plant Caddy
Now that your plant caddy is ready, here are a few tips to make the most of it:
- Use the caddy on a level surface to prevent tipping.
- Lock the wheels when your plant is in the desired position.
- Regularly check the screws and wheels to ensure they remain tight and secure.
Conclusion
Creating a DIY plant caddy is a simple and rewarding project that enhances the mobility and accessibility of your heavy potted plants. With just a few materials and steps, you can build a functional and stylish addition to your plant care routine.
Whether you’re rearranging your living space or simply want to bring your plants outdoors for some sunshine, a plant caddy is a practical tool that makes plant care easier and more enjoyable. Happy crafting!
A plant caddy allows you to easily move heavy plant pots around your home or garden. This guide provides a step-by-step process to create your own DIY plant caddy. Plant caddies protect floors from scratches and water damage. Materials needed include a wooden board, caster wheels, and a drill. Consider using caster wheels with locks for added stability. 

#DIY #PlantCaddy #Gardening #HomeImprovement #PlantCare


