Are you dreaming of building your own gaming PC but feeling overwhelmed by the sheer amount of choices, jargon, and technical details? You’re not alone! For thousands of gamers, the first custom build is a rite of passage—an adventure that can be both thrilling and intimidating. This guide is designed to empower you, the first-time builder, with everything you need to know for your gaming PC build. From choosing the best parts to assembling them like a pro, we’re here to help you unlock your ultimate setup.
Why Build Your Own Gaming PC?
Building your own gaming PC is about more than just saving money. It’s about ownership—having a machine tailored to your needs, your tastes, and your ambitions. Here are some reasons why building your own rig is the way to go:


- Customization – Select every component to match your performance goals and style.
- Upgradability – Enjoy the freedom to upgrade parts as technology evolves.
- Cost Effectiveness – Get more bang for your buck compared to pre-built systems.
- Pride & Learning – Gain valuable knowledge and take pride in your accomplishment.
Now, let’s break down the steps to your dream gaming PC build.
Step 1: Define Your Budget and Gaming Goals
Before diving into components, decide how much you want to spend and what you expect from your system. Here are some guiding questions:
- What games do you want to play, and at what settings (1080p, 1440p, 4K)?
- Is this strictly for gaming, or will you also stream, edit videos, or work?
- Do you care about aesthetics (RGB lighting, themed builds, etc.)?
Tip: For entry-level gaming, expect to spend $700–$1,000. For high-end gaming (1440p/4K), $1,500+ is reasonable. Always allocate a bit extra for unforeseen needs!
Step 2: Choose the Key Components
Here’s what makes up a gaming PC, along with what to consider for each part:
1. Central Processing Unit (CPU)
The brain of your PC. For gaming, look for CPUs with strong single-core performance. Popular choices include AMD Ryzen 5/7 and Intel Core i5/i7.
2. Graphics Card (GPU)
The heart of gaming performance. NVIDIA and AMD are the main players. Your GPU choice will determine what games you can play and at what settings. Always check benchmarks for your favorite games.
3. Motherboard
The foundation that connects everything. Ensure compatibility with your CPU and desired features (Wi-Fi, extra USB, RGB headers). ATX boards offer more expandability; micro-ATX and mini-ITX are for smaller builds.
4. Memory (RAM)
For gaming, 16GB is the sweet spot in 2024. Opt for 3200MHz or faster if possible. More RAM helps with multitasking and future-proofing.
5. Storage: SSDs vs. HDDs
Solid State Drives (SSDs) are much faster than traditional Hard Disk Drives (HDDs). A 500GB or 1TB NVMe SSD is ideal for your operating system and favorite games; add an HDD for mass storage if needed.
6. Power Supply Unit (PSU)
Don’t skimp here! A reliable 80+ Bronze (or better) certified PSU, sized according to your GPU (usually 550–750W), ensures stability and safety.
7. Case
Choose a case that fits your components and personal style. Consider airflow, cable management, and space for future upgrades.
8. Cooling Solutions
Most CPUs come with a cooler, but aftermarket air coolers or AIO liquid coolers can help with quieter operation and overclocking.
9. Operating System
Most gamers use Windows 10/11, but Linux is also an option for the adventurous. Make sure you have a USB drive for installation.
Step 3: Where to Buy Your Parts
Major online retailers include Newegg, Amazon, B&H, and Micro Center. Always compare prices, read reviews, and look out for bundled deals or seasonal sales. Local PC stores can also be a treasure trove, especially for personal advice and troubleshooting.
Step 4: Essential Tools and Prep
- Phillips-head screwdriver (magnetic tip recommended)
- Anti-static wrist strap (or ground yourself regularly)
- Small bowl for screws
- Clean, well-lit workspace
- Patience and enthusiasm!
Gather your parts, review your motherboard and case manuals, and keep YouTube or written guides handy for visual assistance.
Step 5: Building Your Gaming PC – Step by Step
1. Install the CPU
Open the CPU socket on your motherboard, align the CPU (look for the corner marker), and gently lower it in place. Close the latch.
2. Add RAM
Open the RAM slots, align the notches, and firmly press until the sticks click into place.
3. Attach the Cooler
Follow the instructions for your specific cooler. If needed, apply thermal paste (many coolers come with paste pre-applied).
4. Install the Motherboard into the Case
Attach the I/O shield to the case, then carefully align the motherboard with standoffs and secure it with screws.
5. Add Storage Drives
Mount SSDs and HDDs in their designated spots. Connect the SATA or NVMe cables as appropriate.
6. Install the Power Supply
Mount the PSU in the case and connect the main cables (24-pin for motherboard, 8-pin for CPU, PCIe for GPU).
7. Insert the Graphics Card
Slide the GPU into the correct PCIe slot, secure with screws, and connect PCIe power cables if necessary.
8. Connect Case Buttons, Fans, and Front Panel
Link up the case’s power/reset buttons, audio, USB, and fans to the motherboard headers. Refer to the manual—this can be fiddly!
9. Cable Management
Use zip ties or Velcro straps to tidy up cables for better airflow and a cleaner look.
10. Final Checks
Double-check all connections. Ensure there are no loose screws inside the case.
Step 6: Power Up and Install Your OS
Plug in your monitor, keyboard, and mouse. Power on your PC—if all goes well, you’ll see the motherboard logo and can enter the BIOS (usually by pressing DEL or F2). Set your boot device to your USB drive, then install your operating system.
Step 7: Install Drivers and Essential Software
- Motherboard chipset drivers (from manufacturer’s website)
- GPU drivers (NVIDIA or AMD official site)
- Windows updates or Linux packages
- Game clients: Steam, Epic, etc.
- Optional: Hardware monitoring tools, RGB control software
Step 8: Fine-Tuning and Overclocking (Optional)
Once stable, you can tweak fan curves, overclock your CPU/GPU (carefully!), and customize RGB lighting. Don’t forget to monitor temperatures and stability using tools like HWMonitor, MSI Afterburner, or HWiNFO.
Common Mistakes to Avoid
- Forgetting to install motherboard standoffs (risk of short-circuiting)
- Buying incompatible parts (check socket and RAM type!)
- Not connecting all power cables
- Neglecting airflow and case fan orientation
- Insufficient PSU wattage
- Static discharge from not grounding yourself
Building vs. Buying: Is a Pre-Built Gaming PC Ever Better?
Sometimes, pre-built PCs offer great value—especially during component shortages. But for most gamers, building yields a better experience and a more personalized machine. If you’re short on time or confidence, buying pre-built can be a stop-gap, but you’ll miss out on the learning and pride of building your own.
After the Build: Maintenance and Upgrades
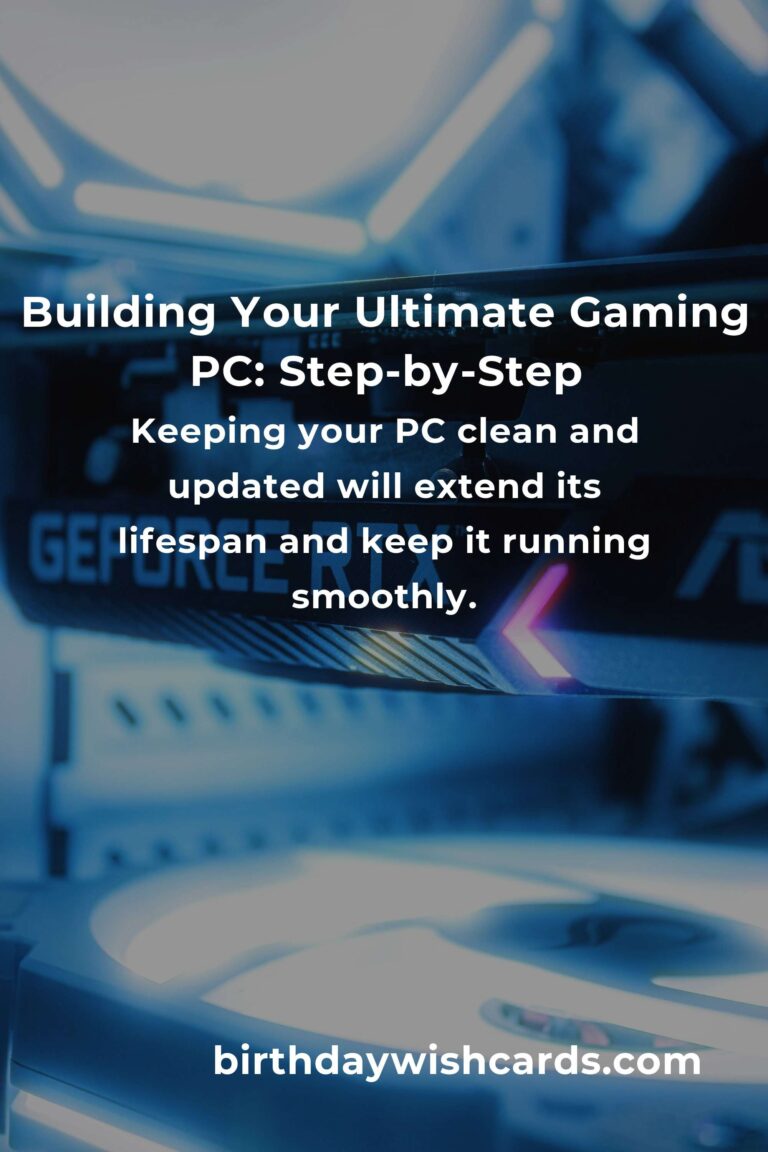
Keep your system dust-free, monitor temperatures, and update drivers regularly. As new games and technologies emerge, you can swap out parts (GPU, RAM, storage) to keep your PC feeling fresh for years.
Your First Boot: Troubleshooting Tips
Don’t panic if you hit a snag! Common issues include:
- No power – double-check power cables and switch positions
- No display – ensure GPU and monitor cables are secure
- Beeping from motherboard – consult the manual for beep codes
- Random shutdowns – check for loose connections or overheating
Online forums like Reddit’s r/buildapc and manufacturer support can be invaluable for troubleshooting.
Conclusion: Celebrate Your Achievement!
Building your first gaming PC is a journey filled with anticipation, challenges, and deep satisfaction. You’ll have a system that’s uniquely yours—built with your hands, tailored to your dreams, and capable of evolving as you grow. Whether you’re aiming for high FPS in the latest shooters or immersive worlds in RPGs, your custom-built rig is the gateway to unforgettable gaming adventures.
Welcome to the PC Master Race! Enjoy, upgrade, and most of all—have fun!
Building your own gaming PC gives you complete control over performance, aesthetics, and future upgrades.
It’s normal to feel overwhelmed at first, but step-by-step guides and community forums make the process manageable.
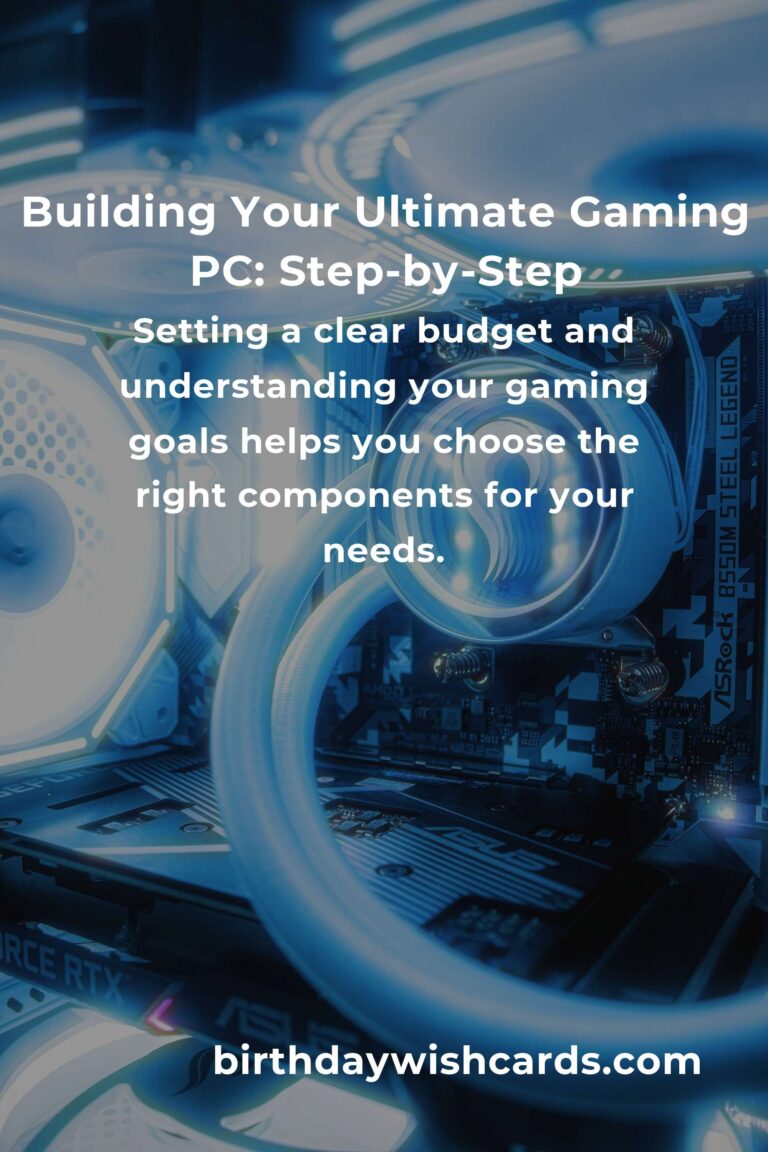
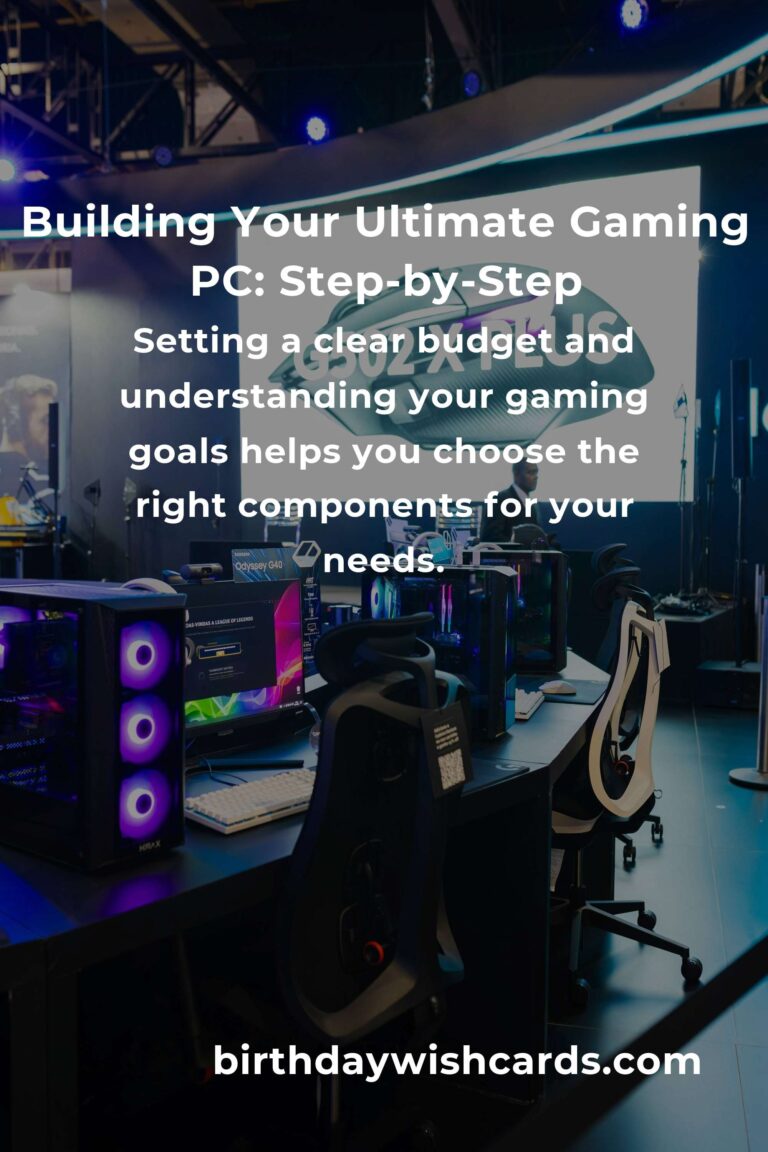
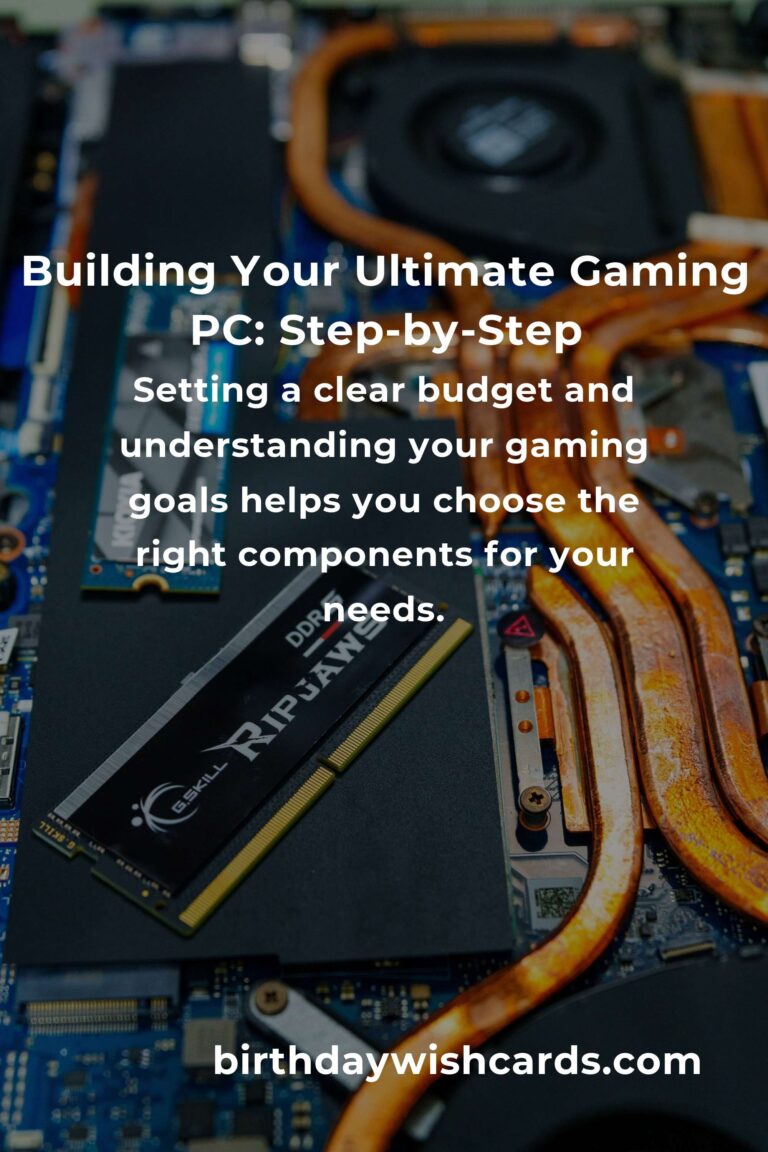
Setting a clear budget and understanding your gaming goals helps you choose the right components for your needs.
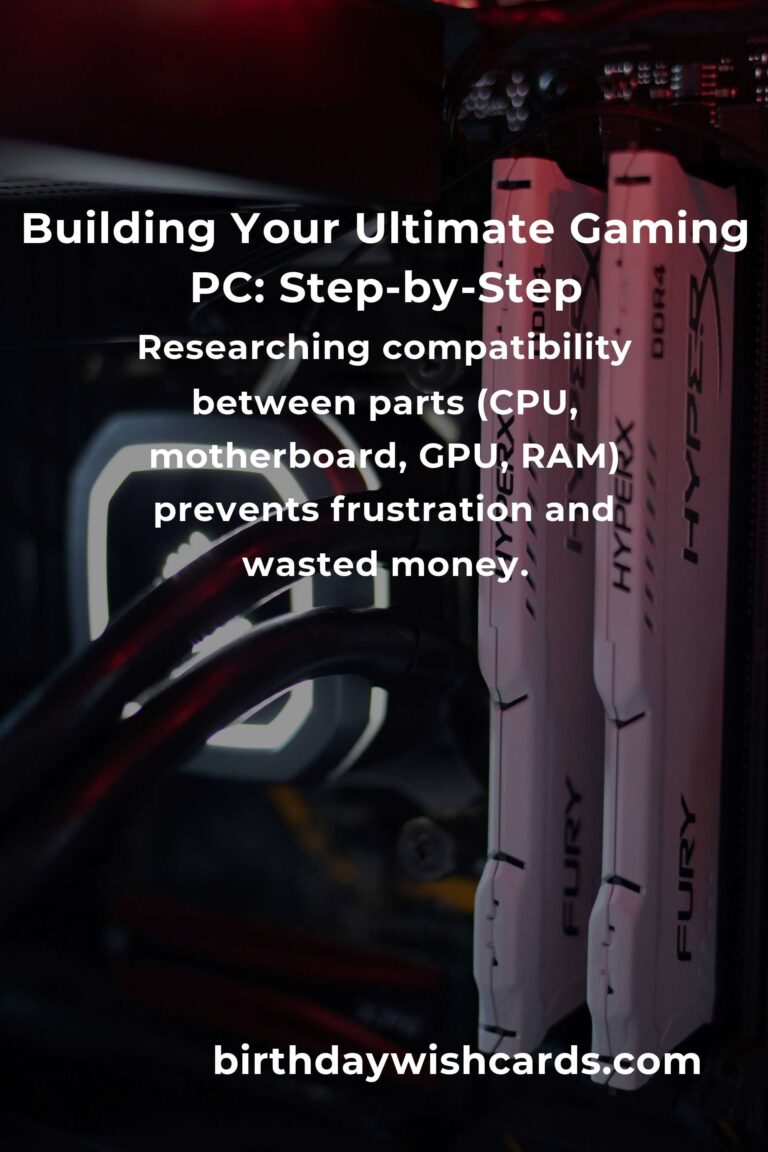
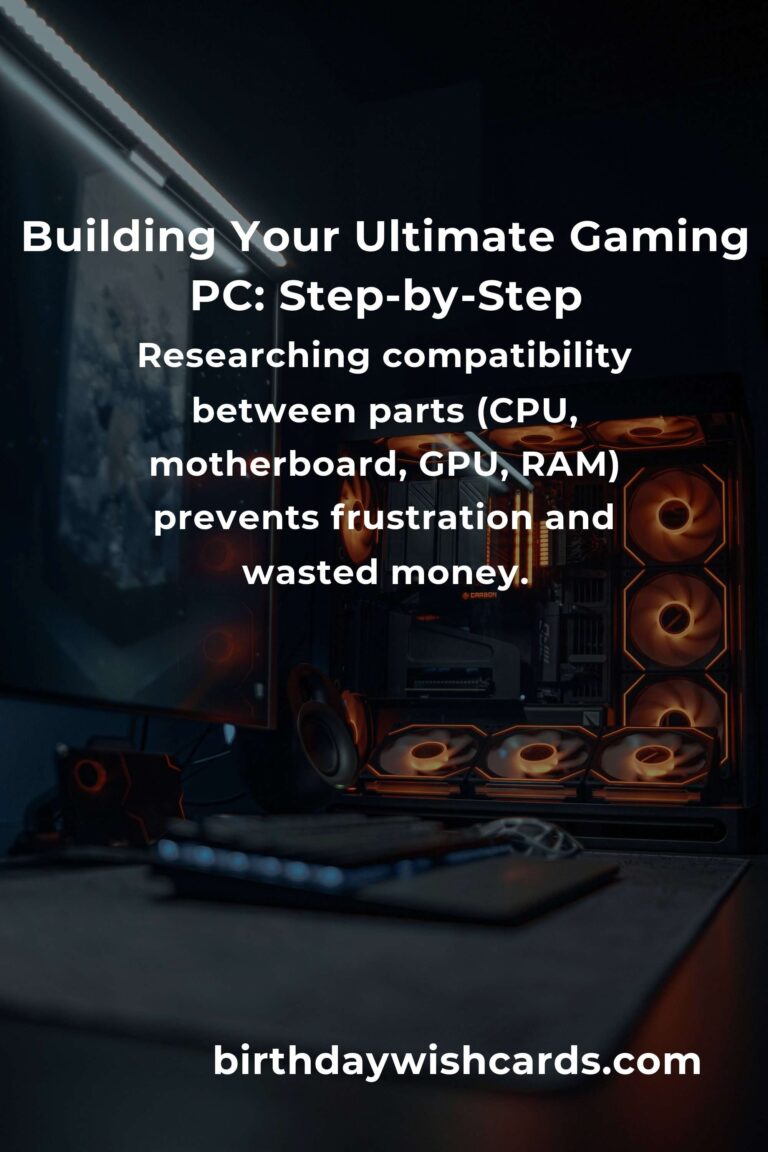
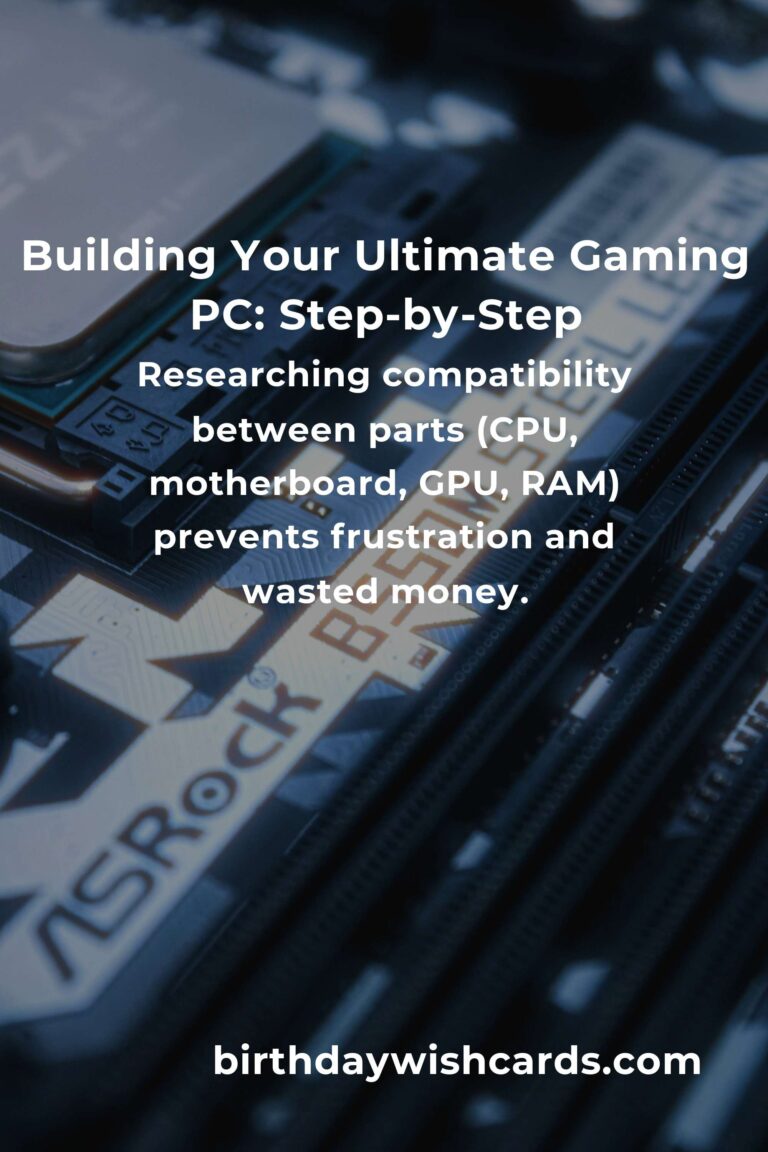
Researching compatibility between parts (CPU, motherboard, GPU, RAM) prevents frustration and wasted money.
Assembling a PC is easier than it looks—patience and careful reading of the manuals are your best friends.
Cable management and proper airflow improve both your PC’s appearance and its performance.
Mistakes happen, but most issues are fixable—don’t be afraid to ask for help from online communities.
Building your PC is not just about gaming; it’s a valuable learning experience that boosts your confidence.
Keeping your PC clean and updated will extend its lifespan and keep it running smoothly.
Your first successful boot is a moment of pride—enjoy your personalized gaming machine!
#GamingPCBuild #PCMasterRace #FirstTimeBuilder #GamingSetup #TechGuide #BuildYourOwnPC #PCGaming #GamerLife #TechTips #DIYPC