

Plant propagation is a fascinating and rewarding hobby that allows you to multiply your favorite plants and share them with friends and family. However, to do it effectively, you need an efficient and aesthetically pleasing propagation station. One of the most stylish and functional options is a DIY copper pipe plant propagation station. In this guide, we will walk you through the steps to build your own.
Materials You Will Need
Before you begin, gather the following materials to ensure a smooth building process:
- Copper pipes (1/2 inch diameter)
- Copper pipe cutter
- Pipe elbows and T-joints
- Pipe adhesive or soldering kit
- Glass test tubes or small glass jars
- Sandpaper
- Measuring tape
- Marker
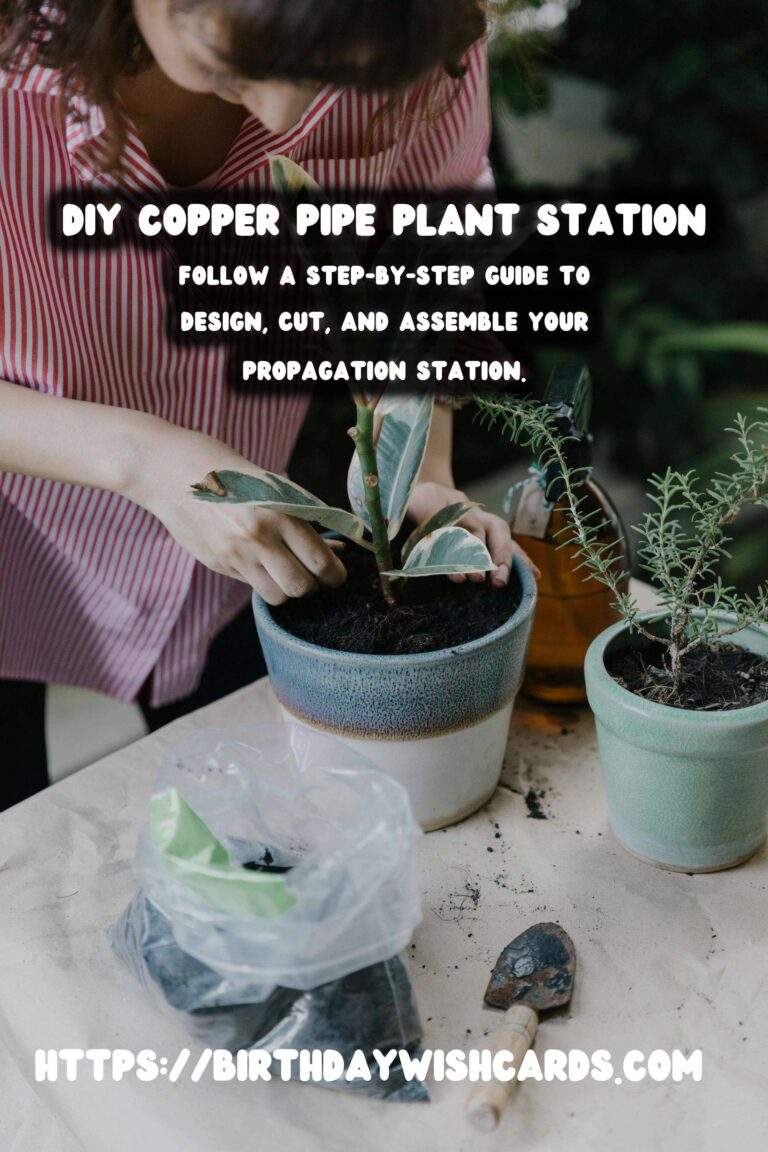
Step-by-Step Instructions
Step 1: Design Your Propagation Station
Before cutting your copper pipes, sketch out a design for your propagation station. Consider how many plants you want to propagate simultaneously and the space available in your home. A simple design might include a rectangular frame with multiple levels to hold several test tubes or jars.
Step 2: Measure and Cut the Copper Pipes
Using the measuring tape and marker, measure the length of copper pipes needed for each segment of your design. Carefully cut the pipes using a copper pipe cutter. Ensure all cuts are clean and accurate. Use sandpaper to smooth any rough edges.
Step 3: Assemble the Frame
Begin assembling the frame by connecting the copper pipes using elbows and T-joints. Follow your design sketch closely to ensure everything aligns correctly. Use pipe adhesive or a soldering kit to secure the joints, ensuring the structure is sturdy and stable.
Step 4: Install the Glass Holders
Once the frame is assembled, decide where the glass test tubes or jars will be placed. Ensure they are evenly spaced for both aesthetic appeal and functional use. Attach the holders securely to the frame, ensuring they can support the weight of the filled containers.
Step 5: Final Touches
After assembling the frame and installing the glass holders, inspect your propagation station for stability and finish. Polish the copper pipes with sandpaper to remove any remaining oxidation and achieve a shiny finish. Optionally, apply a clear lacquer to prevent future tarnishing.
Tips for Using Your Propagation Station
With your DIY copper pipe plant propagation station complete, it’s time to start propagating. Here are some tips to ensure success:
- Choose healthy plant cuttings with at least two leaves and a node.
- Change the water in the test tubes or jars every few days to prevent stagnation.
- Place the station in a location with bright, indirect sunlight to encourage root growth.
Conclusion
Creating a DIY copper pipe plant propagation station is a fun and fulfilling project that combines creativity with functionality. Not only does it serve as a practical tool for plant propagation, but it also adds a touch of elegance to your home decor. With this guide, you can easily build a propagation station that suits your needs and style.
Plant propagation is a fascinating and rewarding hobby that allows you to multiply your favorite plants. A DIY copper pipe plant propagation station is an efficient and stylish option for plant enthusiasts. Gathering the right materials is essential before starting your DIY project. Follow a step-by-step guide to design, cut, and assemble your propagation station. Ensure your station is stable and aesthetically pleasing by securing joints and polishing the copper. Place your completed station in bright, indirect sunlight for optimal plant growth. 


#DIY #CopperPipe #PlantPropagation #Gardening #HomeDecor