Creating a wooden planter box for your patio herbs is a rewarding project that combines both functionality and aesthetics. Not only does it provide a dedicated space for your herbs to thrive, but it also adds a touch of natural beauty to your outdoor living space. In this guide, we will walk you through the steps to build your own wooden planter box, ensuring your herbs have the perfect home.
Materials You’ll Need
Before you begin, gather the following materials:
- Untreated wood planks (cedar or redwood are recommended for durability)
- Wood screws
- A drill
- Measuring tape
- Sandpaper
- Wood stain or sealant (optional)
- Potting soil
- Your choice of herb plants
Step 1: Plan Your Design
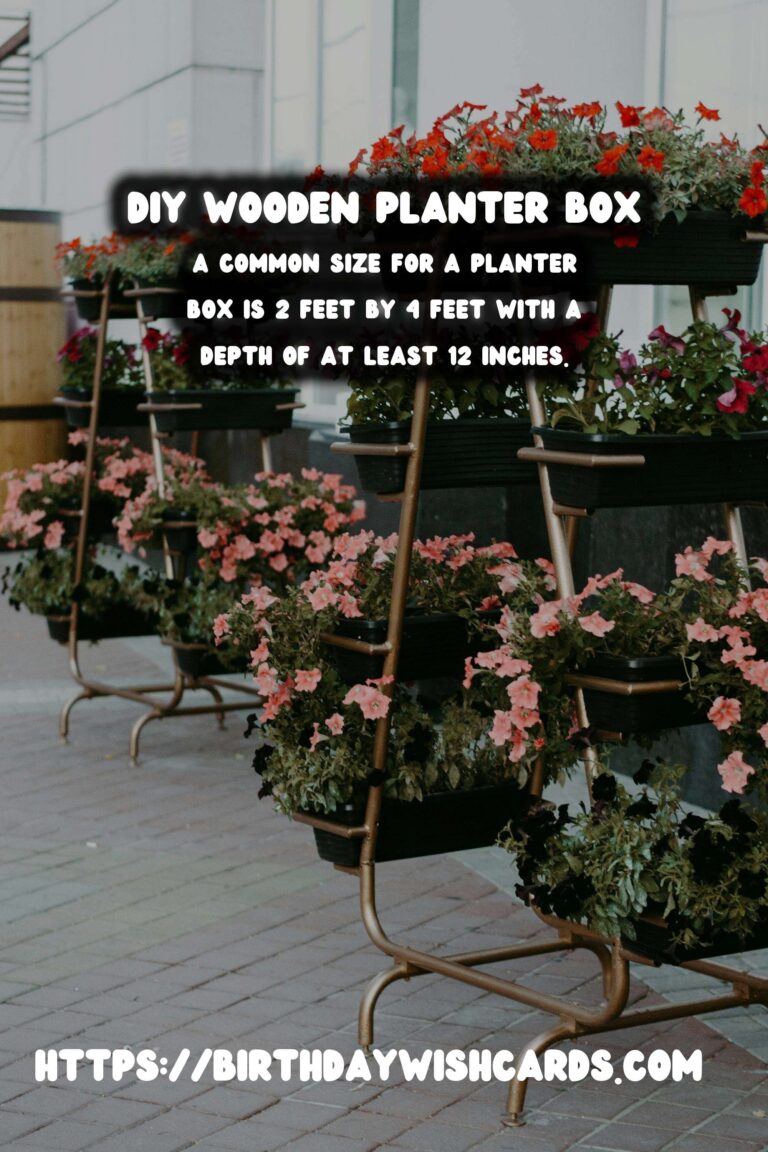
Consider the size and shape of your planter box based on your patio space and the number of herbs you plan to grow. A common size is 2 feet by 4 feet with a depth of at least 12 inches to allow ample space for root growth.
Step 2: Cut the Wood
Using your measurements, cut the wood planks to size. You’ll need four pieces for the sides and a few more for the bottom, depending on your design. Sand the edges of each piece to prevent splinters.
Step 3: Assemble the Box
Begin by attaching the side pieces together using wood screws and a drill. Ensure that the corners are square to maintain the shape of the box. Once the frame is secure, attach the bottom pieces.
Step 4: Add Drainage
Drill several drainage holes in the bottom of the planter box to prevent waterlogging, which can harm your herbs. Ensure the holes are evenly spaced and not too large to avoid soil loss.
Step 5: Seal the Wood
If you wish to extend the life of your planter box, apply a coat of wood stain or sealant. This step is optional but recommended, especially if your planter will be exposed to the elements.
Step 6: Fill and Plant
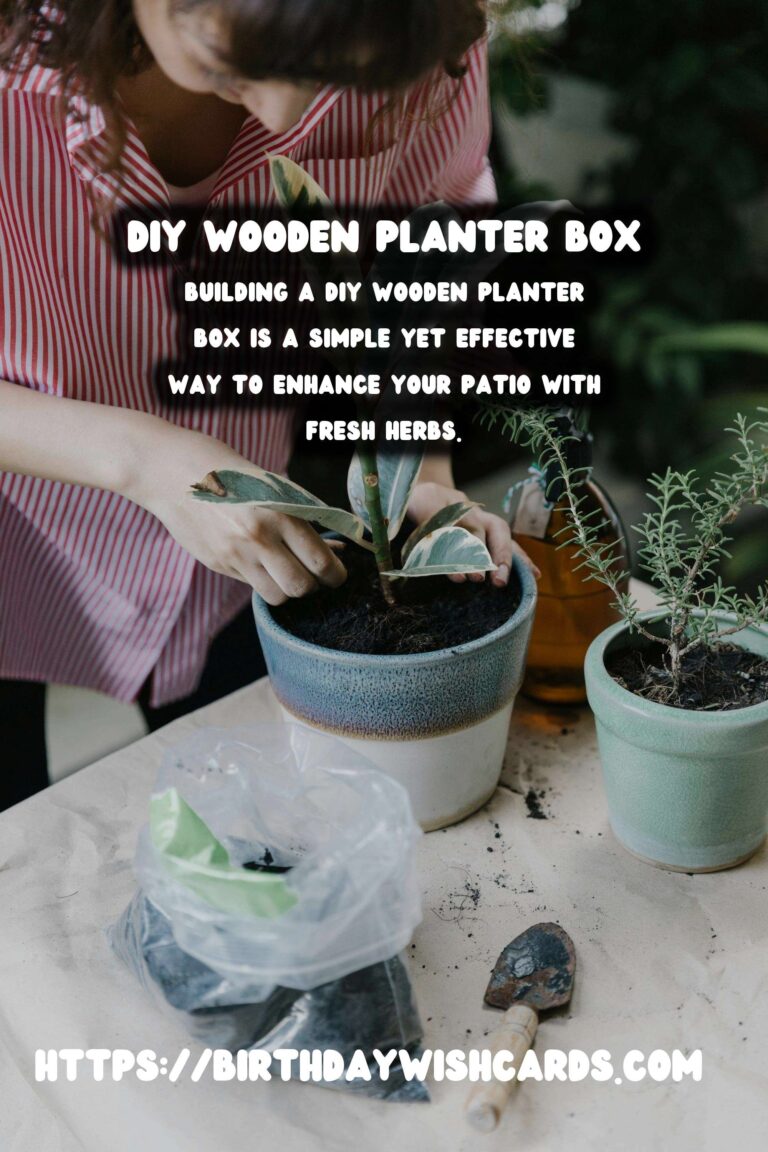
Fill your planter with a high-quality potting soil that is suitable for herbs. Plant your chosen herbs, following the spacing recommendations on the plant labels. Water thoroughly after planting.
Step 7: Maintenance
Place your planter box in a sunny spot on your patio. Regularly water your herbs and remove any weeds. Trim the plants as needed to encourage growth and prevent them from becoming too woody.
Conclusion
Building a DIY wooden planter box is a simple yet effective way to enhance your patio with fresh herbs. With proper care and maintenance, your herbs will thrive and provide you with an aromatic and flavorful addition to your culinary creations. Enjoy the satisfaction of growing your own herbs and the beauty they bring to your outdoor space.
Creating a wooden planter box for your patio herbs is a rewarding project that combines both functionality and aesthetics. A common size for a planter box is 2 feet by 4 feet with a depth of at least 12 inches. Drill several drainage holes in the bottom of the planter box to prevent waterlogging. Fill your planter with a high-quality potting soil that is suitable for herbs. Building a DIY wooden planter box is a simple yet effective way to enhance your patio with fresh herbs. 
#DIY #Woodworking #Gardening #HerbGarden #PlanterBox


