Transforming your small balcony into a green oasis can be a rewarding project. One of the best ways to add greenery to limited outdoor spaces is by building a DIY wooden planter box. This guide will walk you through the process of creating a beautiful, functional planter box that fits perfectly on your balcony.
Materials and Tools Needed
Before you start building, gather all the necessary materials and tools. You’ll need:
- Wooden planks (cedar or redwood are ideal for outdoor use)
- Wood screws
- Drill or screwdriver
- Saw (hand saw or power saw)
- Measuring tape
- Sandpaper
- Wood stain or sealant (optional)
- Potting soil
- Your choice of plants or seeds
Step-by-Step Guide
Step 1: Measure and Cut the Wood
Start by measuring the space on your balcony where you want to place the planter box. Use these measurements to cut your wooden planks to the appropriate size. Typically, a planter box can be around 2 feet long, 1 foot wide, and 1 foot deep, but you can adjust the dimensions to fit your space.
Step 2: Assemble the Box
Once your wood is cut, assemble the box by attaching the sides to the bottom piece. Use wood screws and a drill to secure the pieces together. Ensure that the box is sturdy and all angles are square.
Step 3: Sand and Finish the Wood
After assembling the box, sand down any rough edges to prevent splinters. If you want to enhance the appearance and durability of your planter, apply a coat of wood stain or sealant. This will protect the wood from weathering and give it a polished look.
Step 4: Add Drainage and Soil
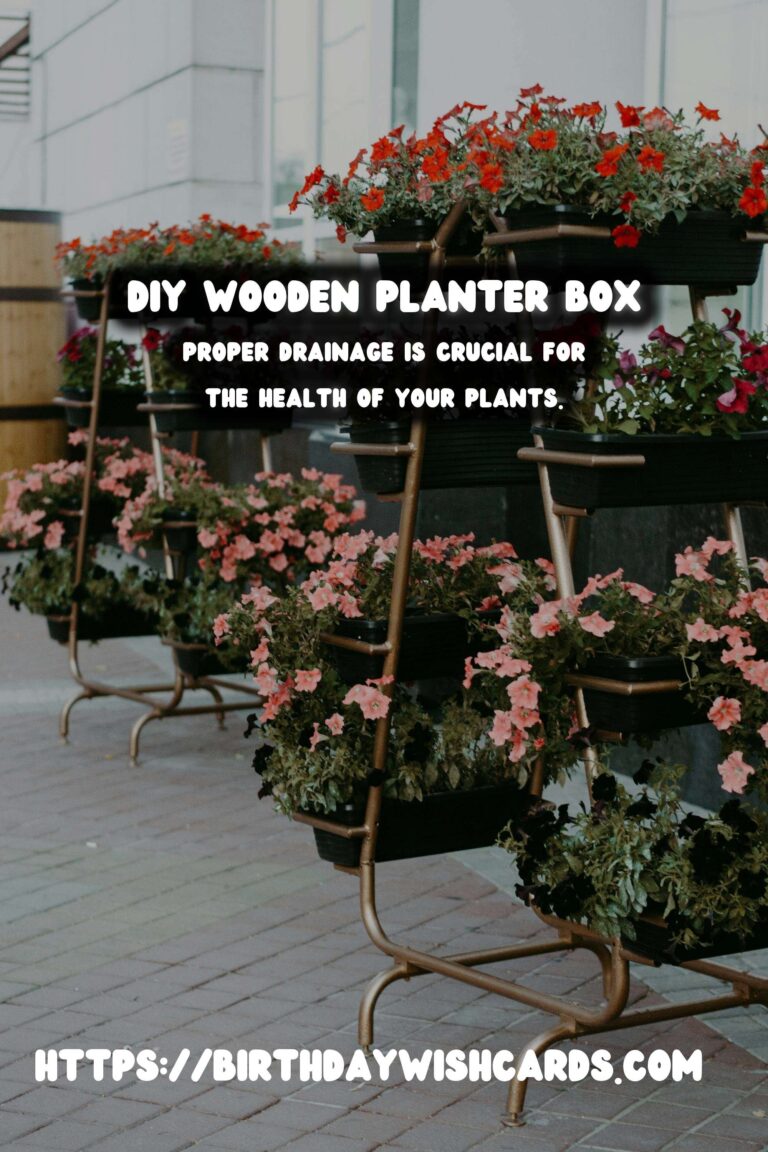
Proper drainage is crucial for the health of your plants. Drill a few drainage holes at the bottom of the box. Then, fill the box with potting soil, leaving some space at the top for planting.
Step 5: Plant and Position
Now that your planter box is ready, it’s time to add your chosen plants or seeds. Consider the amount of sunlight your balcony receives when selecting plants. Place the planter in your desired location on the balcony and water the plants thoroughly.
Tips for Maintaining Your Planter Box
To ensure that your plants thrive, regularly check the moisture level of the soil and water as needed. Fertilize your plants according to their specific requirements and keep an eye out for pests. With proper care, your balcony will become a flourishing garden in no time.
Conclusion
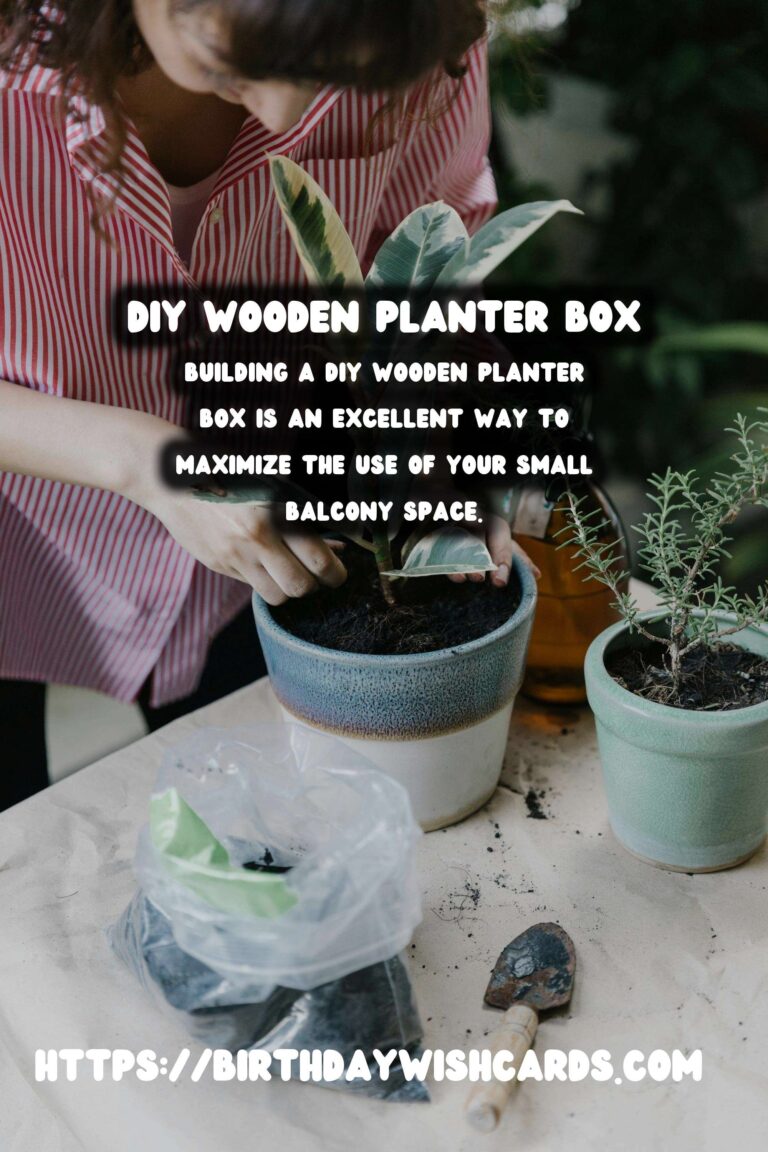
Building a DIY wooden planter box is an excellent way to maximize the use of your small balcony space. Not only does it provide a home for your plants, but it also adds a touch of nature to your living environment. With some basic tools and materials, you can create a custom planter box that suits your style and needs.
Transforming your small balcony into a green oasis can be a rewarding project. You’ll need wooden planks, wood screws, a drill or screwdriver, and a saw. Assemble the box by attaching the sides to the bottom piece using wood screws. Proper drainage is crucial for the health of your plants. Building a DIY wooden planter box is an excellent way to maximize the use of your small balcony space. 
#DIY #PlanterBox #SmallBalcony #Gardening #HomeImprovement