
Creating your own furniture can be a rewarding and cost-effective way to enhance your living space. A DIY concrete stool with a wooden top not only stands out as a unique piece but also adds a modern touch to any room. This guide will walk you through the process of crafting your very own concrete stool with a wooden top.
Materials Needed
Before you begin, gather the following materials:
- Concrete mix
- Water
- Bucket for mixing
- Mold for the stool base (a large bucket or a specially designed mold)
- Wooden slab for the top
- Sandpaper
- Wood sealant or varnish
- Concrete sealant
- Screws and a power drill
- Protective gear (gloves, mask, goggles)
Steps to Create Your Concrete Stool
Step 1: Prepare the Mold
Choose a mold that will determine the shape and size of your stool. A large bucket can serve as a simple and effective mold. Ensure it is clean and dry before use.
Step 2: Mix the Concrete
Follow the instructions on your concrete mix package. Typically, you will combine the mix with water in a separate bucket. Stir the mixture until it reaches a thick, smooth consistency.
Step 3: Pour the Concrete
Carefully pour the mixed concrete into your mold. Tap the sides of the mold gently to remove any air bubbles, ensuring a smooth finish.
Step 4: Let the Concrete Set
Allow the concrete to cure for at least 24-48 hours. The curing time can vary based on the type of concrete mix and environmental conditions.
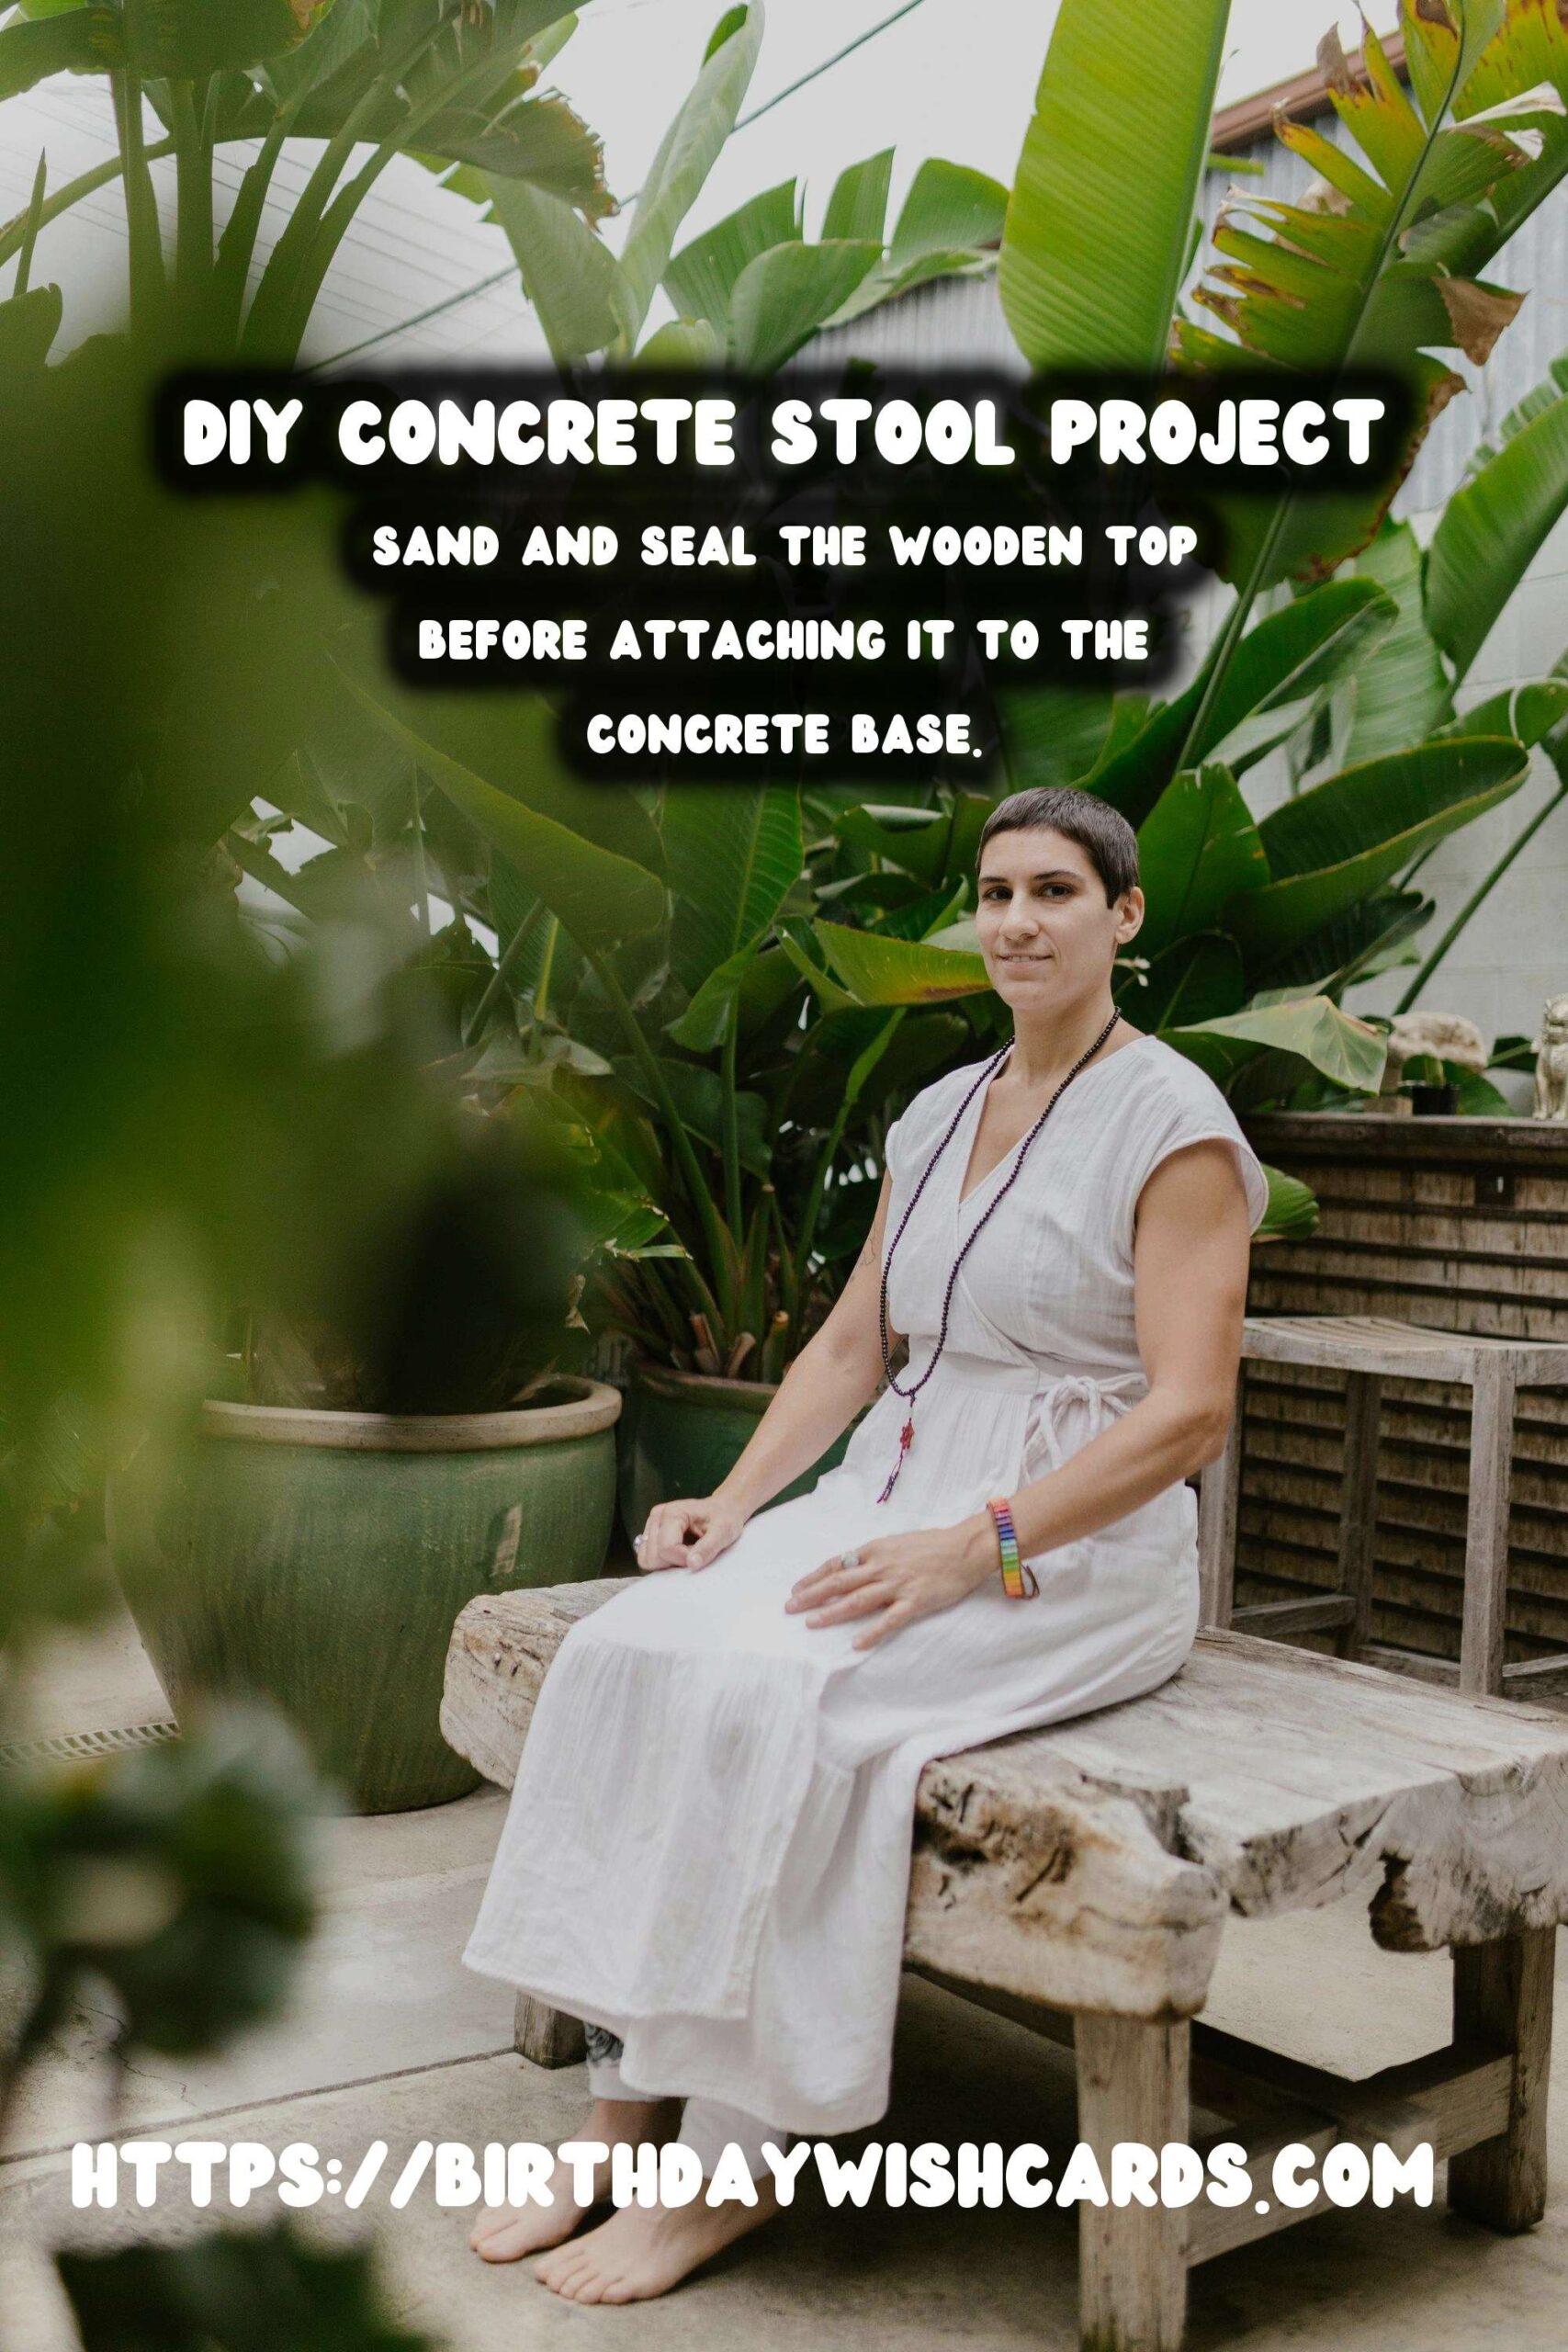
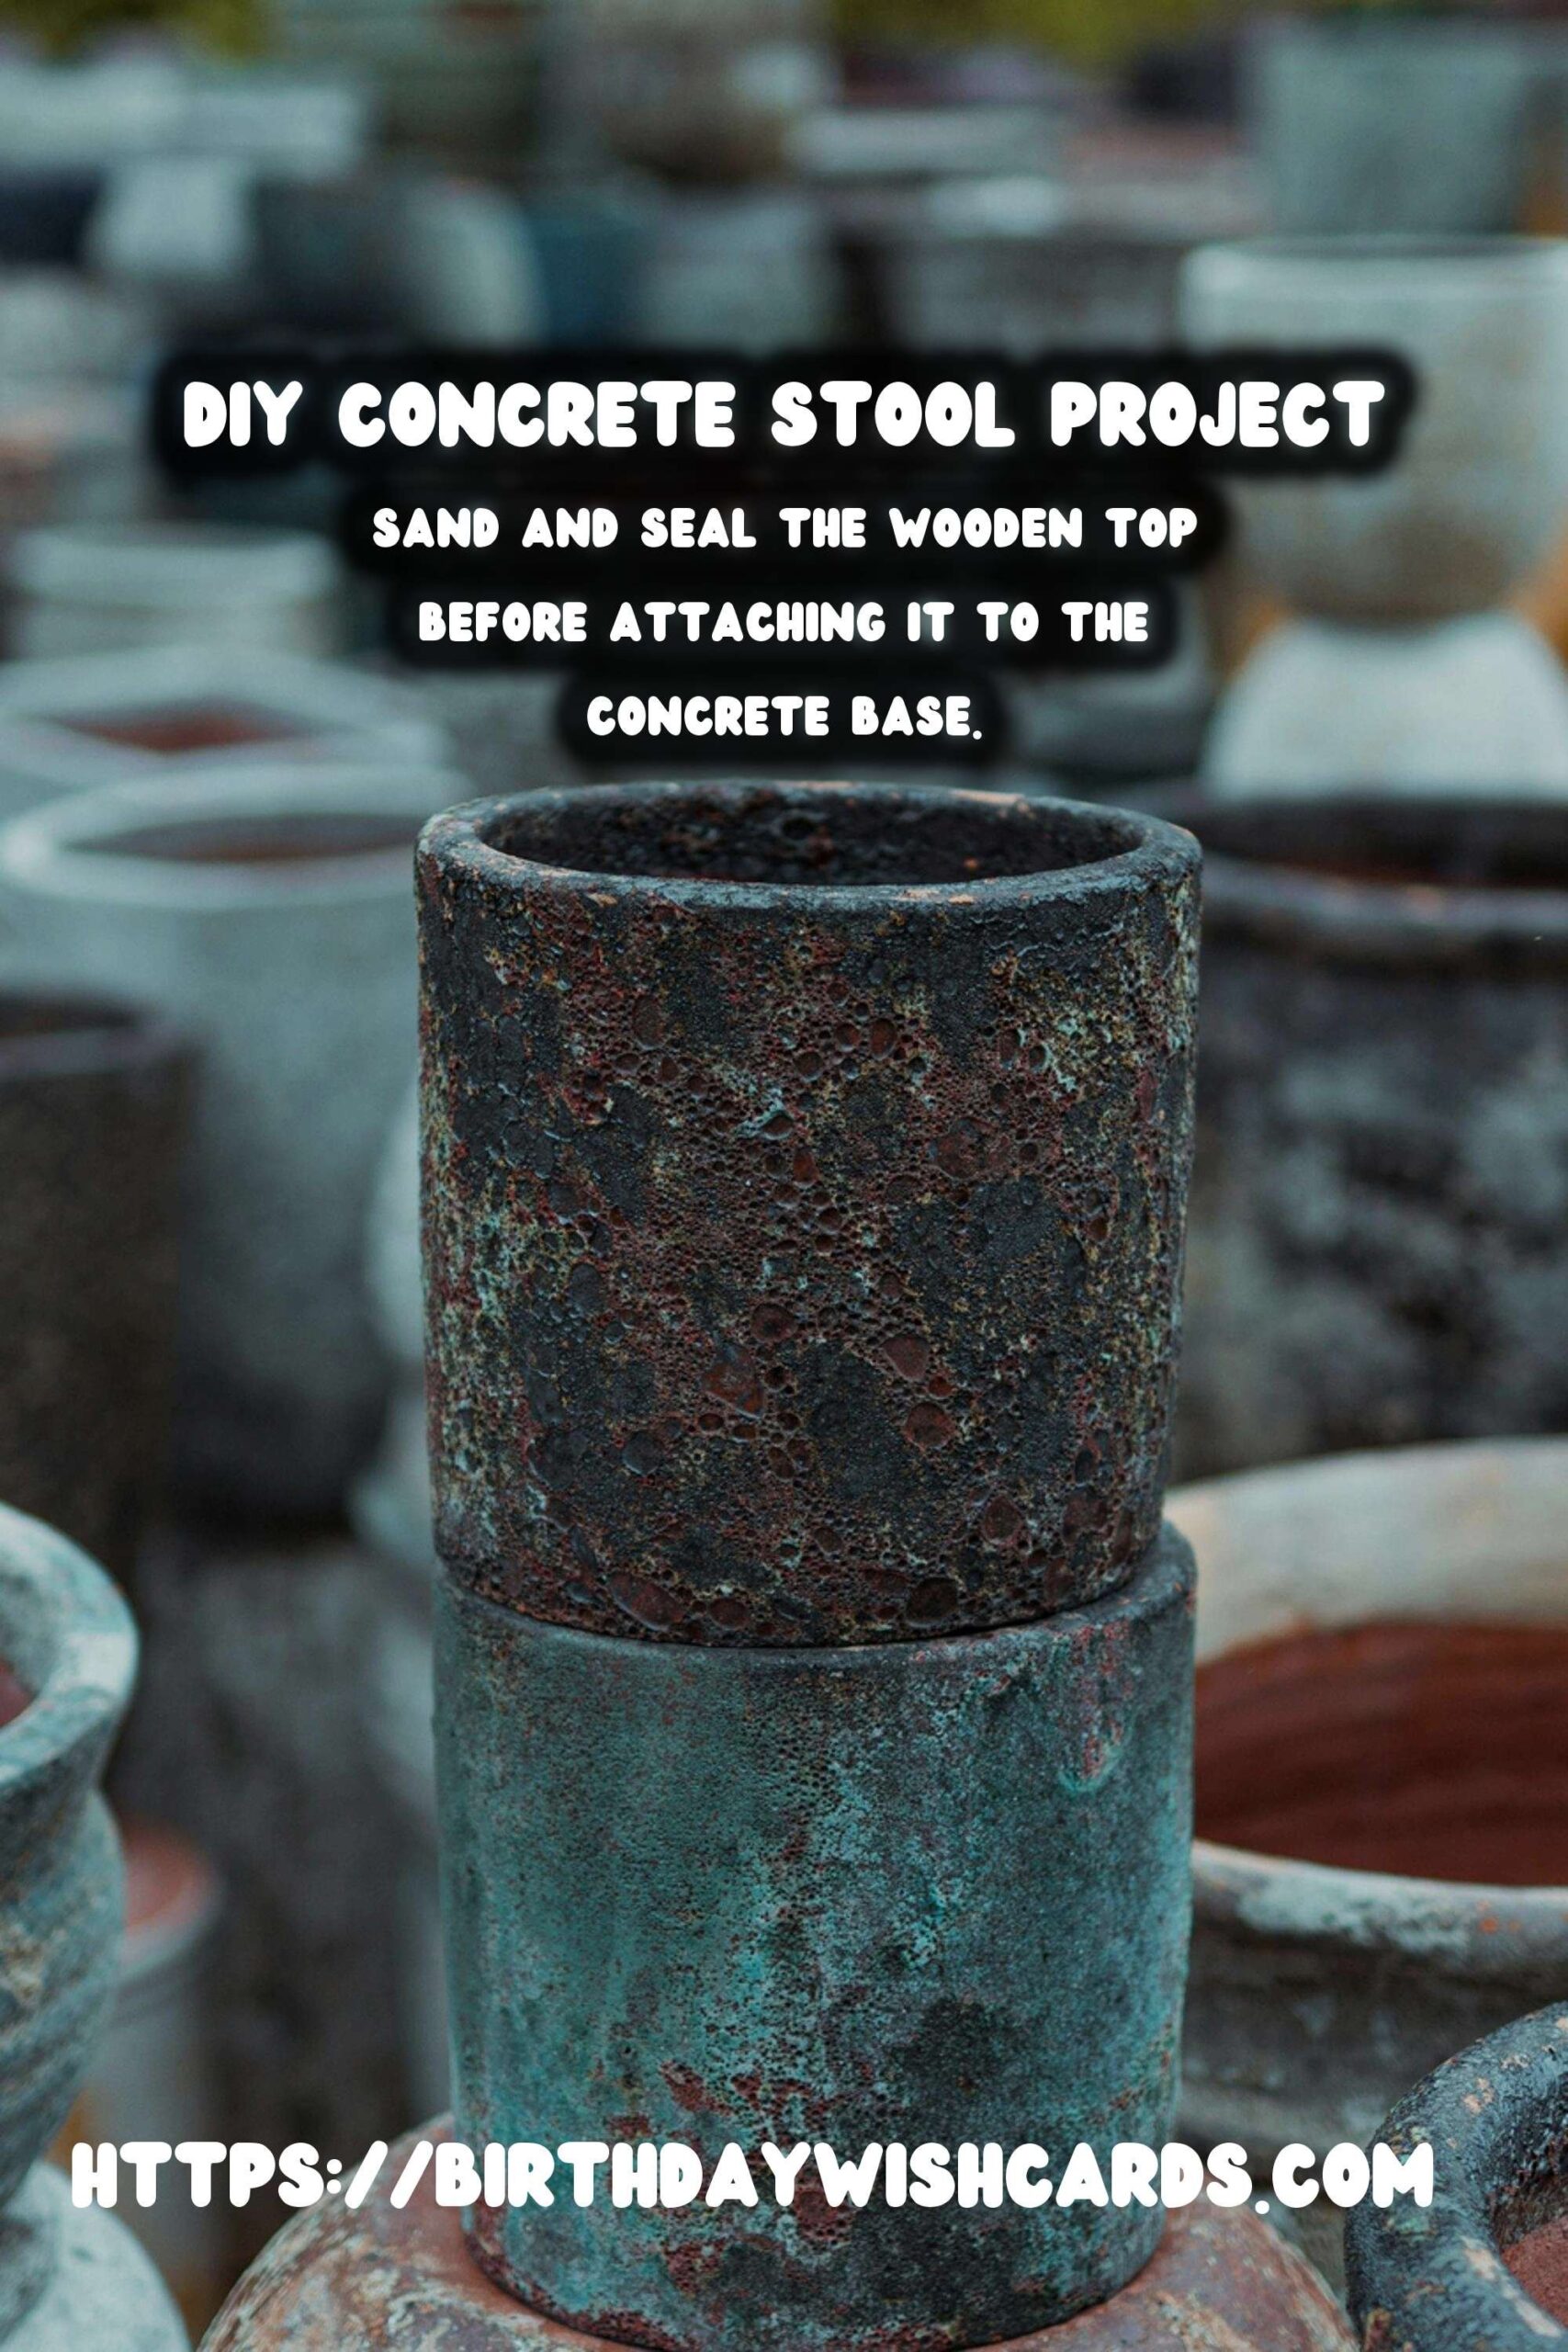
Step 5: Prepare the Wooden Top
While the concrete sets, prepare your wooden top. Sand the wooden slab to remove any rough edges or surface imperfections. Apply a wood sealant or varnish to protect the wood and enhance its appearance.
Step 6: Attach the Wooden Top
Once the concrete has cured, remove it from the mold. Position the wooden top on the concrete base. Use screws and a power drill to securely attach the wooden top to the concrete base.
Step 7: Apply Concrete Sealant
For added durability and protection, apply a concrete sealant to the base. This will help protect against stains and moisture.
Finishing Touches
After the sealants have dried, your DIY concrete stool with a wooden top is ready to use. This versatile piece can be used both indoors and outdoors, providing a stylish seating option or decorative accent.
Conclusion
Crafting a DIY concrete stool with a wooden top is a straightforward project that can be completed over a weekend. With careful attention to detail and the right materials, you can create a functional and aesthetically pleasing piece of furniture. Whether you’re looking to enhance your living room, patio, or workspace, this DIY project offers a practical solution that reflects your personal style.
Creating your own furniture can be a rewarding and cost-effective way to enhance your living space. A DIY concrete stool with a wooden top not only stands out as a unique piece but also adds a modern touch to any room. Gather materials like concrete mix, a mold, and a wooden slab to get started. Follow the step-by-step guide to mix, pour, and cure the concrete for your stool. Sand and seal the wooden top before attaching it to the concrete base. Apply a concrete sealant to protect the base from stains and moisture. This project offers a functional and stylish seating option for both indoor and outdoor spaces. 


#DIY #ConcreteStool #Woodworking #HomeImprovement #FurnitureDIY