Creating a vertical garden from pallets is an innovative way to bring greenery into small spaces. This method not only adds aesthetic appeal but also promotes a sustainable lifestyle by using recycled materials. In this comprehensive guide, we will walk you through the steps to build your own vertical garden using pallets.
Why Choose a Vertical Garden?
Vertical gardens are perfect for urban spaces where horizontal growing space is limited. They allow you to maximize your planting area and bring life to otherwise unused vertical surfaces. Additionally, vertical gardens can improve air quality, reduce noise pollution, and increase thermal insulation for buildings.
Materials Needed
To start your DIY vertical garden, gather the following materials:
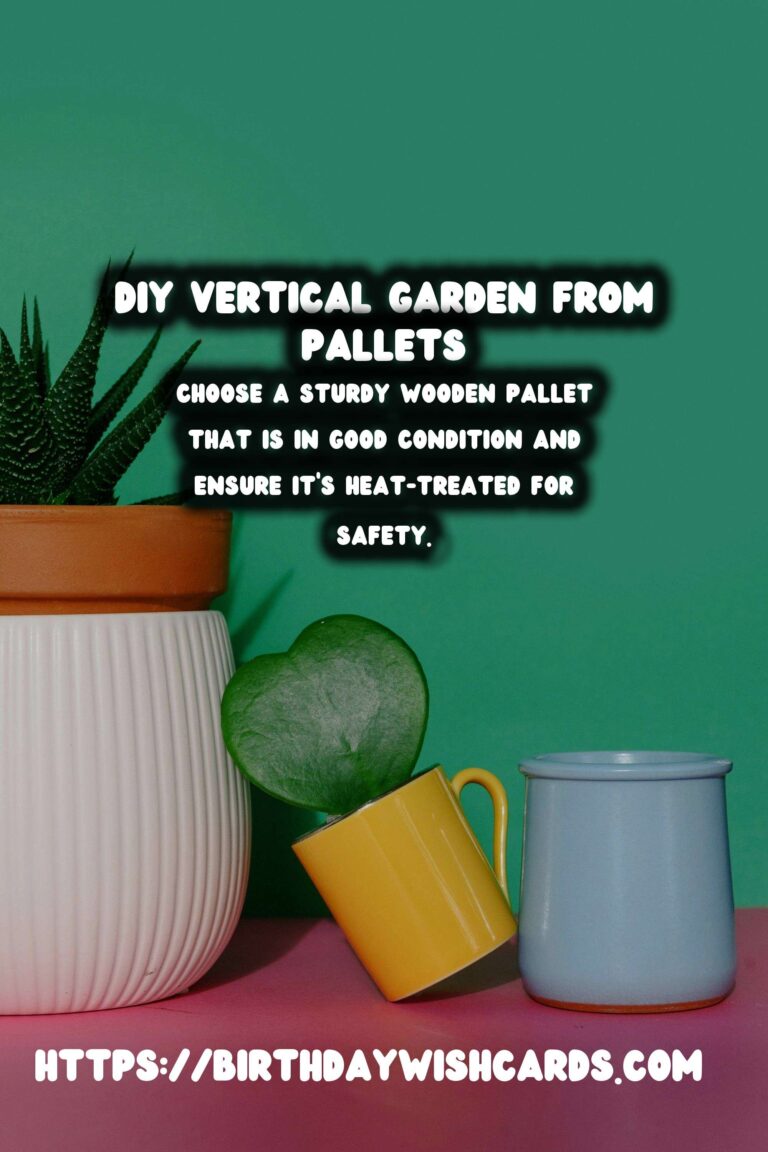
- A wooden pallet (ensure it’s heat-treated and safe for plants)
- Landscape fabric
- Staple gun and staples
- Potting soil
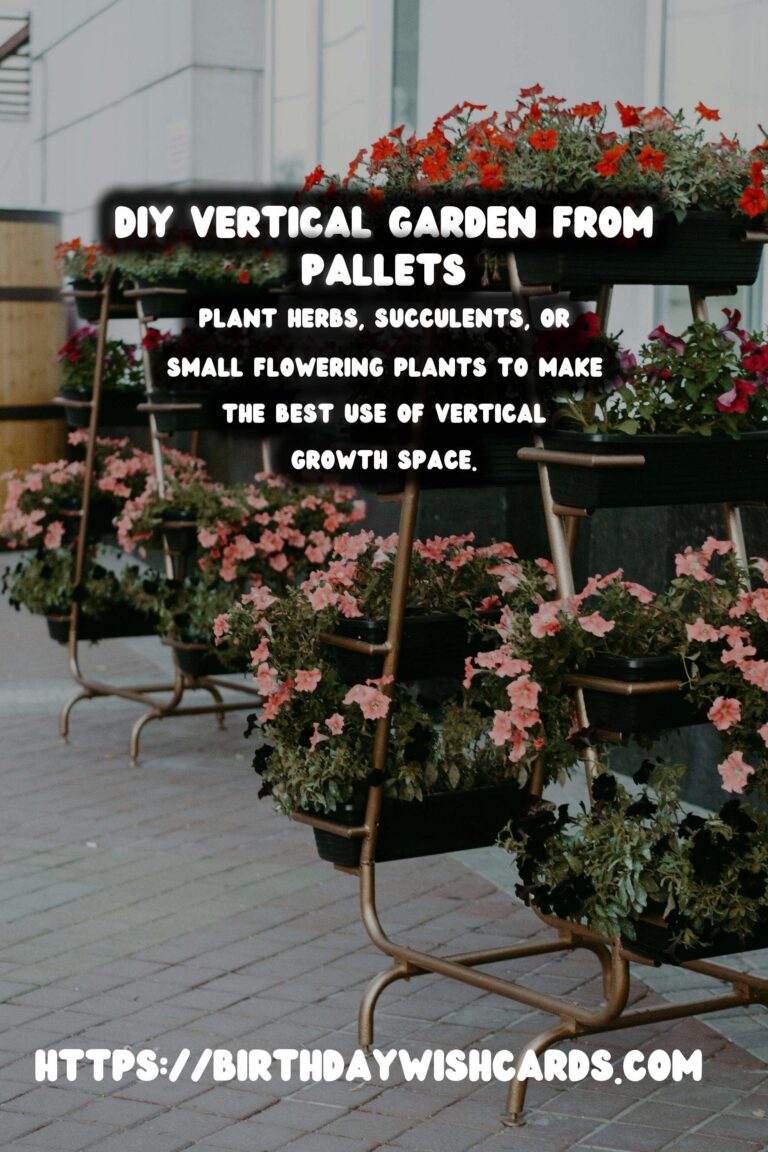
- Your choice of plants (herbs, succulents, or small flowering plants are ideal)
- Sandpaper
- Paint or wood stain (optional)
Step-by-Step Guide
Step 1: Select and Prepare Your Pallet
Choose a sturdy wooden pallet that is in good condition. Look for a pallet marked with an HT (heat-treated) stamp, which indicates it is safe for use with plants. Avoid chemically treated pallets. Sand down any rough edges to prevent splinters.If desired, paint or stain the pallet to match your aesthetic preferences. Allow it to dry completely before proceeding.
Step 2: Attach the Landscape Fabric
Lay the pallet flat with the side you want to plant facing up. Cut the landscape fabric to fit the back, bottom, and sides of the pallet. Secure the fabric with a staple gun, making sure it is taut and well-attached. This will hold the soil in place while allowing water to drain.
Step 3: Fill with Soil
Turn the pallet over so the landscape fabric is on the bottom. Begin filling the pallet with potting soil, pressing it into the spaces between the slats. Make sure the soil is compacted to support the plants when the pallet is upright.
Step 4: Plant Your Garden
Select plants that are suitable for vertical growth. Herbs like basil, mint, and parsley, or hardy succulents and small flowering plants are excellent choices. Start from the bottom of the pallet and work your way up, planting each section densely to ensure the soil stays in place.
Step 5: Position Your Garden
Carefully lift the pallet into an upright position. Lean it against a supportive surface or secure it to a wall using brackets for added stability. Make sure the location receives adequate sunlight for your chosen plants.
Maintenance Tips
Water your vertical garden regularly, especially in the early stages as the plants establish their roots. Be mindful of water drainage and ensure the soil doesn’t dry out completely. Trim plants as needed to promote healthy growth and prevent overcrowding.
Conclusion
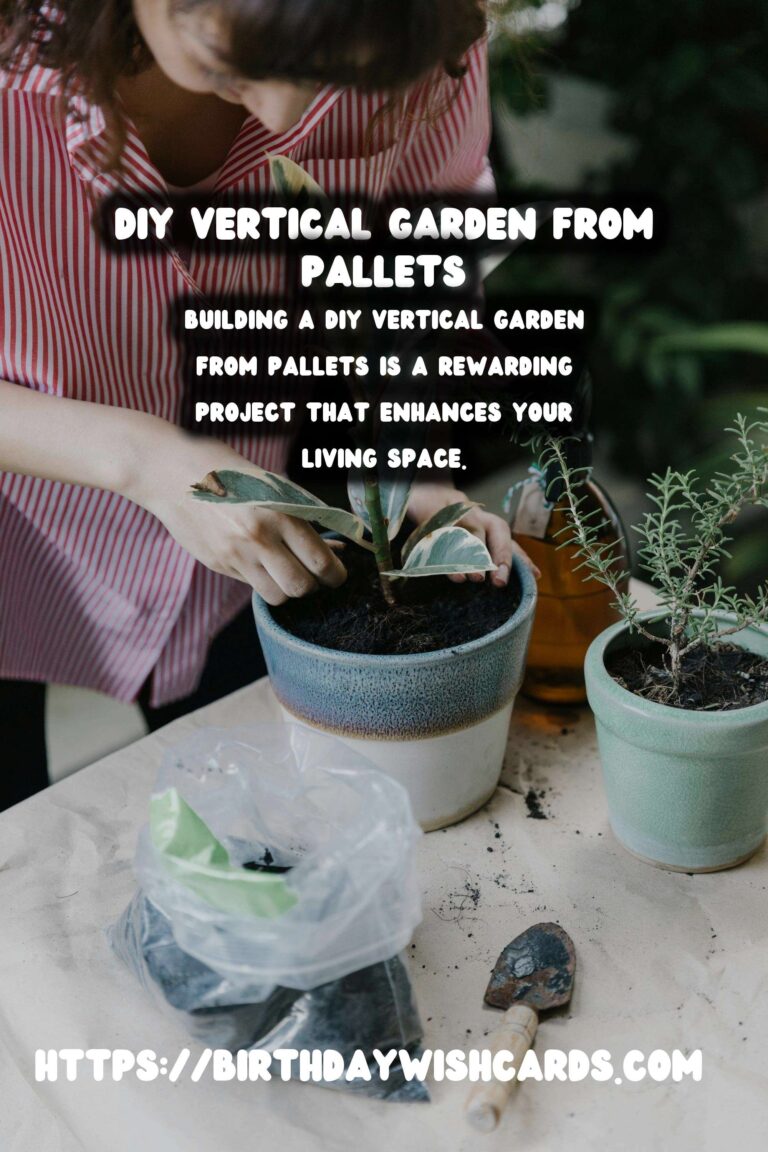
Building a DIY vertical garden from pallets is a rewarding project that brings life and color to your living space. With careful planning and regular maintenance, your vertical garden will thrive and become a beautiful addition to your home.
Creating a vertical garden from pallets is an innovative way to bring greenery into small spaces. Vertical gardens allow you to maximize your planting area and bring life to unused vertical surfaces. Choose a sturdy wooden pallet that is in good condition and ensure it’s heat-treated for safety. Plant herbs, succulents, or small flowering plants to make the best use of vertical growth space. Building a DIY vertical garden from pallets is a rewarding project that enhances your living space. 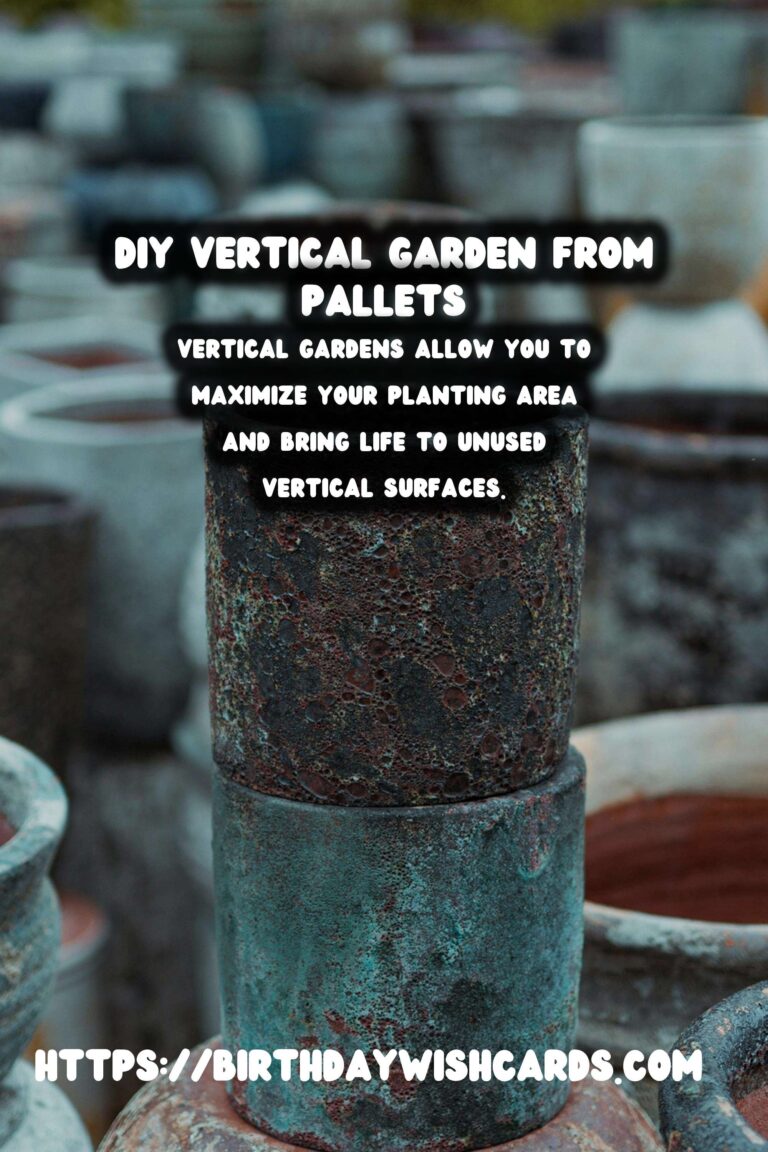
#VerticalGarden #DIY #Gardening #PalletProjects #UrbanGardening