Vertical gardening is a fantastic way to maximize your gardening space, especially if you live in an urban area or have limited room. By using mason jars, you can create a stylish and functional vertical garden that not only serves as a space-saving solution but also adds aesthetic appeal to your home. In this article, we will guide you through the process of making your very own DIY vertical garden using mason jars.
Why Choose Mason Jars for Vertical Gardening?
Mason jars are versatile, affordable, and readily available, making them an excellent choice for a DIY vertical garden. These glass containers are durable, easy to clean, and provide a clear view of your plants’ root systems, which can help you monitor their growth and health. Additionally, mason jars are recyclable, making them an environmentally friendly option for sustainable gardening.
Materials Needed for a Mason Jar Vertical Garden
- Mason jars (quart size recommended)
- Wooden board or pallet
- Hose clamps
- Screws and wall anchors
- Drill and screwdriver
- Potting soil
- Plants or herbs of your choice
- Decorative stones or gravel (optional)
Step-by-Step Guide to Building Your Vertical Garden
Step 1: Prepare Your Wooden Board
Start by selecting a sturdy wooden board or pallet that will serve as the backing for your vertical garden. The size of the board will depend on the number of mason jars you plan to use. Sand down any rough edges and apply a weatherproof sealant if the board will be positioned outdoors.
Step 2: Attach Hose Clamps to the Board
Measure and mark the positions where you want to attach the mason jars on the board. Use a drill to secure hose clamps at each marked spot. The clamps should be evenly spaced to ensure that each mason jar has enough room.
Step 3: Secure Mason Jars to the Clamps
Loosen the hose clamps and slide a mason jar into each one. Tighten the clamps to hold the jars securely in place. Make sure that the jars are level and firmly attached to avoid any accidents.
Step 4: Fill the Jars with Soil and Plants
Add a layer of decorative stones or gravel to the bottom of each mason jar to improve drainage. Fill the jars with potting soil, leaving about an inch of space from the top. Choose plants or herbs suitable for mason jar growth, such as succulents, basil, or mint, and plant them in the soil.
Step 5: Install Your Vertical Garden
Once your jars are filled with plants, it’s time to install your vertical garden. Use screws and wall anchors to mount the wooden board onto a wall or fence. Ensure it’s securely fastened to support the weight of the jars and soil.
Maintenance Tips for Your Mason Jar Vertical Garden
Regularly check the moisture levels in the jars, as they can dry out quickly. Water your plants as needed, being careful not to overwater, as mason jars lack drainage holes. Prune and trim your plants to encourage healthy growth, and rotate the jars occasionally to ensure even sunlight exposure.
Conclusion
Creating a DIY vertical garden with mason jars is a fun and rewarding project that enhances your living space with greenery while being practical and sustainable. By following these steps, you can enjoy fresh herbs and beautiful plants right at your fingertips, making your home a more vibrant and eco-friendly place.
Vertical gardening is a fantastic way to maximize your gardening space. Mason jars are versatile, affordable, and readily available for vertical gardening. The process involves preparing a wooden board, attaching hose clamps, securing mason jars, and filling them with soil and plants. Regular maintenance is crucial for the health and growth of your vertical garden. A DIY vertical garden with mason jars enhances your living space with greenery. 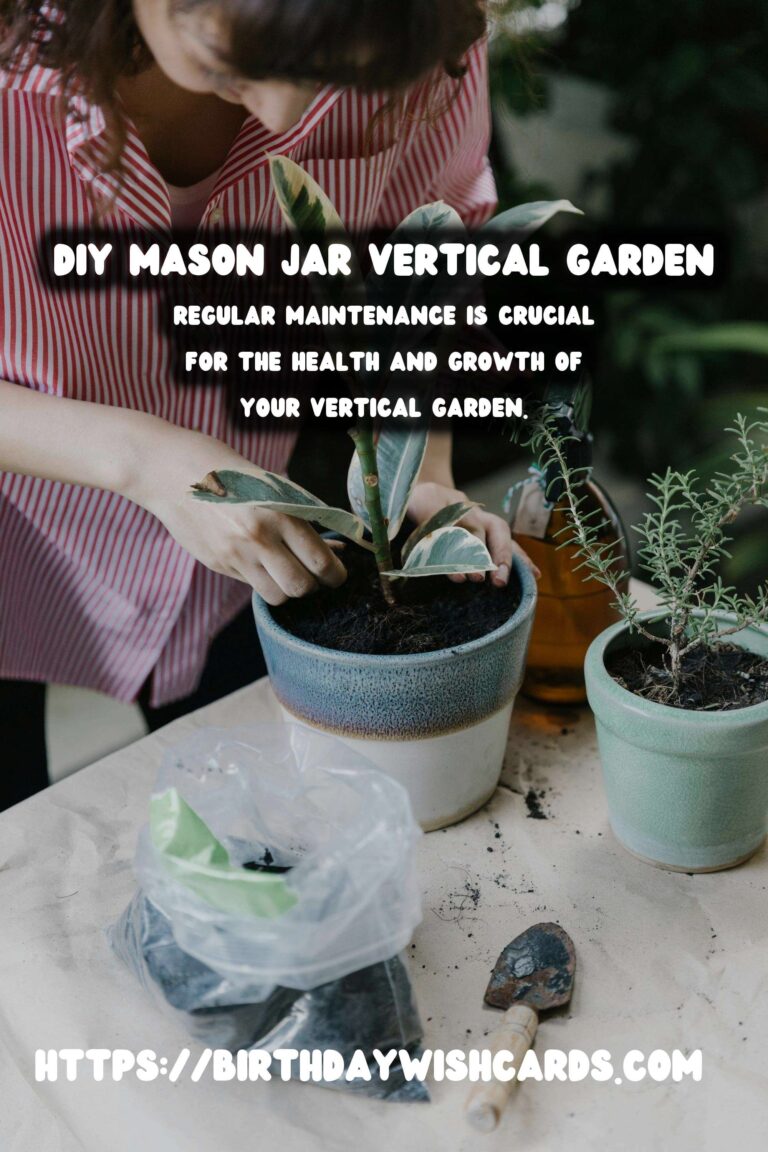


#VerticalGarden #MasonJars #DIYGarden #UrbanGardening #SustainableLiving