
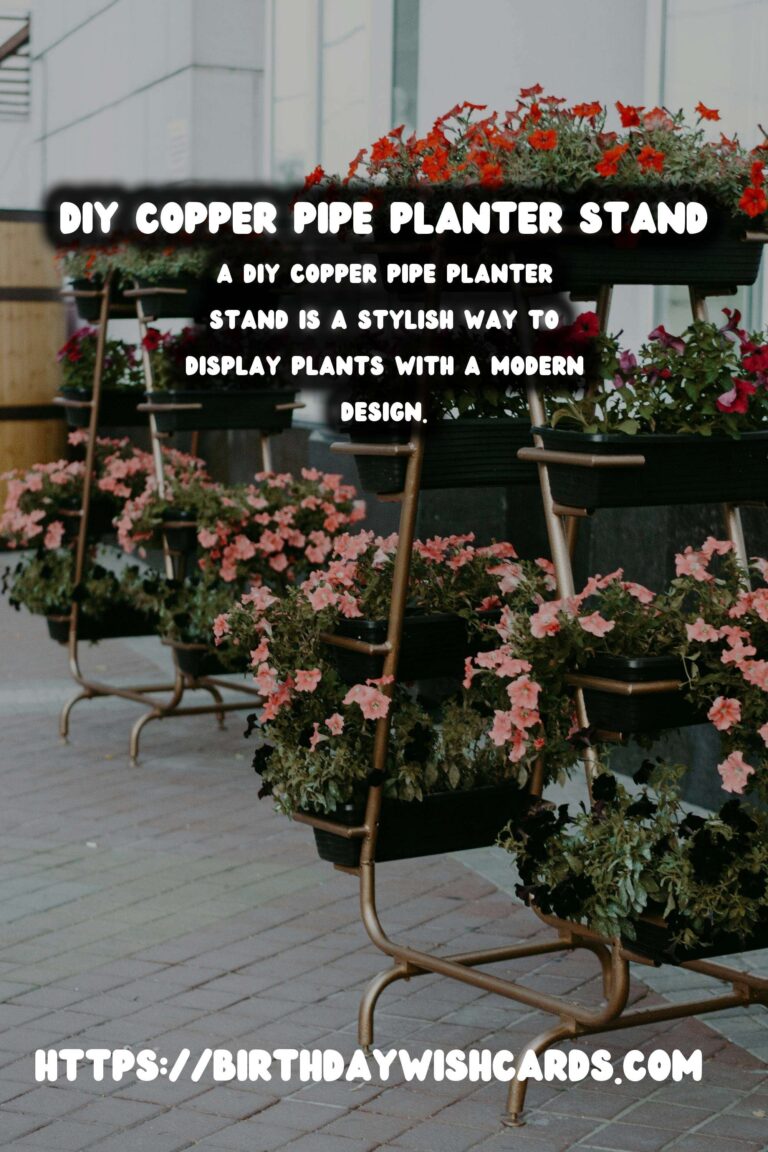
Are you looking for a unique and stylish way to display your plants? A DIY copper pipe planter stand might be the perfect solution. With its sleek and modern design, a copper pipe stand can add a touch of elegance to any room. In this article, we will guide you through the steps to create your own planter stand using copper pipes. Whether you are a seasoned DIY enthusiast or a beginner, this project is simple yet rewarding.
Materials Needed for the Copper Pipe Planter Stand
Before you begin, gather all the necessary materials. Having everything on hand will make the process smoother and more enjoyable. Here’s what you’ll need:
- Copper pipes (diameter and length as per your design)
- Pipe cutter or hacksaw
- Copper pipe fittings (elbows, tees, and end caps)
- Epoxy or strong adhesive
- Sandpaper
- Measuring tape
- Protective gloves
- Safety goggles
- Pot or planter for your plants
Step-by-Step Guide to Constructing the Planter Stand
Creating a copper pipe planter stand involves several steps. Follow these instructions carefully to ensure a sturdy and attractive stand.
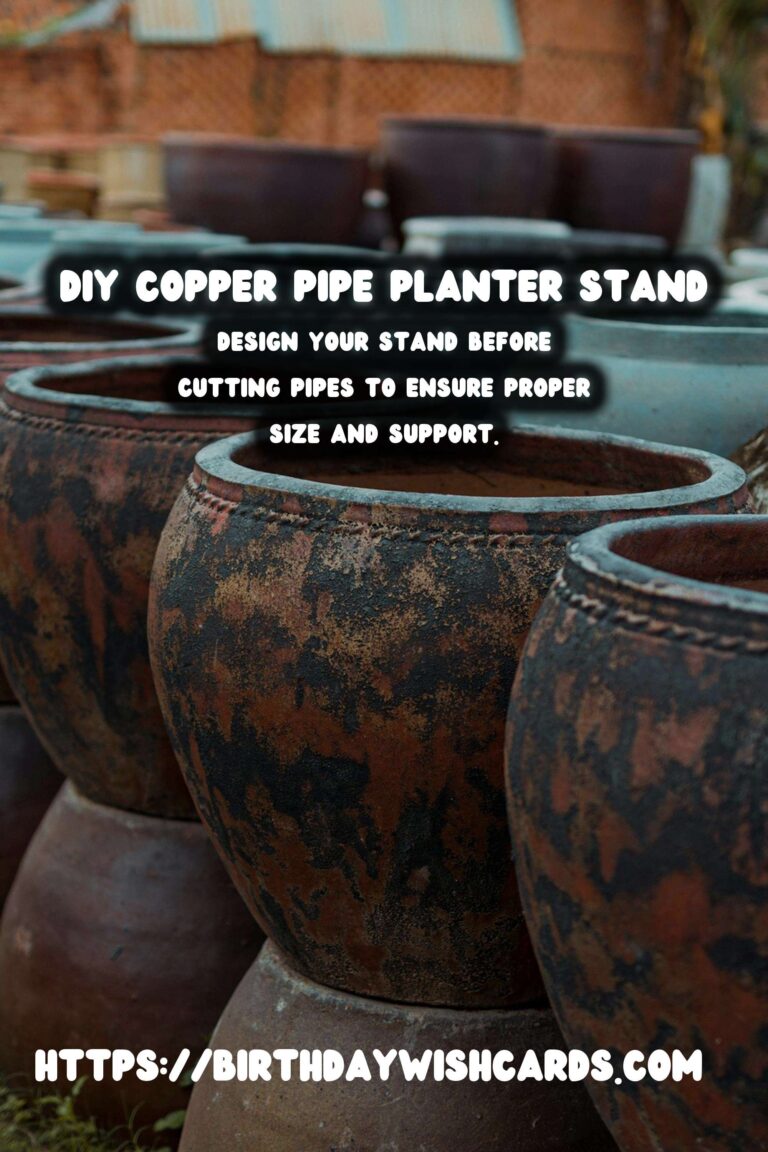
Step 1: Design Your Stand
Before cutting any pipes, sketch out your stand design. Decide on the height, width, and overall shape of the stand. Consider the size of the pot you plan to use, ensuring the stand will support it properly.
Step 2: Cut the Copper Pipes
Using a pipe cutter or hacksaw, carefully cut the copper pipes according to your design. It’s essential to measure twice and cut once to avoid wasting materials. Wear protective gloves and safety goggles during this process.
Step 3: Sand the Edges
After cutting the pipes, use sandpaper to smooth the cut edges. This step is crucial to ensure the pipes fit snugly together and prevent any sharp edges from causing injury.
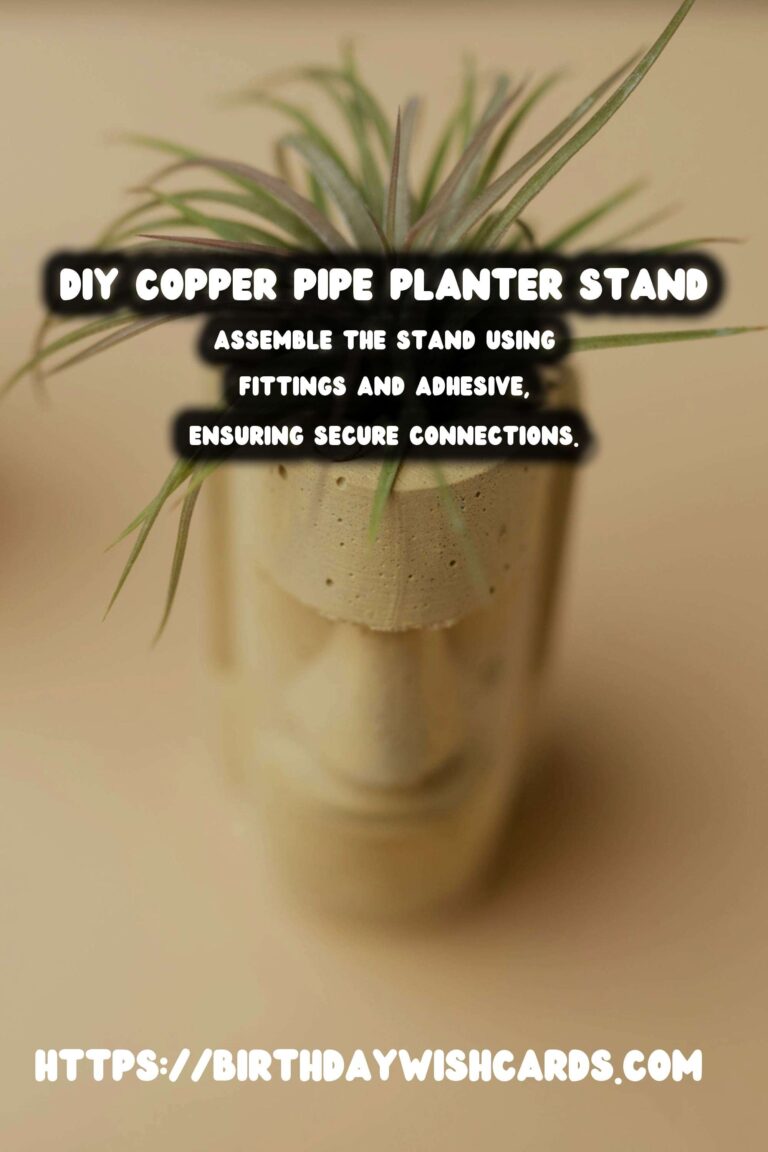
Step 4: Assemble the Stand
Begin assembling your stand by connecting the pipes using the copper fittings. Apply a small amount of epoxy or adhesive to the joints for added stability. Make sure each connection is secure before moving on to the next.
Step 5: Attach the Planter
Once your stand is assembled, place your pot or planter on top. Ensure it sits evenly and is well-balanced. You may need to adjust the stand slightly to achieve this.
Benefits of a Copper Pipe Planter Stand
Using copper pipes for your planter stand offers several advantages. Firstly, copper is a durable material that can withstand various environmental conditions, making it ideal for both indoor and outdoor use. Additionally, copper’s natural patina develops over time, giving your stand a unique and attractive appearance. Moreover, copper is recyclable, making it an eco-friendly option for DIY enthusiasts.
Tips for Maintaining Your Copper Pipe Planter Stand
To keep your copper pipe planter stand looking its best, follow these maintenance tips:
- Regularly dust the stand to prevent dirt accumulation.
- If you prefer a shiny appearance, polish the pipes occasionally using a copper cleaner.
- For a more rustic look, allow the natural patina to develop by leaving the copper untreated.
- Check the stability of the stand periodically, tightening any loose connections.
Conclusion
Creating a DIY copper pipe planter stand is a rewarding project that combines creativity and functionality. With a few materials and some basic tools, you can craft a stunning piece that enhances your home’s decor. Whether you’re showcasing a lush fern or a vibrant flowering plant, your copper pipe stand will serve as a beautiful and practical addition to your space. Enjoy the process and the satisfaction of your handmade creation.
A DIY copper pipe planter stand is a stylish way to display plants with a modern design. Gather materials such as copper pipes, fittings, and a pot for the planter. Design your stand before cutting pipes to ensure proper size and support. Assemble the stand using fittings and adhesive, ensuring secure connections. Copper is durable, develops a natural patina, and is recyclable, making it an eco-friendly choice. 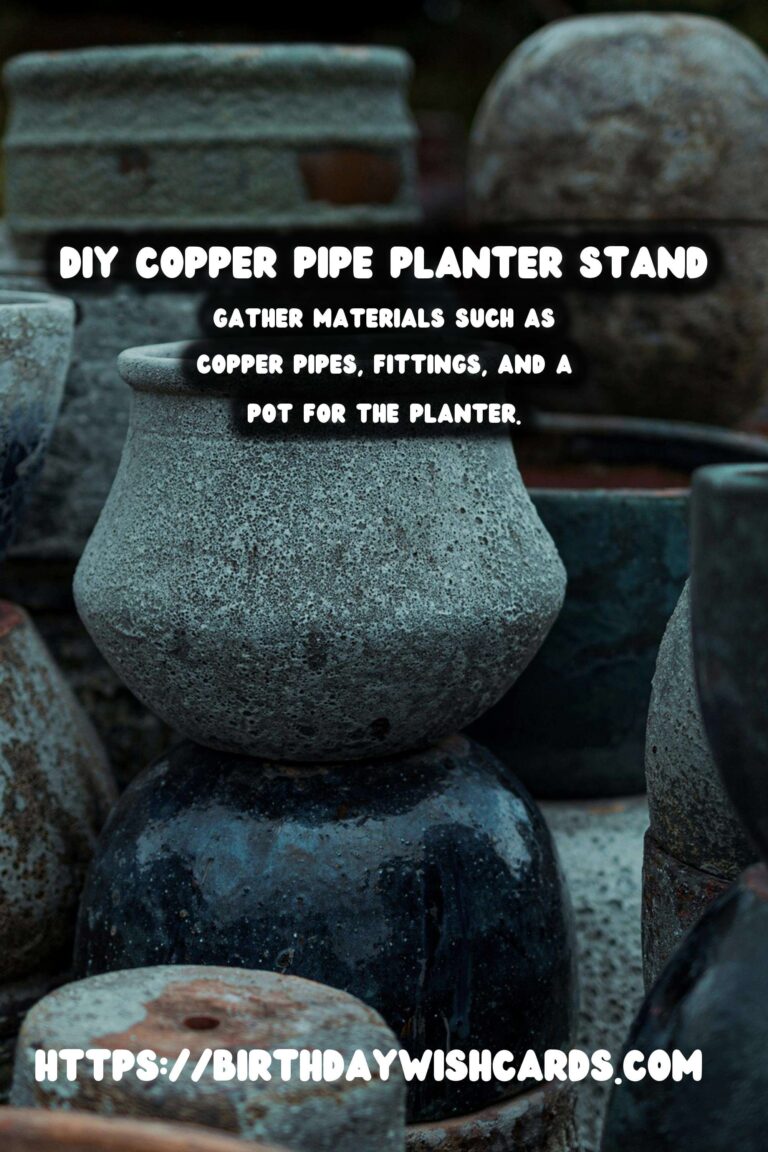


#DIY #CopperPipe #PlanterStand #HomeDecor #Gardening


