

Macrame has made a significant comeback as a popular craft, and one of the most stylish applications is creating a DIY hanging macrame shelf. Not only does it add a touch of bohemian flair to any space, but it also offers a practical storage solution. In this article, we’ll guide you through the process of making your own hanging macrame shelf from start to finish.
Materials Needed
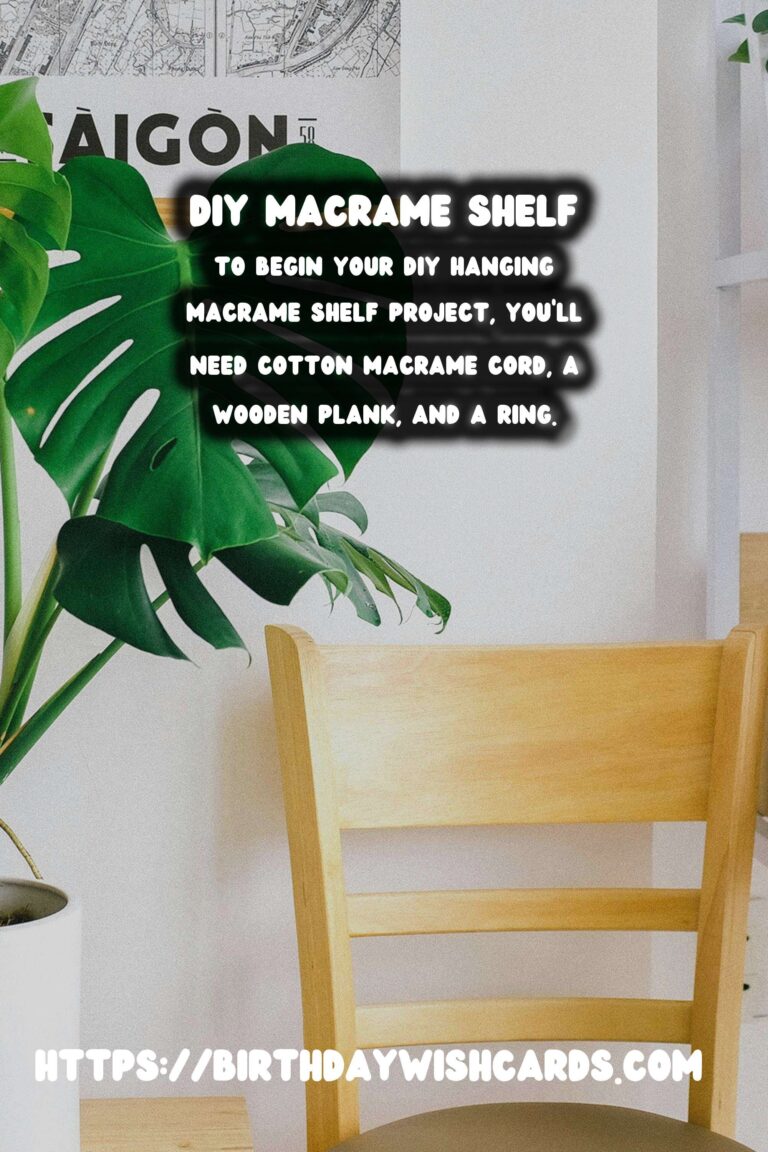
To begin your DIY hanging macrame shelf project, you’ll need the following materials:
- Cotton macrame cord (approximately 100 yards)
- A wooden plank (approximately 18 inches long and 6 inches wide)
- Wooden or metal ring (for hanging)
- Scissors
- Measuring tape
- Drill with a bit
- Sandpaper
- Optional: Stain or paint for the wooden plank
Step 1: Prepare the Wooden Plank
Begin by preparing your wooden plank. Use sandpaper to smooth out any rough edges or surfaces. If you prefer a colored or stained look, now is the time to apply your choice of stain or paint. Allow it to dry completely before proceeding.
Step 2: Cut and Measure the Cord
Next, cut your macrame cord into four equal lengths, each about 25 yards long. These will form the main support and design of your macrame shelf.
Step 3: Attach Cords to the Ring
Fold each cord in half, creating a loop at the top. Slip this loop through the wooden or metal ring and pull the ends through the loop to secure it. Repeat for all four cords, ensuring they are evenly spaced around the ring.
Step 4: Create Your Macrame Design
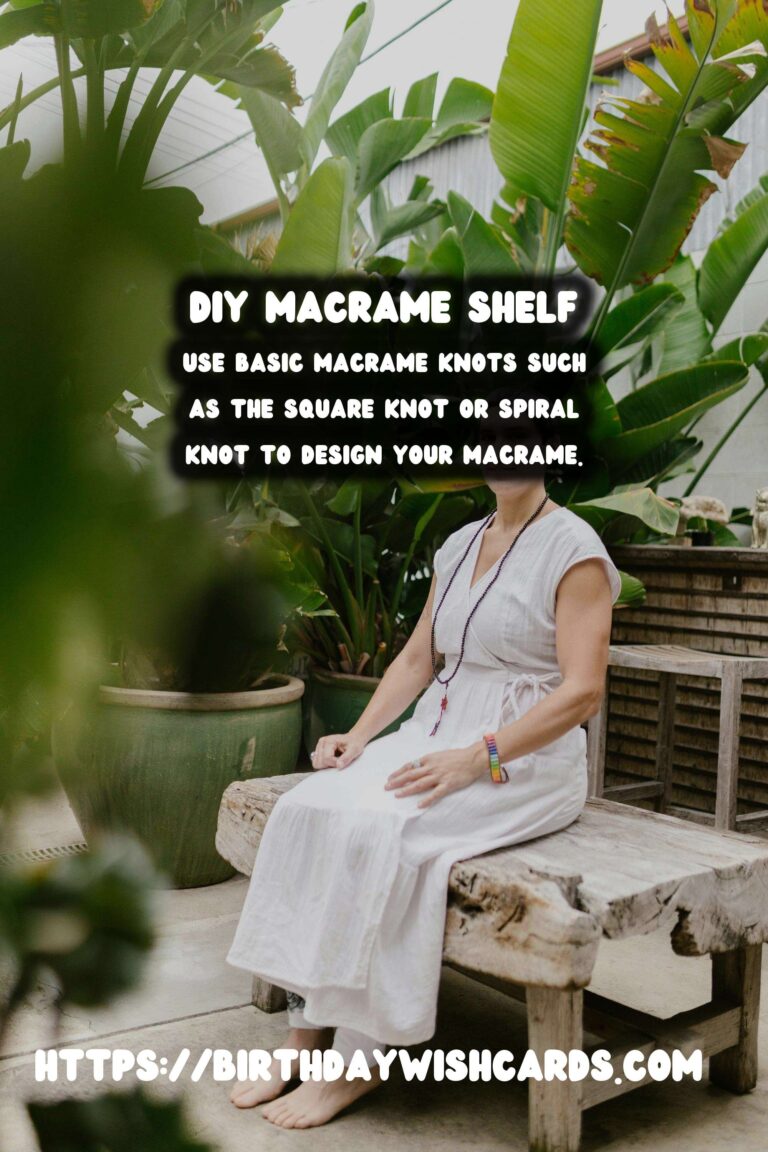
Now, it’s time to get creative! Use basic macrame knots such as the square knot or spiral knot to design your macrame. Knot the cords together, ensuring to leave space for the wooden plank to sit securely. There are many tutorials and patterns available online if you wish to explore more complex designs.
Step 5: Drill Holes in the Wooden Plank
Once your macrame knots are in place, drill four holes into the wooden plank. These should align with the cords so that the shelf will hang evenly. Sand the edges of the holes to ensure they are smooth.
Step 6: Attach the Plank
Thread the ends of the cords through the drilled holes and tie them securely with a knot beneath the plank. Adjust the knots as needed to ensure the shelf hangs level.
Step 7: Hang Your Shelf
Finally, find a suitable place to hang your new macrame shelf. Use a sturdy hook or nail that can support the weight of the shelf and any items you plan to display on it.
Conclusion
Creating a DIY hanging macrame shelf is a rewarding project that beautifully combines functionality with bohemian style. With some basic materials and a bit of creativity, you can craft a stunning piece that enhances the decor of any room. Happy crafting!
Macrame has made a significant comeback as a popular craft. To begin your DIY hanging macrame shelf project, you’ll need cotton macrame cord, a wooden plank, and a ring. Use basic macrame knots such as the square knot or spiral knot to design your macrame. Once your macrame knots are in place, drill four holes into the wooden plank. Creating a DIY hanging macrame shelf is a rewarding project that beautifully combines functionality with bohemian style. 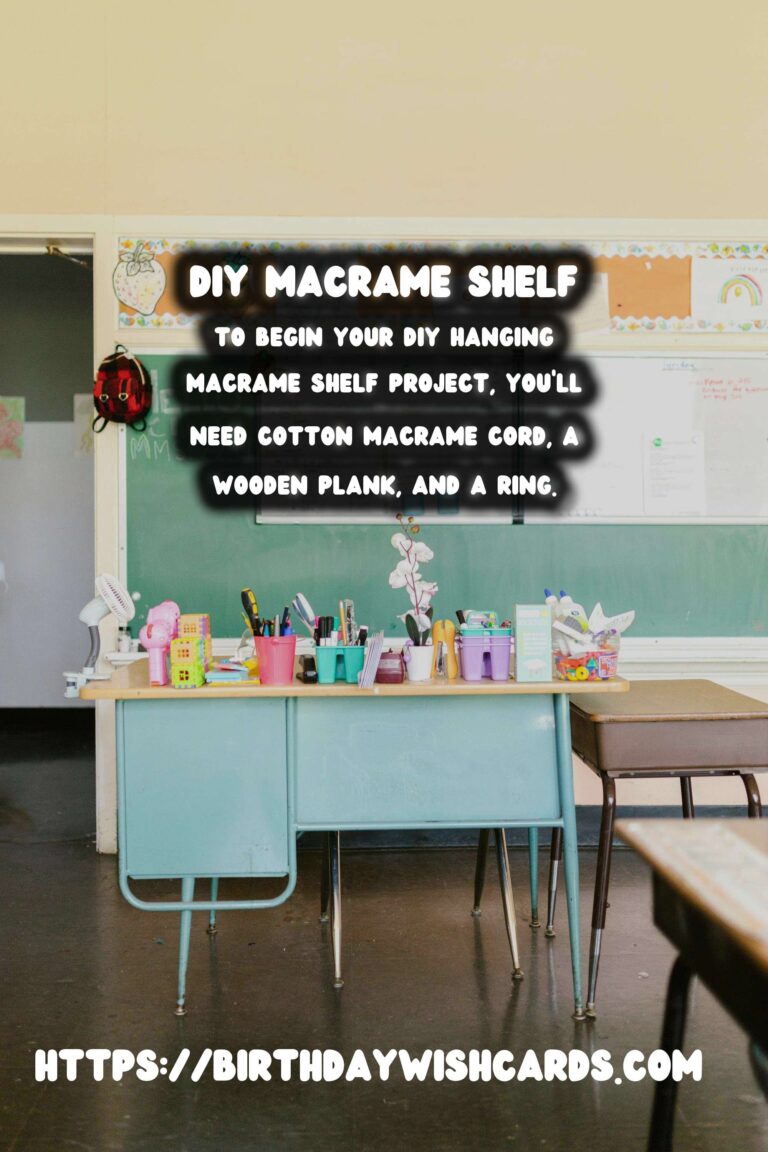


#Macrame #DIYProjects #HomeDecor #Crafting #BohemianStyle


