
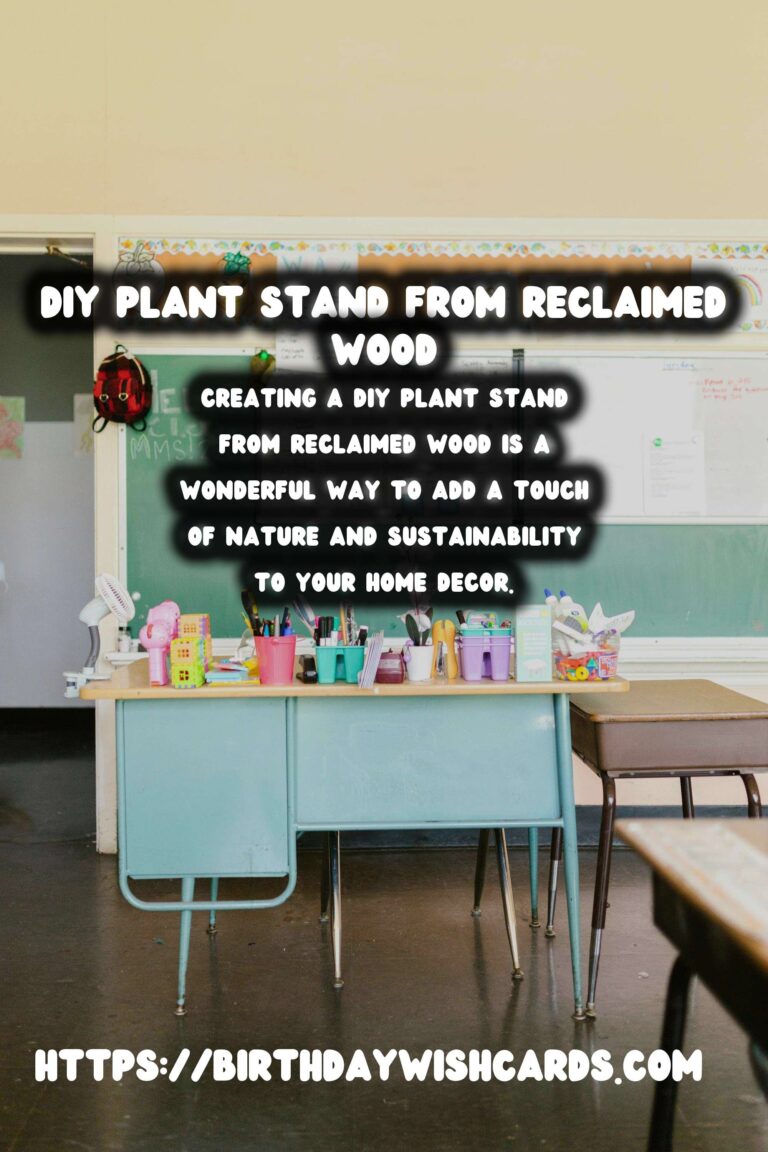
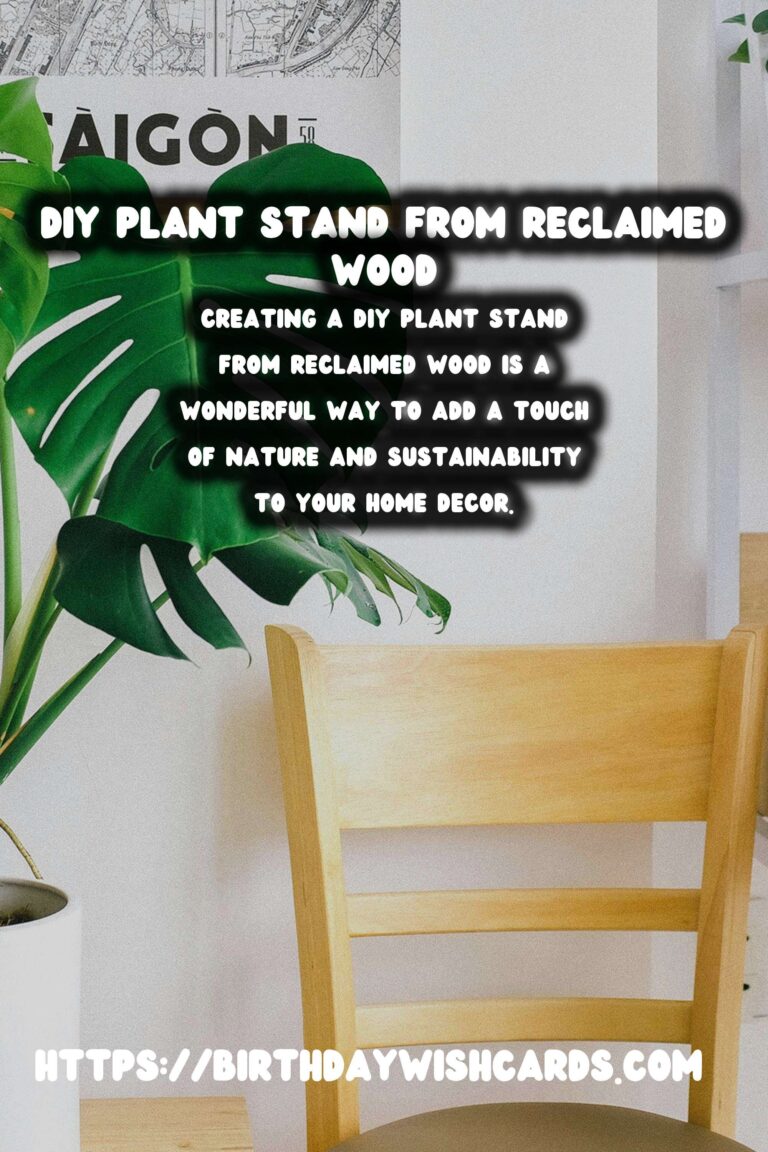
Creating a DIY plant stand from reclaimed wood is a wonderful way to add a touch of nature and sustainability to your home decor. Not only does it provide a stylish way to display your plants, but it also utilizes materials that might otherwise go to waste. In this guide, we will take you through each step of making your own plant stand from reclaimed wood, ensuring that you have a beautiful and functional piece for your home.
Why Choose Reclaimed Wood?
Reclaimed wood is an environmentally friendly choice that brings character and history into your home. It reduces the demand for new lumber, preserving natural resources and minimizing waste. Additionally, reclaimed wood often features unique textures and colors that add charm and warmth to any piece of furniture.
Materials and Tools You’ll Need
Before you begin, gather the necessary materials and tools. Here is a list of what you’ll need:
- Reclaimed wood planks
- Measuring tape
- Wood saw
- Sandpaper or electric sander
- Wood screws
- Drill and drill bits
- Wood stain or paint (optional)
- Paintbrush (if staining or painting)
Step-by-Step Guide to Building Your Plant Stand
Step 1: Plan Your Design
Start by deciding the size and style of your plant stand. Consider the number and size of plants you want to display. Sketch out your design, taking into account the dimensions of the reclaimed wood you have available.
Step 2: Prepare the Wood
Inspect your reclaimed wood planks for any nails or staples and remove them carefully. Once the wood is clear, use sandpaper or an electric sander to smooth out any rough edges and surfaces.
Step 3: Cut the Wood
Using your design as a guide, measure and cut the wood to the desired lengths. Typically, you will need four legs and two or more shelves. Ensure that all pieces are cut accurately for stability.
Step 4: Assemble the Frame
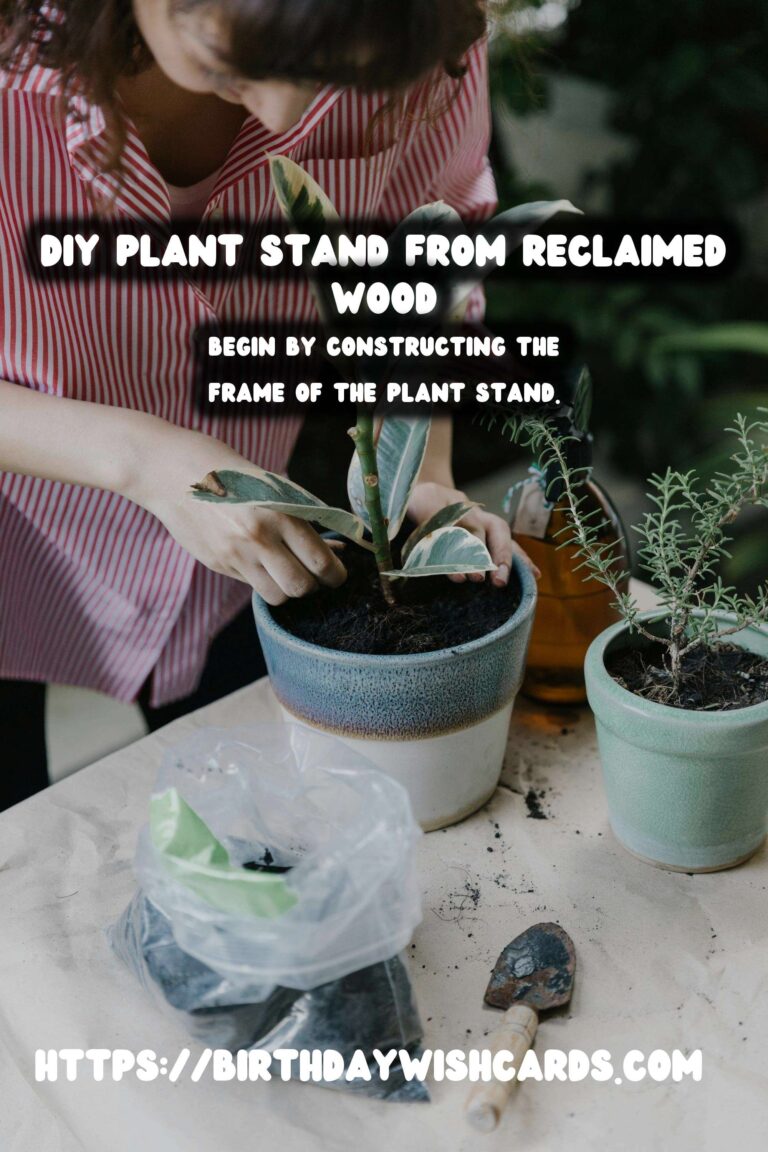
Begin by constructing the frame of the plant stand. Attach the legs to the bottom shelf using wood screws, making sure everything is level and secure. Next, add additional shelves as per your design, securing them with screws.
Step 5: Finishing Touches
Once assembled, you may choose to apply wood stain or paint to enhance the appearance of your plant stand. This step is optional but can protect the wood and add a personal touch. Allow the stain or paint to dry completely before using the stand.
Conclusion
With these steps, you can create a custom DIY plant stand that not only showcases your plants beautifully but also contributes positively to the environment. Reclaimed wood offers a unique aesthetic and helps reduce waste, making your project both stylish and sustainable.
Enjoy the satisfaction of creating something with your own hands, and admire the natural beauty it brings to your home.
Creating a DIY plant stand from reclaimed wood is a wonderful way to add a touch of nature and sustainability to your home decor. Reclaimed wood is an environmentally friendly choice that brings character and history into your home. Start by deciding the size and style of your plant stand. Inspect your reclaimed wood planks for any nails or staples and remove them carefully. Using your design as a guide, measure and cut the wood to the desired lengths. Begin by constructing the frame of the plant stand. You may choose to apply wood stain or paint to enhance the appearance of your plant stand. 


#DIY #ReclaimedWood #PlantStand #HomeDecor #SustainableLiving