Concrete letter planters are a unique and stylish way to display plants in your home or garden. These planters are not only functional but also serve as a personalized piece of decor. Whether you’re looking to spell out a word or just create an initial, making concrete letter planters can be a fun and rewarding DIY project.
Materials Needed
Before you begin, gather the following materials:
- Concrete mix
- Letter molds (silicone molds are recommended for easy removal)
- Mixing container
- Water
- Protective gloves
- Measuring cup
- Sandpaper
- Plastic sheeting or tarp for workspace protection
- Small plants or succulents
- Soil
Step-by-Step Instructions
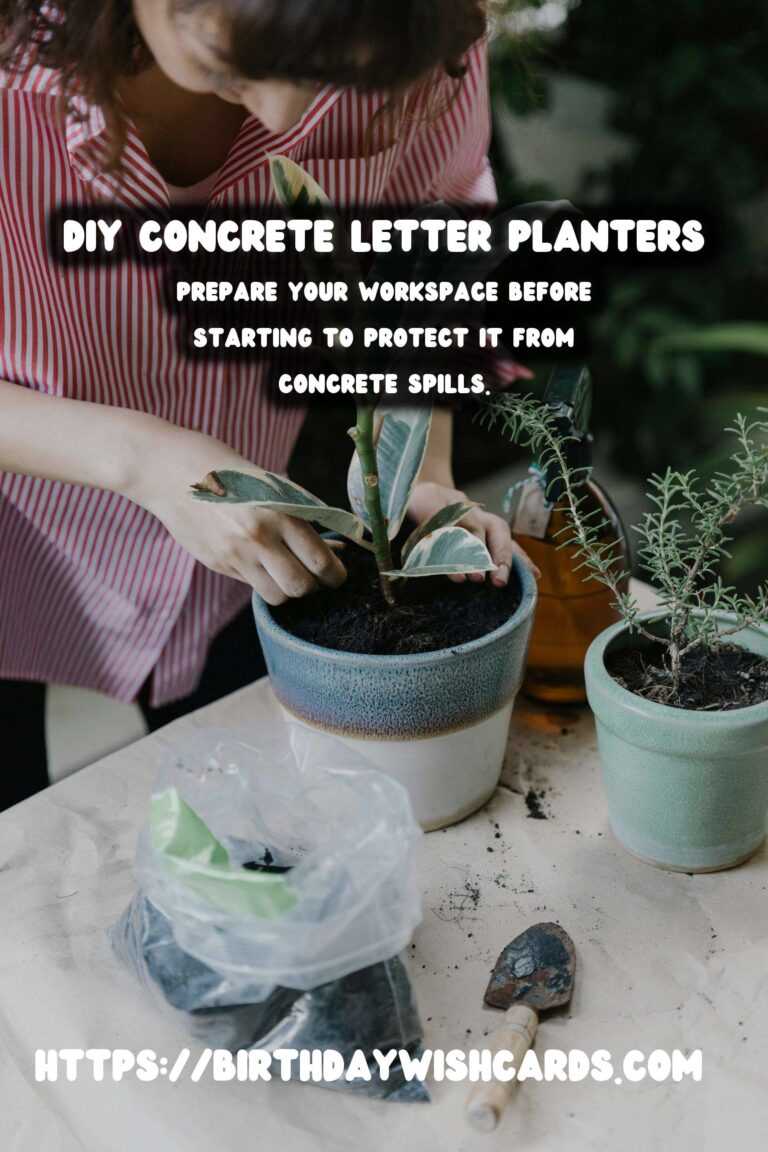
Step 1: Prepare Your Workspace
Lay down a plastic sheet or tarp to protect your working area from spills. Ensure that you have all your materials ready and within reach.
Step 2: Mix the Concrete
Put on your protective gloves. In your mixing container, combine the concrete mix with water according to the package instructions. Stir the mixture thoroughly until it reaches a smooth, batter-like consistency.
Step 3: Pour the Concrete into Molds
Carefully pour the concrete mixture into the letter molds. Tap the molds gently on the surface to remove any air bubbles and ensure the concrete settles evenly.
Step 4: Allow the Concrete to Set
Let the concrete sit in the molds for at least 24 hours, or as recommended by the concrete mix instructions. This will allow it to harden completely.
Step 5: Remove the Letters from the Molds
Once the concrete is fully set, gently remove the letters from the molds. Silicone molds make this process easier and help prevent damage to the concrete letters.
Step 6: Sand the Edges
Use sandpaper to smooth any rough edges on the concrete letters. Be cautious to avoid sanding too much, which could alter the shape of the letters.
Step 7: Plant Your Greenery
Fill the hollow parts of the letters with soil and your choice of small plants or succulents. Ensure the plants are appropriately watered and receive sufficient sunlight.
Tips for Success
Here are some tips to ensure your DIY concrete letter planters turn out beautifully:
- Use a release agent in the molds to make letter removal easier.
- Experiment with different colored concrete dyes for a varied look.
- Consider sealing the concrete to enhance durability, especially if used outdoors.
Conclusion
Creating DIY concrete letter planters is a fantastic way to add a personal touch to your home decor. With a few materials and some creativity, you can craft beautiful, custom planters that reflect your style. Whether for your own home or as a thoughtful gift, these planters are sure to impress.
Concrete letter planters are a unique and stylish way to display plants. Making concrete letter planters can be a fun and rewarding DIY project. Prepare your workspace before starting to protect it from concrete spills. Allow the concrete to sit in the molds for at least 24 hours to harden. Use sandpaper to smooth any rough edges on the concrete letters. 
#DIY #ConcretePlanters #HomeDecor #Gardening #Crafts