Building a garden planter can be a rewarding and cost-effective project for anyone interested in gardening. In Kampala, with its rich soil and favorable climate, creating a planter can help make the most of your gardening space. This guide will walk you through the steps to build a garden planter without breaking the bank.
Materials Needed
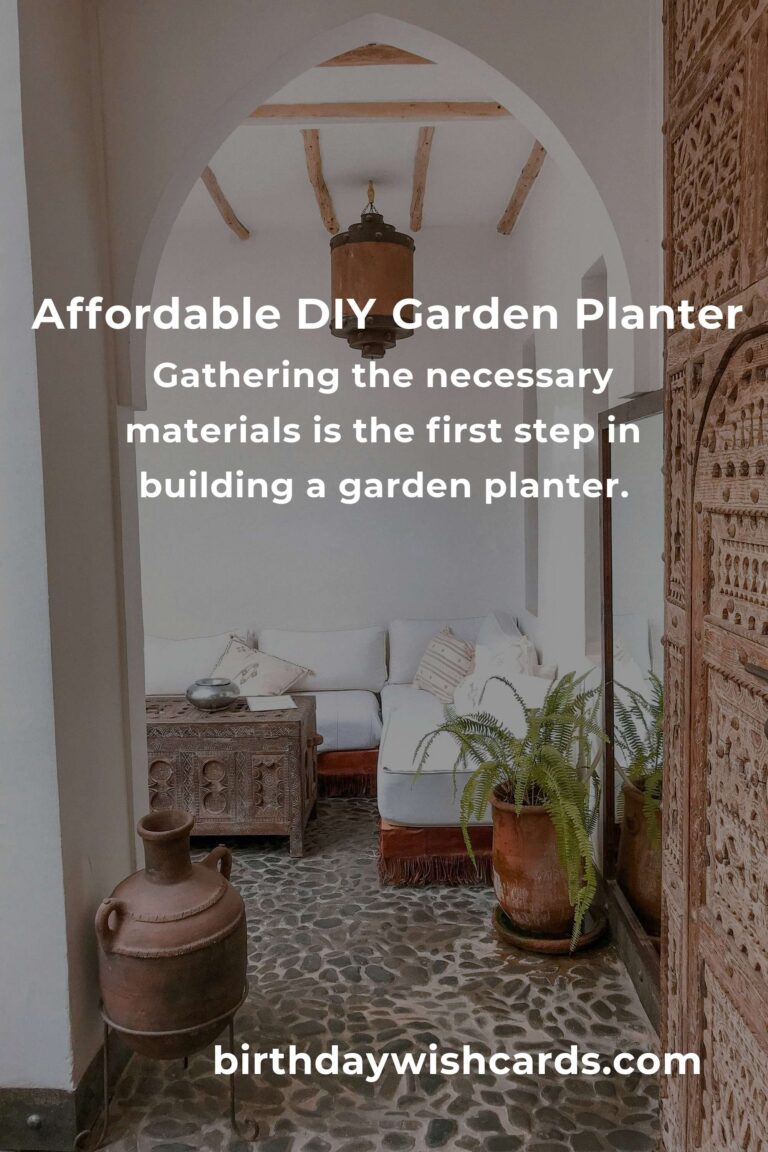
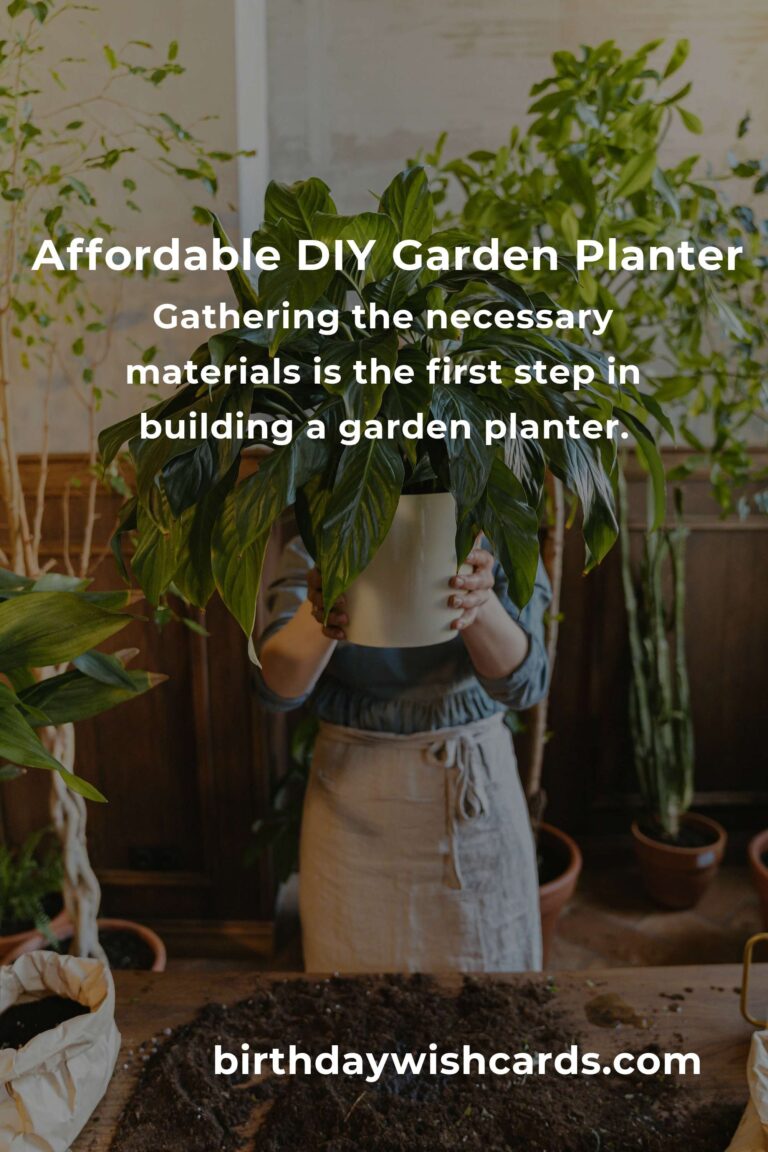
One of the first steps in building a garden planter is gathering the necessary materials. Fortunately, many of these items can be found at local hardware stores or markets in Kampala at an affordable price.
- Wood: Look for untreated wood like pine or cedar. You can often find discounted wood at local sawmills or lumber yards.
- Nails or Screws: Basic nails or screws will suffice for holding your planter together.
- Hammer or Drill: Depending on your preference, either of these tools can be used to assemble your planter.
- Measuring Tape: Essential for ensuring your cuts and dimensions are accurate.
- Soil and Plants: Consider using local compost to fill your planter, and choose plants that thrive in Kampala’s climate, such as beans, tomatoes, or herbs.
Step-by-Step Guide
1. Plan Your Design
Before you start cutting, it’s important to plan your design. Consider the size and shape of your planter based on the space available and the types of plants you wish to grow. Sketching a simple design with dimensions will help you visualize the final product.
2. Cut the Wood
Using your measuring tape, mark the wood pieces according to your design. Carefully cut the wood with a saw, ensuring each piece is straight and even.
3. Assemble the Planter
Begin by assembling the sides of the planter. Use your hammer or drill to secure the wood pieces together with nails or screws. Ensure that each corner is square to maintain the integrity of the structure.
4. Add a Base
If your planter will be elevated, you’ll need to add a base. This can be done by attaching additional wood pieces across the bottom of the planter. Make sure there are small gaps to allow for drainage.
5. Prepare the Planter for Soil
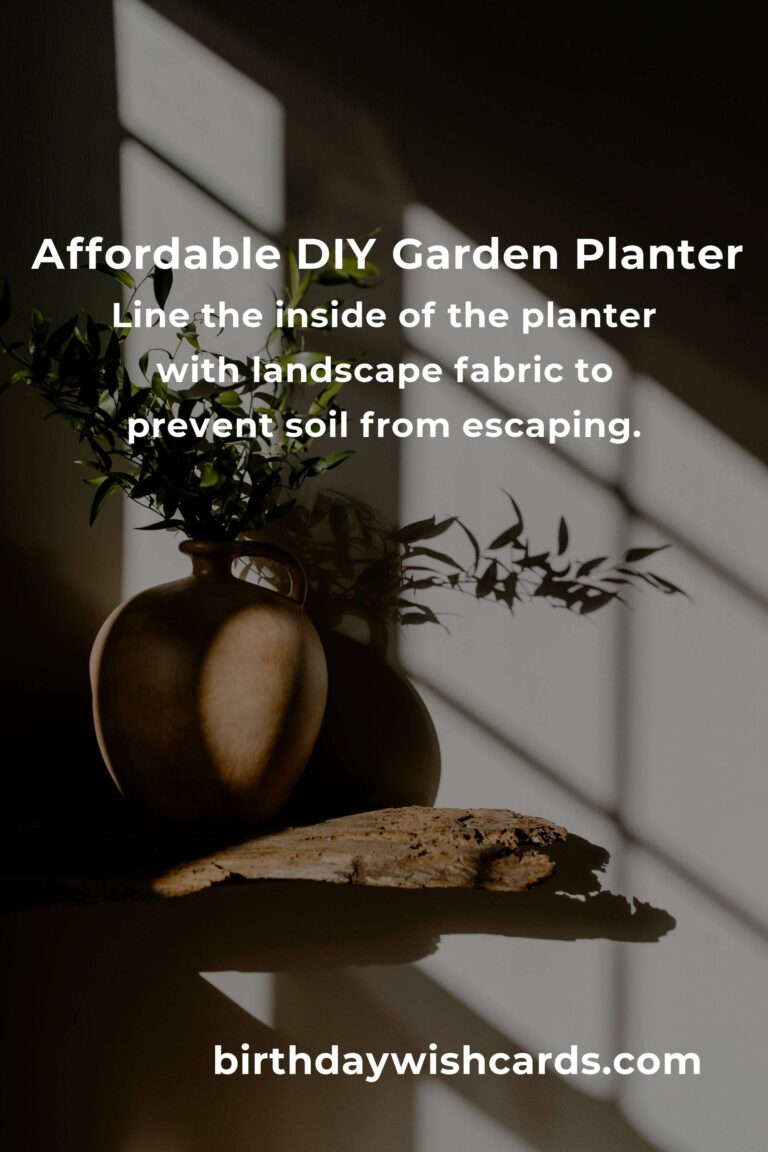
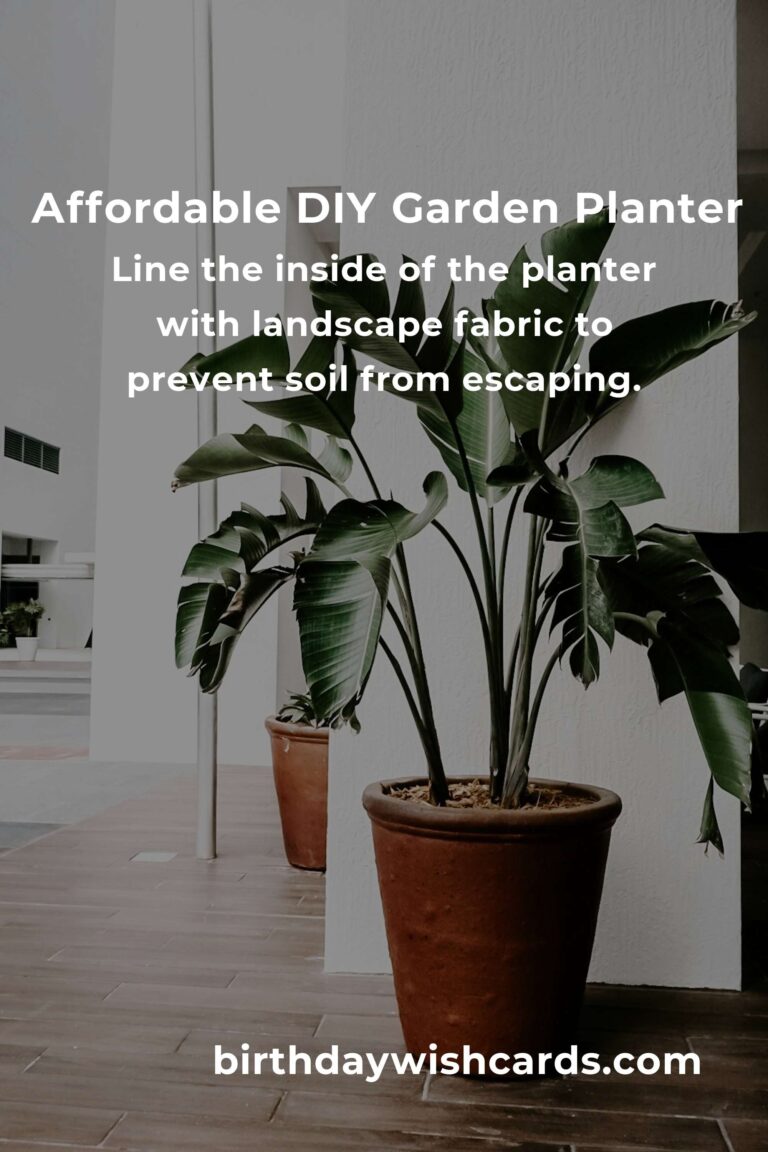
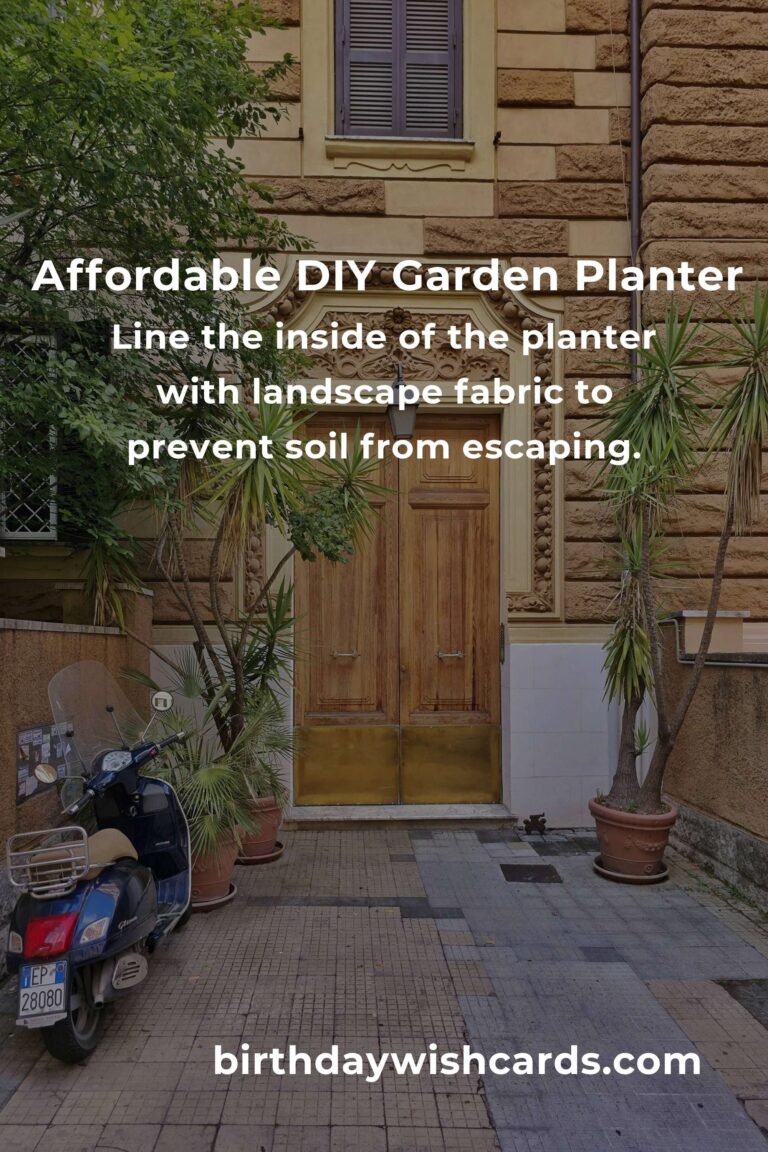
Line the inside of the planter with landscape fabric to prevent soil from escaping and to protect the wood. Then, fill the planter with your chosen soil mixture.
6. Plant Your Garden
Once your planter is assembled and filled, it’s time to plant. Arrange your plants according to their light and space needs. Remember to water them thoroughly after planting.
Cost-Saving Tips
Building a garden planter on a budget is all about resourcefulness. Here are some tips to help you save money:
- Repurpose Materials: Consider using reclaimed wood or pallets, which can often be found for free or at a low cost.
- Buy in Bulk: If you plan to build multiple planters, buying materials in bulk may reduce costs.
- Community Resources: Join local gardening clubs or online groups in Kampala where members often share resources and tips.
Conclusion
Building a garden planter in Kampala is a feasible project that can enhance your gardening experience while staying within budget. By following these steps and utilizing local resources, you can create a beautiful and productive garden space.
Building a garden planter can be a rewarding and cost-effective project for anyone interested in gardening.
Gathering the necessary materials is the first step in building a garden planter.
Plan your design carefully before cutting the wood.
Line the inside of the planter with landscape fabric to prevent soil from escaping.
Building a garden planter on a budget is all about resourcefulness.
#Gardening #DIY #Kampala #BudgetFriendly #Planter