Lisbon is a city blessed with sunshine, soul, and a vibrant love for outdoor living. But with rising costs and limited space, many Lisbon residents dream of cultivating their own pocket of greenery without breaking the bank. This comprehensive guide will walk you through building a stylish, sustainable garden planter on a budget—right in the heart of Lisbon, Portugal.

Why Build a Planter in Lisbon?
Lisboetas have a special relationship with nature—whether it’s the lush parks of Monsanto or the cascading bougainvillea on Alfama balconies. But for many urban dwellers, space is tight and budgets are tighter. A DIY planter not only brings a slice of nature into your home but also provides a therapeutic, rewarding hobby that can feed your family and brighten your day.

Step 1: Assess Your Space and Sunlight
Before you start building, consider where your planter will live. Is it a sunny balcony in Bairro Alto, a shady patio in Graça, or a windowsill overlooking the Tagus? Track sunlight for a full day and note the hours of direct and indirect light. Lisbon’s climate is Mediterranean, offering long, bright days, but knowing your specific microclimate helps you choose the right plants and design.

Step 2: Decide What to Grow
Think about what you want from your planter. Herbs like parsley, cilantro, and mint thrive in Lisbon’s climate and are essential in Portuguese cooking. Cherry tomatoes, lettuce, and strawberries do well in small spaces. And for a true local touch, try piri-piri peppers or even small citrus trees in larger planters.
Step 3: Gather Materials—The Budget-Friendly Way
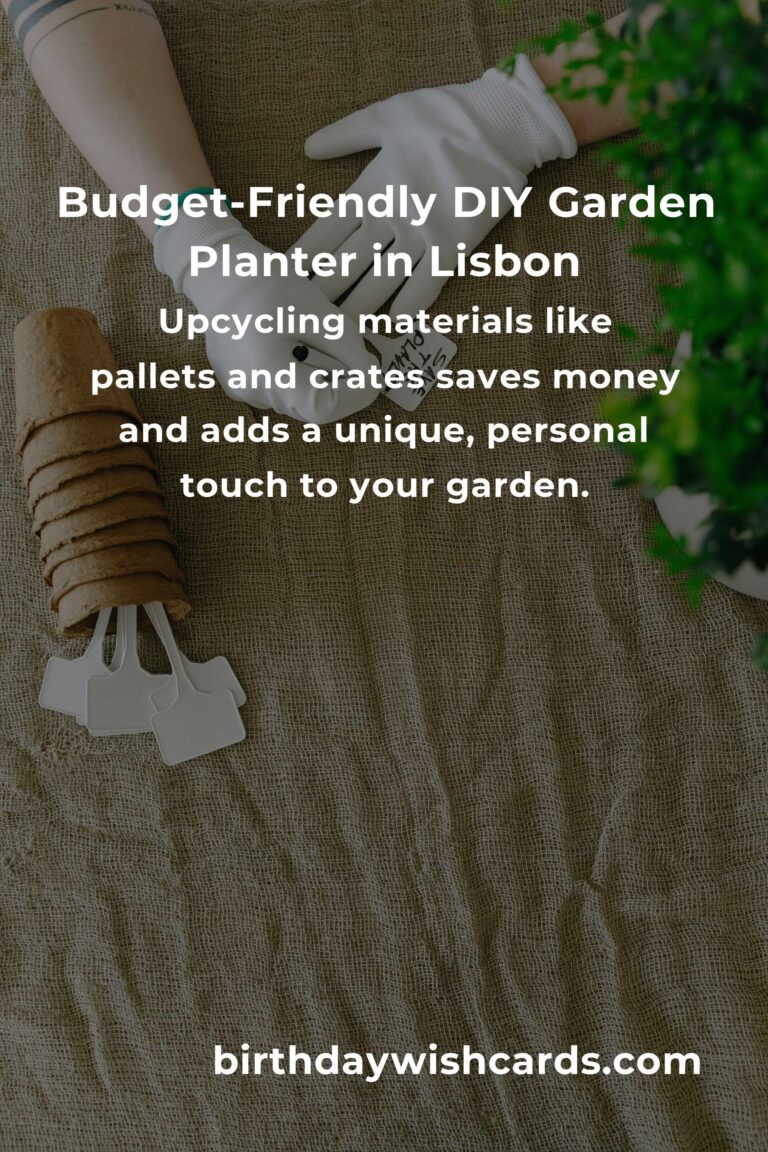
Building a planter doesn’t require expensive materials. In fact, some of the best planters in Lisbon are made from reclaimed wood, shipping pallets, or upcycled crates. Here’s how to source your materials on a budget:
- Ask Local Shops: Grocery stores, markets, and wine shops often have spare wooden crates or pallets they’re happy to give away.
- Check Online: Websites like OLX.pt or Facebook Marketplace often list free or cheap materials.
- Community Groups: Join local gardening or sustainability groups for swap opportunities.
- Reuse Household Items: Old drawers, buckets, or even tires can become unique planters with a little creativity.
Step 4: Design Your Planter
Measure your space carefully. If you’re using a balcony or patio, consider the weight and stability of your planter. Sketch a simple design—rectangular, square, or even tiered for vertical gardens. A standard size for a balcony planter is about 60cm long, 30cm wide, and 30cm deep, but adapt to your needs.
Materials Needed:
- Wooden pallets, crates, or reclaimed wood
- Hammer, nails, or screws (borrow tools from neighbors if needed)
- Sandpaper
- Plastic sheeting or old plastic bags (for lining)
- Drill (optional, but helpful)
- Paint or wood sealant (optional, for weatherproofing)
Step 5: Building Your Planter
Follow these steps for a basic wooden planter:
- Disassemble Pallets: Carefully pry apart pallets or crates to get usable wooden planks.
- Sand the Wood: Smooth rough edges to prevent splinters.
- Build the Frame: Nail or screw together the base and sides. For stability, reinforce the corners with extra wood.
- Add a Bottom: Leave small gaps between slats for drainage, or drill holes if using a solid piece of wood.
- Line the Planter: Use plastic sheeting with holes poked for drainage to protect the wood from rot and prevent soil from leaking out.
- Weatherproof: If you have leftover paint or sealant, coat the outside to protect against Lisbon’s rain and sun.
Step 6: Soil and Planting—Save and Thrive
Soil can be expensive, but there are ways to save:
- Mix Your Own: Combine cheap potting soil from local stores with compost from kitchen scraps or local composting programs.
- Ask Around: Neighbors with gardens sometimes have extra soil or compost to share.
- Layer Smartly: Put twigs, leaves, or even broken pottery at the bottom for drainage before adding soil.
Once filled, plant seeds or seedlings according to their needs—herbs and leafy greens can be sown directly, while tomatoes and peppers might start in small pots before transfer.
Step 7: Watering and Maintenance
Lisbon’s hot summers mean planters dry out quickly. Mulch the top of the soil with straw or leaves to retain moisture. Water in the morning or evening, and check daily in the peak of July/August. Consider a simple drip irrigation setup using recycled plastic bottles for even lower costs.
Step 8: Get Creative with Decoration
A budget planter doesn’t have to look cheap! Paint your wood in bold colors inspired by Lisbon tiles, add stenciled patterns, or attach old azulejos (tiles) for flair. Hang fairy lights or repurpose Portuguese ceramic cups as mini planters for herbs.
Step 9: Connect with the Community
One of Lisbon’s great strengths is its communal spirit. Share your progress with neighbors, join local gardening clubs, or swap seeds and cuttings. The Lisbon Botanic Garden, community gardens, or Facebook groups like “Lisboa Verde” are great starting points for finding support and inspiration.
Step 10: Enjoy the Fruits (and Flowers) of Your Labor
Within weeks, you’ll see sprouts and start harvesting herbs, salad greens, or even the first tomatoes. Celebrate with a homemade meal, or invite friends over for an alfresco snack surrounded by your handiwork. Your budget planter will be a source of pride and peace in your Lisbon home.
Extra Tips for Lisbon’s Climate and Urban Living
- Shade Cloth: If your balcony gets relentless afternoon sun, hang a light shade cloth to protect delicate plants.
- Portable Planters: Use lightweight materials or add wheels to move planters with the shifting sun.
- Rainwater Harvesting: Set up a simple rainwater collection system for eco-friendly irrigation.
- Compost at Home: Even in small apartments, a vermicompost bin can provide rich fertilizer for your plants.
Budget Breakdown Example
| Item | Estimated Cost (€) |
|---|---|
| Reclaimed wood/pallets | Free–5 |
| Nails/screws | 2 |
| Plastic sheeting (reuse bags) | Free |
| Soil/compost | 5–10 |
| Seeds/seedlings | 1–5 |
| Paint/sealant (optional) | 2–5 |
| Total | 10–25 |
Common Mistakes to Avoid
- Overwatering: Lisbon’s dry air can trick you into watering too often—check soil moisture first.
- No Drainage: Always provide drainage holes to prevent root rot.
- Ignoring Plant Needs: Group plants with similar sunlight and water requirements.
- Underestimating Weight: Test your balcony’s load limits before adding large planters.
Inspiration: Lisbon’s Balcony Gardens
Stroll through Lisbon and you’ll find a patchwork of balcony gardens—tiny but bursting with life. Many use simple crates, old buckets, or even repurposed sardine tins. These creative solutions prove you don’t need a big budget or a big space to make a big impact.
Conclusion: Urban Gardening, Lisbon Style
Building a garden planter on a budget in Lisbon isn’t just about saving money. It’s about connecting with the land, finding joy in small acts of sustainability, and embracing the city’s creative spirit. With a little ingenuity and heart, your own slice of green heaven is within reach—right outside your window.
Whether you’re a seasoned gardener or just starting, remember: every little planter brings more life to Lisbon’s beautiful mosaic. Happy planting!
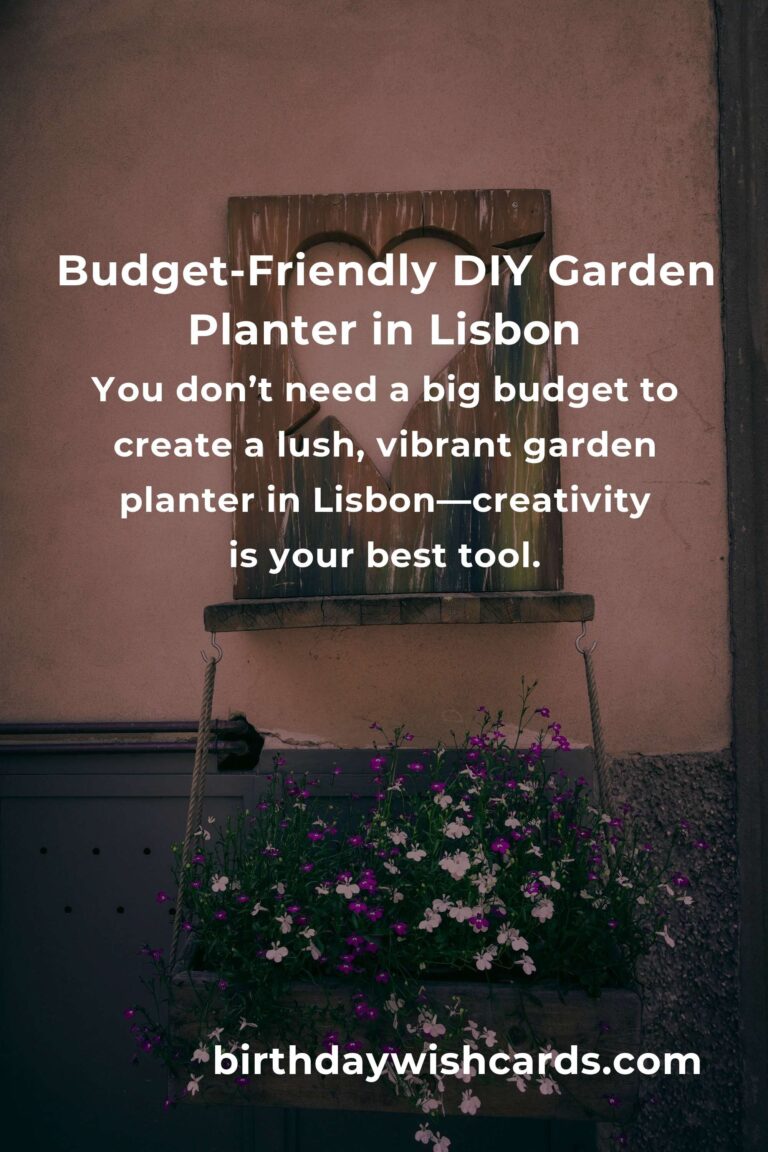
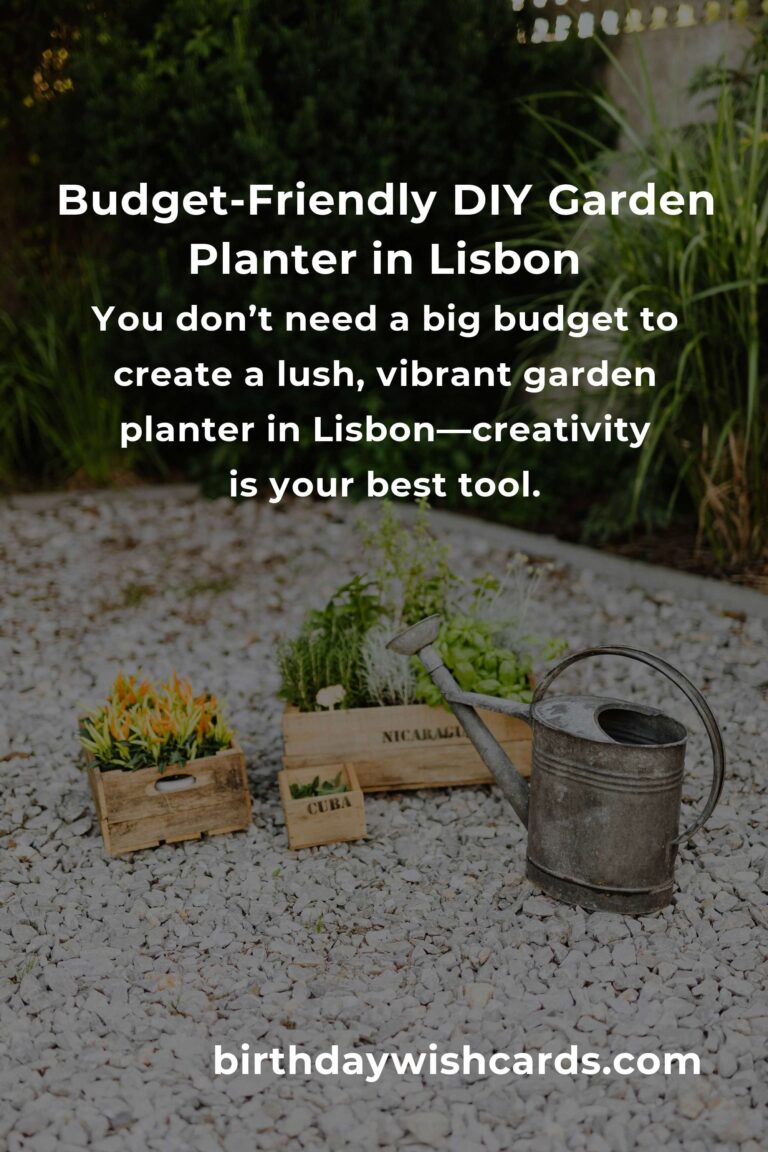
You don’t need a big budget to create a lush, vibrant garden planter in Lisbon—creativity is your best tool.
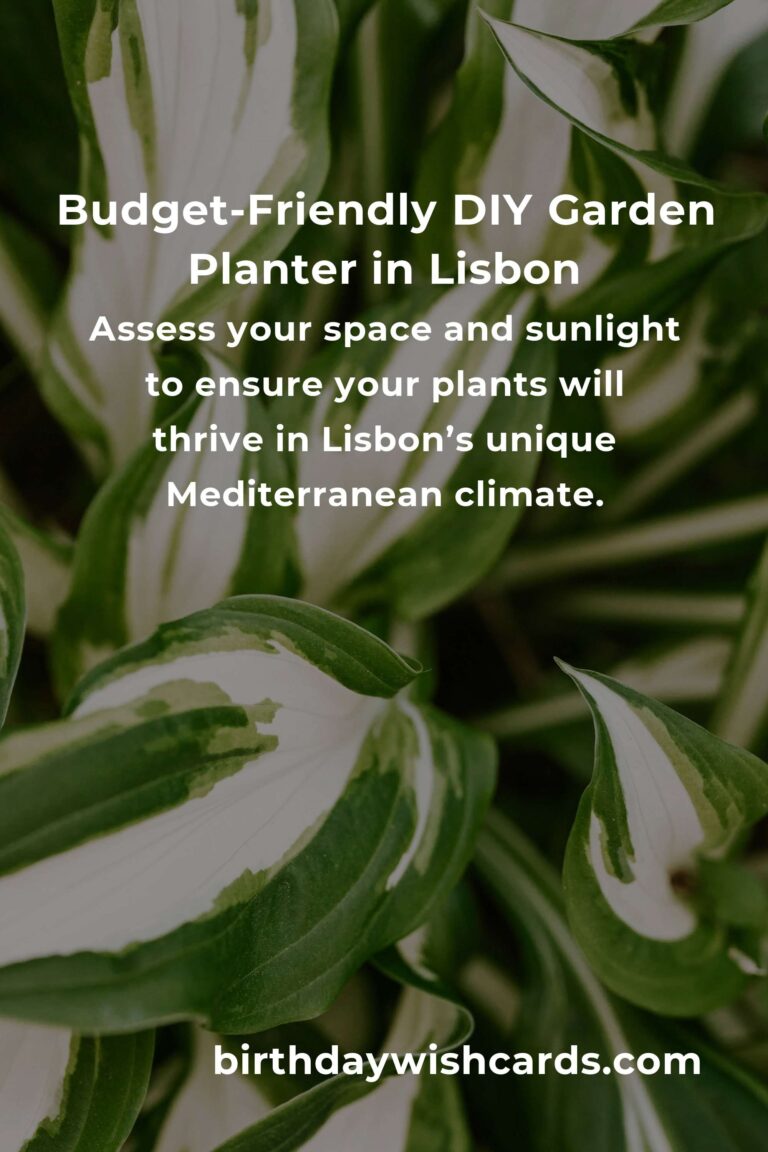
Assess your space and sunlight to ensure your plants will thrive in Lisbon’s unique Mediterranean climate.
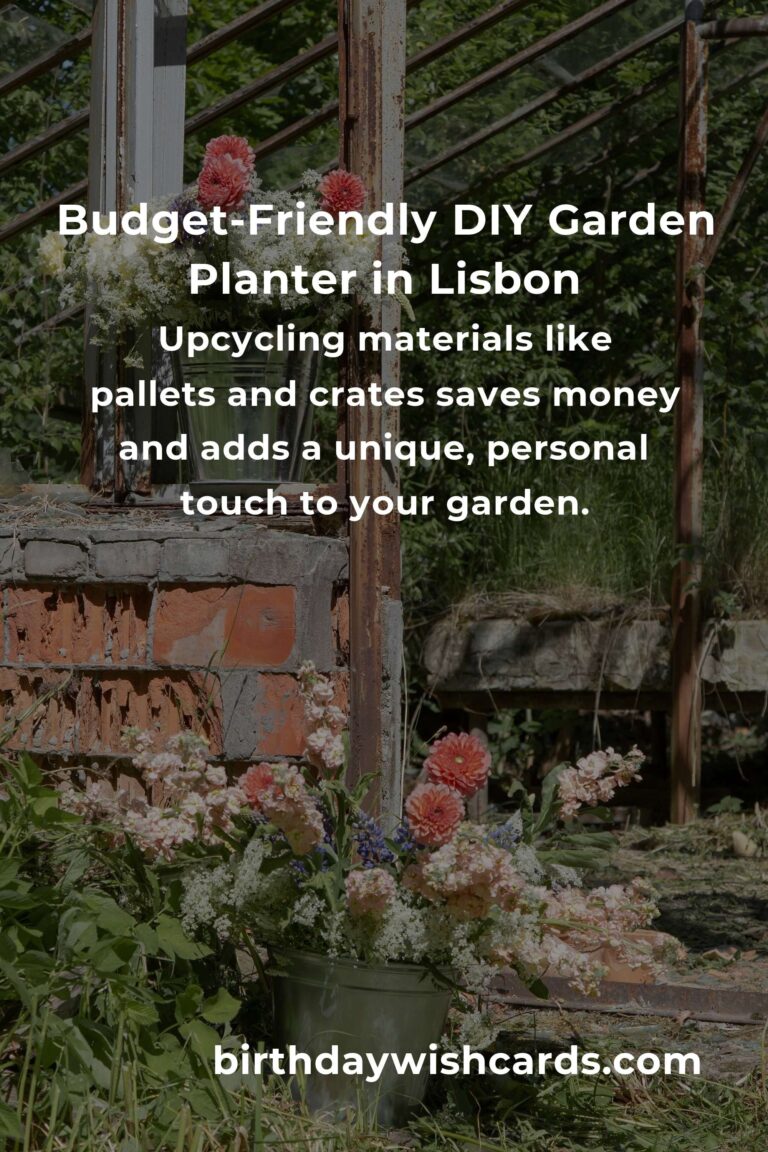
Upcycling materials like pallets and crates saves money and adds a unique, personal touch to your garden.
Choosing the right plants—such as herbs, leafy greens, or local favorites—means better results for less effort.
Building your own planter fosters a deep connection with nature and brings joy to your urban home.
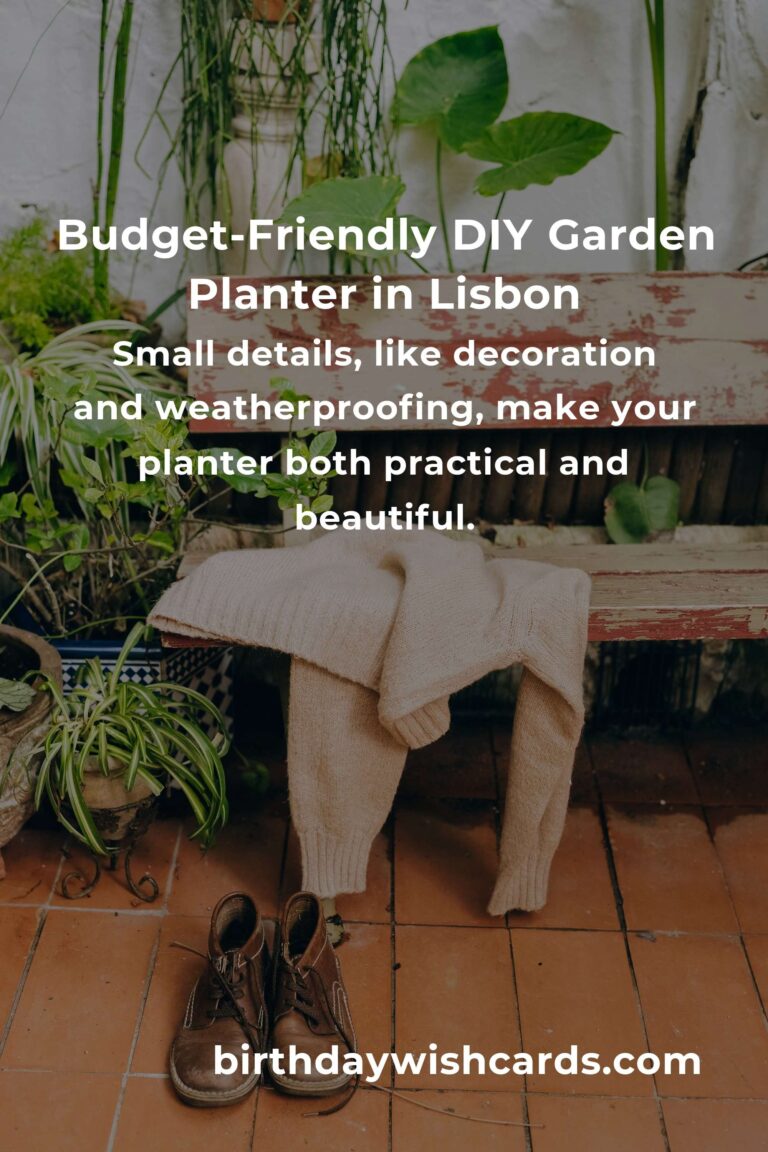
Small details, like decoration and weatherproofing, make your planter both practical and beautiful.
Watering wisely and using mulch helps your plants survive Lisbon’s hot, dry summers without wasting resources.
Connecting with local gardening communities can provide free materials, advice, and new friendships.
Mistakes like forgetting drainage or overwatering are easy to avoid with a little research and care.
Your DIY garden planter is more than a project—it’s a living testament to Lisbon’s creative, communal soul.
#LisbonGardening #UrbanGarden #BudgetPlanter #DIYGarden #LisboaVerde #SustainableLiving #CityGardening #GreenSpace #GardeningTips #EcoFriendly