

Building a kitchen island can be a game-changer for your home, especially if you live in a vibrant city like Munich, where space is precious and style matters. But what if you’re on a budget? The good news is, you don’t have to sacrifice your dreams of a beautiful, functional kitchen island just because you’re watching your spending. In this guide, we’ll take you step-by-step through the process of building a kitchen island that fits both your needs and your budget. Whether you’re a DIY enthusiast or a first-timer, you’ll find practical tips, inspiring ideas, and all the motivation you need to transform your kitchen without breaking the bank.
Why a Kitchen Island is the Heart of Your Home
For many, the kitchen is the heart of the home. It’s where you cook, connect, and create memories. In Munich’s cozy apartments and stylish homes, a well-designed kitchen island can add invaluable workspace, storage, and a welcoming gathering place for family and friends. It can also dramatically elevate the look of your kitchen, making it feel bigger and more functional.

But let’s be honest—custom kitchen islands can be expensive. From high-end cabinetry to luxury stone countertops, the costs can quickly escalate. That’s why building your own island, tailored to your space and style, is such an empowering option. Imagine hosting brunches, family dinners, or even just sharing a cup of coffee with a loved one at your very own kitchen island—built with your own hands and creativity.
Setting Your Budget: How Much Should You Spend?
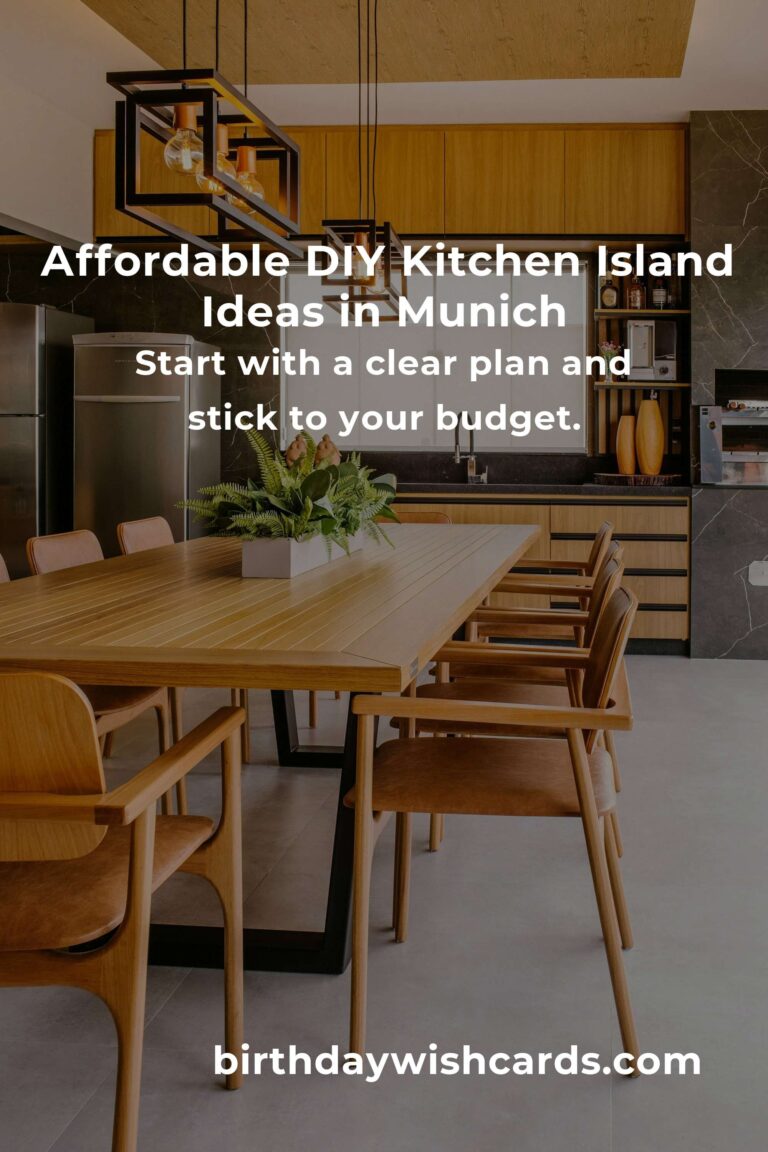
Before you start dreaming up designs, it’s important to set a realistic budget. In Munich, material and labor costs can vary, but a DIY kitchen island can typically be built for anywhere between €100 and €800, depending on your choices. Here’s how to allocate your budget wisely:

- Base units: €50–€200
- Countertop: €40–€200
- Hardware & fixtures: €20–€100
- Paint, stain, or finish: €10–€50
- Tools & supplies (if needed): €20–€100
Remember, you can save even more by upcycling materials or searching for second-hand bargains on local classified sites like eBay Kleinanzeigen or Facebook Marketplace.
Planning Your Kitchen Island: Function, Space, and Style
Start by deciding what you need most from your kitchen island. Do you want extra storage, a breakfast bar, or additional prep space? Measure your kitchen carefully and choose an island size that leaves enough room for movement—ideally at least 90 cm (about 36 inches) of clearance on each side.
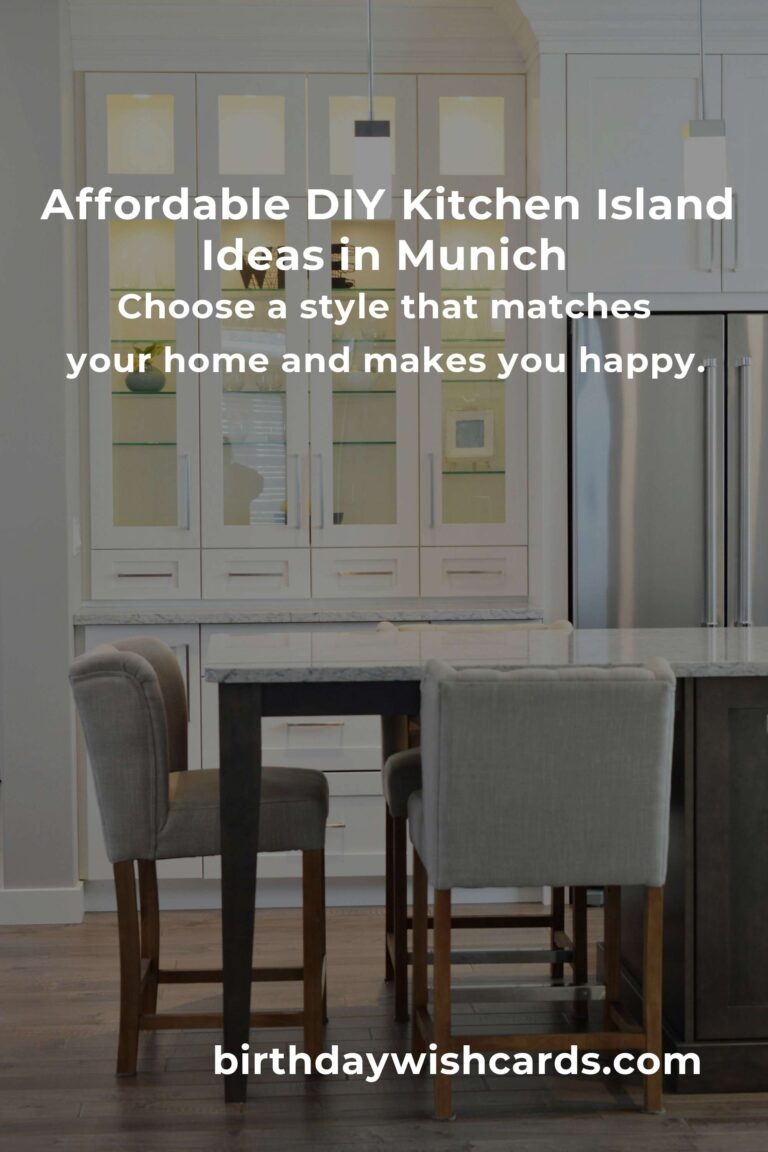
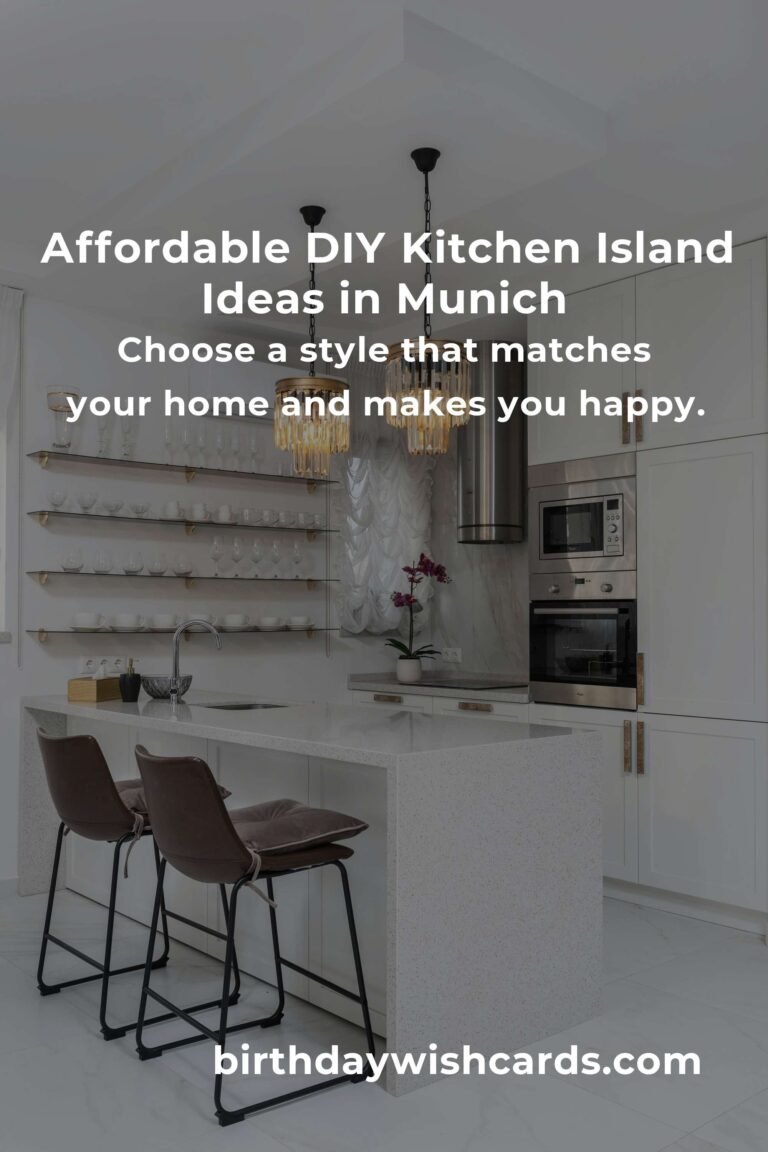
Think about the style that will best complement your Munich home. Do you prefer a rustic, farmhouse look? Or a minimalist, modern vibe? Gathering inspiration from Pinterest, Instagram, or home design magazines can help you pinpoint your vision.
Choosing Materials: Affordable Options in Munich
One of the biggest ways to save money is by being creative with your materials. Here are some budget-friendly options available in Munich:
- IKEA Hacks: Use affordable base cabinets, shelves, or even bookcases from IKEA as the core of your island. The KALLAX and METOD series are particularly popular choices for DIY kitchen islands.
- Upcycling: Repurpose old dressers, tables, or cabinets. With a coat of paint and a new countertop, vintage finds can become stunning islands.
- Local Hardware Stores: OBI, Hornbach, and Bauhaus offer a wide range of lumber, plywood, and affordable countertops like laminate or wood.
- Butcher Block & Wood Surfaces: For a warm, inviting look, consider solid wood countertops. They’re cost-effective, easy to work with, and can be oiled for durability.
- Laminate: For the ultimate budget option, laminate countertops come in many styles and are easy to clean.
Step-by-Step Guide: Building Your Budget Kitchen Island
Ready to roll up your sleeves? Here’s a clear, step-by-step guide to building your kitchen island, even if you’re a beginner.
Step 1: Gather Your Materials and Tools
Depending on your design, you’ll need:
- Base cabinets, shelves, or a sturdy table
- Countertop (wood, laminate, or similar)
- Screws, brackets, and basic hardware
- Paint or stain (optional)
- Sandpaper and cleaning supplies
- Drill, screwdriver, and measuring tape
Don’t forget to wear protective gear and work safely, especially when handling power tools.
Step 2: Build the Base
Place your chosen base units or upcycled furniture in the desired location. Make sure they are level. If you’re combining several units, use screws and brackets to secure them together. For added stability, attach the base to the floor or wall if needed, especially if your island will be heavy or used for seating.
Step 3: Add the Countertop
Measure and cut your countertop to fit. If you’re using wood, sand the edges for a smooth finish. Position the countertop on your base, ensuring it overhangs by at least 20–30 cm (8–12 inches) on one side if you want a breakfast bar. Secure the countertop with screws from underneath, or use strong adhesive if you prefer.
Step 4: Finish and Personalize
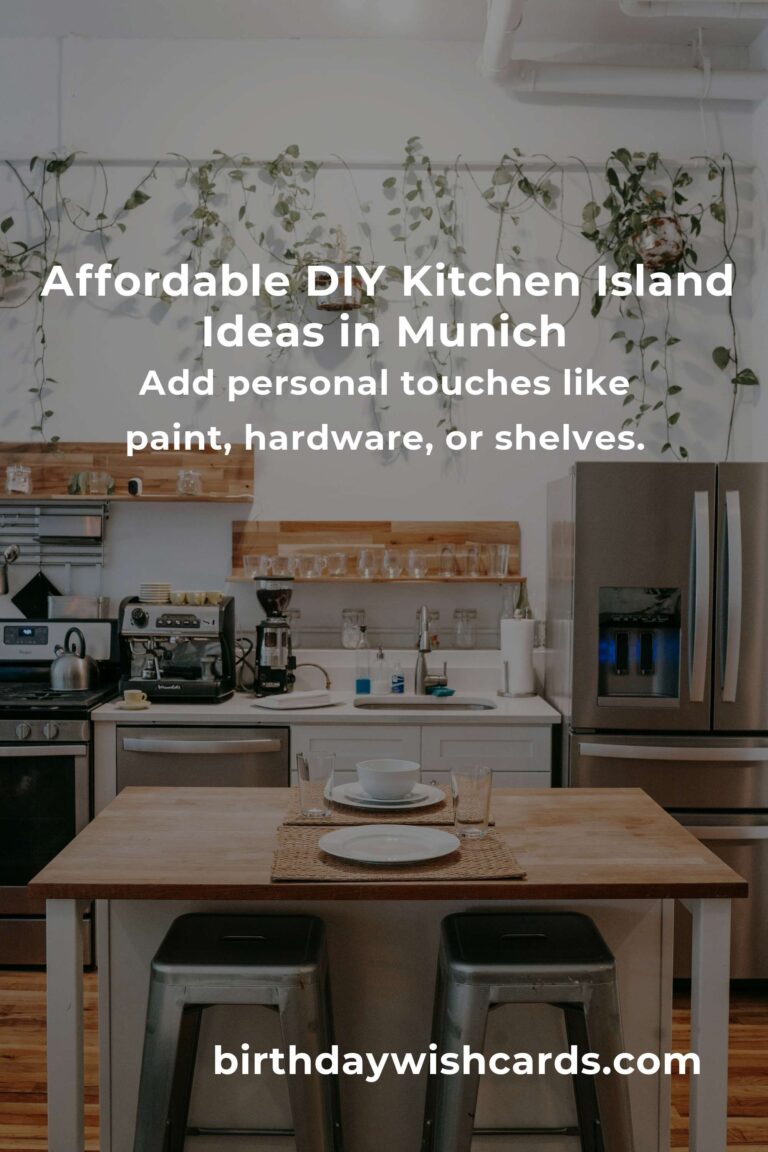
Paint or stain your island to match your kitchen. Add handles, knobs, or hooks for extra functionality. Consider installing open shelves for cookbooks or baskets for produce. A chalkboard panel or magnetic strip can add a playful, practical touch.
Get creative! Your island should reflect your personality and needs. Add a wine rack, spice organizer, or even a small herb garden on one end.
Step 5: Add Seating (Optional)
If you want your island to double as a breakfast bar, choose stools that fit comfortably under the overhang. Look for second-hand gems at local flea markets or online marketplaces in Munich.
Tips for Saving Even More
- Shop Second-Hand: Munich has fantastic flea markets, thrift stores, and online platforms where you can score affordable materials and furniture.
- DIY Where Possible: Painting, sanding, and simple repairs can often be done at home with minimal tools and effort.
- Bulk Buy: If you need multiple materials (like wood or hardware), buying in bulk can lower costs.
- Ask for Help: Don’t be afraid to enlist friends or family for an extra set of hands—it makes the project more fun and meaningful!
Where to Find Affordable Materials in Munich
Here are some local resources to check out:
- eBay Kleinanzeigen: Great for second-hand furniture and building materials.
- IKEA München: Affordable furniture and components for DIY islands.
- OBI, Hornbach, Bauhaus: Local hardware stores with a range of options for wood, tools, and finishes.
- Flea Markets: Munich’s Auer Dult and Flohmarkt Olympiapark are treasure troves for upcycling projects.
Frequently Asked Questions
- Do I need special skills? Not at all! With basic tools and patience, anyone can build a kitchen island. There are plenty of easy-to-follow tutorials online.
- Can I move my island later? Yes, especially if it’s freestanding. Avoid attaching it permanently unless you’re sure of the placement.
- What if my kitchen is very small? Opt for a compact design—think slim shelves or a narrow table on wheels that can double as an island.
- Is it safe to use butcher block in the kitchen? Absolutely! Just oil it regularly and clean up spills promptly to keep it looking great.
Inspiring Budget Kitchen Island Ideas for Munich Homes
- The Bookshelf Island: Use a sturdy bookshelf as the base, add a wood countertop, and enjoy instant storage and style.
- Vintage Dresser Makeover: Repurpose an old dresser with a coat of paint and new hardware for a unique island with built-in drawers.
- Pallet Perfection: Stack and secure wooden pallets, top with a sanded board, and paint for an ultra-budget, urban-chic look.
- Rolling Cart Island: Add locking wheels to a small table or shelving unit for a mobile island that’s perfect for tiny Munich kitchens.
Adding the Finishing Touches
Once your island is built, it’s time to make it your own. Decorate with fresh flowers, a bowl of fruit, or your favorite kitchen gadgets. Add pendant lighting above the island to create a cozy, inviting ambiance. Remember, your kitchen island isn’t just a piece of furniture—it’s a gathering place and a reflection of your creativity and resourcefulness.
Conclusion: Your Dream Kitchen Island Awaits
Building a kitchen island on a budget in Munich is more than just a home improvement project—it’s a journey of creativity, resourcefulness, and self-expression. With the right plan, a little elbow grease, and a dash of inspiration, you can create a centerpiece for your kitchen that’s as unique as you are. Embrace the process, enjoy every step, and soon you’ll be sharing meals, stories, and laughter around your very own kitchen island—built with love, on a budget, right in the heart of Munich.
Ready to get started? Gather your materials, invite a friend, and let the transformation begin!
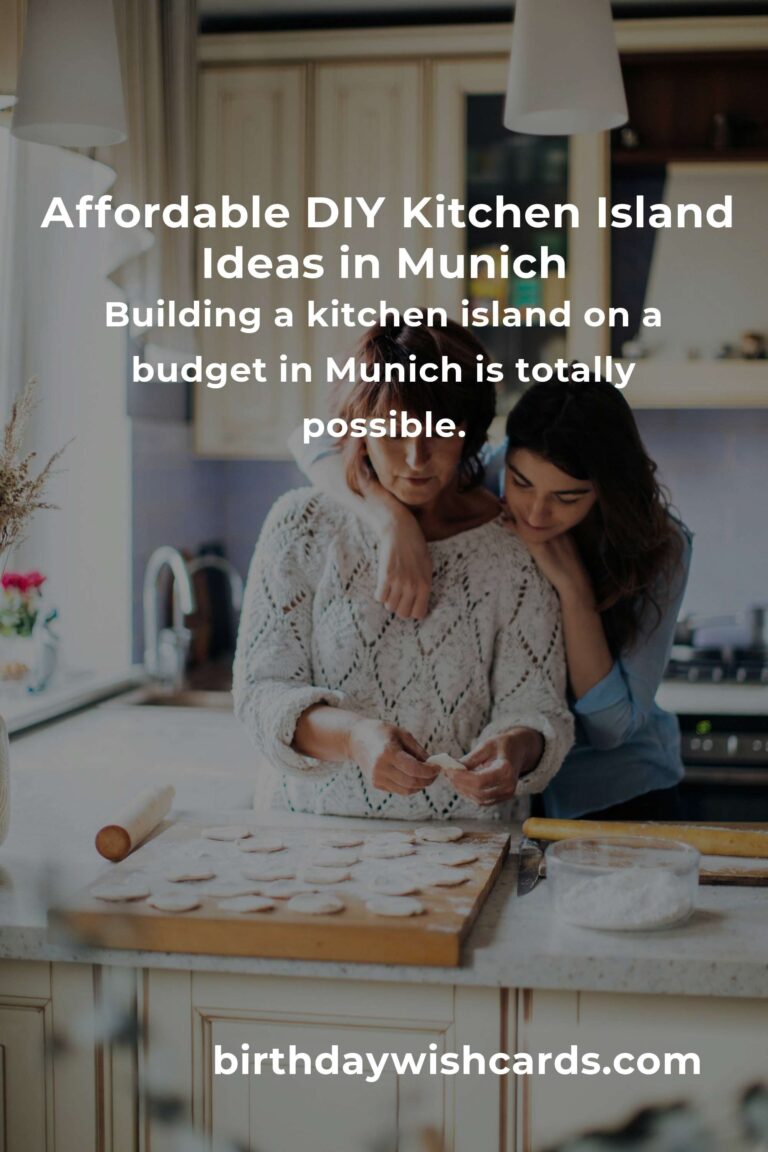
Building a kitchen island on a budget in Munich is totally possible.
Start with a clear plan and stick to your budget.
Reuse or upcycle materials to save money and add personality.
Measure your kitchen space carefully before beginning.
IKEA hacks and second-hand finds are great for DIY islands.
Choose a style that matches your home and makes you happy.
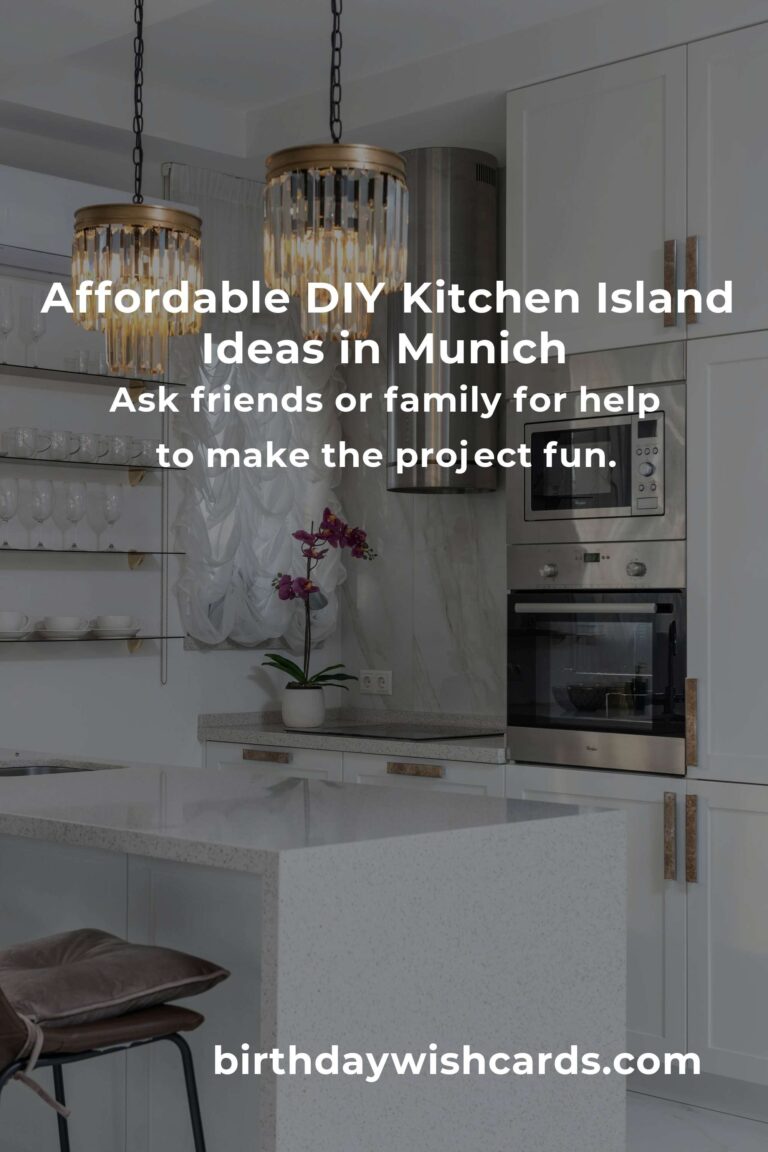
Ask friends or family for help to make the project fun.
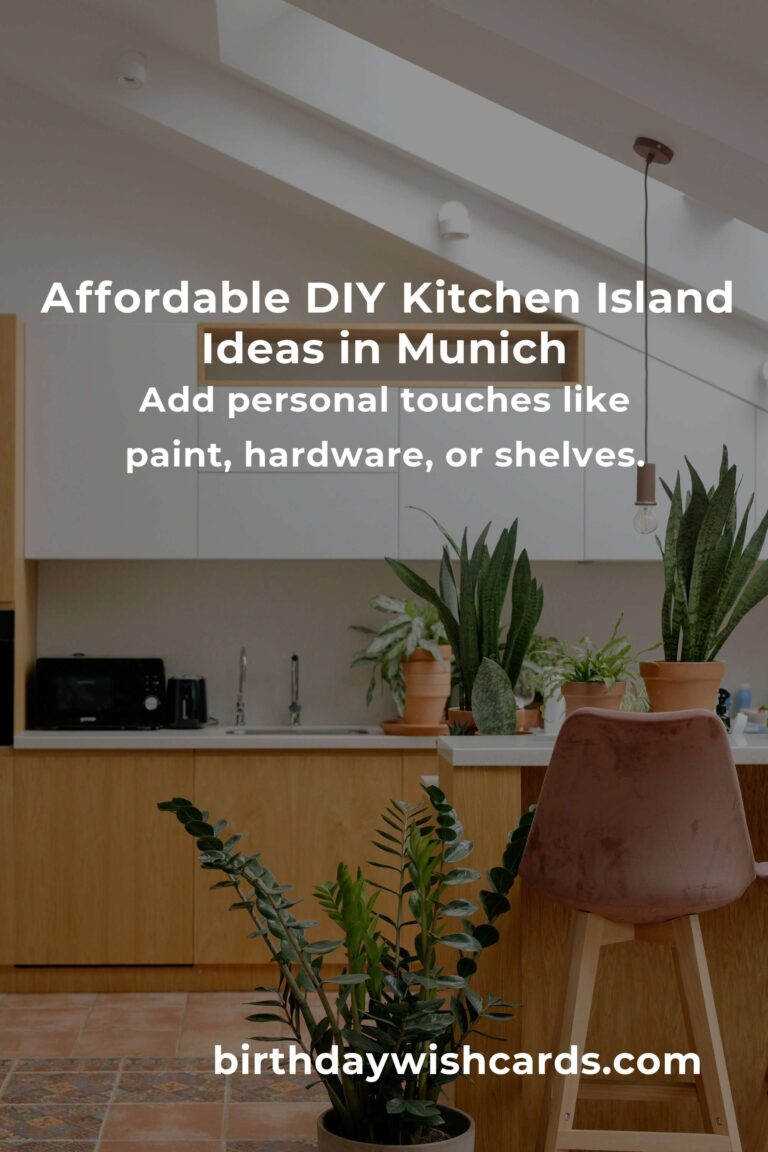
Add personal touches like paint, hardware, or shelves.
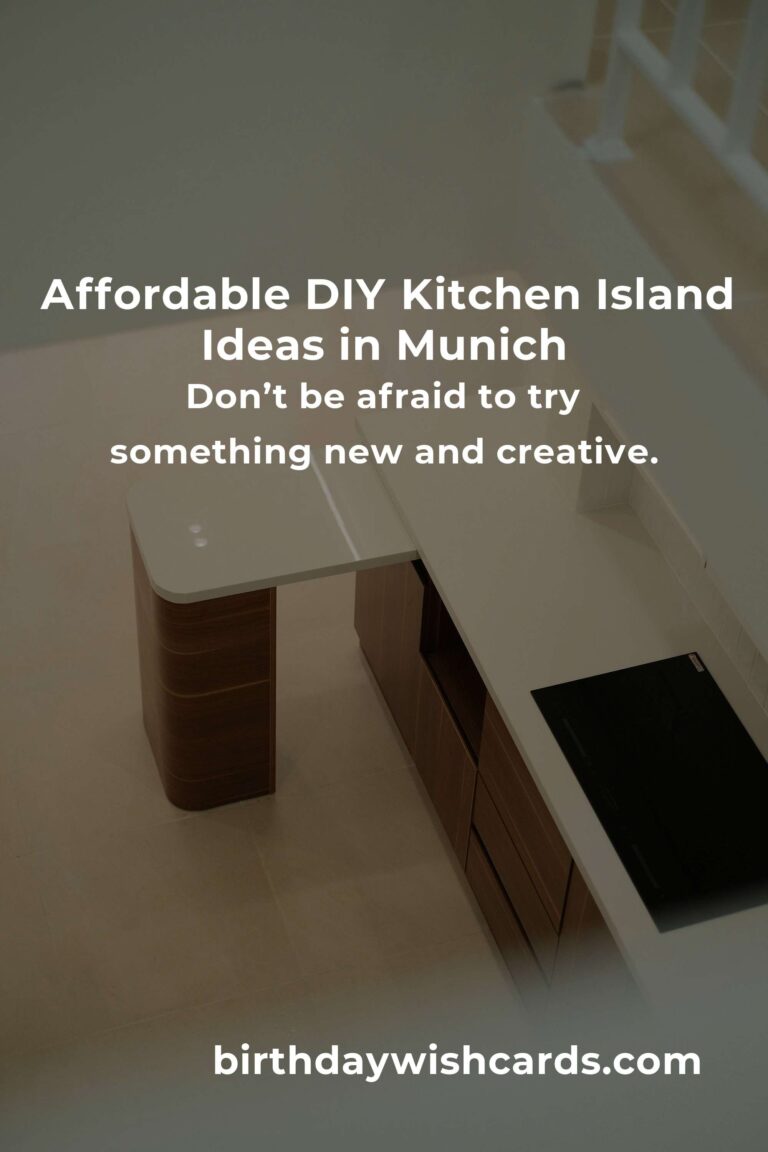
Don’t be afraid to try something new and creative.
Enjoy your new kitchen island and the memories you’ll make around it.
#KitchenIsland #MunichLiving #DIYKitchen #BudgetHome #HomeImprovement #AffordableDesign #Upcycle #KitchenGoals #HomeProject #LoveYourHome